weistek IdeaWerk WT150 Operational manual

Product User Manual
IdeaWerk™3D Printer WT150

Contents
Contents
1. Unpack and checking...........................................................................................1
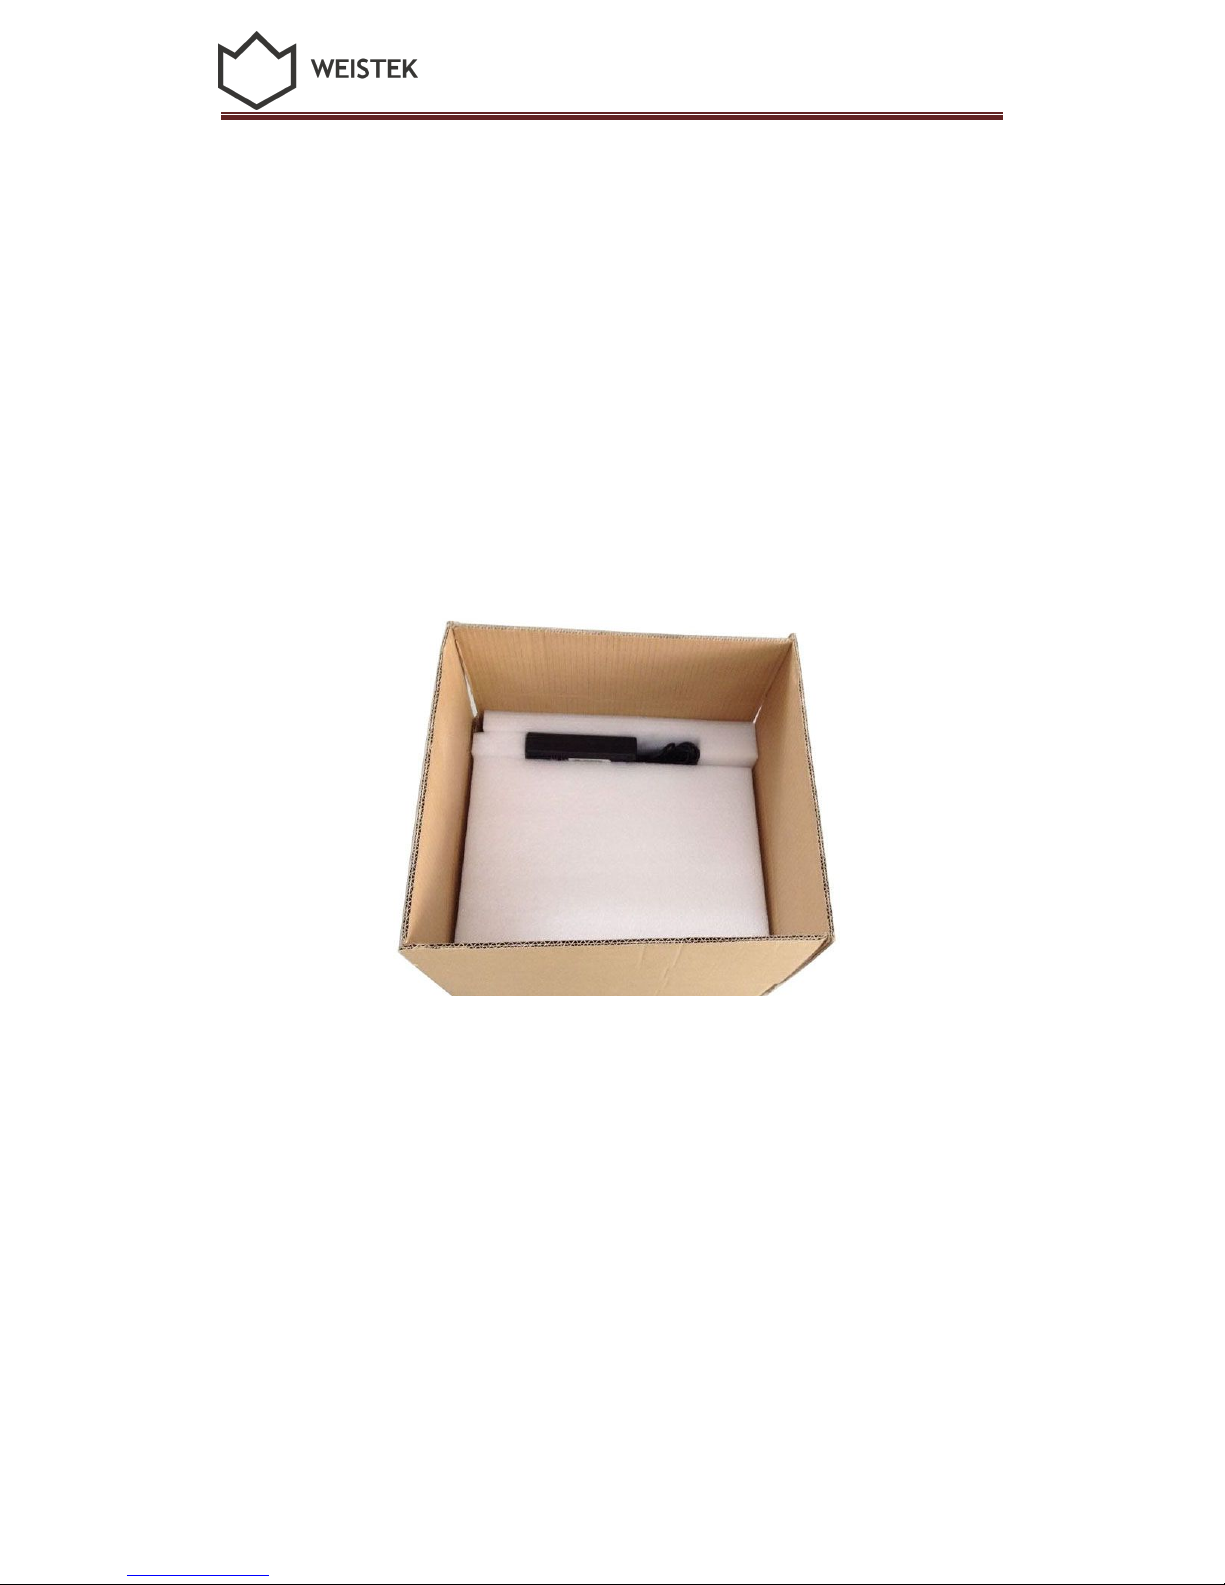
1.1 Check the Machine.................................................................................... 1
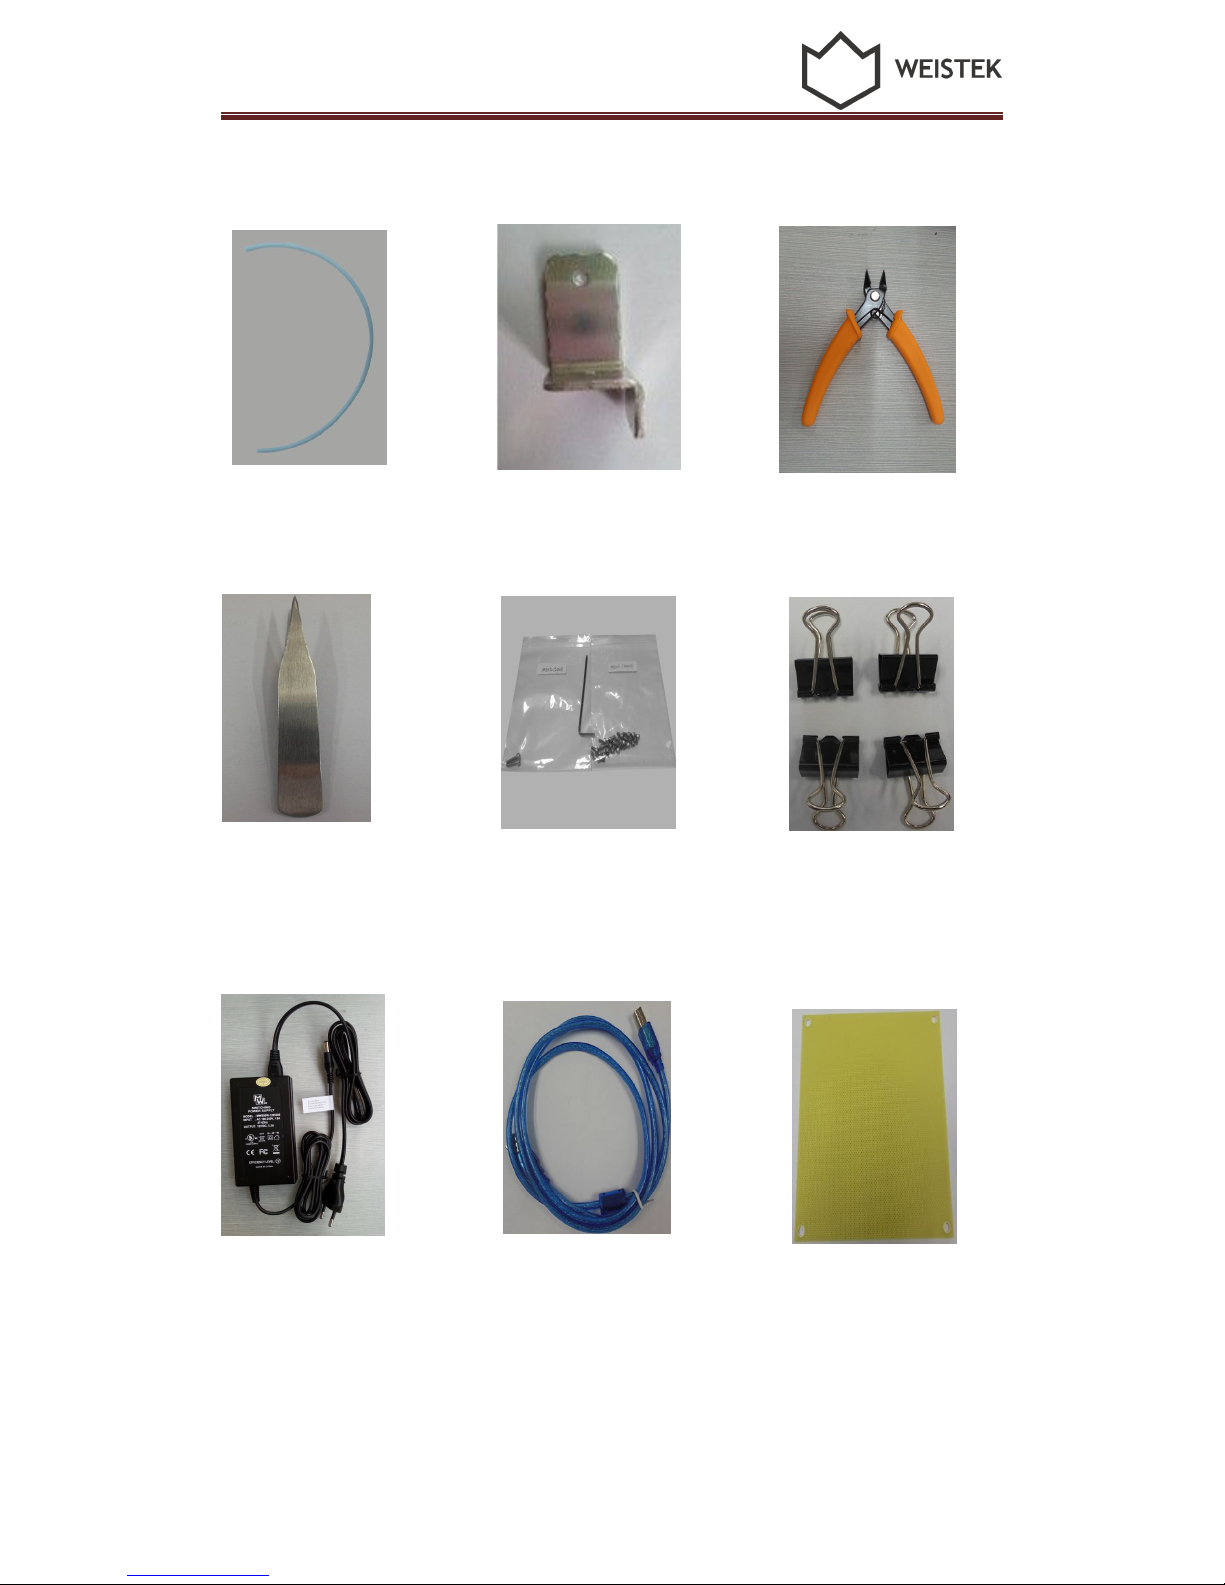
1.2 Check the Accessories................................................................................3
2. Brief Introduction............................................................................................... 3
2.1 Precautions and Safety............................................................................... 3
2.2 Appearance and Structure..........................................................................4
2.3 Technical Specifications............................................................................. 6
3. Software Installation............................................................................................ 8
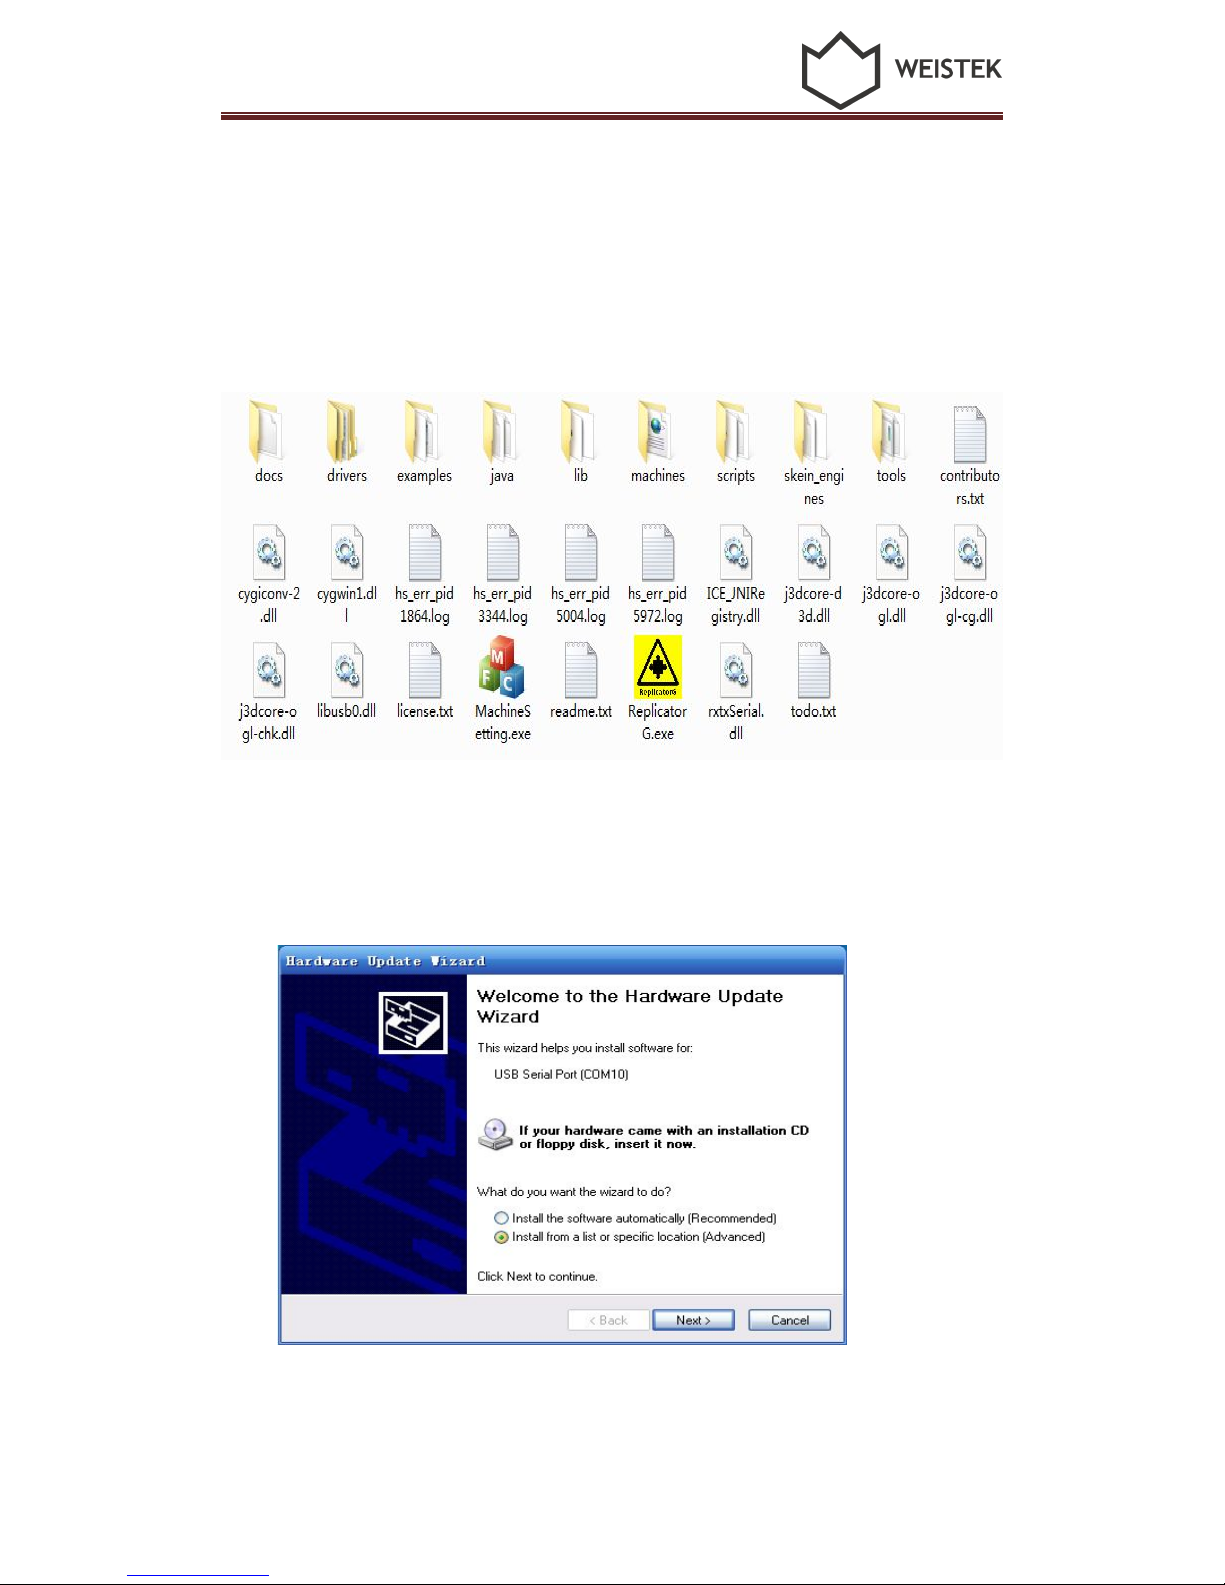
3.1 Software Installation.................................................................................. 8
3.2 Port Confirmation................................................................................... 11
3.3 Python installation................................................................................... 12
4. Preparations before printing.............................................................................. 15
4.1 Platform Calibration and measuring Z height...........................................15
4.2 Select temperature................................................................................... 22
5. Introduction of main functions..........................................................................24
5.1 Introduction of main functions................................................................24
6. Forward and reverse the filament.......................................................................34
6.1 How to feed material............................................................................... 34
6.2 How to reverse material........................................................................... 36
7. Build from SD card and control.........................................................................37
7.1 Build from SD card..................................................................................37
7.2 Operation on control screen...................................................................... 3
8. How to fix common problem............................................................................ 42
8.1 Resolution of filament feeding unsmooth................................................42
8.2 Resolution of nozzle blocking................................................................. 43
Acknowledgements.............................................................................................44

1. Unpack and checking
1
1. Unpack and checking
1.1 Check the Machine
1) Open the packing carton box, unwrap the EPE covering, remove the machine and
accessories from the box.
2) Overall observe the machine to make sure there is no serious damage. If any problem,
please contact with the after sale service staff in time.
(Pic 1.1-01)
1.2 Check the Accessories
All of the following accessories are consisted in the box together with the machine.

1. Unpack and checking
2
Teflon tube filament guide Filament passing-through assistant Cut pliers
Tweezers Allen wrench Clips
Power adapter and power cord USB Cable Build plate

1. Unpack and checking
3
Spool holder SD card Acupuncture Needle
(Pic 1.2-01)
2. Brief Introduction
2.1 Precautions and Safety
Place the machine in dry environment when operating.
To avoid blocking the nozzle, do not heat up the extruder before feeding the
material
Machine should be away from fire or water.
Use the machine in a ventilated environment, so that to avoid smelling.
Do not touch or remove the power cord or data line when operating.
Never touch the extruder or build bed by any parts of your body or anything
which is easy on fire when machine is operating, for they are very hot to harm

1. Unpack and checking
4
your skin or cause fire.
Gloves are required when removing the printed part to avoid harm of cutting,
scratching or burning.
2.2 Appearance and Structure
(Pic 2.2-01)
Filament Spool
Extruder
X axis
Z axis
Build Plate
Y axis

2. Brief Introduction
5
(Pic 2.2-02)
(Pic 2.2-03)
Note: the direction
of the clip must be
parallel to the X
axis
Please note how
to insert SD card

2. Brief Introduction
6
(Pic 2.2-04)
2.3 Technical Specifications
Dimensions: 298mm × 221mm × 403mm
Printing Dimensions: 150mm × 150mm × 140mm
Layer Thickness: 0.18~0.3mm
Speed: 30 – 150cm3/h
Net Weight: 7.5kg
Material: PLA
Materials Printing Temperature: PLA 220 - 230°C
Power: Input: AC 100-240V, 1.6A, 47-63Hz; Output: 12V/DC, 5.3A
Power
Switch
Power
Input
USB Port

2. Brief Introduction
7
Maximum Operating Power: 63.6W
Input Format: STL/X3G/GCODE
Operating Systems: Windows XP/Vista/Win7/Win8/Mac OS (Lowest version: OS
x10.8.5 Latest version: OS x10.9.0)
Operating Software: ReplicatorG-0040(optimized by Weistek1.0)
Environment Temperature: 5℃~35℃
Relative Humidity: 30%~90%
When using the Mac OS computer system:
1. When firstly connect with Mac OS, internet should be connected.
2. Use the specific installation software (ReplicatrG.app) when operate on Mac OS.

3. Software Installation
8
3. Software Installation
3.1 Software Installation
1) Copy the software from the disc before connecting the machine with your computer.
Decompress the file.
(Pic3.1-01)
2) Refer to the power and USB interfaces in the picture 3.1-02. Choosing “install from a
list or specific location (advanced)(S)” when the following interface pops up after
finishing connecting USB cable. Then, click “next” to continue.
(Pic 3.1-02)

3. Software Installation
9
3>Select “Include this location in the search” in the below pop-up window, then clicking
“Browse”
(Pic 3.1-03)
4> Select a folder for WAY in the pop-up window Browse For Folder, and find
“drivers” folder, then clicking [OK]. Then, click [Next] in the window of Hardware
Update Wizard.
(Pic 3.1-04)
Check this out

3. Software Installation
10
5> Click [next] when the following interface pops up.
(Pic 3.1-05)
6>waiting till the below window pops up, then clicking [Finish]. Until now a serials of
ports were installed successfully
(Pic 3.1-06)

3. Software Installation
11
3.2 Port Confirmation
After finishing drives installation, please use the below methods to confirm whether it is
successful or not
1> right click「Computer」, choose「Manage」, and then choose「Device Manager」
(Pic 3.2-01)
2> Select “Ports (COM&LPT)”in the below pop-up window,. If no ?or !ahead of
“USB Serial Port” shows the USB Serial Port Drive is installed successfully.

3. Software Installation
12
(Pic 3.2-02)
(Pic 3.2-03)
3.3 Python installation
Install Python software after finishing driver installation. The installation steps are
as following:
Installation succeeded
Installation failed

3. Software Installation
13
1>Double-click software ,click [next] in the following windows.
(Pic 3.3-01)
2> Disk C is the default destination. Don’t change anything, just click [next] as
following:
(Pic 3.3-02)

3. Software Installation
14
3> Click [next] in the following windows.
(Pic 3.3-03)
4> Click [finish] to complete Python installation.
(Pic 3.3-04)

3. Software Installation
15
(Pic 3.3-05)
4. Preparations before printing
Before start to print the SD card should insert in the 3D printer, or software will not
able to connect the printer.
4.1 Platform Calibration and measuring Z height
The plate should be calibrated before printing. Make sure the plate to be flat and level,
and appropriate distance to the extruder.
4.1.1 Place the platform at the bottom of Z axis. Start [Machine Setting], choose the
correct serial port and connect the printer.

4. Preparations before printing
16
(Pic 4.1-01)
(Pic 4.1-02)
4.1.2 Click [Connect], Connecting devices.
Start this
program

4. Preparations before printing
17
(Pic 4.1-03)
4.1.3Click [Roughly measure], the platform will go up and measure the height of Z axis
automatically and stop at the height of 138mm.
(Pic 4.1-04)
Green
arrows
indicate
equipment
connection

4. Preparations before printing
18
(Pic 4.1-05)
4.1.4 Select accurately measure step distance on the right of the [Accurately measure]
button, then click [Accurately measure] to move the platform step by step, till only
0.3mm between the platform and the extruder.
(Pic 4.1-06)
Table of contents
Other weistek 3D Printer manuals