Neoshaper Body sculpting trainer User manual

1

Table of Contents
2

3
Dear NeoShapers:
Congratulations on your
purchase of the amazing
NeoShaper!
This patented technology gives
you the opportunity to tone and
strengthen all major muscle
groups as well as to achieve higher
levels of cardiovascular health and
fitness. It's all here, ready for you to "sit
and get fit".
NeoShaper will change the way you approach fitness. You won't have to
drive to the gym, just to wait in line to use the machine you want. And
you won't have to be concerned with moving around large weight plates,
or fiddling with different size bands. You have it all in NeoShaper's
compact and powerful frame and unique resistance device, the
PowerShaper.
Whatever your age, your shape, your goals or fitness level you are about
to start a program that will change the shape of your body and change
the shape of your life!
If you have any questions or should need special assistance, one of our
Team NeoShaper staff members would be happy to help. Call us toll-free
at 1-888-728-4201 during normal business hours Pacific Standard Time.
The NeoShaper Staff

4
WARNING! Because the arms on NeoShaper are free to rotate in one
direction, they may cause injury if allowed to swing downwards.
Therefore, between resistance sets and when the NeoShaper is unattend-
ed, always rotate the arms to their lowest position (see picture below).
Before starting this or any exercise program, consult with your health
care professional. If you should experience any irregular physical condi-
tions or symptoms, discontinue use immediately and contact your health
care professional.
Always be sure all adjustment pins are secure while using NeoShaper.
Never operate NeoShaper without the adjust-
ment pins inserted completely through
the holes.
Please retain this manual for
future reference
Important Safety Information

5
NeoShaper
Before you begin, retrieve and identify all parts. Do not throw away any packaging
material until assembly is complete.
NOTE: As described below, always place a washer on the bolts before installing
them. Remove the assembly hardware from the blister pack one step at a time.
stuvw
npoqr
1 Curved brace
2 Rubber feet
3 Main frame
4 Seat cushion
5 Seat back
6 Leg support attachment
7 Cylindrical pads
8 Vertical column
9 Oval base
10 Seat post
11 PowerShaper
12 Blister pack (assembly hardware)
13 Elastic straps (not shown)
Assembly Instructions

6
A. FRAME
Fit the two rubber feet (d) on the ends
of the curved brace (c) and be sure
they are firmly seated.
For Steps 2–4 use the Group 1 assembly hardware on the blister pack
()
.
Insert a bolt with washer into one of the two holes in the curved
part of the main frame (e).
Fit the curved brace (c) to the main frame
(e) using the protruding bolt and hand-tight-
en with a nut and washer.
STEP 3
STEP 2
STEP 1
Assembly Instructions

Assembly Instructions
7
Insert the second bolt with washer
through the second hole of the main
frame (e) and secure with remaining nut and
washer. Tighten both nuts securely.
For Steps 5–6 use the Group 2 assembly hardware on the blister pack
().
Place the front of the main frame over the slanted
square bracket on the oval base (j). Secure tightly
with three of the bolts and the three flat washers (the three
lock washers will be used in Step 6).
STEP 5
STEP 4

Assembly Instructions
8
Insert the seat post (k) into the main frame
(e). Be sure the seat back brackets are facing
forward. Tighten securely with three bolts
and the three lock washers (the lock
washers are the washers
that are split and are
not flat).
For Step 7 use the Group 3 assembly hardware on the blister pack
().
Place the end of the vertical column (i) inside of the bracket
on the oval base (j) and lay it on the floor with the telescope
end away from the frame assembly as shown. Insert the bolt
with washer through the holes and secure and tighten with
the washer and nut. DO NOT over tighten, you should be
able to raise the vertical column (i)
freely.
STEP 7
STEP 6

Assembly Instructions
9
For Step 8 use the Group 4 assembly hardware on the blister pack
()
.
Lift the vertical column (i)
upwards toward the frame assem-
bly and slide its slotted bracket over the tele-
scoping tube that extends from the frame
assembly. Place a metal washer and then a
plastic washer on the bolt. Insert the bolt,
with washers, through the slotted bracket
and the hole in the telescoping tube.
Place a plastic washer and then a metal
washer on the protruding end of the bolt.
Tighten securely with the nut.
B. CUSHIONS
For Steps 1–2 use the Group 5 assembly hardware on the blister pack
()
.
Place seat cushion (f) on frame
assembly with the narrow end
facing forward and secure tightly with four
bolts and washers.
STEP 1
STEP 8

Assembly Instructions
10
Attach the seat back (g) to the frame assem-
bly (be sure the NeoShaper logo is upright)
and tighten securely with four bolts and
washers.
C. POWER SHAPER
Place the PowerShaper™ head (l) into the
vertical column and affix with the Lock Pin
on the blister pack.
THAT’S IT! Congratulations. You’re ready to change the shape of your body and
change the shape of your life—right NOW!
STEP 1
STEP 2

Assembly Instructions
11
NeoShaper Mini-Cycle
Before you begin, retrieve and identify all parts. Do not
throw away any packaging material until assembly is
complete.
An Allen wrench and a simple flat wrench are provided
for your convenience. You may also use your own
adjustable wrench.
Install the right and left handlebars. Make
sure the handles point towards the rear of
the NeoShaper and are angled upward: see
above for illustration.
Each handlebar is fastened to the main
frame with two bolts and washers.
STEP 1
Electronic monitor
Left pedal
Lower locking bolt
Left handlebar
Allen wrench
Right pedal
Main body
Right handlebar
Bolt and washer (4 sets)
Flat wrench
Left
Right

12
Identify and install the right pedal on
the right crank of the Mini Cycle. Be
sure to thread the pedal all the way
through the crank, using a wrench to
tighten.
STEP 2a
Identify and install
the left pedal on
the left crank of the Mini Cycle. Be
sure both pedals are fully thread-
ed, and tightened with a wrench.
STEP 2b
Remove the lock pin and lift PowerShaper from
the vertical column. Insert the stem of the Mini-
Cycle fully into the vertical column of NeoShaper. Secure
the Mini- Cycle at the top with the lock pin removed
from PowerShaper , and with
the lower locking bolt at the
bottom as shown.
STEP 3
Assembly Instructions

Assembly Instructions
13
Before installing the electronic monitor, plug the
connector wire from the Mini-Cycle into the back of
the electronic monitor. Then slide the electronic
monitor on the bracket as
shown.
STEP 4
Using the electronic monitor
By pressing the button on the front of the electronic monitor, you can set the
electronic monitor to display the following information:
TIME:
How long you have been exercising
SPEED:
How fast you are pedaling
DISTANCE:
How far you would have gone with a real bicycle
CALORIE:
How many calories you have burned
In SCAN mode, the electronic monitor automatically displays TIME, SPEED, DIS-
TANCE and CALORIE sequentially for short intervals, so that you don’t have to stop
your exercise and press the button to monitor the various information.

Assembly Instructions
14
Battery replacement
The electronic monitor comes with two button-sized
batteries. If necessary, these batteries may be replaced by
removing the electronic monitor from the bracket of
the Mini Cycle.
Remove the small Phillips head screw from the bottom of
the back of the electronic monitor. Then, remove the plastic
back. Lift the small metal tab holding each battery in place and
slide both batteries out of position.
Replace the batteries with the positive (+) side up by sliding them into the slots as
they were removed. Replace back cover and secure with screw.
Main frame adjustment
For greater comfort, you may need to adjust the length of
the horizontal tube extending from the NeoShaper
frame.
To do so, first remove the Mini Cycle from the vertical
column, then remove the lock pin immediately in
front of the seat, and slide the horizontal tube to the
desired position.
Re-insert the lock pin and then re-install the Mini Cycle
following Step 3 above.
Maintenance
Periodically inspect all frame bolts and re-tighten if loose.
NeoShaper’s PowerShaper™ resistance device has no user-serviceable parts.
Opening the device will void your warranty. The PowerShaper™ requires no
maintenance.
lock pin

15
NeoShaper™ Use
PowerShaper™ resistance
The PowerShaper™ provides resistance in
one direction only.
To change the direc-
tion of the resistance, remove the pin as shown, rotate PowerShaper one half turn
(180°) and then reinsert the pin. The load adjustment handle is easily rotated to
control the amount of resistance.
Workout Guide
NeoShaper Adjustments
PowerShaper
load lever
PowerShaper
resistance direction
Main frame
vertical adjustment
PowerShaper
arm adjustment
Main frame horizon-
tal adjustment

16
NeoShaper Set-Up
The following Quick-Reference Workout Chart provides guidelines for approximate
NeoShaper
set-up positions for each exercise. The Chart will also help you to easily
choose the exercises for each session. Please note that there are four exercise
Groups
. The exercises in each Group can all be performed with similar settings,
requiring only minor adjustments to
NeoShaper.
Therefore, arrange the order of
the exercises you choose so that you complete all of the exercises in a particular
Group before moving to the next Group.
Since everyone is built differently, be sure that the position of
PowerShaper
relative
to
your
body follows the description in the Quick-Reference Workout Chart, below.
This may require setting the adjustment pins in different holes than those refer-
enced in the Chart.
Good luck and remember, that with
NeoShaper
you will change the shape of your
body, and change the shape of your life! Now, let’s get to it!
Workout Guide
FOR ALL EXERCISES, ROTATE THE
POWERSHAPER
™ SO THAT THE RESISTANCE IS IN THE DIRECTION
OF THE INITIAL MOVEMENT. THE MOVEMENT THAT RETURNS YOU TO THE STARTING POSITION
SHOULD HAVE NO RESISTANCE.
BREATHING: NEVER HOLD YOUR BREATH DURING THE RESISTANCE MOVEMENT. INSTEAD, EXHALE
SLOWLY THROUGHOUT THE RESISTANCE MOVEMENT OF THE EXERCISE; AND TAKE A DEEP BREATH
WHILE RETURNING THE HANDLES TO THE STARTING POSITION.
FOR THE SEATED EXERCISES ON
NEOSHAPER
YOUR FEET SHOULD BE FLAT ON THE FLOOR AND
POINTING FORWARD AT ALL TIMES.


Group 1
1. Chest Press: Works chest muscle group
Vertical Column:
Adjust so that
PowerShaper
is approxi-
mately level with the middle of your
torso.
Horizontal Tube:
Adjust so that the handles are an
inch or two from your chest
when you start the exercise; for
most people, this is the first or
second hole.
PowerShaper:
Resistance felt as you
push
han-
dles away from your body.
Adjust arm length to shortest
position.
Body Position:
Seated against the back cushion.
Maintain the correct posture during this
exercise by keeping your abdominal mus-
cles contracted and holding your chest high.
Start by gripping the handles near their
ends with your hands near your chest.
Your thumbs may either wrap under
the handle or rest on top, whichev-
er is more comfortable. Your
elbows should comfortably flare
out from your sides at the start-
ing position.
Exercise Movement:
Slowly push the handles away
from your body while feeling
your chest muscles contracting
until reaching full extension of
your elbows. Return the handles
slowly to their starting position.
Repeat movement.
18
Workout Guide

2. Seated Row: Works middle of back and rhomboids
Vertical Column:
Adjust so that
PowerShaper™
is approxi-
mately level with the middle of your
torso.
Horizontal Tube:
Adjust so that the handles are an
inch or two from your chest
when you
finish
the exercise.
For most people, this is the first
or second hole.
PowerShaper™:
Resistance felt as you
pull
han-
dles towards your body. Adjust
arm length to shortest position.
Body Position:
Seated against the back cushion.
Start by gripping the handles near
their ends and with arms extended
away from your chest.
Exercise Movement:
Slowly pull elbows back, keeping them in, while
feeling your shoulder blades squeeze
together. Continue pulling elbows back
behind you for a full contraction of
the back muscles. Return the han-
dles slowly to their starting posi-
tion. Repeat movement.
19
Workout Guide

3. Biceps Curls: Works front of upper arms
Vertical Column:
Adjust so that
PowerShaper
™ is approxi-
mately level with the middle of your
torso.
Horizontal Tube:
Adjust so that the pin is in the
first or second hole.
PowerShaper™:
Resistance felt as you
pull
han-
dles up and towards your body.
Adjust
PowerShaper™
arm
length so that the center of
your elbow is aligned with the
center axis of
PowerShaper™
.
For most people this is the short-
est length of the arms.
Body Position:
Sit forward on
NeoShaper™
to align
your elbows with the center axis of
PowerShaper™
. You may lean forward if nec-
essary, but keep you spine straight. Grasp the
middle of the handles with palms facing
up and your arms fully extended.
Exercise Movement:
Slowly pull handles toward your
shoulders by fully contracting
your upper arms (bicep). Keep
the upper arms as still as possi-
ble, moving only your lower
arms for this exercise. During
the entire range of motion of
this exercise, your elbows
should remain aligned with the
center axis of
PowerShaper
™.
When done properly this exercise
requires a very low resistance set-
ting on
PowerShaper
™. Return the
handles slowly to their starting position.
Repeat movement..
20
Workout Guide
Table of contents
Popular Fitness Equipment manuals by other brands
Hudora
Hudora Back Trainer 65218 INSTRUCTIONS ON ASSEMBLY AND USE
Sunwa
Sunwa CARRY-UP CU406 Operation manual

BH FITNESS
BH FITNESS G-245 Instructions for assembly and use
iFIT
iFIT WEIDERBLACK WBBE14908.0 user manual
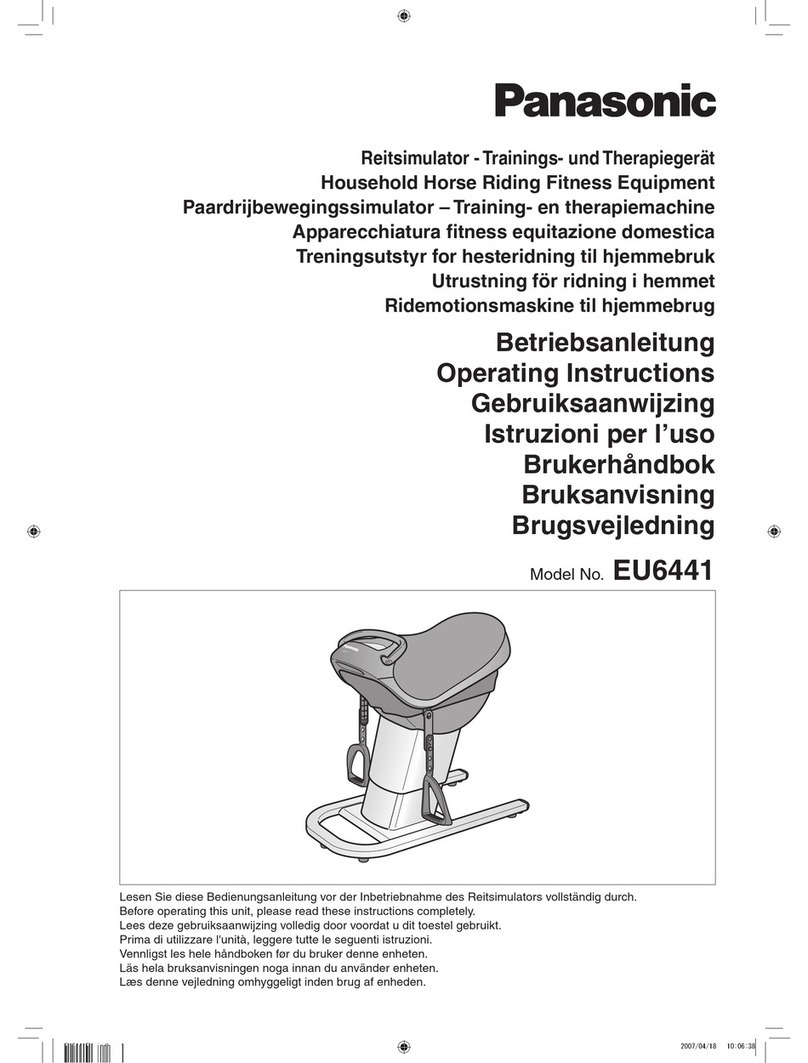
Panasonic
Panasonic EU6441 operating instructions

Element 26
Element 26 Self-Locking Weight Lifting Belt Instructional manual
