Neotel NeoFlex Data User manual
www.neotel.co.za Call 0800 333 636
NeoFlex Data
Wi-Fi guide

page 2
Table of contents:
1) Security Warning and Disclaimer
2) Connecting the NeoFlex device to your computer
3) Switching the wireless LAN on
4) Enabling your security settings
5) Connecting via Windows XP
6) Connecting via Windows Vista

page 3
WiFi DISCLAIMER
SECURITY WARNING AND DISCLAIMER
WARNING:
The user is hereby notified that the security settings accompanying the device must be enabled/activated in conjunction
with the use of the Wi-Fi feature of the service, to prevent unauthorised usage by any 3rd party.
In the event that the user does not activate or enable the security settings, then the service becomes vulnerable to
security breaches and unauthorised usage, which cannot be controlled by the service provider, thereby placing the
personal information of the user at risk.
In order to avoid or prevent the risk stated above, the user is required to follow the instructions in the NeoFlex Data
Wi-Fi Guide, to successfully enable the use of the secure Wi-Fi feature associated with the service.
DISCLAIMER:
Neotel cannot and does not guarantee the privacy and integrity of the user’s data and communication whilst this
feature is activated. The user accordingly acknowledges the risk of using the feature and accessing the Internet over
the unsecured feature.
Before proceeding with installation, please ensure that your pop-up blocker is switched off in order to allow
for pop-ups.
Next page
Back to contents page

page 4
Connecting the NeoFlex device to your computer
1) Make sure that the device is switched off.
2) Set the selector switch to the right. 4) Connect the other end of the Ethernet cable into your
computer. Switch the Device on.
5) Your computer will now be assigned an address
from the device and you will be able to connect
to the Internet.
3) Connect the Ethernet cable (looks like a big phone jack) to the
front of the device, you should hear it click when in properly.
Back
Back to contents page
Next
page 5
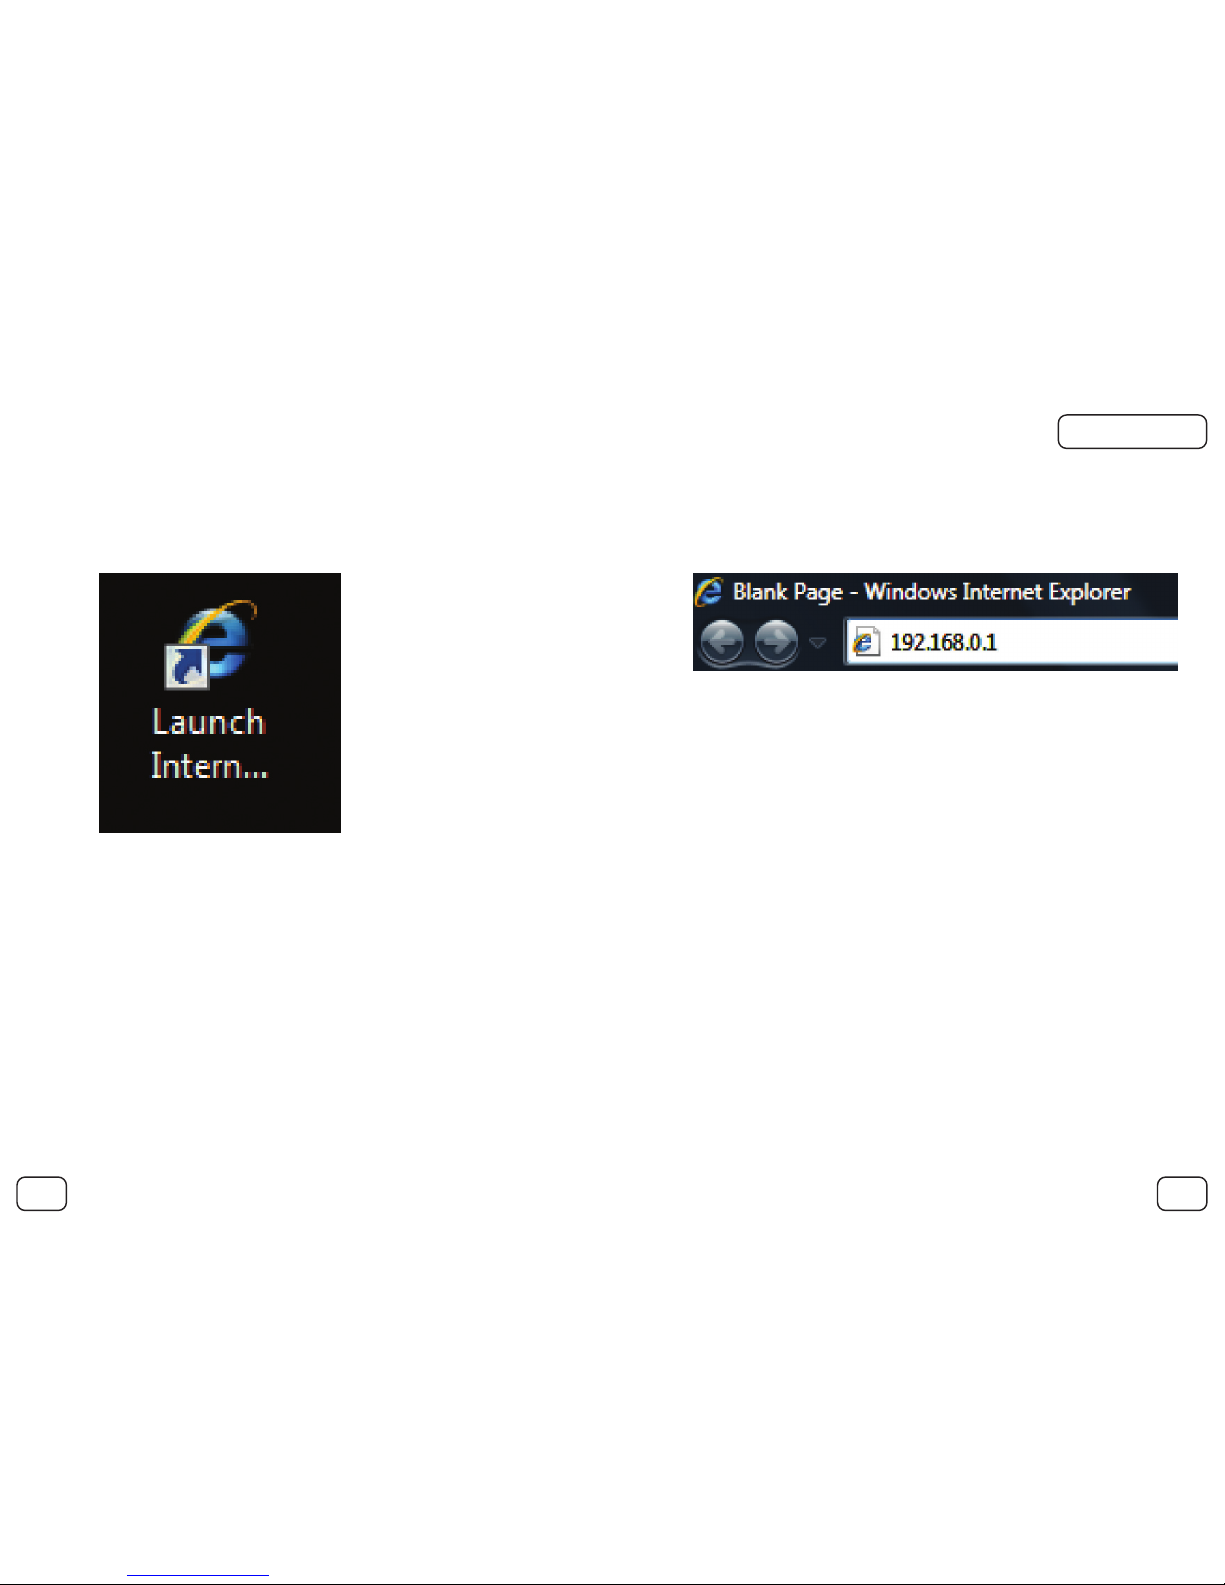
1) Open your Internet browser, e.g. Internet Explorer. 2) Enter the address 192.168.0.1 into the address bar,
the same place you would normally enter any
website address, e.g. www.neotel.co.za
Connecting the NeoFlex device to your computer: Switching the wireless LAN on
Back
Back to contents page
Next
page 6
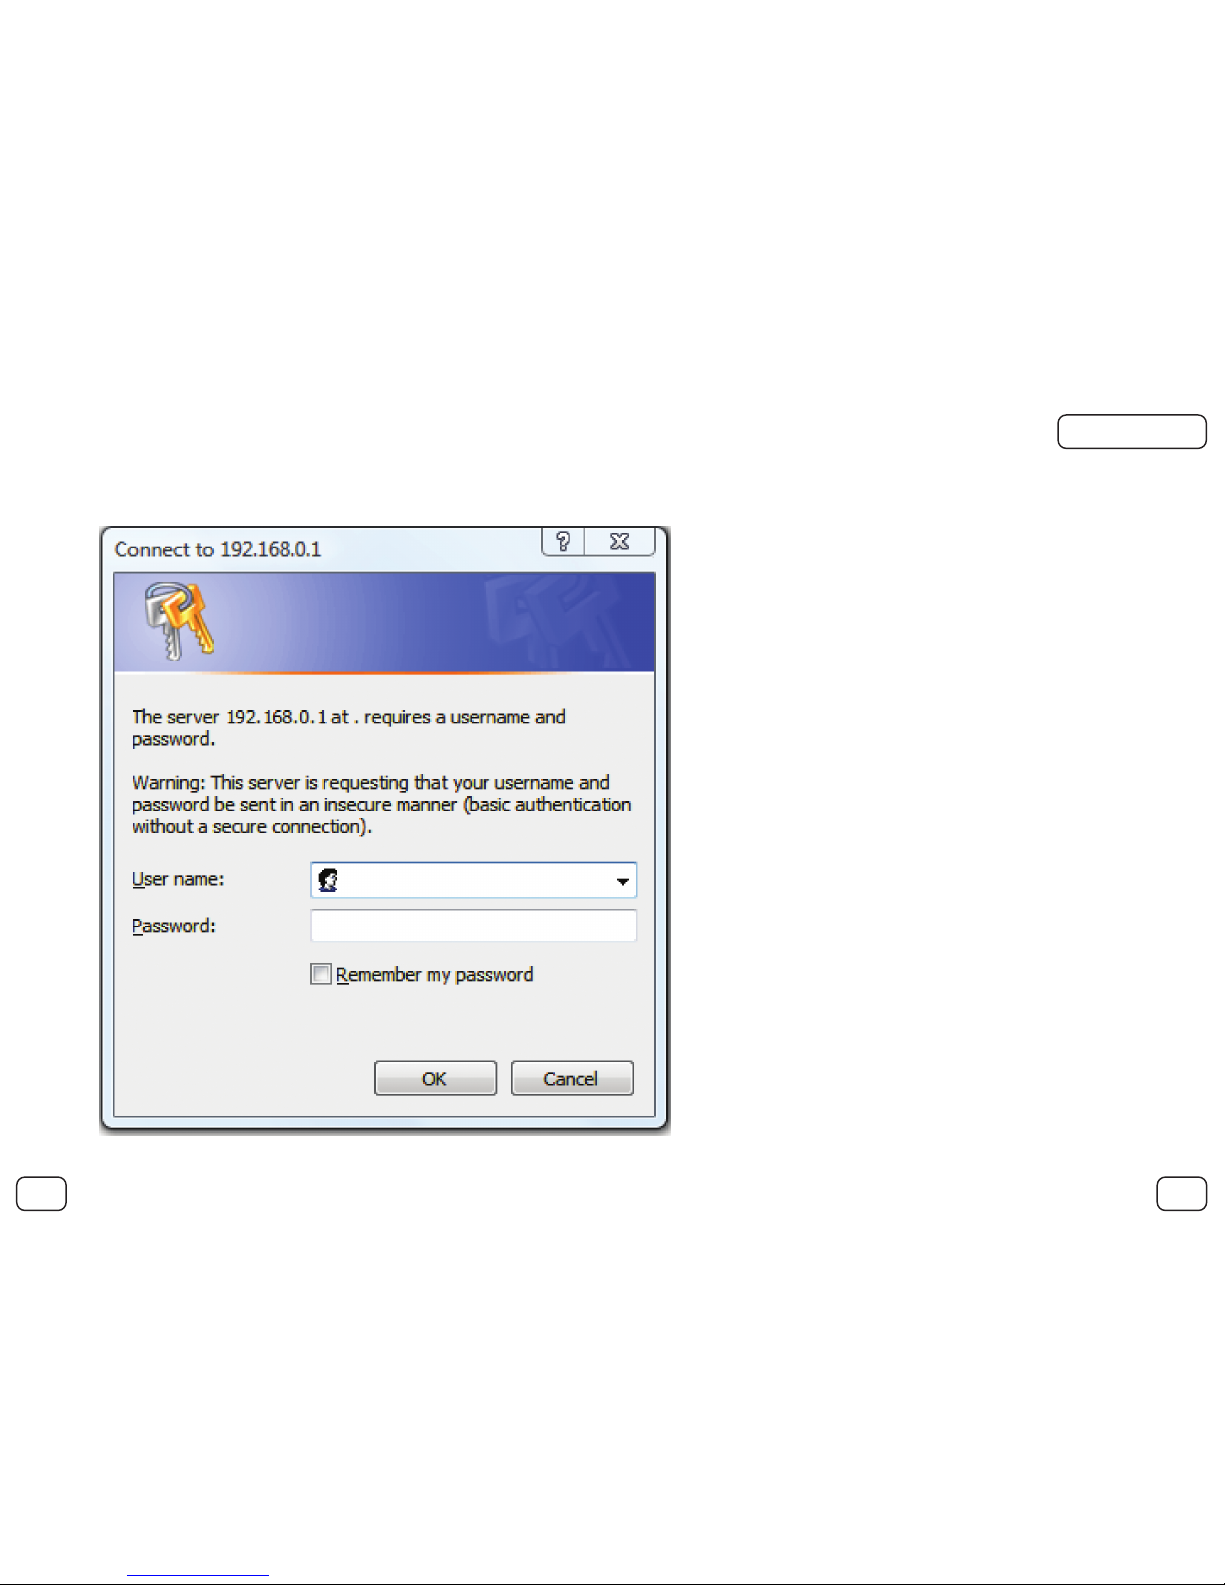
3) The following dialog box will now appear:
Connecting the NeoFlex device to your computer
Back
Back to contents page
Next
page 7
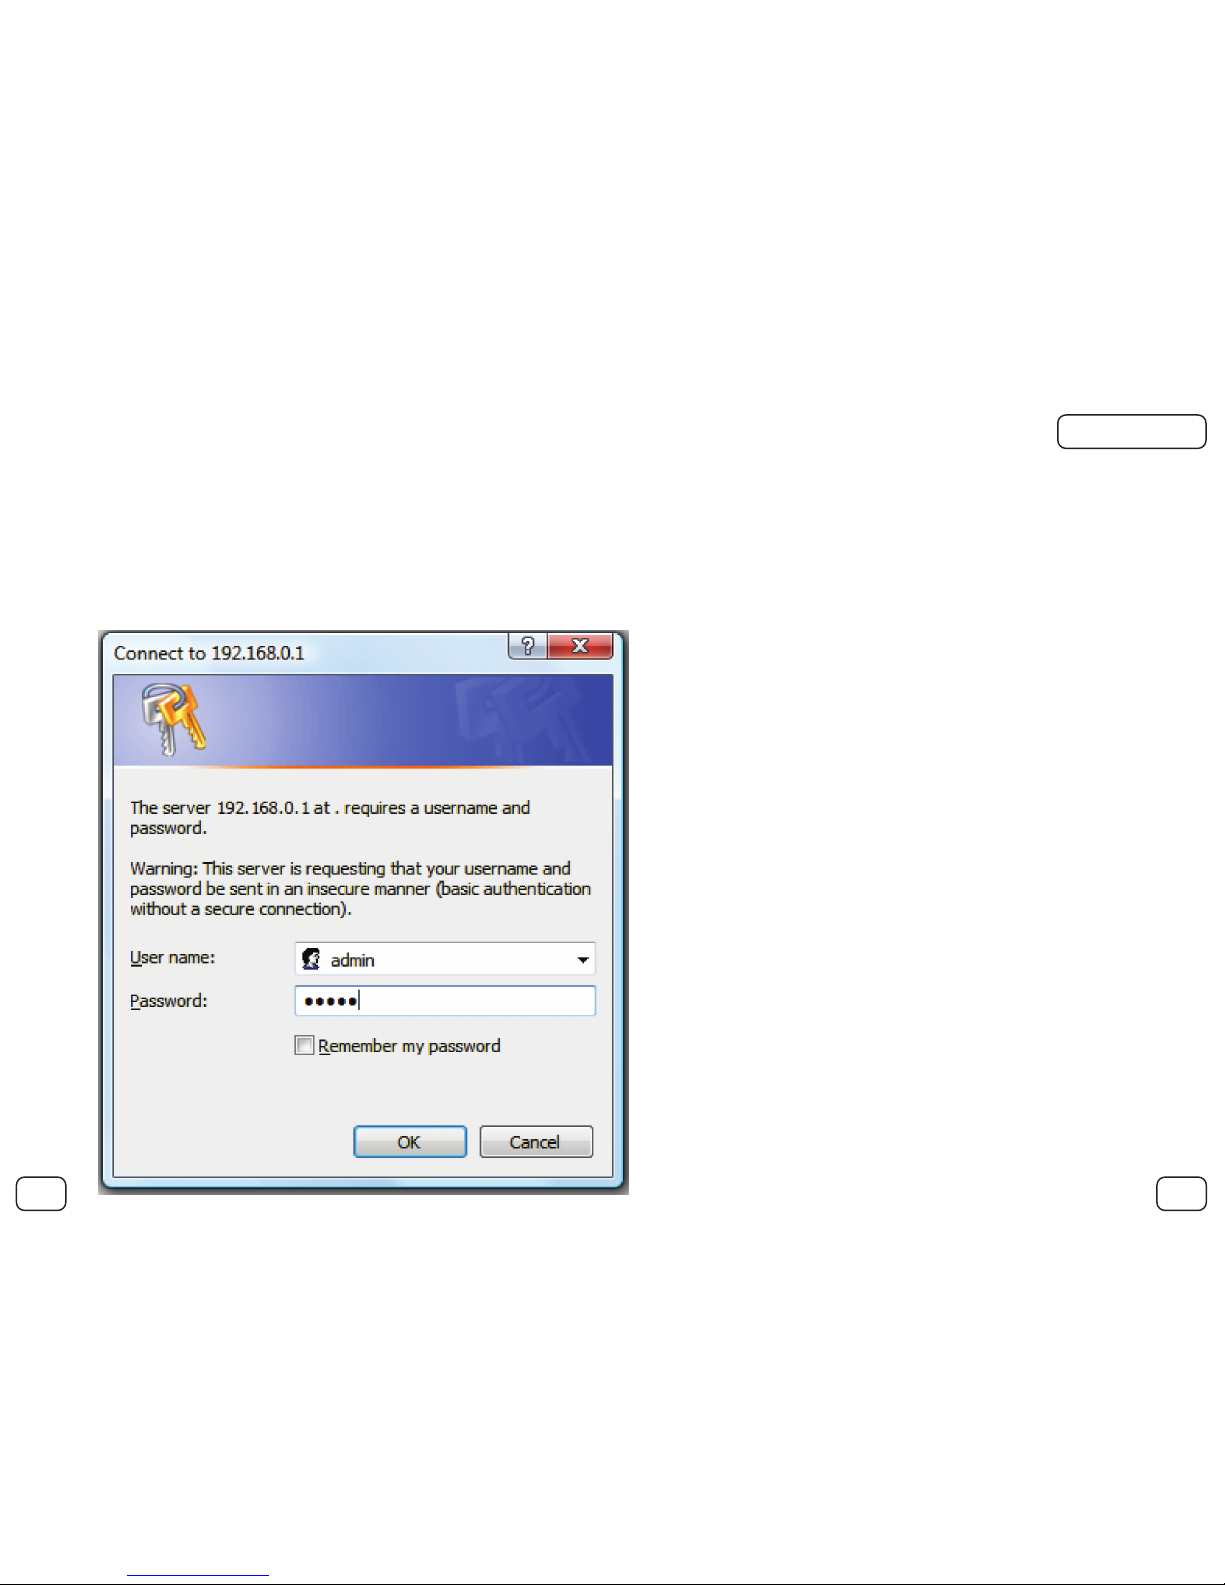
4) Enter the User name as admin.
5) Enter the Password as admin.
6) Click on the OK Button.
Connecting the NeoFlex device to your computer
Back
Back to contents page
Next

page 8
7) The following page will now be displayed in your web browser.
Connecting the NeoFlex device to your computer
Please turn over the page ☞
Back
Back to contents page
Next

page 9
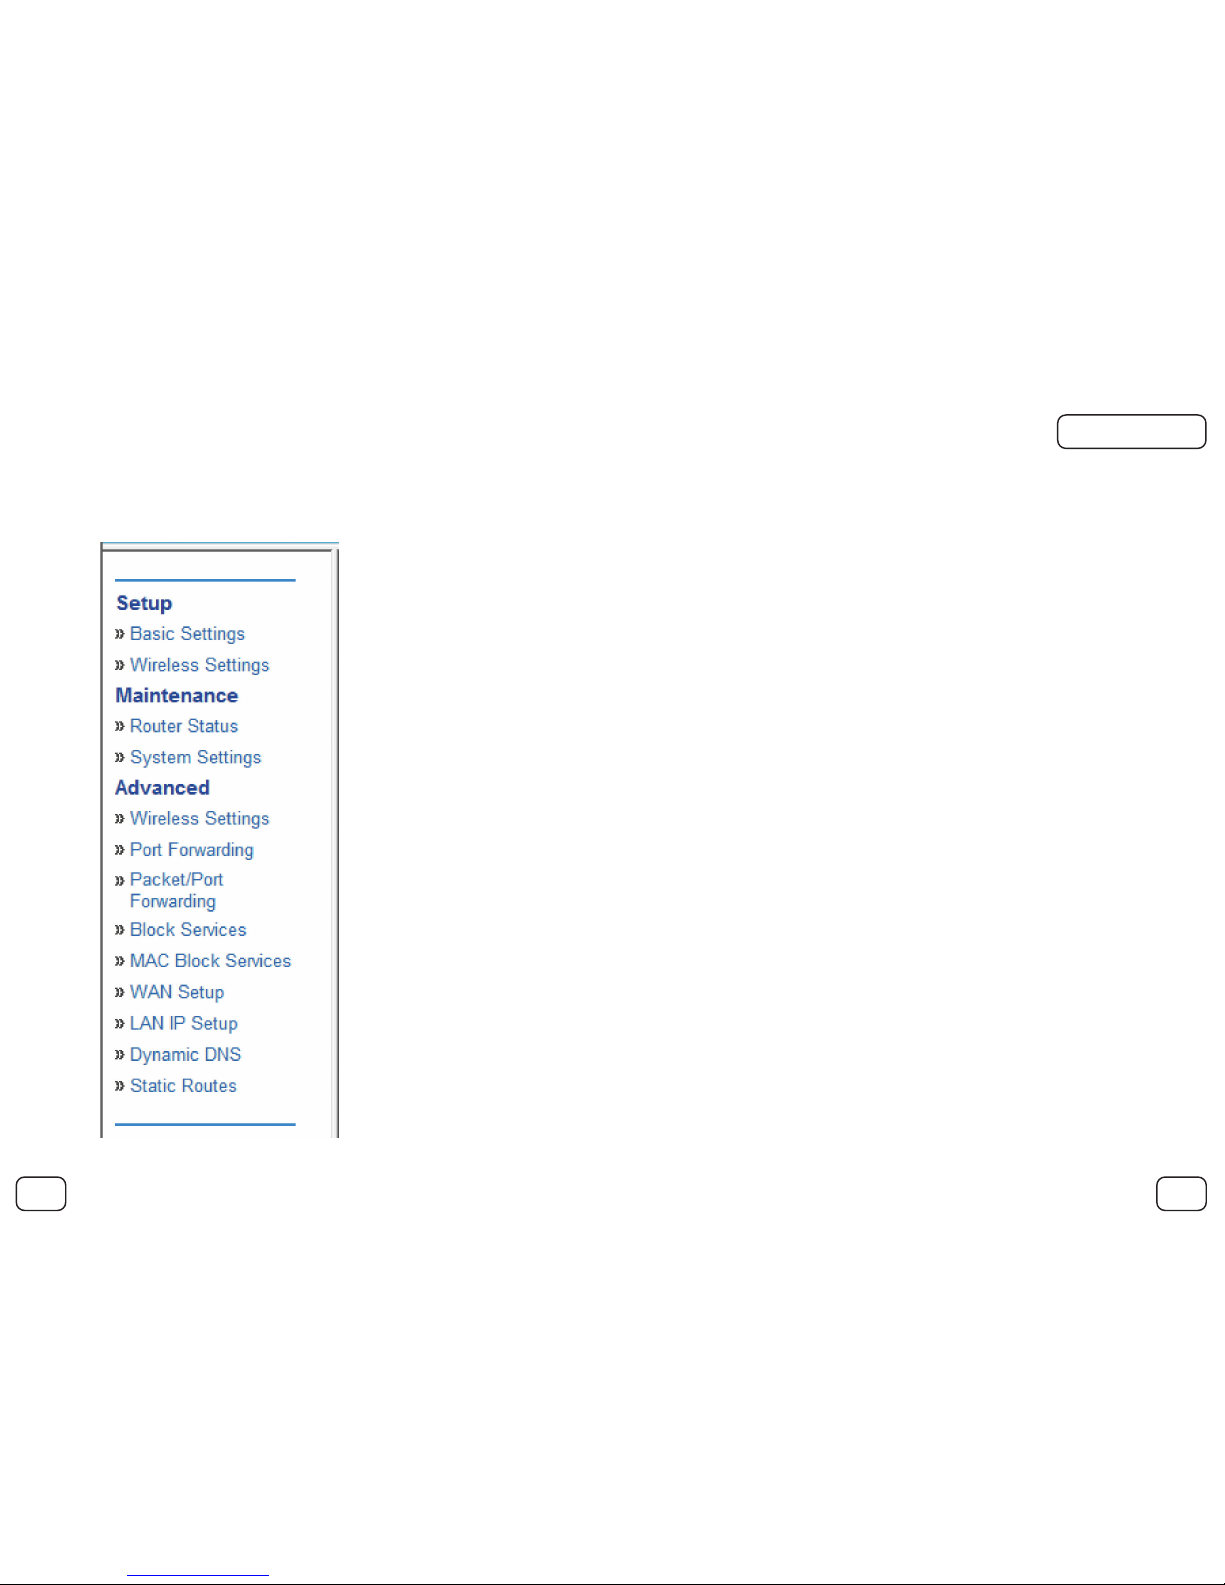
8) On the left hand side of the screen you will see the following menu:
9) Under the Advanced heading click on wireless settings.
Connecting the NeoFlex device to your computer
Back
Back to contents page
Next

page 10
10) You will now be presented with the following screen:
Connecting the NeoFlex device to your computer
Please turn over the page ☞
Back
Back to contents page
Next

page 11
11) In the middle pane you will see the following check boxes:
12) Check the box next to the text Wireless On.
13) Click on the APPLY Button.
Connecting the NeoFlex device to your computer
Back
Back to contents page
Next
page 12
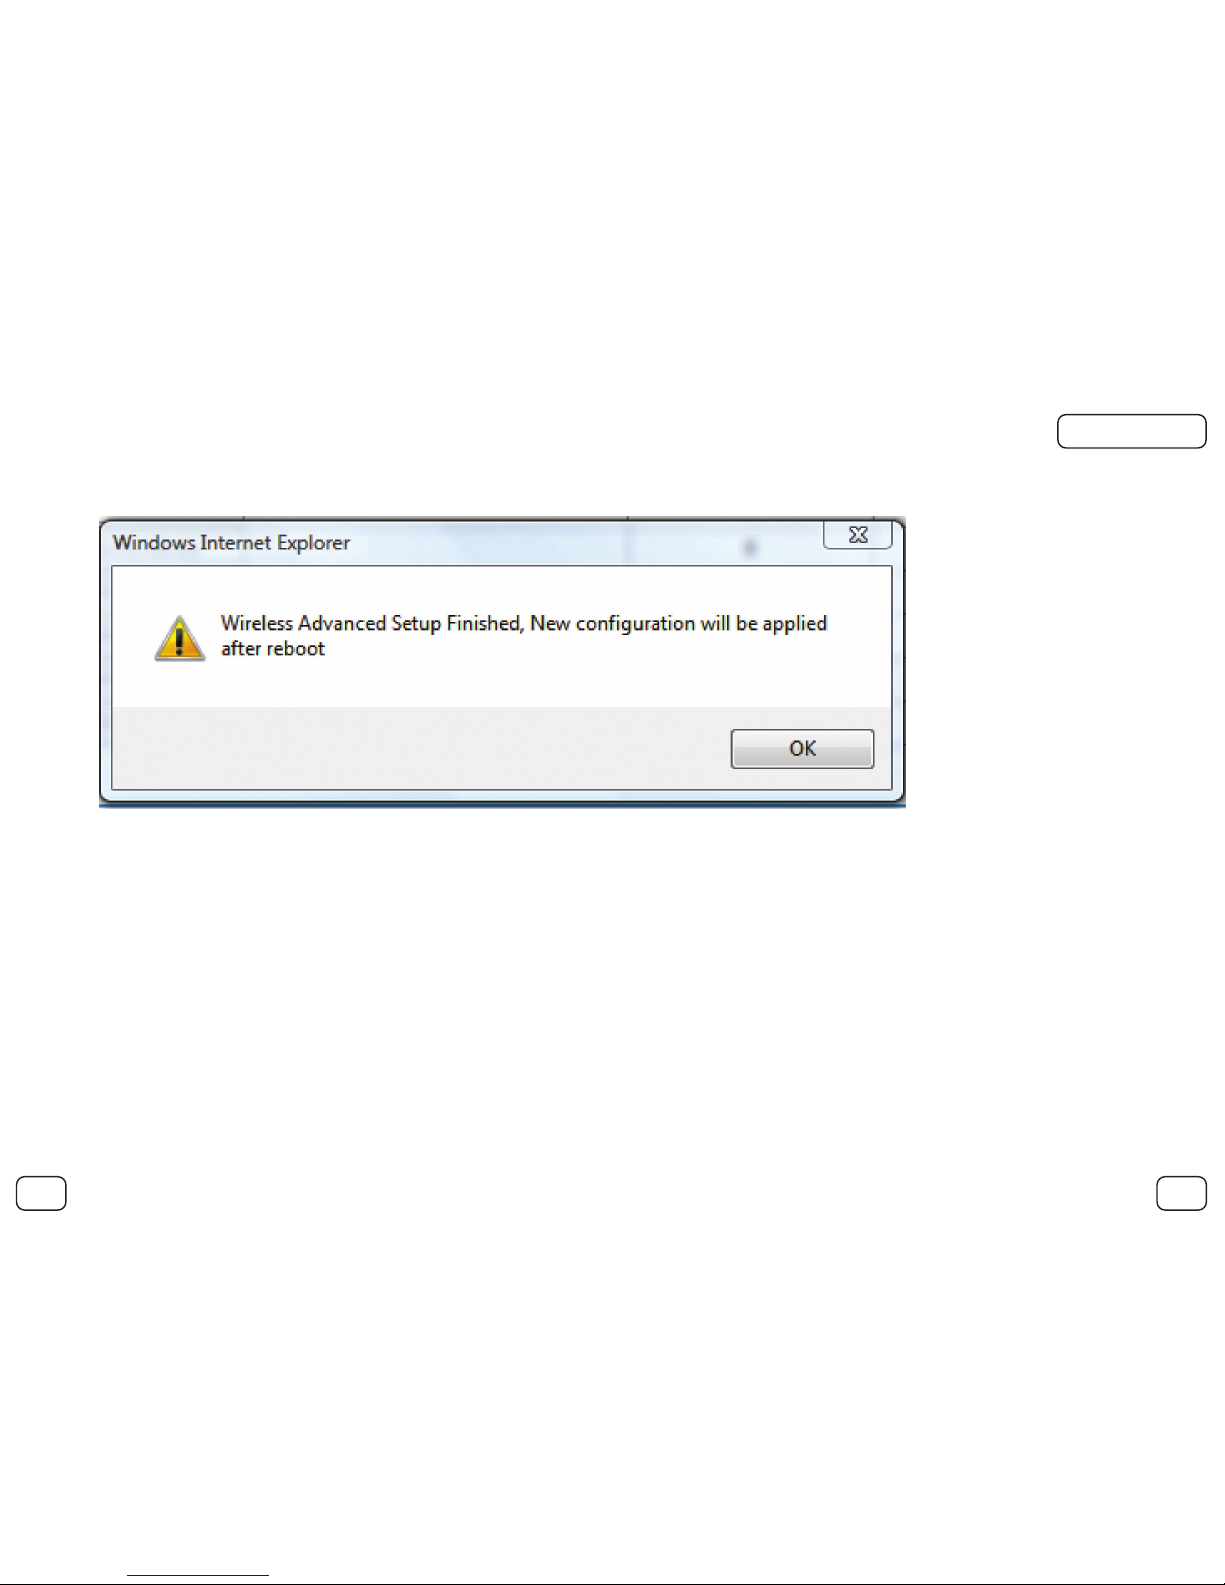
14) The following dialog box will pop up:
15) Click on the OK Button.
Connecting the NeoFlex device to your computer
Back
Back to contents page
Next
page 13
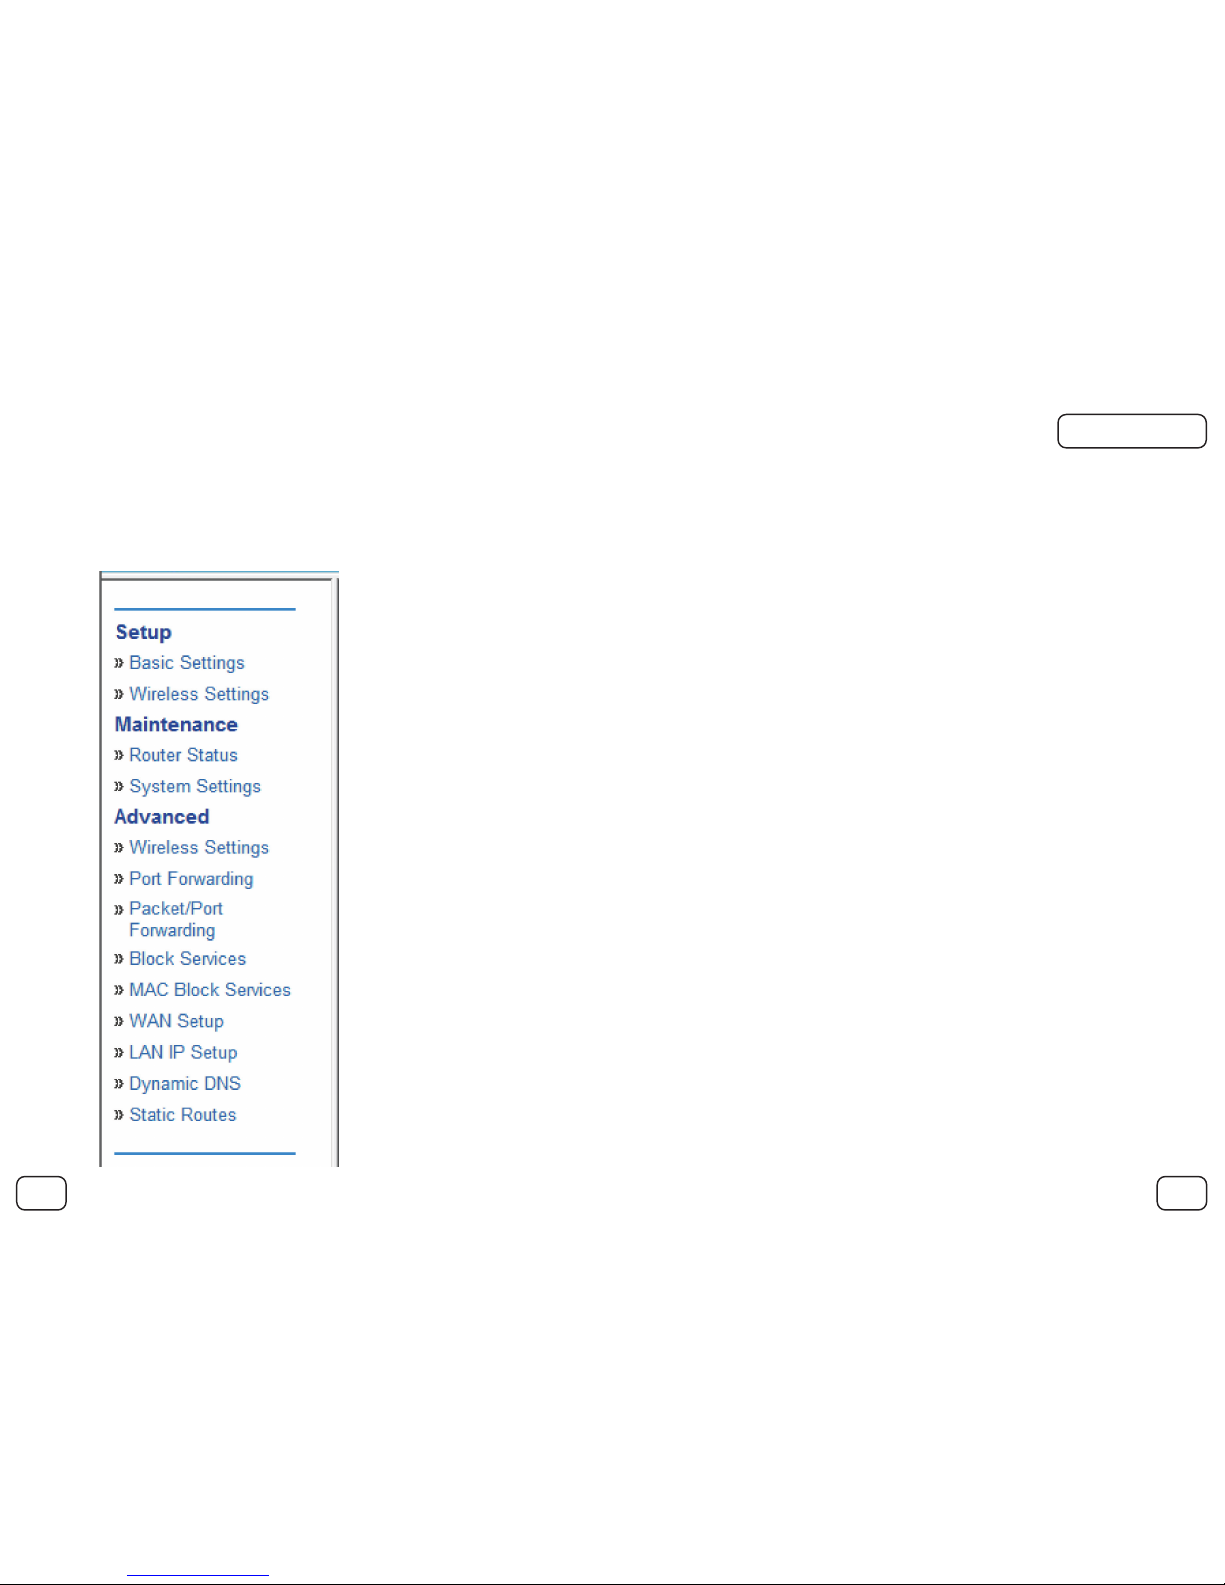
16) On the left-hand side of the screen you will see the following menu:
17) Click on System Settings under the Maintenance heading.
Connecting the NeoFlex device to your computer
Back
Back to contents page
Next

page 14
18) You will be presented with the following screen:
Connecting the NeoFlex device to your computer
Please turn over the page ☞
Back
Back to contents page
Next

page 15
19) Under the reboot settings heading, towards the bottom of the middle pane, you will see the RESTART button. Click RESTART.
Connecting the NeoFlex device to your computer
Back
Back to contents page
Next

page 16
20) The following dialog box will pop up:
21) Allow the system to restart, this may take a few moments.
22) Once the device has restarted your Wireless LAN will be on.
23) You can confirm this by looking at the LED next to the label Wi-Fi on the top of your device.
IMPORTANT: PLEASE ENSURE THAT YOU ENABLE SECURITY SETTINGS ON YOUR DEVICE
Connecting the NeoFlex device to your computer
Back
Back to contents page
Next

page 17
1) If you have continued on from the previous steps, you will be presented with the screen below:
Enabling your security settings
Please turn over the page ☞
Back
Back to contents page
Next
page 18
2) In the left-hand pane under the Setup heading, select the wireless settings sub-heading, it is the second sub-heading.
Enabling your security settings
Back
Back to contents page
Next

page 19
3) You will be presented with the following screen:
4) In the middle of the screen you will see the following options under the heading Security Options:
Enabling your security settings
Back
Back to contents page
Next

page 20
5) Click on the option labelled WEP (Wired Equivalent Privacy).
6) You will see that the there are now several more options as shown below.
WEP or Wired Equivalent Privacy, while not unbreakable, is a good security offering for home and small office networks.
WEP works by essentially creating a password, or WEP key, based on the phrase that is used. All computers wishing to
connect to the network will require this WEP key.
To enhance the security of WEP, the key can be changed whenever you like, however all users utilising this device will require
the updated WEP key. Changing the WEP key periodically helps to reduce the likelihood of an individual obtaining the key.
Enabling your security settings
Back
Back to contents page
Next


