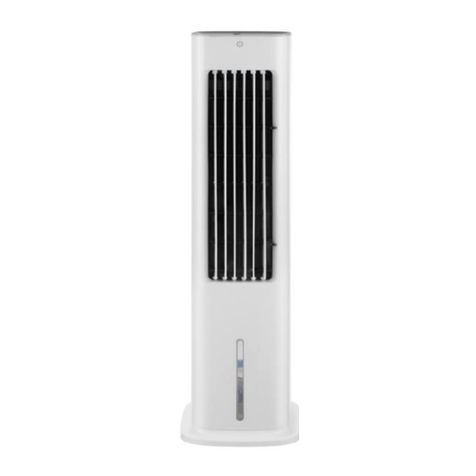
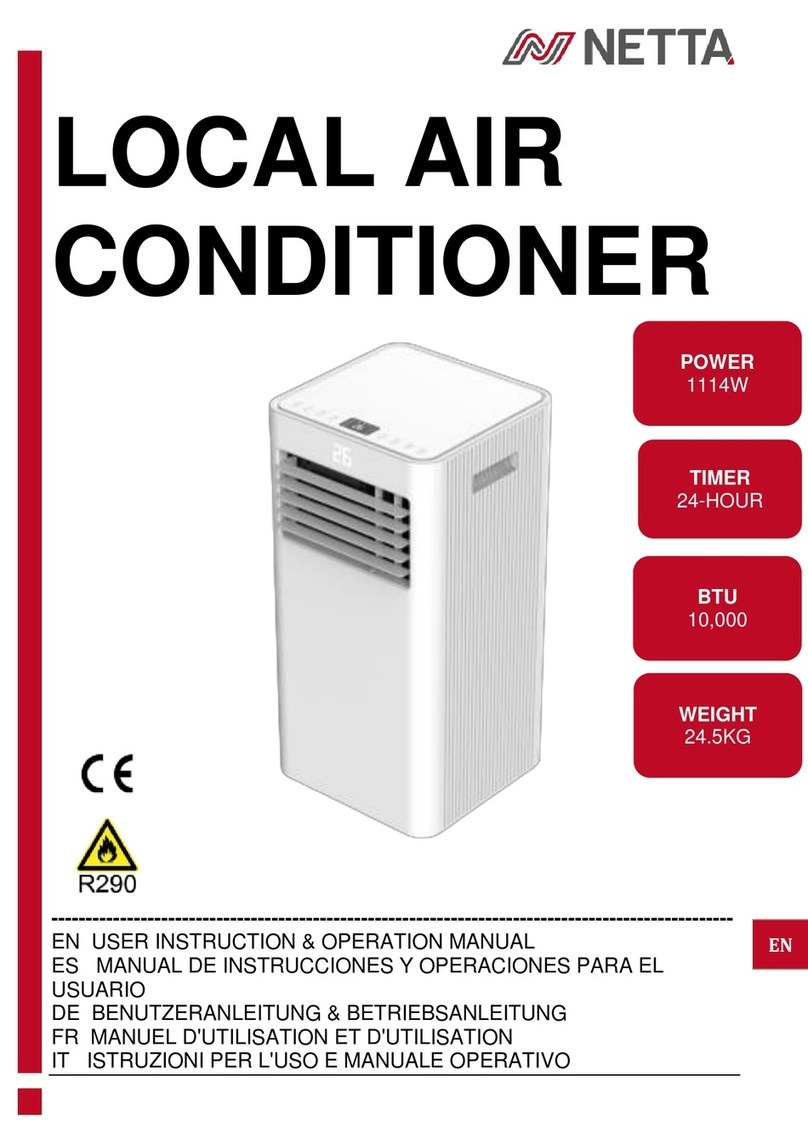
netta 103440 Installation instructions

PORTABLE AIR
CONDITIONER
---------------------------------------------------------
EN USER INSTRUCTION & OPERATION MANUAL
ES MANUAL DE INSTRUCCIONES Y OPERACIONES PARA EL USUARIO
DE BENUTZERANLEITUNG & BETRIEBSANLEITUNG
FR MANUEL D'UTILISATION ET D'UTILISATION
IT ISTRUZIONI PER L'USO E MANUALE OPERATIVO
WEIGHT
23KG
BTU
8000
TIMER
24 HOURS
HOSE
1.5M
EN

Thank you for purchasing this NETTA product.
Please read the user manual carefully before operating this appliance.
We will update our instruction manuals if necessary.
For the most up-to-date user manual, please visit our official website:
www.nettadirect.com.
You can download a copy of up-to-date user manuals at any time in
electronic format. We do not supply you with a paper-based user manual
after each revision.
Require a larger version of this Instruction
Manual?
Please download electronically from our
website and use PDF reader on your
device to enlarge the text if needed.
www.nettadirect.com

SAFETY & WARNINGS...
INTENDED USE
NETTA Design is for domestic and indoor use
only. This product is not intended for use by
people who have lack of experience and
knowledge or have reduced ability, or sensory
and metal capabilities.
GENERAL CAUTIONS
•Always follow this instruction manual and go through all the safety
checks.
•This is not toy - do not let children play with it.
•DO NOT modify this product in any way.
•Do not operate in explosive atmospheres.
•Before using an electric powered appliance, check the rating label and
voltage information on this manual, or the rating label on back of the
machine.
•Always connect the device to a socket with Residual Current Device
(RCD) fitted with your home circuits.
•If you are unsure, please seek a certified election for advice.
•The appliance must not be immersed in liquid.
•Do not use in wet or damp conditions.
•Do not use if the on/off switch is damaged.
•Place the machine in a flat and dry place and keep a distance of above
50cm between the machine and the surrounding objects or walls.
REGULAR CHECKUPS
Check cables every time before
plugging into a socket, make sure
power cables are not burst or
snapped and that the power-plug
has no damage.

RISK OF PERSONAL INJURY
.
•DO NOT use the appliance other than for the intended use.
•Do not wrap the device in a cloth or other material to suppress noise.
This will hinder the proper ventilation of the device. This could ignite a
fire and cause burns.
•DO NOT operate any appliance with a damaged cord or plug or after
the appliance malfunctions or is dropped or damaged in any manner.
Return appliance to the nearest authorized service facility
for examination, repair or electrical or mechanical adjustment.
•If the supply cord is damaged it must be replaced by the manufacturer
or an authorized service agent or a qualified technician in order to
avoid a hazard.
•The use of accessories is not recommended by the manufacturer as
they may cause injuries to persons.
•Do not let the cord hang over the edge of a table or counter or touch a
hot surface.
•Do not place on or near a hot gas or electric burner or in a heated
oven.
•Unplug from outlet when not in use and before cleaning.
•The appliance can be used by children aged from 16 years and above
and persons with reduced physical, sensory or mental capabilities if they
have been given supervision or instruction concerning use of the
appliance in a safe way and understand the hazards involved. Children
shall not play with the appliance. Cleaning and maintenance shall not
be made by children without supervision.
•After the air conditioning is installed, ensure that the power plug is
intact and firmly plugged into the power outlet, and place the power
cord orderly to prevent someone from being tripped or pulling out the
plug.


CONTROL PANEL OPERATION
① Power Key ② Cooling Key ③ Dehumidify key ④ Fan Key
⑤Low Wind Key ⑥ High Wind Key ⑦ Display window ⑧ Sleep Mode Key
⑨ Down Key ⑩ Up Key ⑪Timer Key ⑫Water full Indicator
Exhaust Pipe Assembly
Window Sealing Plate
Assembly

CONTROL PANEL OPERATION
When the machine is powered on for the first time, the buzzer will have a beep
and then the machine will go into standby status.
①Power Key: Press the key to turn on and turn off the machine.
②Cooling Key: Press this button for the cooling function.
③Dehumidify Key: Press this key to turn on the dehumidify mode.
④Fan Key: Press this key to operate the fan mode.
⑤Low Wind: When cooling/fan mode is on, press this key to adjust to low speed.
⑥High Wind Key: When cooling/fan mode is on, press this key to adjust to high
speed. (It is inapplicable when in sleep mode)
⑦Display Window: LED display
⑧Sleep Mode: With cooling mode on, press this key to turn on or turn off the sleep
function.
⑨Down Key: With the timer function selected, press this key to shorten the set time.
In cooling mode, press this key to lower the set temperature.
⑩Up Key: With the timer function selected, press this key to lengthen the set time. In
cooling mode, press this key to raise the set temperature.
⑪Timer Key: Press this button to allow you to set the timer. Timing values can be set
in 1-24 hours and the timing value is adjusted up or down by one hour.
⑫Water Full Indicator: When this light flash, it means that the machine will stop
working when the water is full and the water needs to be drained away.

OPERATING THE PRODUCT
IMPORTANT:
Press the ‘UP’ and ‘DOWN’ keys at the
same time to control the temperature.
USING THE REMOTE:
1. Power: Press the key to turn on
or turn off the machine.
2. Timer: press the key to set
timing.
3. Down: press the key to reduce
temperature and timing set value.
4. Mode: press the key to switch
between cooling, fan, dehumidifying
mode.
5. Up: press the key to increase
temperature and timing set value.
6. Fan: press the key to select
high, low wind speed.
7. Sleep Mode: Press the key to
turn on the sleep mode.

INSTALLATION AND ADJUSTMENT
Installation:
Warning! Before using this Portable Air Conditioning unit, keep it upright
for at least two hours.
The air conditioner can easily be moved around the room. When moving,
ensure that the unit stays upright and on a flat surface. Do not install and
use the unit in the bathroom or other humid areas.
1. Install the heat pipe assembly (fig. 1)
a)Take out the outer connector assembly and the exhaust pipe assembly
and remove the plastic bags.
b)Insert the heat pipe assembly (the end of the exhaust joint) into the
back-panel vent slot (push to the left) and complete the assembly (as
shown in figure 1).

2. Installation of Window Sealing Plate Components
a) Half open the window and mount the window sealing plate assembly to
the window. It can be fitted horizontally or vertically (Fig. 2 and Fig. 3).]
b) Pull the various components of the window sealing plate assembly
open, adjust their opening distance to bring both ends of the assembly
into contact with the window frame and fix various components of the
assembly
c) When installing the window sealing plate assembly, the flat end of the
exhaust pipe joint must be snapped into place. The pipe cannot be
distorted or turned more than 45°. Keep the ventilation of the exhaust
pipe unblocked.

3. Install the Body
a) Move the machine (with installed pipes and fittings) in front of the
Window, ensuring you leave a distance of at least 50cm between the
body and walls or other objects. (Fig. 4).
b) Elongate the exhaust pipe and snap the flat end of the exhaust pipe
joints into the hole of the window sealing plate assembly (Fig. 5 & 6).
c) The pipe cannot be distorted or turned more than 45°. Keep the
ventilation of the exhaust pipe unblocked.
IMPORTANT!
The length of the exhaust hose shall be 280mm-1500mm. This length is
based on the specifications of the air conditioner. Do not use extension
tubes or replace it with other different hoses as this may cause malfunction.
The exhaust hose must not be blocked, otherwise the unit may overheat.
Figure 4

DRAINAGE INSTRUCTIONS
This machine has two drainage modes: manual and continuous drainage.
1. Manual Drainage
a) When the machine stops (when the water tank is full), turn off the power
and unplug the plug.
b) Place your water container below the side water outlet behind the body.
c) Unscrew the drainage cover and unplug the water plug, the water will
automatically flow into the water container.
Notes:
Please move the machine carefully as to not spill
any of the water in the pan at the bottom.
Keep the drainage cover and the water plug
together and do not lose them.
If your water container cannot hold all the water being drained, re-plug the
drainage hole to prevent water flowing on the floor.
When all the water has drained, re-plug the hole, and tighten the drainage
cover.

DRAINAGE INSTRUCTIONS
This machine has two drainage modes: manual and continuous drainage.
2. Continuous Drainage (optional) –only applicable to dehumidifying mode.
a) Unscrew the drainage cover and unplug the water plug.
b) Set the drainage pipe into the water outlet.
c) Connect the drainage pipe to the bucket.

CLEANING AND MAINTANENCE
Before cleaning and maintenance, turn off the machine and unplug it.
1. Cleaning the surface
Clean with surface of the machine with a damp cloth. Do not use
chemicals as this will damage the machine.
2. Clean the filter screen
To prevent the filter screen from getting clogged with dust, resulting in
reduced effectiveness of the machine, ensure you clean the filter screen
at least once every two weeks.
3. Clean the upper filter screen frame
Use a screwdriver to remove the screws on the filter. Use both hands to
grip the edge of the evaporator filter screen and pull it out from its frame.
Put the filter screen into warm water (around 40℃) with natural
detergent and dry it in the shade after rinsing it clean.

STORAGE
1. Unscrew the drainage cover, unplug the water plug, and drain the water
(from the water pan) into your water container. Tilting the machine can
help drain it.
2. Turn on the machine, set it to low-wind mode and maintain this setting
until the drainage pipe becomes dry. (12-24 hours is recommended).
This will prevent the unit mildewing.
3. Turn off the machine, unplug the power plug and wrap the power cord
around the wrapping post. Then install the water plug and drainage
cover.
4. Remove the exhaust pipe and keep it a safe place.
5. Cover the air conditioner with a plastic bag. Put the air conditioner in a
dry place, out of the reach of children and ensure no dust can enter it.
6. Remove the batteries from the remote control and keep them in a safe
place.
7. The unit is now ready for storage.

TROUBLESHOOTING
PROBLEM
REASON
SOLUTIONS
The Air
Conditioning
does not
work
1. There is no electricity
2. The overflow indicator shows ‘FL’
3. The ambient temperature is too
high or low.
4. The room temperature is lower
than the set temperature.
5. In dehumidification mode, the
ambient temperature is low.
1. Turn it on after
connecting it to a socket
with electricity.
2. Discharge the water
inside.
3. Use the unit between
temperatures 7-35 ℃
4. Change the set temp
5. The unit is in a room with
a temp above 17 ℃
The cooling
effect is not
good
1. There is direct sunlight.
2. Doors/Windows are open
3. The filter screen is dirty.
4. The air inlet/outlet is blocked.
1. Pull the curtain.
2. Close doors/windows.
3. Clean or replace filter.
4. Clear obstructions.
Lots of noise
1. The unit is not on a flat surface
1. Put on flat surface.
The remote
control is
not working
1. The distance between the machine
and the remote control is too far.
2. The remote control is not aligned
with the remote-control receiver.
1 & 2. Use the controller
closer to and facing the
unit. If still not working,
change the batteries
Displays ‘E1’
1. The pipe temp sensor is abnormal.
1. Check pipe temp
sensor and related
circuitry
Displays ‘E2’
1. The room temp sensor is abnormal
1. Check room temp
sensor and related
circuitry

SPARE PARTS/REPAIR
We hope our products will last as long as possible to reduce the build-up of
electrical waste in the world.
If any consumable parts need replacing, please check our website for stock
availability and purchase.
If our website does not have the parts listed, but you still need consumable parts,
please contact our customer support to check availability and process your order.
To order replacement parts, please go to www.nettadirect.com/parts.
You will need PDC information from your product, user manual or carton box.
Alternatively, go to our website and use search bar to find the parts available.
You can also find this code on the back of this User Manual.
For our Repair Service, please contact our customer support with email on
NETTA.
DISPOSAL OF PRODUCT
IMPORTANT INFORMATION FOR CORRECT DISPOSAL OF THE
PRODUCT IN ACCORDANCE WITH EC DIRECTIVE 2002/96/EC.
DISPOSAL:
Please dispose of this product responsibly. This item cannot be disposed
of with general waste. Please contact your local council authority for more
information on how to dispose this product. If this product is disposed of
with general waste, it will end up in a landfill and will leak hazardous
substances into the groundwater –effecting our food chain.

YOUR WARRANTY
If you purchased with NETTADIRECT, or one of our authorised resellers, you will
automatically enrol your warranty for 1 (ONE) year. You do not need to register
again for your warranty. All warranties will be carry out our terms and conditions
include warranty conditions you will find out from our website at
www.nettadirect.com.
PLEASE NOTE: Consumable parts will not be covered by warranty. If a consumable
part needs replacing, you need purchase separately from our website.
Please quote with your original proof of purchase (invoice) and name or delivery
address, postcode, so we can locate you when you contact us for warranty.
NOTES:
You may need fill following details after your purchase.
I purchased this product with ____________________
(Name of Authorised Reseller/Distributor)
Purchase Date: ______/_______/_______
The order number from Authorised Reseller is:
Initial order delivery address is:
_________________________________
_________________________________
_________________________________
_________________________________

COPYRIGHTS
NETTA and its logo including images and contents in this manual and website is
copyrighted. All intellectual property rights belong to NETTA owner CONSUMABLE
DIRECT LIMITED.
ANY UNAUTHORISED USE, MODIFICATION or DISTRIBUTION of the NETTA logo,
website image, and its contents (from website, manuals) will violate worldwide
copyright, trademark and associated laws.
We reserve the right to proceed with lawsuits to anyone who is found breaching
our copyrights policy. For more details, please check our website copyright policy
for more information.
PRODUCT DEPENDENCY CODE (PDC)
Your PDC is below:
NETTA is a registered trademark of CONSUMABLE DIRECT LIMITED.
Product Produced for CONSUMABLE DIRECT LIMITED M32 0JT U.K.
Printed in China
PDC: JHS-A019-08KR2/E1
SKU: 103440
This manual suits for next models
1
Table of contents
Other netta Air Conditioner manuals
Popular Air Conditioner manuals by other brands

Mitsubishi Electric
Mitsubishi Electric PUHZ-RP50VHA4 Service manual

Frigidaire
Frigidaire FAK103J1V4 owner's guide

Daikin
Daikin FDA125A5VEB Installer and user reference guide

Kaden
Kaden KCS Series manual

Airxcel
Airxcel Marvair ComPac II AVHDA90 Installation & operation manual

Cruisair
Cruisair Zephyr Installation and operation manual

Samsung
Samsung MH18VP2-09 Owner's instructions

Haier
Haier HW-18LMA03(T3) Operation manual

Daikin
Daikin FXSN20AV1 Operation manual

Mitsubishi Electric
Mitsubishi Electric City Multi PLFY-WL-VEM-E Series installation manual

Mitsubishi Electric
Mitsubishi Electric MFZ-KW25VG installation manual

Danby
Danby dac10007ee use and care manual