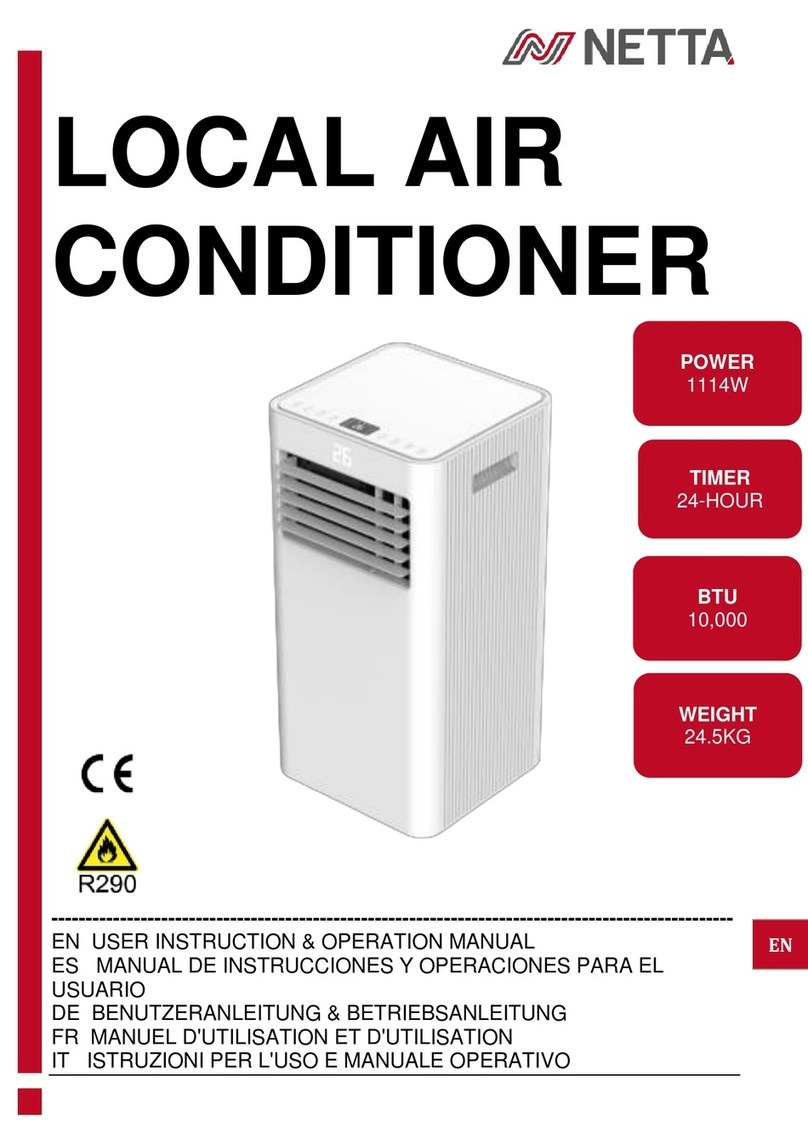
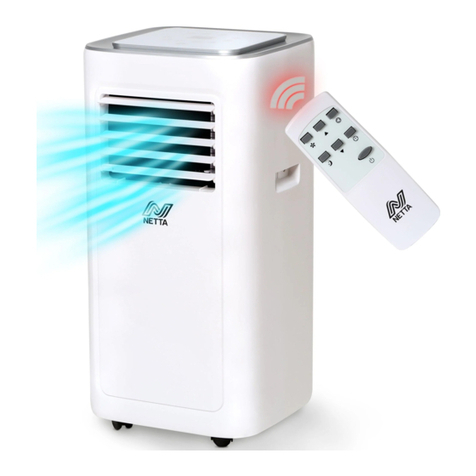
netta AC100-20AR Installation instructions

5L AIR
COOLER
---------------------------------------------------------------------------------------------------
EN USER INSTRUCTION & OPERATION MANUAL
ES MANUAL DE INSTRUCCIONES Y OPERACIONES PARA EL
USUARIO
DE BENUTZERANLEITUNG & BETRIEBSANLEITUNG
FR MANUEL D'UTILISATION ET D'UTILISATION
IT ISTRUZIONI PER L'USO E MANUALE OPERATIVO
FAN SPEEDS
THREE
RATED POWER
55W
REMOTE
CONTROL
OPERATED
WATER TANK
5L
EN

Thank you for purchasing this NETTA product.
Please read the user manual carefully before operating this
appliance.
We will update our instruction manuals if necessary.
For the most up-to-date user manual, please visit our official
website: www.nettadirect.com.
You can download a copy of up to date user manuals at any time
in electronic format. We do not supply you with a paper-based
user manual after each revision.
Require a larger version of this
Instruction Manual?
Please download electronically
from our website and use PDF
reader on your device to enlarge
the text if needed.
www.nettadirect.com

Safety and Warnings
Intended Use
This NETTA product is designed for
household and indoor use only.
Safety Warnings
•If the supply cord is damaged, it must be replaced by
manufacturer.
•This appliance can be used by children aged 8 years and above.
•It can also be used by people with reduced physical, sensory, or
mental capabilities as long as they are supervised and
understand the hazards involved.
•Children should not play with the appliance nor should they
undergo any cleaning/maintenance activities without supervision.
•Unplug the appliance when filling with water or cleaning.
•Never repair or modify this appliance yourself.
•Do not operate this appliance with wet hands in order to avoid an
electric shock.
•To prevent injury or damage, please do not insert any foreign
object into the air inlet or outlet.
•Do not use this appliance around flammable and explosive
gasses. Avoid keeping this appliance in direct sunlight.
•Do not place this appliance on an un-even surface to prevent it
from falling and causing damage.
Regular Check-Ups
Ensure the power cable and
plug are not damaged before
plugging into a socket.

Safety Warnings
•After the water tank is filled with water, do not tilt, or collide
with the unit when placing or moving it.
•Do not place items on the unit and do not cover the air outlet.
•Do not have the air inlet or outlet of the unit close to walls,
curtains, or other objects as this may block the airflow.
•Do not place the unit directly below the power outlet.
•Do not use the appliance around water.
•This appliance has a safety switch. If the honeycomb filter
support has not been installed properly, the unit will not work
as usual. When the machine is working, do not remove the
honeycomb filter.
•At any time, the water level in the tank should not exceed
“MAX” level. During humidification, the water level should be
monitored and should not fall below the “MIN” level.
•Never insert fingers, pencils, or any other object through the
grille when the fan is running.
•Disconnect the fan when moving from one location to another.

Operating the Product
Guidance on feeding water and the disassembly & cleaning
of the water tank
•Please clean up water accumulated at the bottom of the water
tank in a timely manner when the product is left unused.
•Please remove the power plug when feeding water and
cleaning.
•Please make sure that the water pump module us fixed in
position before start-up. Random displacement of the water
pump module can cause the abnormalities of the product in
cool wind function.
•There are two ways to feed water into the tank:
1. Pull out half of the water tank and feed water directly without
disassembling the water pump module.
2. Separate the water pump module and fully pull out the water
tank to feed water to clean the water tank.

Operating the Product
Guidance on feeding water and the disassembly & cleaning
of the water tank
1. Pull the water tank buckle to the
horizontal state.
2. Pull out the water tank to the position as shown in
the figure (push the water tank inside after feeding
water).
3. Unscrew the rotary knob 90°
anticlockwise to separate the
water tank from the water pump
module (including the water pipe).
4. Pull out the water tank slowly to clean it or feed it
water.
5. After feeding water or cleaning the water tank,
install the water pump module in the water tank.
Insert the front hook into the slot of the water
tank and then rotate the rotary knob 90°
clockwise and close it as shown in the figure.
6. Push the water tank inside slowly and put the
water tank buckle back into the vertical state.

Operating the Product
Usage of the ice crystal box
•The ice crystal box can be frozen repeatedly and recycled.
•You can also choose not to use it based on the temperature.
•Please keep the ice crystal box closed to prevent from
damage and leakage.
•The ice crystal box is made of eco-friendly and toxic-free
materials and can be refrigerated safely.
•When using the frozen ice crystal box in the water tank, the
temperature at the air outlet will drop after operating the cool
wind function.
•Ice blocks can be used to replace the frozen ice crystal box.
•Control the level of the water tank, ensuring the water never
exceeds the “MIN” or “MAX” indicator lines.
1. Pull out half of the water tank below the
machine.
2. Take the ice crystal box out of the package and place it inside
a freezer for more than 3
hours. Put the frozen ice
crystal box in the water tank
and feed water below the
“MAX” indicator line.

Operating the Product
Operating instructions of the machine body
Button
Function Description
The product is activated or shut down.
This will start the oscillating function.
Choose from high, medium, and low wind speeds.
Choose from normal, sleep, or natural wind types.
A timer can be set in both ‘standby’ and ‘start-up’ states
by shortly pressing the button. The cycle sequence is
as follows: 1-2-3-4-5-6-7-0-1….
Press this button to start or stop the cool wind function.
This function is ideal for dry or hot weather. If the
indicator light flashes, please feed water into the tank.

Operating the Product
Remote control button description
•The remote control should be used within 5 meters of the
front of the product.

Cleaning and Maintenance
Guidance on the disassembly and installation of wet curtain
parts
1. Remove the wet curtain support.
2. Rotate the bottom buckle at first
and then remove the wet curtain.
3. Take out the wet curtain for cleaning.
4. Re-install the wet curtain and support
once finished.
Replacing the Water
After stopping the ‘cool wind’ function for 2 minutes, you should
pull out the water tank and replace the water. This is because the
water in the pipeline and the wet curtain flows back into the water
tank.

Cleaning and Maintenance
•This appliance requires little maintenance. Do not try and fix it
by yourself. Always use a qualified servicer or electrician.
•Before cleaning and assembling, ensure the fan is unplugged.
•To ensure adequate air circulation to the motor, keep the vents
at the rear of the motor free of dust.
•Please wipe the exterior with a soft cloth soaked in a mild
detergent.
•Do not use any abrasive detergent or solvents to avoid
scratching the surface. Do not use gasoline or thinner as a
cleaner.
•Do not allow water or any other liquid into the motor housing or
interior parts.
•Be sure to unplug the electrical supply source before cleaning.
•Plastic parts should be cleaned with a soft cloth dampened
with mild soap. Thoroughly remove any remaining soap with a
dry cloth.
Fault
Fault Description
The product cannot be normally
operated after being installed.
The power cord fails to be
plugged in or has bad contacts.
The machine switch is not open.
The air volume is getting smaller.
The wet curtain is dirty and
should be cleaned on a regular
basis.
Abnormalities of cool wind
function.
Check whether the water tank
lacks water.

Spare Parts and Repairs
To order replacement parts, please go to www.nettadirect.com/parts.
You will need PDC information from your product, user manual or
carton box. Alternatively, go to our website and use search bar to find
the parts available.
You can also find this code on the back of this User Manual.
For our Repair Service, please contact our customer support with email
on support@nettadirect.com they will provide with more details of
repair service with NETTA.
Disposal of Product
IMPORTANT INFORMATION FOR CORRECT DISPOSAL OF
THE PRODUCT IN ACCORDANCE WITH EC DIRECTIVE
2002/96/EC.
DISPOSAL:
Please dispose of this product responsibly. This item cannot be
disposed of with general waste. Please contact your local
council authority for more information on how to dispose this
product. If this product is disposed of with general waste, it will
end up in a landfill and will leak hazardous substances into the
groundwater –effecting our food chain.
Your Warranty
If you purchased with NETTADIRECT, or one of our authorised
resellers, you will automatically enrol your warranty for 1 (ONE) year.
You do not need to register again for your warranty. All warranties will
be carry out our terms and conditions include warranty conditions you
will find out from our website at www.nettadirect.com.

Copyrights
NETTA and its logo including images and contents in this manual and
website is copyrighted. All intellectual property rights belong to NETTA
owner CONSUMABLE DIRECT LIMITED.
ANY UNAUTHORISED USE, MODIFICATION or DISTRIBUTION of
the NETTA logo, website image, and its contents (from website,
manuals) will violate worldwide copyright, trademark, and associated
laws.
We reserve the right to proceed with lawsuits to anyone who is found
breaching our copyrights policy. For more details, please check our
website copyright policy for more information.
Product Dependency Code (PDC)
Your PDC is below:
NETTA is a registered trademark of CONSUMABLE DIRECT LIMITED.
Product Produced for CONSUMABLE DIRECT LIMITED M32 0JT U.K.
Printed in China
PDC: AC100-20AR
SKU: 103895
This manual suits for next models
1
Table of contents
Other netta Air Conditioner manuals
Popular Air Conditioner manuals by other brands

Mitsubishi Electric
Mitsubishi Electric City Multi PFFY-P20VLRMM-E Technical & service manual

LG
LG LMCN125HV instructions

Mitsubishi Electric
Mitsubishi Electric MLP-448WU installation manual

Haier
Haier HFU-09H03/R2(DB) Service manual

Hisense
Hisense AVS-07URCSABA Operation installation maintenance manual

Beko
Beko BA 310 AC instruction manual