NetzHome WT14 User manual

43 5
Setting up your DEVICE
1. Please have 2 new AA batteries for the sensor ready, but do not
install just yet.
2. Re-Open the APP, go to Devices section, press and
then Start
3.
Ensure that the Router SSID is the same that you have just seen
in your smartphone’s WIFI Settings or you will not be able to pair
successfully
Setting up your DEVICE
Go to the locations in the Building where you eventually wish to
use the Sensor. Look at your smart phone and ensure you have a
good and steady WIFI connection. Exit the APP, open SETTINGS on
your smart phone and click WIFI. If you just have a main Router, it
will be showing its reference (or SSID). However, if you have one or
more extenders, they may also be showing underneath.
VERY IMPORTANT ‒ The Sensor will only communicate Alarm
signals to the WIFI Router or Extender that you are about to pair to
so it is essential that you pair it to the closest/strongest WIFI
signal/SSID.
Installing the APP
1. Before powering up the device, please install our free
NetzHome APP onto your phone.
2. Now complete your User Profile by inputting your email
address and a 6-to-20-digit password.
NetzHome
1 2
Getting started
1. Please check that your smart phone app is updated.
2. Please also check that your Wi-Fi router is working properly and
operates on 802.11b/g/n 2.4GHz with WPA/WPA2 encryption.
We also support OPEN encryption. i.e. no password
Product Features
1. Built-in Wi-Fi module that sends all alerts to your Smartphone
when temperature is over or under the safe temperature range
(setting in APP)
2. Separate low battery and loss of signal notifications
3. Life-time cloud service is included
4. Simple Wi-Fi connection set up with APP
5. Individual tag setting from your smartphone
6. APP records last 30 activations time and date stamped
7. Schedule up to 4 periods per day when unit is automatically
turned off.
2.4GHz is the standard connection for most routers.
Please do NOT choose 5GHz connection.
QUICK START GUIDE
Wi-Fi WATER TEMPERATURE SENSOR
WT14
QR Code Card
Screwdriver
Wi-Fi Water Temperature Sensor
In the Box

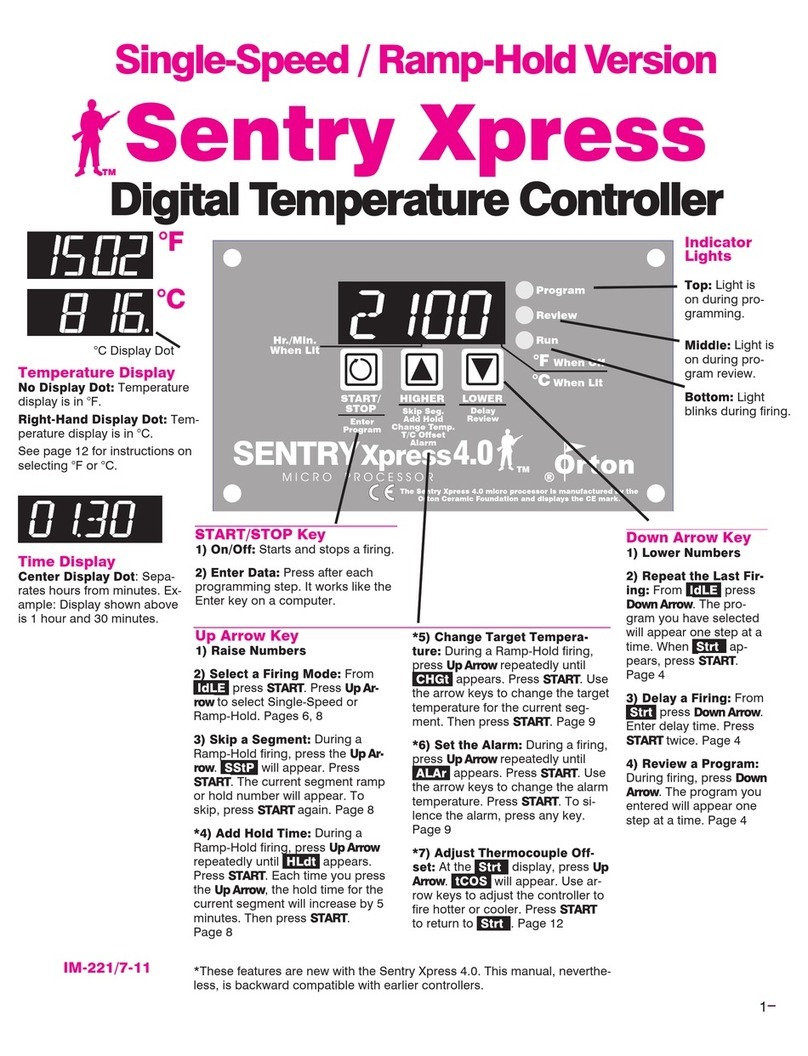
Off Time: max. 4 schedule timers for device entering “off mode”
A personalized description of the device. Press to enter
up to 20 characters and press OK to save.
This is the Device unique ID
Personalized Photo for the Device. Press the icon, choose
“Take photo” or “From album” to create a personalized
Photo
6 8
109
4. Input your Wi-Fi password.
5. Scan the QR code on Hang Tag or device by moving your
smartphone’s camera directly above the QR code. You may also
input the “UDID” manually.
6. Press the WPS button on your router (Optional but
recommended)
3. Open the APP on that other Users Smartphone and press
Profile Press "Received Device(s). The new User can now
choose whether to accept or reject Notifications from those
Devices displayed here. Note that the new User can select,
separately, on their APP whether such notifications are Audible.
Silent or Off etc
Press to Delete a Device from the APP
Cancel
Low Battery
Although batteries should continue to last for up to a week after this
icon appears, you should change them immediately, respecting good
quality alkaline batteries.
Lost Connection
The device sends a 'heartbeat' signal to the router every 4 hours. This
icon indicates that contact has been lost between them. Check the
network used by the device OR replace batteries in case batteries are
exhausted.
Short press the device to take you to the Device Page
Set Local Alert: Your local NetzHome siren product(s) (purchase
separately) will start buzzing while your sensor is triggered.
History: records the last 30 alerts
Since WPS mode will not last long, make sure
you finish step 6-8 as quickly as possible.
Some RESET function
is combined with
WPS button on
router. It is better to
refer to user manual
of your router.
WPS/
Reset
How To Use
Go to Devices section > Sensor column
Long press the device to set up the ‘mode’ of each sensor (i.e. the
ringtone/notification that appear on your phone).
Press to refresh/reset the Device Page after an alert and turn off all
illuminated dots.
Press to Add a new Device.
Press to take you to an Editing Subsection Page:
Press to change the order of priority of your device list. Drag the 3
lines and move it to a new position in the list.
1. Ensure that the free "NetzHome" APP has been installed on the
other phone and complete the registration process on that phone.
2. Press this symbol and select the Sensor/s you wish to share.
Press "share" and complete the "Share Device to" box with the
other user's email address they used when registering their user
profile. Press "share" again to share.
11
Trouble Shooting
CANNOT PAIR THE DEVICE SUCCESSFULLY
1. If there are too many Wi-Fi connections around your sensor,
turn them off to avoid any disturbance and pair again.
2. Check that the router is working properly and that it operates
on 2.4GHz.
3. Check that the SSID and password are correct.
4. Ensure the sensor is in pairing mode, you should remove and
reinstall the batteries. If the blue LED indicator turns on, the
sensor is ready to pair. The whole pairing process finishes
until
the “Pair Finish” message appears.
DOESN’T WORK PROPERLY or LOSS OF SIGNAL ICON
APPEARS ( )
1. Check whether the Sensor is within coverage of your Wi-Fi
router/repeater.
2. Check that the router is working properly.
3. Replace your batteries with new one.
Water Temp.
Sensor
Ringtone
Siren (5 secs
repeated twice)
Short alert
/
/ /
Notification Listed on
History page
Alert
Chime
Silent
Off
a/Tap on a period b/Select time period C/Weekly schedule
Water Temp.
Sensor
Water Temp. Sensor
A200XXXXXXXXXX
Temp.: Showing the current temperature.
To edit the “Safe Temp. Range”, press edit and drag the
sliders.
7
7. Remove the screw from the bottom of the metal part and firmly
twist off to access the battery compartment.
8. Insert 2 new AA batteries, make sure to get the polarity correct.
9. Press ‘Pair’ and wait for network connection.
10. The device will now start pairing to the router.
11. When pairing is successful, a “Pair Finish” message will be
shown. A new device will be shown on device page. Otherwise,
please disconnect the batteries and repeat from step 4.
IMPORTANT. Replace the metal
part and the screw ENSURING
THAT THE SCREW IS STRAIGHT
AND AS TIGHT AS POSSIBLE
Water Temp.
Sensor
