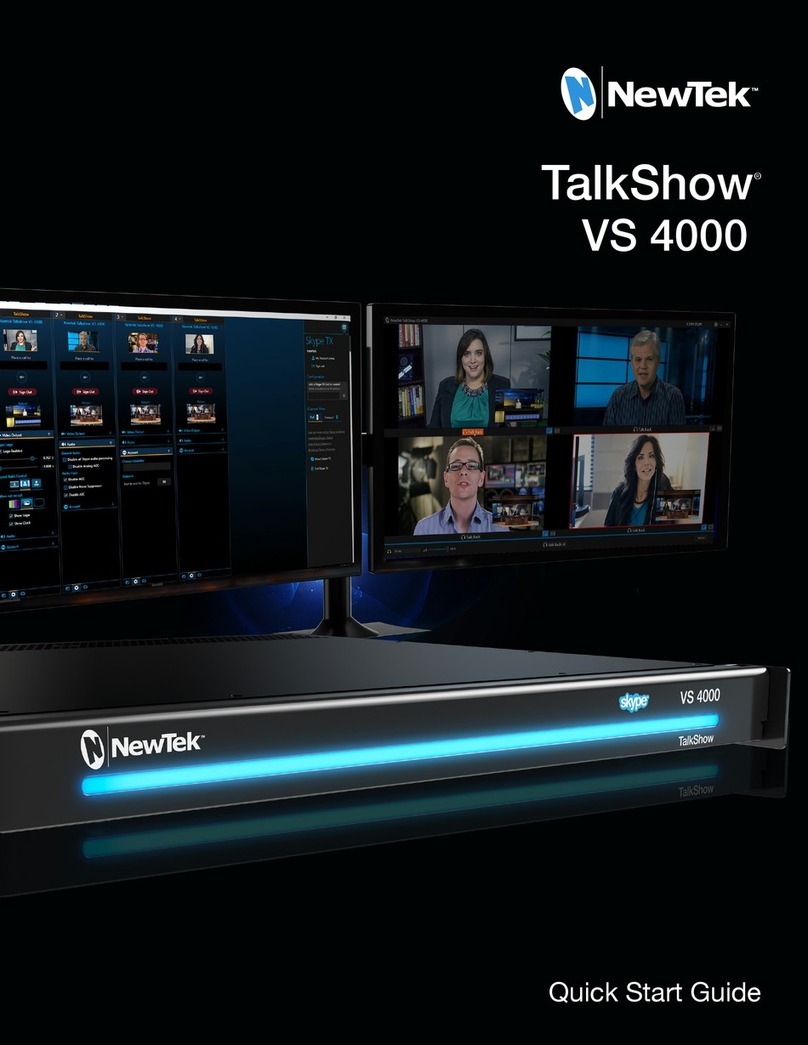
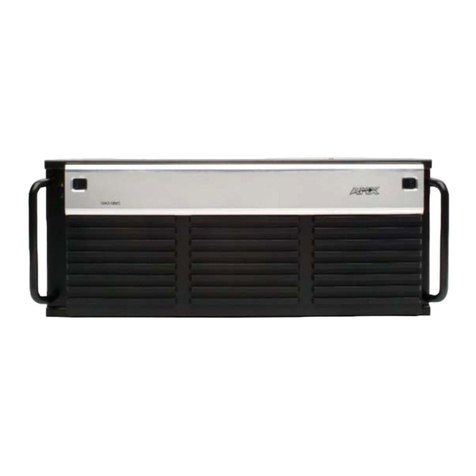
NewTek TalkShow VS 100 User manual

Quick Start Guide
© 2016 NewTek, Inc. All rights reserved.
TriCaster, 3Play, TalkShow and LightWave 3D are registered trademarks of NewTek, Inc.
NDI, LightWave, ProTek, and Broadcast Minds are trademarks and/or service marks of NewTek, Inc.
Rev.02
www.newtek.com
For Customer Support contact information, please visit: new.tk/call
TalkShow®
VS 100

Quick Start Guide
Setup
1
2
3
4
5
Connect the power cable to the
TalkShow rear panel and plug into an
external power source
Connect the keyboard and mouse
using USB ports
Connect an external computer monitor
using the port appropriate for your
display (either DVI or HDMI)*
Plug Ethernet cable(s) into one or both
Ethernet ports and connect to a
network with Internet access**
Press the power button located on the
front of TalkShow Input conguration —
Return video and audio to caller
Choose and set up the desired input conguration for your
production workow, then select the appropriate Input
Connection and Audio Connection using the Return control
panel in the TalkShow User Interface. When a Skype call
is active, TalkShow will supply the return video and audio
from your production system(s) to the caller.
Input via Network (TriCaster AirSend):
• Plug Ethernet cable(s) into one or both Ethernet
ports on the TalkShow rear panel and connect to
the same network as TriCaster
• Enable the TriCaster Network output and choose
the desired audio and video sources for return A/V
signal
Input via SDI (with embedded audio):
• Connect SDI cable from production switcher
output to the SDI IN connector on the rear panel to
supply return A/V signal to TalkShow
Input via SDI (paired with analog audio):
• Connect SDI cable from production switcher
output to the SDI IN connector on the rear panel to
supply return video signal to TalkShow
• Connect XLR cable(s) from audio mixer output(s)
to one or both AUDIO IN connectors on the rear
panel to supply return audio signal to TalkShow
Output conguration —
Receive call video and audio
Choose and set up the desired output conguration for
your production workow. When a Skype call is active,
TalkShow will supply the call video and audio to your
production system(s).
Output via Network (TriCaster AirSend):
• Plug Ethernet cable(s) into one or both
Ethernet ports on the TalkShow rear panel
and connect to the same network as TriCaster
• Choose the TalkShow output channel from
the list of available sources for NET 1 or NET 2
to supply Skype call video and audio to
TriCaster network input
Output via SDI (with embedded audio):
• Connect SDI cable to the SDI OUT connector
on the TalkShow rear panel to supply Skype call
video and audio to production switcher input
Output via SDI (paired with analog audio):
• Connect SDI cable to the SDI OUT connector on
the TalkShow rear panel to supply Skype call video
to production switcher input
• Connect XLR cable(s) to one or both AUDIO OUT
connectors on the TalkShow rear panel to supply
Skype call audio to audio mixer input(s)
A
B
C
A
B
C
Registration
1. Accept the End User License Agreement
2. If necessary, enter the Serial Number and Product ID
for your system in the TalkShow registration dialog box
3. Click the button as directed in the TalkShow registration
dialog box to proceed to the NewTek Registration site
4. Create (or log into) your User Account in the NewTek
Registration System using a valid e-mail address
5. Enter your product information as required, then click
the Register button to obtain your Registration Code
via e-mail
6. Enter your Registration Code in the TalkShow
registration dialog box as directed, then click
Continue to complete registration
Launch
1. Accept the Skype TX End User License Agreement
2. Sign in using an existing Skype ID or associated
Microsoft account (or create a new account)
3. Congure Skype TX settings by clicking the gear button
located in the top left corner of the User Interface
4. Access Return, Call, or Setup control panels for
TalkShow by clicking the designated buttons in the
dashboard located at the bottom of the User Interface
* Minimum 1600x1050 resolution
** Minimum 2.5 Mbps (upload and download) recommended
Registration is required to begin using TalkShow. To register your system, connect TalkShow to a network with Internet access as directed and follow the instructions provided,
or visit register.newtek.com from any Web browser (TalkShow Serial Number and Product ID required).
Be sure to record your User Account login and password, Serial Number, Product ID, and Registration Code, and store in a safe place for future reference.
This Quick Start Guide provides basic instructions so that you can set up your TalkShow quickly and start using it right away. For comprehensive installation and operation instructions,
please refer to the TalkShow User Guide, accessible from the Setup control panel in the TalkShow User Interface, and the product User Guide(s) applicable to your workow.
Actual hardware and screen displays may vary slightly in appearance.

Quick Start Guide
© 2016 NewTek, Inc. All rights reserved.
TriCaster, 3Play, TalkShow and LightWave 3D are registered trademarks of NewTek, Inc.
NDI, LightWave, ProTek, and Broadcast Minds are trademarks and/or service marks of NewTek, Inc.
Rev.02
www.newtek.com
For Customer Support contact information, please visit: new.tk/call
TalkShow®
VS 100
Table of contents
Other NewTek Server manuals
