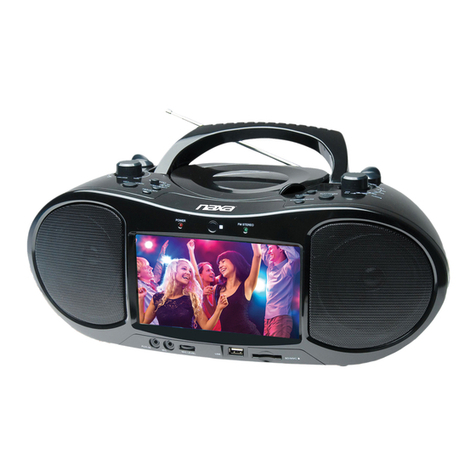
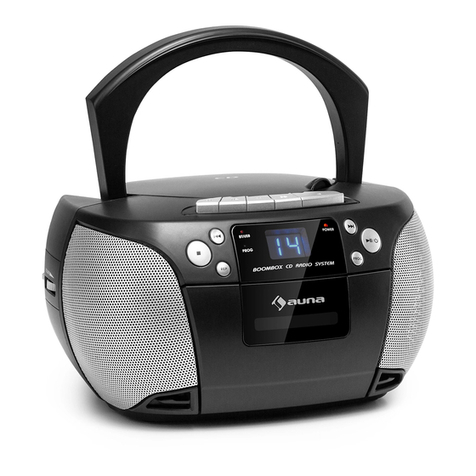
Nex-tech 8011410 User manual

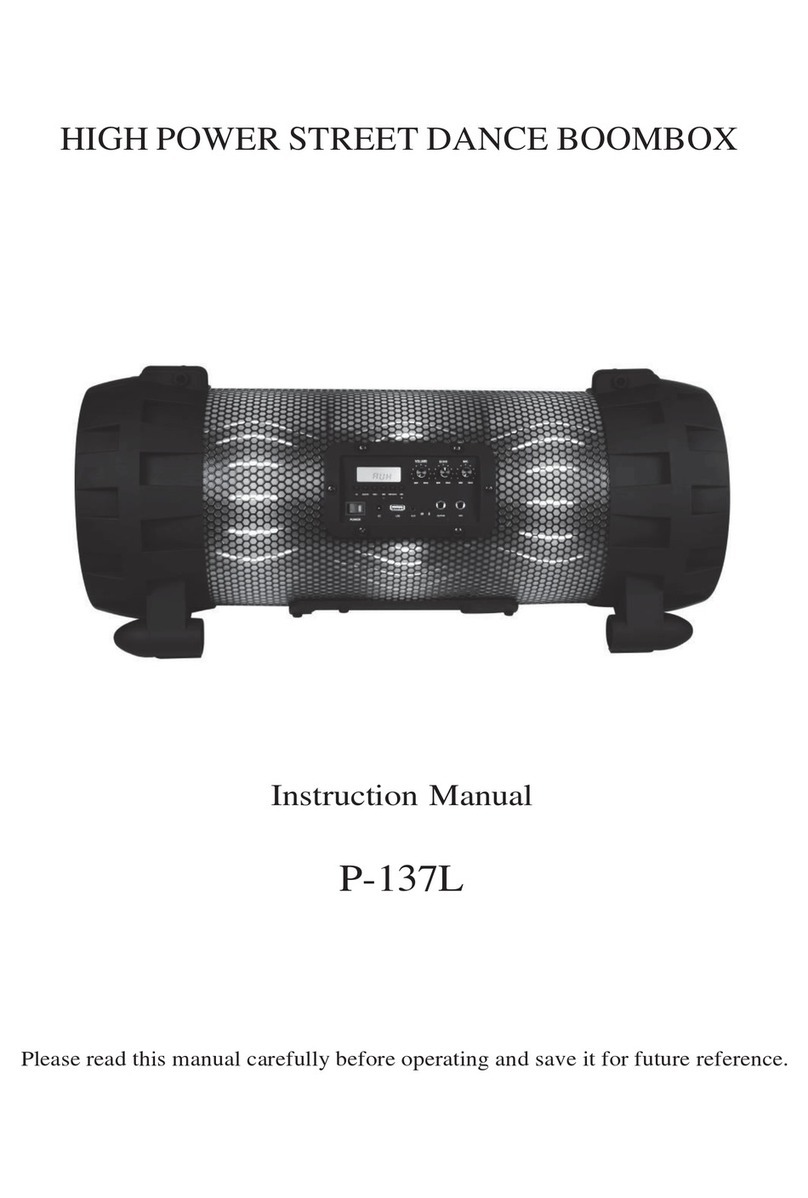
Instruction Manual CD Cassette Boombox
8011410

1
1. READ INSTRUCTIONS - All the safety and operating instructions should be read before the product is operated.
2. RETAIN INSTRUCTIONS - The safety and operating instructions should be retained for future references.
3. HEED WARNINGS - All warnings on the product and in the operating instructions should be adhered to.
4. FOLLOW INSTRUCTIONS - All operating and user instructions should be followed.
5. WATER AND MOISTURE - Do not use this product near water (a bathtub, washbowl, kitchen sink, laundry tub, wet
basement, or swimming pool for example).
6. VENTILATION - Slots and openings in the cabinet are provided for ventilation and to ensure reliable operation of
the product and to protect it from overheating, and these openings must not be blocked or covered. The openings
should never be blocked by placing the product on a bed, sofa, rug or other similar surface. This product should
not be placed in a built-in installation, such as a bookcase or rack, unless proper ventilation is provided or the
manufacturer*instructions have been adhered to.
7. HEAT - The product should be situated away from heat source such as radiators, heat registers, stoves or other
products (including ampliers) that produce heat.
8. POWER SOURCES - This product should be operated only from the type of power source indicated on the marking
label. If you are not sure of the type of power supply to your home, consult your appliance dealer or or local power
company. For products intended for operation from battery power, or other sources, refer to the operating instructions.
9. POWER CORD PROTECTION - Power supply cords should be routed so that they are not likely to be walked on or
pinched by items placed upon or against them. Pay particular attention to cords at plugs, convenience receptacles,
and the POINT WHERE THEY EXIT FROM THE PRODUCT.
10. POWER LINES - An outside antenna system should not be located in the vicinity of overhead power lines or other
electric light or power circuits, or where it can fall into such power lines or circuits. When installing an outside
antenna system, extreme care should be taken to keep from touching such power lines or circuits as contact with
them might be fatal.
11. OBJECT AND LIQUID ENTRY - Never push objects of any kind into this product through openings as they may
touch dangerous voltage points or short-out parts that could result in a re or electric shock. Never spill liquid of any
kind on the product.
12. ESD WARNING - If the display or the controls do not function properly it may be due to an electrostatic discharge.
Switch off and unplug the product. Reconnect after a few seconds.
13. DAMAGES REQUIRING SERVICE - Unplug this product from the wall outlet and refer servicing to qualied service
personnel under the following conditions :
(a). When the power-supply cord or plug is damaged.
(b). If liquid has been spilled, or objects have fallen onto the product.
(c). If the product has been exposed to rain or water.
(d). If the product does not operate normally after following the operating instructions. Adjust only those controls that
are covered by the operating instructions as an improper adjustment of other controls may result in damage and
will often require extensive work by a qualied technician to restore the product to its normal operation.
(e). When the product exhibits a distinct change performance - this indicates a need for service.
14. SERVICING - Servicing is required when the product has been damaged in any way, such as the power-supply
cord or plug being damaged, liquid spillage, or objects falling on or into the product - anything that causes the
apparatus to not operate normally. Refer all servicing to qualied service personnel.
15 . GROUNDING OR POLARIZATION - This product may be equipped with a polarized alternating current line plug
(a plug having one blade wider then the other). This plug will t the power outlet only one way. This is a safety
feature. If you are unable to insert the plug fully into the outlet, try reversing the plug. If the plug should still fail to t,
contact your electrician to replace your obsolete outlet. DO NOT defeat the safety purpose of the polarized plug.
TO PREVENT FIRE OR SHOCK HAZARD, DO NOT USE THIS PLUG WITH AN EXTENSION CORD, RECEPTACLE
OR OTHER OUTLET UNLESS THE BLADE SCAN BE FULLY INSERTED TO PREVENT BLADE EXPOSURE. TO
PREVENT FIRE OR SHOCK HAZARD, DO NOT EXPOSE THIS APPLIANCE TO RAIN OR MOISTURE.
Important Safety Instructions
WARNING: TO REDUCE THE RISK OF ELECTRIC
SHOCK DO NOT REMOVE COVER (OR BACK),
NO USER SERVICEABLE PARTS INSIDE REFER
SERVICING TO QUALIFIED SERVICE PERSONNEL.

2
1. WARNING: Please refer to the label on the exterior bottom of this apparatus for all electrical and safety information
before installing or operating this apparatus.
2. WARNING: To reduce the risk of re or electric shock, do not expose this apparatus to rain or moisture. The
apparatus shall not be exposed to dripping or splashing and that objects lled with liquids, such as vases, shall not
be placed on apparatus.
3. WARNING: The batteries shall not be exposed to excessive heat such as sunshine, re or the like.
4. WARNING: The wall socket plug is used as disconnect device, the disconnect device shall remain readily operable.
5. WARNING: Excessive sound levels from earphones or headphones can cause hearing loss.
• Batteries must be inserted taking care to match the polarities shown.
• Make sure that the (+) and (-) terminals are placed in the right direction.
• Never use batteries that show signs of electrolyte leaks or cracking.
• Never dispose of used batteries in an open re.
• Keep batteries out of reach of children.
• Never recharge disposable batteries.
• Never short circuit battery terminals.
• Always remove used batteries from the appliance case.
• Do not try to open the batteries.
• Do not mix up different kind of batteries or new and already used batteries together.
• Only use batteries of the recommended or equivalent type.
• Remove batteries from the appliance before disposing of it at the end of its service life.
CAUTION!
HAZARDOUS LASER RADIATION WHEN
OPEN AND INTERLOCK FAILED OR
DEFEATED. AVOID EXPOSURE TO BEAM
CLASS 1 LASER PRODUCT
Warnings
Battery Warnings

3
The FCC Wants You To Know
This equipment has been tested and found to comply with the limits for a Class
B digital device, pursuant to Part 15 of the FCC Rules. These limits are designed
to provide reasonable protection against harmful interference in a residential
installation.
This equipment generates, uses, and can radiate radio frequency energy and, if not
installed or used in accordance with the instructions, may cause harmful interference
to radio communications. However, there is no guarantee that interference will not
occur in a particular installation.
If this equipment does cause harmful interference to radio or television reception,
which can be determined by turning the equipment off and on, the user is
encouraged to try to correct the interference by one or more of the following
measures:
1) reorient or relocate the receiving antenna;
2) increase the separation between the equipment and the receiver;
3) connect the equipment to an outlet on a circuit different from that to which the
receiver is connected;
4) consult the dealer or an experienced radio/TV technician for additional
suggestions.
Any changes or modications not expressly approved by the party responsible
for compliance could void the user’s authority to operate the equipment. Where
shielded interface cables have been provided with the product or specied additional
components or accessories elsewhere dened to be used with the installation of the
product, they must be used in order to ensure compliance with FCC regulation.
CAN ICES-3(B).

4
Power Sources
TO AC IN TO WALL OUTLET
INSERT 6 X C SIZE
BATTERIES INTO THE
BATTERY COMPARTMENT
1. You can power your portable system by
plugging the detachable AC power cord into
the AC outlet at the back of the product and
into a wall outlet.
2. Check that the rated voltage of the product
matches your local voltage.
3. Make sure that the AC power cord is fully
inserted into the product.
1. Insert 6 x C size batteries into the battery
compartment. Be sure that the batteries
are inserted correctly (matching the polarity
markings shown) to avoid damage to the
product.
2. Always remove the batteries when the
product will not be used for a long period
of time, as the batteries may leak causing
damage to the product.
WARNING:
Incorrect use of batteries can cause electrolyte
leakage and will corrode the compartment or
cause the batteries to burst.
Therefore:
• Use batteries of the same type. Never use
different types of batteries together.
• When using batteries with the product,
disconnect the AC power cord from it.
• When inserting new batteries, do not try to
mix old batteries with new ones.
Batteries contain chemical substances,
so they should be disposed of properly.
Using AC Power
Using Battery Power

5
Location of Controls
TUNING
CONTROL
CD DOOR
BAND
SELECTOR
OPEN/CLOSE
DIAL POINTER
PLAY/PAUSE
STOP
PROGRAM
FUNCTION
SELECTOR
VOLUME CONTROL
SKIP +
SKIP -
REPEAT
FM
ANTENNA
TAPE BUTTONS - PAUSE, STOP/EJECT, FAST FORWARD, REWIND, PLAY, RECORD
HEADPHONE JACK
LED DISPLAY
CASSETTE DOOR
POWER INDICATOR FM STEREO INDICATOR

6
1. Set the FUNCTION selector to “RADIO” mode.
2. Select the desired band width using the “BAND” selector.
3. Adjust the radio frequency to your desired station by using the “TUNING” control.
4. Adjust the “VOLUME” control to the desired level.
1. Set the “BAND” selector to FM mode for MONO reception.
2. Set the “BAND” selector to FM ST. mode for FM Stereo reception.
The stereo indicator LED lights up showing you are in FM ST. mode.
Radio Operation
General Operation
AM/FM/FM-Stereo Reception
For Better Reception
• For FM reception reorient
the antenna by, pulling out
the telescopic antenna,
then incline and turn the
antenna.
• Reduce its length if the
spiral is too long
(very close to transmitter).
• For AM reception reorient
the antenna by turning the
whole product.
• The product is provided
with a built-in antenna so
the telescopic antenna is
not needed.

7
Tape Operation
Maintenance
Tape Deck Maintenance
To ensure quality recording and playback of the tape deck,
clean parts A, B and Cshown in the diagram (after approximately
50 hours of operation, or an average of once a month).
Use a cotton bud slightly moistened with alcohol or a special head
cleaning uid to clean the deck.
1. Open the cassette door by pressing STOP • EJECT.
2. Press PLAY and clean the rubber pressure rollers C.
3. Press PAUSE and clean the magnetic heads Aand also the Capstan B.
4. After cleaning press STOP • EJECT.
Note: Cleaning the heads can also be done by playing a cleaning cassette through once.
PAUSE Press to temporarily stop the tape playing. Press again to resume operation.
STOP/EJECT Press to stop the tape playing. Press again to open the cassette door after the
tape spools stop turning.
FAST FORWARD
& REWIND Press to start rapid tape winding; either forward or in the reverse direction.
PLAY Press to start playing the tape.
RECORD • Press the “RECORD” and “PLAY” buttons together to start recording.
1. Set the “FUNCTION” selector to “TAPE” mode.
2. Press the “STOP/EJECT” button to open the cassette door and insert your tape.
3. Close the cassette door .
4. Press the “PLAY” button to play the tape.
5. Adjust the “VOLUME” control to the desired level.
6. Press the “PAUSE” button when you want to stop playing the tape temporarily.
7. Press the “STOP/EJECT” button when nished.
1. Press the “STOP/EJECT” button to open the cassette door and insert a blank tape.
2. Select the source you want to record.
To record from the radio: Set the “FUNCTION” selector to “RADIO” mode and adjust to the
desired station.
To record from CD: Place a disc in the CD compartment. Set the “FUNCTION” selector to
“CD” mode and select the desired track.
3. Press the “RECORD” and “PLAY” buttons together to start recording.
4. Press the “STOP/EJECT” button when nished.
General Operation
Playback
Recording

8
General Operation
PLAY/PAUSE Press to start playing the CD disc.
Press again to temporarily stop playing the CD.
Press again to resume playback.
SKIP + and Press to go to the next track or back to the previous track.
SKIP - Press and hold while playing until you nd the point of sound.
STOP Press to stop all CD operation.
Playback
1. Set the “FUNCTION” selector to CD mode.
2. Open the CD door and place a CD disc with the label side up into the CD compartment.
3. Close the CD door.
4. A focus search is performed on the inserted CD disc. The total number of tracks is read and
appears on the display.
5. Press the “PLAY/PAUSE” button to start playing the CD disc.
6. Adjust the “VOLUME” control to the desired level.
7. Press the “PLAY/PAUSE” button again when you want to stop playback temporarily.
8. Press the “STOP” button when nished.
Program
Up to 20 tracks can be programmed for disc play in any order. Be sure to press the “STOP” button
before use.
1. Press the “PROGRAM” button, the display will show “01” and ash.
2. press the desired track by using the “SKIP +” or “SKIP -” button.
3. Press the “PROGRAM” button again to conrm the desired track into the program memory.
4. Repeat steps 2 and 3 to enter additional tracks into the program memory.
5. When all the desired tracks have been programmed, press the “PLAY/PAUSE” button
to begin playing the disc in the order you have programmed it. The program indicator
light will start ashing.
6. Press the “STOP” button twice to terminate the programmed play.
The program indicator light stops ashing.
Repeat
Press the “REPEAT” button before or during CD play.
A single track or all tracks can be repeated.
Each press switches the repeat mode as follows;
1- REPEAT 1 (The repeat indicator is ashing.)
2- REPEAT ALL (The repeat indicator is constantly on.)
3- NORMAL PLAYBACK.
CD Operation

9
Headphone Jack
Connects to a 3.5 mm headphones (not included).
Use the volume control to adjust the sound level of the headphones.
Precautions & General Maintenance
• Place the unit on a hard at surface so the system does not
tilt.
• Do not expose the unit, batteries or CDs to humidity, rain,
sand or excessive heat caused by heating equipment or direct
sunlight.
• Do not cover the unit. Adequate ventilation with a minimum
gap of 15cm (6 inches) between the ventilation holes and
surrounding surfaces is necessary to prevent heat build-up.
• The mechanical parts of the set contain self-lubricating
bearings and must not be oiled or lubricated.
• To clean the unit, use a soft dry cloth. Do not use any cleaning agents containing alcohol,
ammonia, benzene or abrasives as these may harm the housing.
CD Player and CD Handling
• The lens of the CD player should never be touched!
• Sudden changes in the surrounding temperature can
cause condensation to form and the lens of your CD
player to cloud over. Playing a CD would not become
possible. Do not attempt to clean the lens. Instead,
leave the unit in a warm environment until the moisture
evaporates.
• Always close the CD door to keep the CD compartment
dust-free. To clean, dust the compartment with a soft dry
cloth.
• To clean the CD, wipe in a straight line from the centre
towards the edge using a soft, lint-free cloth. Do not use
cleaning agents as they may damage the disc.
• Never write on a CD or attach any stickers to it.
Other Operation
Maintenance & Safety

10
If a fault occurs, rst check the points listed below before taking the unit for repair.
Do not open the unit as there is a risk of electric shock.
If you are unable to remedy a problem by following these hints, consult your dealer or service centre.
WARNING:
Under no circumstances should you try to repair the unit yourself, as this will void the warranty.
PROBLEM SOLUTION
NO SOUND OR POWER Volume not adjusted Adjust the volume
Power cord not securely
connected
Connect the AC power cord correctly
Batteries dead or incorrectly
inserted
Insert (fresh) batteries correctly
DISPLAY DOES NOT
FUNCTION PROPERLY/
NO REACTION TO
OPERATION OF ANY OF
THE CONTROLS
Electrostatic discharge Switch off and unplug the unit.
Reconnect after a few seconds
POOR CASSETTE
SOUND QUALITY
Dust and dirt on the heads,
etc.
Clean deck parts etc.,
(see Maintenance)
Use of incompatible cassette
types (METAL or CHROME)
Only use NORMAL (IEC I)
for recording
RECORDING DOES
NOT WORK
Cassette tab(s) may be broken Apply a piece of adhesive tape over
the missing tab space
NO DISC INDICATION No CD inserted Insert a CD, CD-R or CD-RW
CD badly scratched or dirty Replace/clean CD,
(see Maintenance)
Laser lens steamed up Wait until lens has adjusted to room
temperature
CD-R is blank or the disc is not
nalized
Use a nalized CD-R
CD PLAYBACK DOES
NOT WORK
CD badly scratched/dirty Replace/clean CD (see Maintenance)
Laser lens steamed up Wait until lens has adjusted to room
temperature
THE CD SKIPS TRACKS CD damaged or dirty Replace or clean CD
Program mode is active Quit program mode(s)
Environmental Information
We have done our best to reduce the packaging and make it easy to separate into 3 materials;
cardboard, polyethylene and expandable polystyrene. Your equipment consists of materials that can
be recycled if disassembled by a specialized company. Please observe the local regulations regarding
the disposal of packaging, dead batteries and old equipment.
Troubleshooting

11
• Programmable top loading CD, CD-R/RW
• Recordable cassette player
• Analog tuning with AM/FM/FM-Stereo
• 3.5 mm headphone jack
Frequency: AM 530-1700 KHz and FM 88-108 MHz
Power: Option 1) AC 120, 60Hz
Option 2) 6 x C batteries (not included).
We recommend InniCell batteries
for maximum performance.
Distortion: 10 %
Specications
© 2015 The Source
All rights reserved.
Imported by:
The Source,
Barrie, Ontario, Canada, L4M 4W5
Manufactured in China
For product support please visit
www.thesource.ca
THE SOURCE – WARRANTY
Please Recycle
Table of contents
