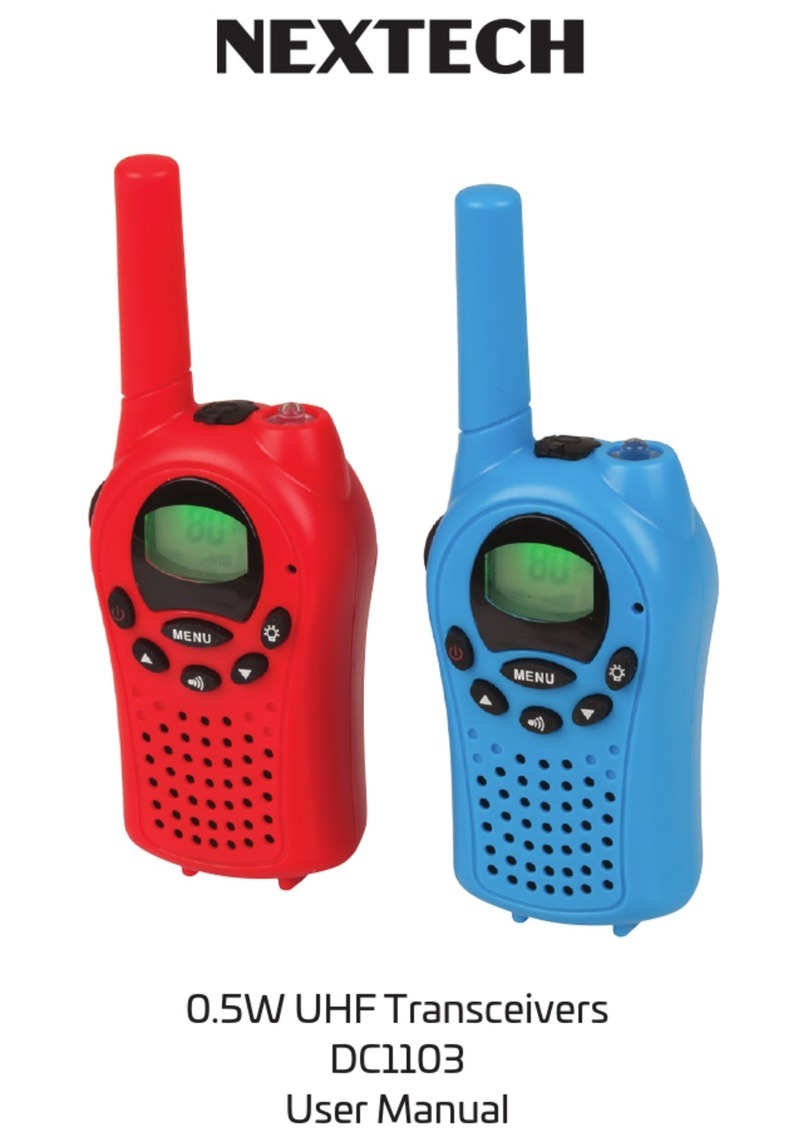
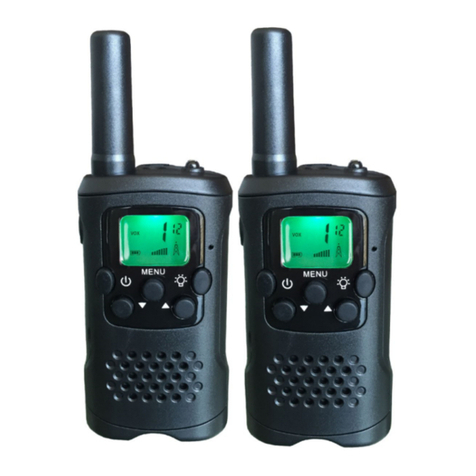
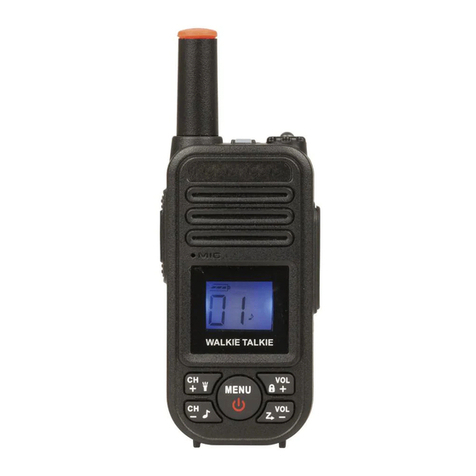
Nex-tech DC1108 User manual

Rechargeable 1W UHF Transceiver Twin Pack
DC1108
User Manual
Use of the citizen band radio service is licensed in Australia by ACMA Radiocommunications
(Citizen Band Radio Stations) Class Licence and in New Zealand by MED General User
Radio Licence for Citizens Band Radio. Operation is subject to conditions contained in
those licences.

This set includes two 80 channel UHF transceivers, which enables you to communicate up
to 6km in open areas.
Note: Please read these user instructions carefully before using the equipment and retain
for future consultation!
ATTENTION!
Observe the following precautions to prevent fire, personal injury, and radio damage.
• Do not modify or attempt to adjust this radio for any reason.
• Do not expose the radio to long periods of direct sunlight, nor place it close to heating appliances.
• Do not place the radio in excessively dusty, humid, and /or wet areas, nor on unstable surfaces.
• If an abnormal odor or smoke is detected coming from the radio, switch OFF the power immediately and
remove the optional battery pack from the radio, then contact the dealer.
FEATURES
- 155 Privacy Codes (50 CTCSS / 105 DCS)
- VOX function (Hands-free Transmission)
- LED Flashlight
- 10 Selectable Call Tones
- Voice Scrambler Function (Voice Encryption)
- TOT(Time-Out Timer) Setting
- Dual Watch function
- Scan Function
- Automatic Power Save
- Monitor Function
- Roger Beep Tone
- Squelch Level (Level 1-9)
- Keypad Lock
- Whisper Function
- Earpiece Mode
- Power HIGH/LOW Settings
- Speaker / Microphone Jacks
- Battery Meter / Low Battery Alert

CONTROL BUTTONS
PREPARING YOUR RADIO
Battery Meter and Low Battery Alert
Indicates that the battery is fully charged.
Blinks when battery is low; charge the radio or replace batteries immediately.
Charging The Radio
1. Make sure your radio is OFF.
2. Plug the USB charge cable into the radio charging port on bottom of the radio.
3. Plug the AC adapter into an AC outlet.
4. LED indicator lights Orange: Charging; LED indicator lights Blue: Full Charged.

BASIC OPERATIONS
1. Turning Your Radio On/Off
Press and hold the button to turn your radio ON/OFF.
2. Transmit and Receive
(1) To make a call, press and hold the button, then speak into the microphone using normal speaking
voice. Hold the microphone approximately 1.5 inches (3 to 4 cm) from your lips.
(2) Release the PTT button to receive.
(3) If you set a CTCSS/DCS Code in the radio, you can receive ONLY when the CTCSS/DCS Code is SAME for the
radios.
3. Adjusting The Volume
Adjust the volume by pressing the and buttons
4. Channel Selection
Select your desired radio channel by pressing the and buttons
ABOUT RANGE
Your radios are designed to give you maximum range under optimum conditions.
Optimum Conditions are:
- Over water
- Open rural areas without obstructions
- Flat areas where you can see the other person
To ensure you get maximum range:
- Be sure to use fresh or fully charged batteries - low batteries will cause low power conditions.
- Be sure to set your radio to use High power (Po : HI).

DISPLAY SCREEN GUIDE
MENU OPTIONS
There are 14 Menu Options in this radio , you can follow below instruction to set the functions:

(MENU 01) Quiet Talk CTCSS & DCS Privacy Codes
CTCSS/DCS Codes is a sub-audible tone/code which allows
you to ignore (not hear) calls from other radios who are using
the same channel. Your radio has 155 CTCSS/DCS Privacy Codes.
To set the CTCSS/DCS code : Enter MENU 01, screen display "QT"
An extended press of or allows you to scroll through
the CTCSS/DCS Codes rapidly so you can quickly reach the code you want.
REMARK:
To communicate with radios that do not have CTCSS/DCS Codes,
you must set the CTCSS/DCS Codes of your radio to " OFF "
OFF = Turn Off CTCSS/DCS Codes
01 - 155 = Different CTCSS/DCS Codes
(when in DCS Codes, Screen will display "d" )

(MENU 02) Squelch Level
Squelch Level is about when the signal is strong enough to turn on the squelch.
You can hear the voice from other radios only when the squelch is turned on.
Higher Level makes it harder to receive the weak signals, while Lower Level will be
interfered by noises and/or unwanted signal. (Default Level: 05)
To set the Squelch Level : Enter MENU 02, screen display "Sq"
(MENU 03) Setting and Transmitting Call Tones
Your radio can transmit different call tones to other radios in your
group so you can alert them that you want to talk. You have 10 call
tones from which to choose.
To set a call tone : Enter MENU 03, screen display "CA"
To transmit your call tone to other radios, please set radios to the same
channel and same CTCSS/DCS Code and then Press and Hold Button.
(MENU 04) Roger Beep
You can set your radio to transmit a unique tone when you finish
transmitting. It is like saying “Roger” or “Over” to let others know
you are finished talking.
To turn ON/OFF the Roger Beep : Enter MENU 04, screen display "ro"
(MENU 05) Transmit (TX) Power Level Selection
To set the Transmit Power Level: Enter MENU 05, screen display "Po"
HI=High Power Lo=Low Power
Note : For some countries, the Power Level
Selection is Disabled
according to local regulations.

(MENU 06) Time-Out Timer (TOT)
The purpose of the Time-out Timer is to prevent any caller
from using a channel for an extended period of time.
If you continuously transmit for a period of time that exceeds
the programmed time set by your dealer (default is 60 seconds),
the radio will stop transmitting and an alert tone will sound.
To stop the tone, release the PTT switch.
To set the CTCSS/DCS code : Enter MENU 06, screen display "to"
(MENU 07) Voice Operated Transmission (VOX)
You can use the VOX feature to transmit hands-free. Once VOX
is turned on, the radio detects your voice and transmits when you
speak into the internal microphone.
To set the VOX Level: : Enter MENU 07, screen display "iVOX"
Your radio have 9 VOX Sensitivity Levels , adjusting the radio’s
sensitivity level helps minimize the possibility of unintended noises
triggering a transmission and helps the radio pick up soft voices.
(MENU 08) Keypad Beep
You may enable or disable the speaker key tones. You will hear the
key tone each time a button is pushed.
To turn ON/OFF the Keypad Beep : Enter MENU 08, screen display "bp"
OFF = Turn Off VOX/iVOX
9 = High Sensitivity for quiet environments
5 = Medium Sensitivity for most environments
1 = Low Sensitivity for noisy environments
OFF = Turn Off TOT function 01 = 30s
02=60s 03=90s 04=120s 05= 150s
06=180s 07=210s 08=240s 09=270s

(MENU 09) Whisper Function
Your radio has a WHISPER function, to enable the user to transmit a
high sound level even if he is whispering on the microphone.
To turn ON/OFF the WHISPER function : Enter MENU 09, screen display "UI"
When you turn WHISPER on, icon will show in the screen.
Note : The WHISPER function is recommended for use with
headsets for optimum performance
(MENU 10) Optional Functions
Your radio has Voice Compander and Voice Scrambler (Encryption) function.
The Voice Compander Function is used to reduce background noise and
enhance audio clarity, especially in long range communication.
The Voice inversion Scrambler function is an audio encryption process to provide a confidential
communication. The radios at same frequency without Correct Scrambler ID will receive only disordered noises.
To select Voice Compander or Voice Scrambler function : Enter MENU 10, screen display "OP"
When you Select and turn Scrambler on, icon will show in the screen.
(MENU 11) Voice Scrambler Group ID
When you turn on Voice Scrambler function, you will need to set a Scrambler ID to encrypt your radio.
To set Voice Scrambler Group ID : Enter MENU 11, screen display "SC"
REMARK:
To communicate with radios that do not have Voice Scrambler function,
you must turn off the Scrambler function in Menu 10.
OFF = Turn Off Optional Function
SC = Voice Scrambler
CO = Voice Compander
01-08 = Scrambler Group ID
Note : ONLY Radios with SAME Scrambler ID
can normally talk with each other.

(MENU 12) Earpiece/Headset Function
Your radio has a Earpiece/Headset function, to enable the user to have better sound when using a Earpiece/Headset.
To turn ON/OFF the Earpiece function : Enter MENU 12, screen display "EP"
(MENU 13) Monitor Function
You can use the Monitor function to listen to weak signals that you cannot hear during normal operation.
To turn ON/OFF the Monitor function : Enter MENU 13, screen display "no"
(MENU 14) Dual Watch Function
Enables your radio to scan the current channel and another selected channel alternately.
To set another channel and start Dual Watch: Enter MENU 14, screen display "CH"
When you set a Channel as Dual Watch Channel, icon will show in the channel you selected.
Then DUAL WATCH function is on and the radio will start to scan both the
current channel/code and the selected channel/code and stop on any active channel.
When you press the PTT button to transmit on an active channel, the scanning function
will stop and remain on the active channel for 10 seconds before
resuming scan when the PTT button is no longer pressed.
OFF = Turn Off Dual Watch Function
01 - XX = Dual Watch Channel Number
Note : XX means the total channel numbers of your
radio.

SPECIAL FUNCTIONS SHORTCUT OPERATION
1. LED Flashlight Function
Press and Hold button to Turn On / Off the LED Flashlight ;
2. Keypad Lock Function
To avoid accidentally changing your radio settings, you can lock the keypad
of your radio:
Press and hold Button until displays.
To unlock the radio, press and hold until is no longer displayed
3. Scan Function
Channel Scan Mode Enables your radio to scan for active channels.
Press and hold Button to Turn On the Channel Scan Function.
When activity channel is detected, your radio lands (stays) on that
channel (for 2 seconds).
To transmit on that channel, press the PTT button.
When activity on the landed channel ends, your radio continues scanning other channels.
To stop scanning, Press and hold Button to exit Scan.
4. Automatic Power Save
For better battery life, your radio is designed to switch to Power
Save mode when there has been no transmissions after 3
seconds. The radio can receive transmissions in this mode.

TROUBLE SHOOTING
Troubles
Solution
No Power Supply
1. The battery has been exhausted.
Replace or recharge the battery
2. The battery is installed incorrectly.
Remove the battery.
The working time shorten, even
the battery is fully charged.
Replace the battery
Not able to communicate with the
radios of the same group.
1. Confirm if the CTCSS/DCS in the same
frequency
2. Distance is out of the talk range
The voice of another group can be
heard
Change all CTCSS/DCS of the group
Other radios can not receive the
TX signals or receive signals in a
volume.
1. Switch the volume knob to the highest level
2. The microphone may be damaged,
send it to local dealer for check.
Noise is always heard
The distance is out of the range.
Turn on the radio in nearer range
and try again
Channels
Channel
Frequency
Use
Channel 1
476.4250
Duplex – Repeater Output
Channel 2
476.4500
Duplex – Repeater Output
Channel 3
476.4750
Duplex – Repeater Output
Channel 4
476.5000
Duplex – Repeater Output
Channel 5
476.5250
Duplex – Repeater
Output (Emergency use only)
Channel 6
476.5500
Duplex – Repeater Output
Channel 7
476.5750
Duplex – Repeater Output
Channel 8
476.6000
Duplex – Repeater Output
Channel 9
476.6250
Simplex
Channel 10
476.6500
Simplex 4WD Drivers – Convoy, Clubs &
National Parks
Channel 11
476.6750
Simplex Call Channel
Channel 12
476.7000
Simplex

Channel 13
476.7250
Simplex
Channel 14
476.7500
Simplex
Channel 15
476.7750
Simplex
Channel 16
476.8000
Simplex
Channel 17
476.8250
Simplex
Channel 18
476.8500
Simplex Caravan & Campers Convoy
Channel
Channel 19
476.8750
Simplex
Channel 20
476.9000
Simplex
Channel 21
476.9250
Simplex
Channel 22
476.9500
Data Only (No Voice – No Packet)
Channel 23
476.9750
Data Only (No Voice – No Packet)
Channel 24
477.0000
Simplex
Channel 26
477.0500
Simplex
Channel 27
477.0750
Simplex
Channel 28
477.1000
Simplex
Channel 29
477.1250
Simplex Pacific Hwy (NSW) & Bruce Hwy
(Qld) Road Channel
Channel 30
477.1500
Simplex UHF CB Broadcasts
Channel 31
477.1750
Repeater Input
Channel 32
477.2000
Repeater Input
Channel 33
477.2250
Repeater Input
Channel 34
477.2500
Repeater Input
Channel 35
477.2750
Repeater Input
(Emergency Use Only)
Channel 36
477.3000
Repeater Input
Channel 37
477.3250
Repeater Input
Channel 38
477.3500
Repeater Input
Channel 39
477.3750
Simplex
Channel 40
477.4000
Simplex Highway Channel
Channel 41
476.4375
Duplex – Repeater Output
Channel 42
476.4625
Duplex – Repeater Output
Channel 43
476.4875
Duplex – Repeater Output
Channel 44
476.5125
Duplex – Repeater Output
Channel 45
476.5375
Duplex – Repeater Output
Channel 46
476.5625
Duplex – Repeater Output
Channel 47
476.5875
Duplex – Repeater Output
Channel 48
476.6125
Duplex – Repeater Output
Channel 49
476.6375
Simplex

Channel 50
476.6625
Simplex
Channel 51
476.6875
Simplex
Channel 52
476.7125
Simplex
Channel 53
476.7375
Simplex
Channel 54
476.7625
Simplex
Channel 55
476.7875
Simplex
Channel 56
476.8125
Simplex
Channel 57
476.8375
Simplex
Channel 58
476.8625
Simplex
Channel 59
476.8875
Simplex
Channel 60
476.9125
Simplex
Channel 61
Reserved for Future Expansion
Channel 62
Reserved for Future Expansion
Channel 63
Reserved for Future Expansion
Channel 64
477.0125
Simplex
Channel 65
477.0375
Simplex
Channel 66
477.0625
Simplex
Channel 67
477.0875
Simplex
Channel 68
477.1125
Simplex
Channel 69
477.1375
Simplex
Channel 70
477.1625
Simplex
LIST OF CTCSS/DCS CODES
50 Groups CTCSS CODE (Hz)

105 Groups DCS CODE
Distributed by:
TechBrands by Electu s Di stribution Pty. Ltd.
320 Victoria Rd, Rydalmere NSW 2116 Australia
Ph: 1300 738 555 Int’l: +61 2 8832 3200 Fax: 1300 738 500
www.techbrands.com
Made in China
Table of contents
Other Nex-tech Transceiver manuals
