LABEL PLACEMENT
ASSEMBLY PIECES
BATTERY INFORMATION
HOW TO RESET
DTK34-0970-G1
1101123778-DOM
Keep these instructions for future reference as they contain important information.
Item No : DTK34-0970-G1 / 1101123778-DOM
Size : A3
Paper : Wood Paper, 70 gsm
Color : 4C
Date : Jul, 27, 2016 (Lily Liang)
Remark to -G1:
Changed Metal Rod length
from 121mm to 129mm
Fold
COVE R
Side 1 Side 2
COVE R COVE R
©2016 Mattel. All Rights Reserved. ® and ™ designate U.S. trademarks of Mattel,
except as noted. PRINTED IN CHINA.
Mattel East Asia Ltd., Room 503-09, North Tower, World Finance Centre,
Harbour City, Tsimshatsui, HK, China. Tel.: (852) 3185-6500.
© 2016 Viacom International Inc. All Rights Reserved. Nickelodeon,
Blaze and the Monster Machines and all related titles, logos and characters
are trademarks of Viacom International Inc.
Protect the environment by not
disposing of this product with
household waste (2012/19/EU).
Check your local authority for
recycling advice and facilities.
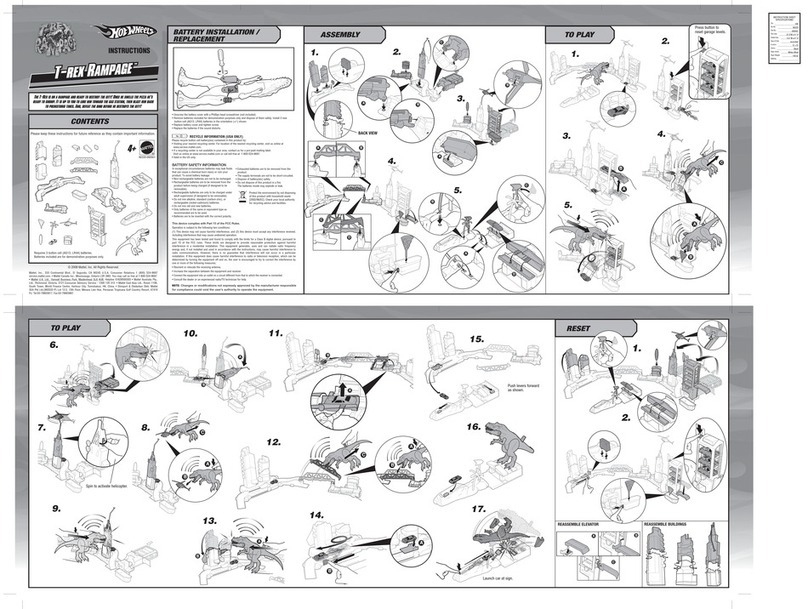
BATTERY INSTALLATION
•Unscrew and lift the battery cover away from the side of the launcher.
•Replace batteries as indicated inside the battery compartment.
•Batteries included are for demonstration purposes only.
•For longer life use only alkaline batteries.
•If the lights begin to malfunction, check the battery installation.
•You may need to reset the electronics by removing the batteries and
reinstalling them.
•If the lights continue to malfunction or no longer operate, remove the
batteries from the toy and replace them with fresh batteries.
•Requires 3 “AG13” (LR44) batteries.
BATTERY SAFETY INFORMATION
In exceptional circumstances batteries may leak uids that can cause
a chemical burn injury or ruin your product. To avoid battery leakage:
•Non-rechargeable batteries are not to be recharged.
•Rechargeable batteries are to be removed from the product before
being charged.
•Rechargeable batteries are only to be charged under adult supervision.
•Do not mix alkaline, standard (carbon-zinc), or rechargeable
(nickel-cadmium) batteries.
•Do not mix old and new batteries.
•Only batteries of the same or equivalent type as recommended
are to be used.
•Batteries are to be inserted with the correct polarity.
•Exhausted batteries are to be removed from the product.
•The supply terminals are not to be short-circuited.
•Dispose of battery(ies) safely.
•Do not dispose of this product in a re. The batteries inside may
explode or leak.
FCC STATEMENT (UNITED STATES ONLY)
This equipment has been tested and found to comply with the limits
for a Class B digital device, pursuant to Part 15 of the FCC rules. These
limits are designed to provide reasonable protection against harmful
interference in a residential installation. This equipment generates uses
and can radiate radio frequency energy and, if not installed and used in
accordance with the instructions, may cause harmful interference to radio
communications. However, there is no guarantee that interference will
not occur in a particular installation. If this equipment does cause harmful
interference to radio or television reception, which can be determined by
turning the equipment o and on, the user is encouraged to try to correct
the interference by one or more of the following measures:
•Reorient or relocate the receiving antenna.
•Increase the separation between the equipment and receiver.
•Consult the dealer or an experienced radio/TV technician for help.
NOTE: Changes or modications not expressly approved by the
manufacturer responsible for compliance could void the user’s
authority to operate the equipment.
This device complies with Part 15 of the FCC Rules. Operation is
subject to the following two conditions: (1) This device may not cause
harmful interference, and (2) this device must accept any interference
received, including interference that may cause undesired operation.
N
MER A
I
TAN
1-800-432-5437 (US & Canada)
1300 135 312 (Australia)
Fisher-Price, Inc., 636 Girard Avenue, East Aurora, NY 14052.
Hearing-impaired consumers: 1-800-382-7470.
Outside the United States:
Canada: Mattel Canada Inc., 6155 Freemont Blvd.,
Mississauga, Ontario L5R 3W2; www.service.mattel.com.
Great Britain: Mattel UK Ltd, Vanwall Business Park,
Maidenhead SL6 4UB. Helpline: 01628 500303.
www.service.mattel.com/uk
Mattel Europa B.V., Gondel 1, 1186 MJ Amstelveen, Nederland.
Australia: Mattel Australia Pty. Ltd., 658 Church Street,
Locked Bag #870, Richmond, Victoria 3121 Australia.
New Zealand: 16-18 William Pickering Drive,
Albany 1331, Auckland.
3.5mm x 129mm Metal Rod - x1
Tighten and loosen the metal rod and screws with
a Phillips screwdriver. Do not over-tighten.
3.5mm x 12mm Screw - x2
C x1
I x1 Label
F x1 x1
ADULT ASSEMBLY REQUIRED.
Tool required for assembly: Phillips screwdriver
(not included).
D x1 E x1B x1A x1
G x1 H x1
F
I
A
G
REQUIRED TOOL:
PHILLIPS SCREWDRIVER
(NOT INCLUDED).
1,5V x 3
“AG13” (LR44)
r
e
CAN ICES-3 (B)/NMB-3 (B)
Operation is subject to the following two conditions: (1) this device
may not cause interference, and (2) this device must accept any
interference, including interference that may cause undesired
operation of the device.
L’utilisation de ce dispositif est autorisée seulement aux conditions
suivantes : (1) il ne doit pas produire de brouillage et (2) il doit
pouvoir tolérer tout brouillage radioélectrique reçu, même si ce
brouillage est susceptible de compromettre son fonctionnement.
If the Hyper Loop does not complete a 360° loop, you can reset it with your hand or pull the lever down
until it returns to the start position.

