Nira 67 Operating instructions

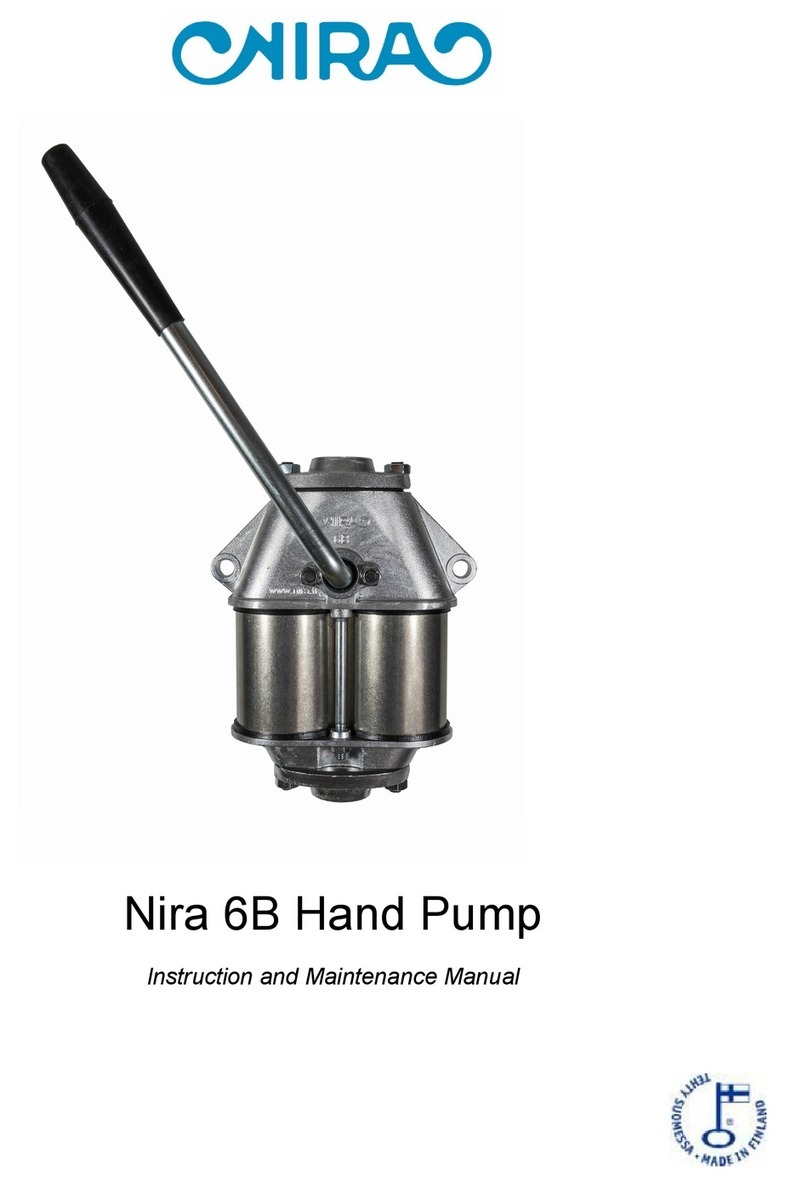
NIRA 67 Playground pump
Operating and maintenance manual
28.04.2014

Copyright © Nira Pumps Oy, 2014 | 04/2014
2
Contents
1 NIRA 67 Playground pump............................................................................................................................. 3
1.1 Description of parts ................................................................................................................................. 3
2 Introduction..................................................................................................................................................... 4
2.1 Inspection upon delivery.......................................................................................................................... 4
2.2 Before use............................................................................................................................................... 4
3 Using the pump............................................................................................................................................... 5
3.1 Installation ............................................................................................................................................... 5
3.2 Taking the pump out of use..................................................................................................................... 6
4 Maintenance and repair.................................................................................................................................. 7
4.1 Regular inspection................................................................................................................................... 7
4.2 Maintenance............................................................................................................................................ 7
4.3 Detaching the cover ................................................................................................................................ 7
4.4 Changing the rocker shaft bushes and seals.......................................................................................... 8
4.5 Cleaning and changing the O-rings and the spring................................................................................. 8
5 Technical information...................................................................................................................................... 9
6 Warranty ....................................................................................................................................................... 10
7 Recycling ...................................................................................................................................................... 10
8 Contact information....................................................................................................................................... 11
Read these instructions carefully. Follow all warnings and instructions marked on the product

Copyright © Nira Pumps Oy, 2014 | 04/2014
3
1 NIRA 67 Playground pump
Nira 67 Playground pump is intended for children’s playgrounds. The pump is designed to be connected to a
pipeline and therefore cannot be used for pumping water from ordinary water wells. This document gives
instructions for operating and maintaining the device. Please familiarize yourself with these instructions
before using the device. Use the device only as described and for the specified applications. Store these
instructions in an appropriate way, making sure that the instructions are available to all possible users
throughout the life of the device.
To avoid injury, follow the instructions given in this document.
1.1 Description of parts
The parts of NIRA 67 Playground pump are shown below (Figure 1, Figure 2).
1
Handle
P18485
2
Main pipe
SD302
3
Rocker arm
P18466
4
Side disk
P15749
5
Piston rod
P18886
6
Pellet
P16967
7
Base plate
SD1804
8
Piston
P15671
9
Cylinder
P15673
10
Cylinder bottom
P15675
11
Bobbing
P18550
12
Pump head
P14749
13
Shaft seal
RSL05
14
Grip handle
R282GRIP82L
15
Reducing socket
R1570713
16
Plastic cover (blue
(S)/red(P)/grey(H))
R14766S/P/H
17
Bearing
P14750
18
Cover screw
R206820
19
Spring
H50296
20
O-ring
R2781425
21
Plug
R2030630
22
Locking washer
R23010N
23
Hex. Screw M10x30
R2061030
24
Sand blocking
P18840
25
O-ring
R278104
26
Pin
R242430
27
Hex. screw M6x35
R206635
28
Locking nut M6
R2276RST
29
Cover screw seal
R16787
30
Washer M8
R2308A
31
Cover seal
R14832
32
Washer M10
SD404
33
Hex. screw M8x40
R202840
34
Hex. Nut M8
R2288
35
Locking screw M5x6
R21456
36
Screw (M10x10)
R2141010
37
Hex. screw M8x25
R206825
38
Hex. screw M8x40
R206840
39
Valve
P15447
Figure 1: NIRA Playground Pump

Copyright © Nira Pumps Oy, 2014 | 04/2014
4
2 Introduction
2.1 Inspection upon delivery
Before the device is taken into use, check that the packaging is intact and that it has not been damaged
during transportation. Please notify the transport company and the supplier of any transit damage within two
(2) days of receiving the delivery.
Ensure that the delivery contains all the parts detailed in the delivery note. If there is anything missing from
the delivery consignment, please contact the supplier immediately.
2.2 Before use
NIRA 67 Playground pump is intended to be used in children’s playgrounds and other places where the
pump can be connected to a water pipe line instead of water wells. NIRA 67 Playground pump cannot be
used for pumping water from water wells since it has no pumping mechanism.
If the pump head is too high, it can be adjusted by sliding the pump body through the base plate approx. 50
cm. Height adjustment inquires requires enough free space under the base plate.
A steady slab is needed for installation. The base plate must be mounted on the slab. Under the slab there
must be enough free space for adjusting the pump head and for installing the valve to the pipeline. Use
rubber hose and make sure that there is few meters of hose rolled in the stand (Figure 3). This way the
possible pressure changes won’t affect the operation of the pump.
Figure 2: NIRA Playgorund pump stand (accessory)
Figure 3: Extra hose in the stand

Copyright © Nira Pumps Oy, 2014 | 04/2014
5
Also a hosepipe with a hose clamp and a hose pipe coupling with ¾” thread is needed (Figure 4).
Note following important issues:
Pressure 4-6 bars; the higher the pressure, the higher the water consumption. Pressure has an
impact on the closing of the valve. Pressure shock absorber is available as an accessory. The use of
the absorber is recommended since it reduces hydraulic impacts o the pipe line.
For the connection to the water mains, contact your plumber and adhere to EN1717- Protection
against pollution in water installations and general requirements of the devices to prevent pollution
by backflow.
Priming water must be added before use. Remove the plug (Figure (21)) and fill in approx. 1 liter f
water.
While pump is in use there must be water in it to lubricate the mechanism. The pipe water
must be clean.
The pump may exert the pipeline and its joints. Use the pressure shock absorber (optional).
Do not use the pump without priming water as the mechanism can get damaged if dry pump is
used.
The pumpshould not get frozen, while priming water is in the pump. The operating
temperature is between +2°…+50° C.
Shut off the closing valve of the pipeline when the pump is not in use.
A small amount of water remains in the pump. The pump should be flushed daily before use.
Use the pump according to its intended use.
3 Using the pump
3.1 Installation
As a standard the package contains following items:
Base plate (1 pc)
Pump body (1pc) with installed handle and valve
The stand is available as a accessory.
Tools needed for the installation:
13 mm spanner or adjustable spanner (1 pc)
10 mm hex key (Allen key)
Figure 4: Hose pipe coupling with ¾” thread

Copyright © Nira Pumps Oy, 2014 | 04/2014
6
Figure 5: Base plate
Figure 6: Installing the hose coupling
1. Install the base plate on the desired height on the pump body (Figure 5)
2. Attach the hose coupling to the valve and install the hose pipe on the hose coupling with a hose clamp
(Figure 6).
3.2 Taking the pump out of use
If the temperature goes below the operating temperature (+2 °…+50°C) any time of the day, the pump must
be disconnected and dumped.
1. Close the water tab and remove the hose
2. Remove the plug on top of the cover (Figure 1(21)).
3. Move the handle on the uppermost position.
4. Turn the pump upside down so that the water can drain from the pump through the opening.
5. If the stand is used, place the cover in place (Figure 2 (4))
6. Store the pump in warm and dry place.
Ø 10,5 mm
190mm
3. Install the base plate on the slab. Hole pattern is 4x190 mm and
diameter 10,5 mm (Figure 5).
4. Add priming water (1 liter) before use. Remove plug (Figure 1
(21)) on top of the pump. Fasten the plug.
5. Water has to be added if the water inside the pump has drained.
Usually no water has to be added as long as the hose is filled with
water and is connected to the pump.

Copyright © Nira Pumps Oy, 2014 | 04/2014
7
4 Maintenance and repair
4.1 Regular inspection
NIRA Playground pump is a playground equipment. According to the EN 1176 regular inspections have to be
made to ensure safe operation. Weekly inspections are recommended.
If the screw (Figure 1(23)) comes loose do not try to tighten it. The screw must be removed
and thread locker (e.g. Locktite-Threadlocker) must be added to the thread.
Use only new locking washers (Figure 1 (22)). Install the handle again with the washers and tighten the
screw with approx. 40Nm torque.
4.2 Maintenance
NIRA playground pumps do not need periodical service. Water impurities are the most common reason for
malfunction in the valve system. In this case the valve needs to be cleaned. When the pump opened and
cleaned, change the O-rings in valve at the same time. Intensive use may cause the spring (Figure 1 (19)) to
wear out and break.
4.3 Detaching the cover
The cover is fastened to the pump with hexagonal screws (6 short and 1 long).
Figure 7: Detaching the cover
1. Unscrew the screws (5 pc.)(Figure 7(1))
and remove the cover.
2. Remove the screw (2)(Figure 7). Notice
that the sand blockage (marked with red
circle) won’t come out but you are now able to
unscrew the screw (3).
3. Assemble the pump in reverse order. Make
sure that the seal is properly in place.

Copyright © Nira Pumps Oy, 2014 | 04/2014
8
4.4 Changing the rocker shaft bushes and seals
4.5 Cleaning and changing the O-rings and the spring
Figure 8: Changing the rocker shaft bushes and seals
1. Remove the cover as described in Chapter
4.3.
2. Loosen the screw (1) (Figure 8) with the
locking washer.
3. Remove the side plate (2) (Figure 8).
4. Remove the screw (3) (Figure 8).
5. Now the handle (4) (Figure 8) can be
removed in order to change bushes and seals
(see Figure 1)
6. Assemble the parts in reverse order.
Figure 9: Changing the O-ring
1. Remove the cover as described in Chapter
4.3.
2. Remove the pin (1) (Figure 9).
3. The piston rod can now be removed. Notice
the pellet (6) (Figure 1).
4. Change the O-ring of the piston (marked
with red).

Copyright © Nira Pumps Oy, 2014 | 04/2014
9
5 Technical information
Weight 10 kg
Pumping capacity 10-20l/min.
Operating pressure 4-6 bar
Diameter of the mounting holes 10,5 mm
Operating temperature +2…50 ° C
Material:
Exterior Stainless steel, plastic, aluminum
Seals Nitrile rubber, EPDM
Valve/Piston POM-plastic
Cylinder Brass, stainless steel
Check the information also in the type plate (Figure 9).
The designing of the pump is based on the standard EN 1176-1. NIRA Playground pumps are CE-marked.
1. Open the screw (2) (Figure 10). Make sure that the cylinder
bottom (10) (Figure 1) at the lowest position (marked with red).
2. Notice the pellet (1) (Figure 10).
3. Change the spring and O-ring.
4. Reassemble the parts.
Figure 10: Changing the spring
Figure 11: Type plate and its location (NOTE! The picture is suggestive)

Copyright © Nira Pumps Oy, 2014 | 04/2014
10
6 Warranty
The general guarantee is one (1) year from the delivery date.
The terms of guarantee are appropriate use of the product and compliance with operating instructions. The
guarantee does not apply to damage caused by misuse or failure to comply with the terms of guarantee.
Manufacturer’s obligations are limited to the repair or, at its discretion, replacement of the product or the
defective part. For this, the customer is responsible for the despatch and insurance of the product. The
transport and insurance costs shall be borne by the customer. Manufacturer shall assume the costs for the
materials / spare parts and the labour costs as required, as well as the return postage to the sender.
The guarantee does not apply to maintenance and cleaning, foreign objects installed to the product,
construction changes, natural wear or paint damage.
7 Recycling
Most of the materials used in the pump are recyclable. When the device is removed from usage, it should be
dissembled and recycled appropriately. Recycling should be done by specialized company. Do not dispose
the device in the household waste.
Following materials should be separated before recycling:
METALS: frame, screws, nails, springs etc.
ENERGY WASTE (combustible waste): wood and wood-based materials.
HOUSE HOLD WASTE: plastic, and other materials which cannot be separated further.
Contact your local disposal authority for more details of how to recycle. Follow the instructions given in local
collection points

Copyright © Nira Pumps Oy, 2014 | 04/2014
11
8 Contact information
Manufacturer Service
Nira Pumps Oy Tel. +35810 830 6750
FI-38201 Sastamala
Tel.. +35810 830 6700
Fax. +35810 830 6702
Email: firstnam[email protected]
www.lojer.com
Model: ________________________________________________________
Serial number: __________________________________________________
Date of purchase: ________________________________________________
Your local dealer:____________________________________________
Table of contents
Other Nira Water Pump manuals