6 7
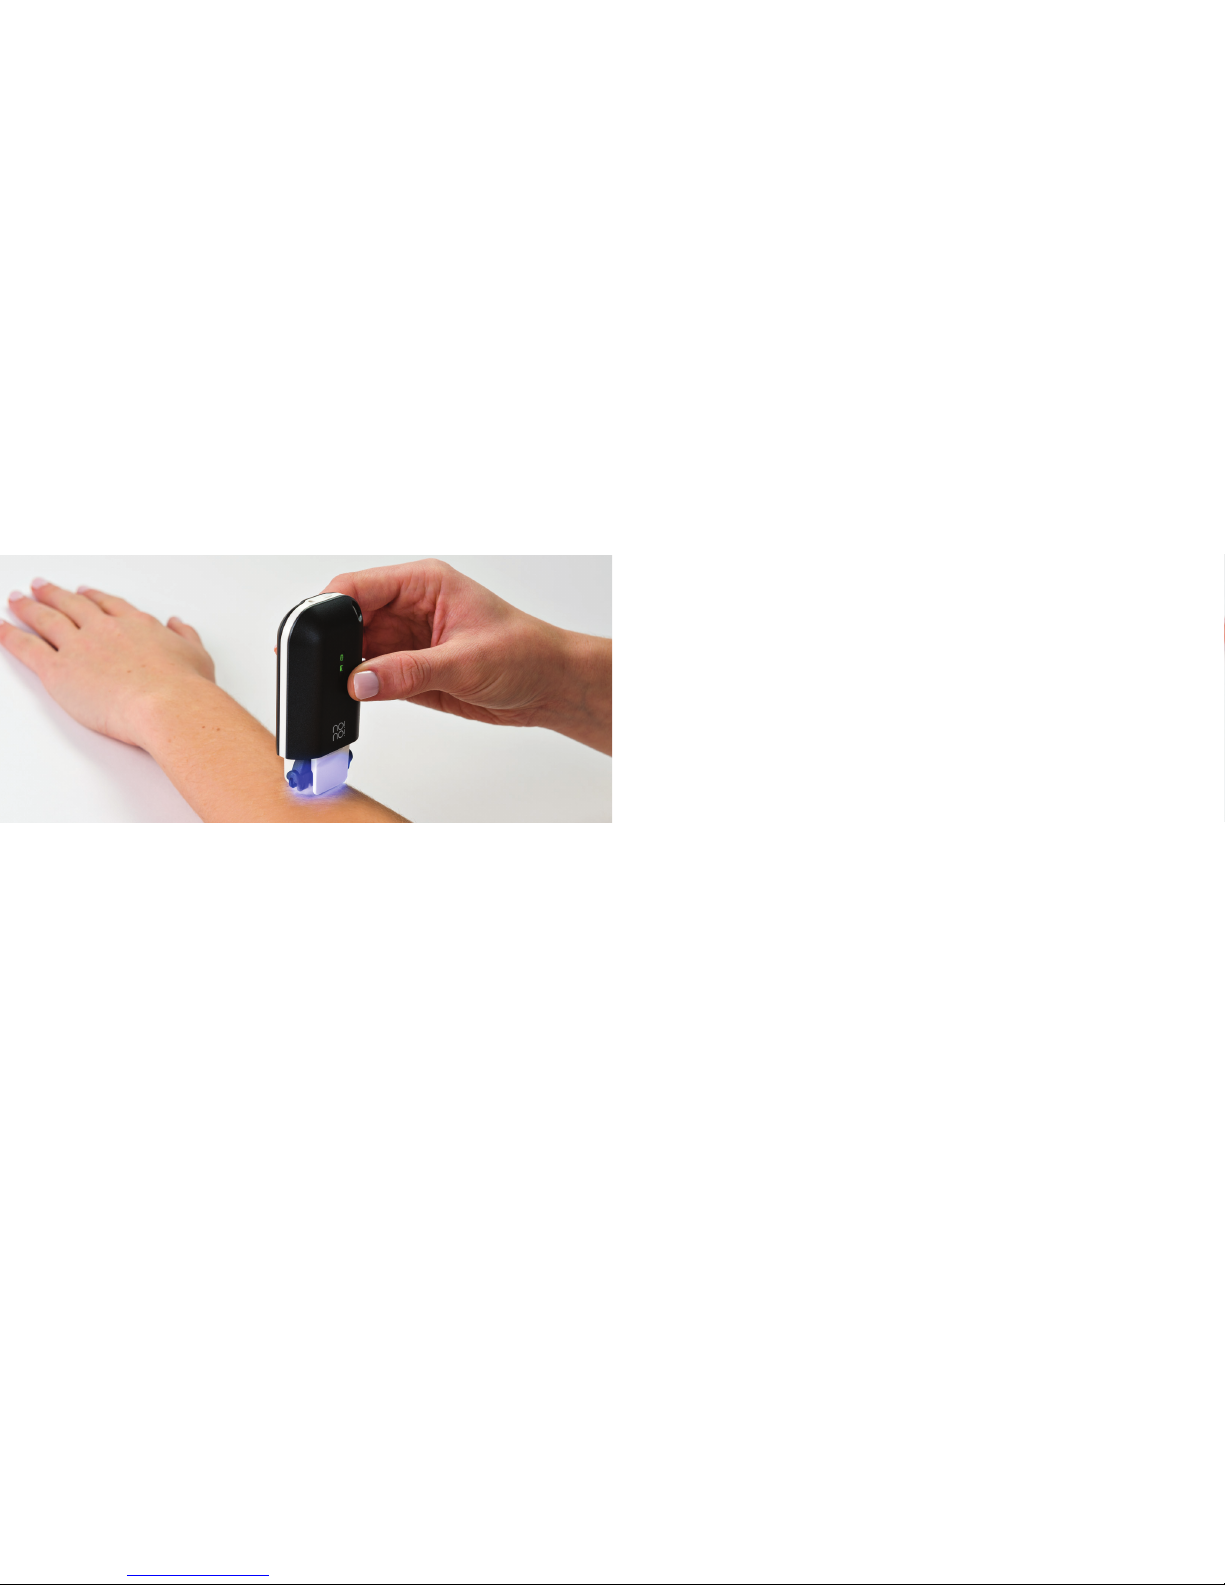
Safety Warnings Do not allow the thermodynamic wire inside the Thermicon Tip
to touch your skin.
Only use this device for its intended purpose as described in this
Getting Started guide.
This device can be used by children aged from 8 years and above and
persons with reduced physical, sensory or mental capabilities or lack
of experience and knowledge if they have been supervised/instructed
and understand the hazards involved. Children shall not play with the
device. Cleaning and user maintenance shall not be done by children
unless they are older than 8 and supervised. Keep the device and
Charger out of reach of children under 8 years.
Not intended for animals.
Keep the device dry.
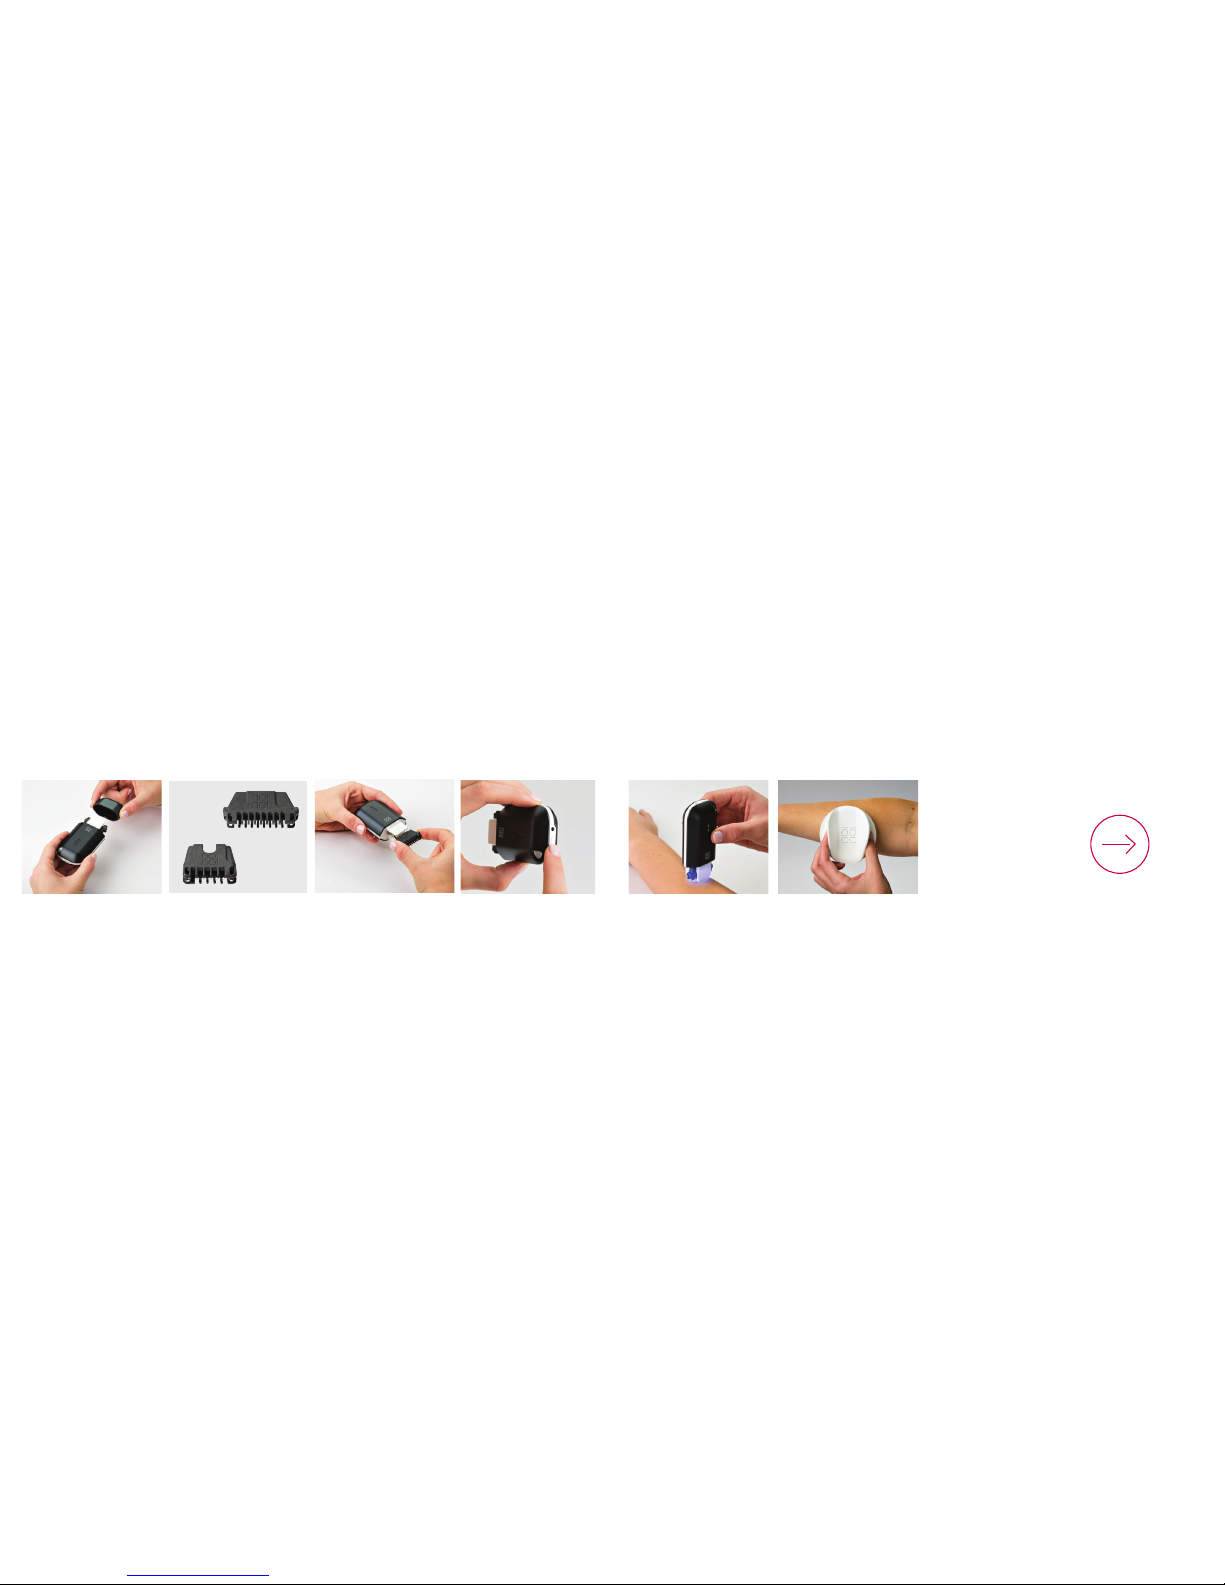
Getting to Know no!no!
Do not use this device on the genitals or nipples.
Do not use this device with the Thermicon Tip on the sensitive skin
around the eyes, especially the area under the eyes.
Do not use this device on eyebrows.
Do not use this device on sunburned skin, open cuts, bruises, blisters,
moles or on raised areas such as scars.
If you have any skin condition other than those listed above, like cold
sores, herpes, severe acne, please consult your physician before using
this device.
Do not use deodorants, lubricants, liquids, creams, gels, alcohol, water
etc. before use.
When using this product...