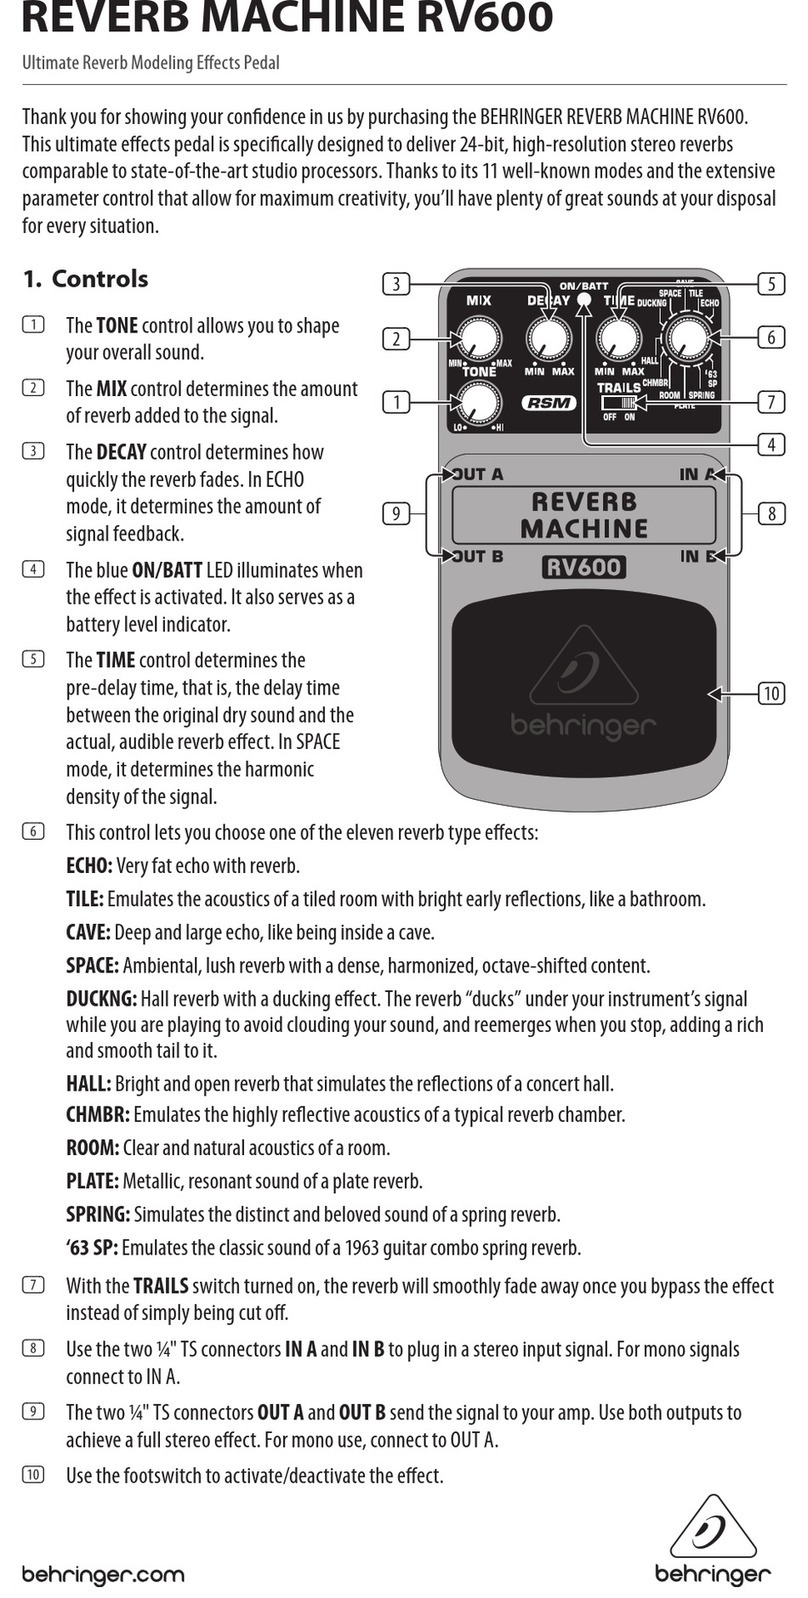
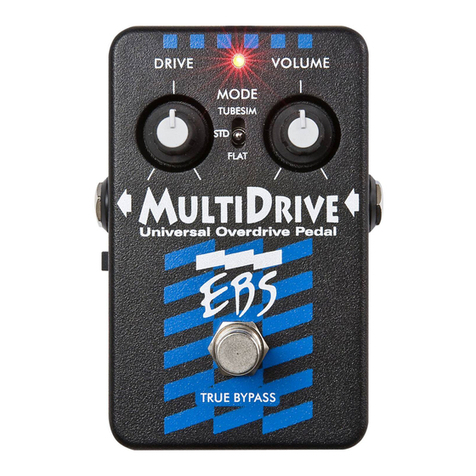
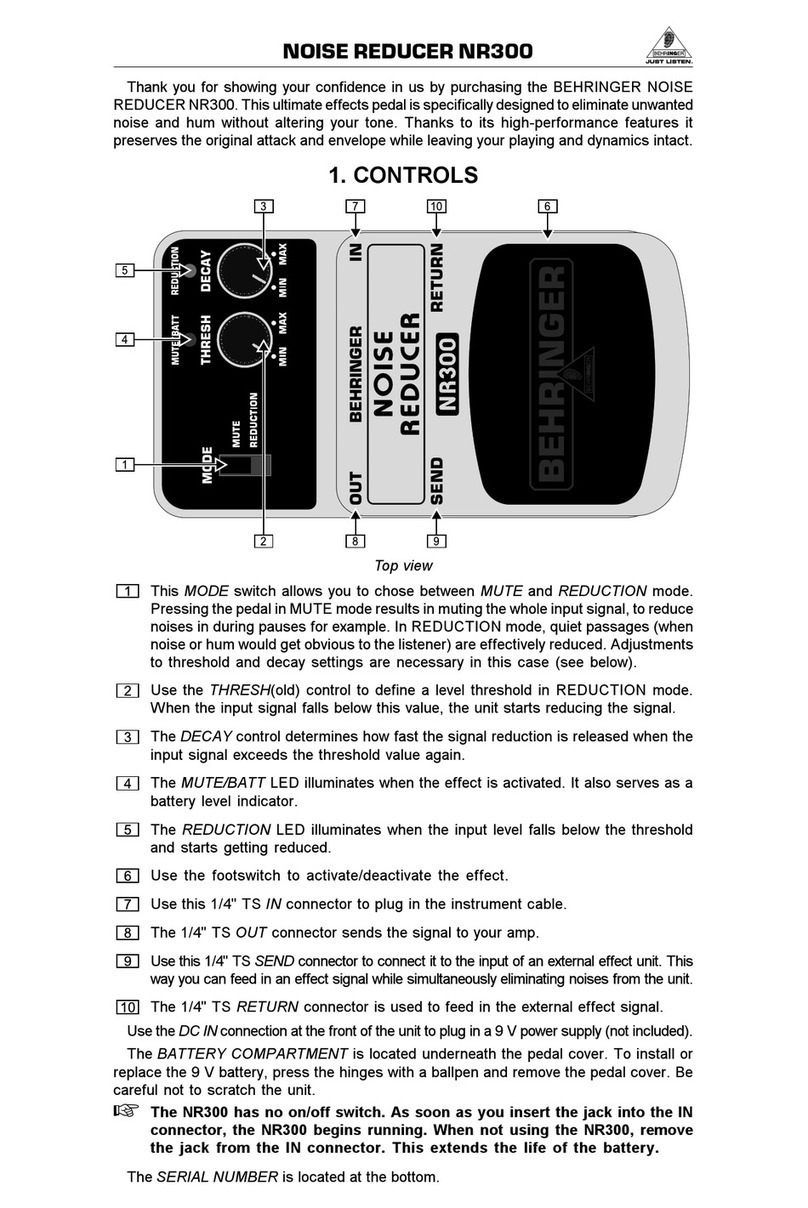
Nordland Electronics Custom Overdrive ODR-C User manual

English Owner’s Manual ODR-C
ODR-C
Custom Overdrive
♦Please read this manual carefully!
♦After reading, keep this document
where it will be available for reference.

English Owner’s Manual ODR-C
2
/8
Introduction
Moin, Moin, as we say here in the Nordland and congratulations on the purchase of this effect device! It was
made mainly by hand, is equipped with very high quality and selected components and personally tested and
measured
Only when it meets my own quality requirements, the device comes in the delivery This is the detailed guide
with more technical background to better explain the functions
The latest version is always on my website: http://nordland-electronics com
Development
The ODR-C is based on one of my most successful developments (ODR-1)
from the early 90s The basis was to develop an overdrive that retains the
sound of the guitar as much as possible - that is: sounds very "natural"
The device was very good sound, but was designed and manufactured for
production in the Far East (Korea) Correspondingly cheap components
were used
The ODR-1 has always been my favorite overdrive and that's why I've had
the desire to rebuild the model and release it with high quality
components in a small series
The result is the new ODR-C, which sounds in the basic sound like my
ODR-1, but has many news and quality improvements:
New Functions
• A small O.D.C.-knob to decrease the amount of overdrive
compression technically occurs during the overdrive process
• Another small Lo-Cut-knob to control the low frequencies out of
the signal
• A big Mid-knob to control the midrange
Improvements
• The built-in components can easily handle 18 volts The sound of the ODR-C changes during
operation voltages between 9 V and 18 V Please try it yourself!!
• Reverse polarity protection: The device locks in reverse polarity and thus protects the electronics
• True Bypass Footswitch: No sound loss in the bypass (Effect Off)
• Soft-click of the footswitch - more comfortable than the usual hard switch
• Use of high quality materials, such as: Stable Hammond MFG (England) 1590N1 aluminum body, gold
plated cliff jacks (also from England), gold plated PCB-connectors, PCBs with ENIG/gold plated pads,
1% (tolerance) metal film resistors, ± 2% 5% film capacitors in audio signal path for best sound
quality
• Soft LED: Fade in / out of the LED brightness to optimally suppress switching clicks
• LED brightness control from dark to very light (internal trim-potentiometer, adjustable with a small
screwdriver)

English Owner’s Manual ODR-C
3
/8
Operation
Velcro or rubber feet
There is a set of Velcro pads and a set of rubber feet included Depending on the application, please attach
the Velcro or the rubber feet
♦ Note: Please keep the screws free so that access to the inside is maintained!
Connection to a DC power supply:
Connect the DC-socket D to a standard power-supply (hum-
free, electronically stabilized!) The voltage must be between
9 V and 18 V Depending on the operating voltage, the device
requires between 15 mA and 25 mA The power-supply should
be able to deliver at least 50 mA The inner pole of the socket
(5 5 mm / 2 1 mm) is ground, the outer ring must be on plus (+)
If the polarity is wrong, the built-in reverse polarity protection
prevents (to a certain extent) damage to the ODR-C
Nevertheless, it should be avoided, since when using other
devices on this power supply, the positive contact on the
housing (usually: ground) is applied As a result, touching or
wiring with another device may cause a short circuit in this
power supply unit and possibly damage it!
Connection to a 9 V battery:
After removing the bottom plate E (4x Phillips screws), a 9 V
block battery (recommended: alkaline-manganese) can be
connected to the clip and placed behind the foot switch
Depending on the battery, this will last for several hours until it
has to be replaced
For environmental reasons, however, I strongly advise against using batteries!
Connection
The output signal from the instrument or another effect-device is connected to the input jack with a
mono-jack cable (1/4" or 6 3 mm plug)
♦ Note: When using a stereo-cable, the unit cannot be turned on unless the ring-contact is grounded (GND)!
At the output -jack a cable to the following device (amplifier, another effect pedal, etc ) is connected
Effect On
The true bypass-switch G turns the effect on / off The LED F lights up when the effect is on The signal is
routed from the input-jack, through the footswitch directly to the output-jack A resistor of 1M0 across this
signal is grounded to divert DC offset-voltages, or vice versa capacitors to discharge, which reduces the
switching-noise!
Before switching on, please make sure that the volume H is set so low that any impairment or damage of
any kind (health: hearing, electrical: loudspeakers, amplifiers) is excluded
♦ Note: Clicking noises when switching cannot be prevented 100%. Just after connecting to a DC power-supply, it can
be a little louder when switching over the first few times. It takes a while until the operating values are stable. Then
it gets quieter. If the crackling is permanently too high, this can also be caused by the connected devices by the
previous or subsequent stage has superimposed some DC voltage (DC-offset)!

English Owner’s Manual ODR-C
4
/8
Level
This knob H adjusts the output-volume of the ODR-C
Drive
This control I set the amount of overdrive It can be adjusted between "almost clean" and "heavily
overdriven" The volume changes depending on the position of the knob Then, if necessary, adjust the
volume with the Level-control H The overdrive circuit limits the signal and therefore it sounds more
compressed (longer sustain) and it produces a lot of harmonics too
Spectrum
This control J has always been special! Unlike other devices on the market (called Tone or Treble), which
prune the signal simply in the treble (dull control) I use an active electronics, which regulates not only the
treble (from about 1 kHz), but likewise the basses around approx 300 Hz - so rather the lower middle range
Orange The center-position is the normal sound In this position the button engages noticeably
Gray Turning the knob to the right raises treble and bass
Green Turning the knob to the left will lower treble and bass accordingly
What remains is a good sounding middle section (600 Hz to 1 kHz) This results in well playable
sounds in all positions

English Owner’s Manual ODR-C
♦ Note: In the left position of the
two small knobs O.D.C. and Lo-
Cut, and in the mid-position of the
"Mid" knob, the ODR-C sounds
original as an ODR-1 should
sound.
♦ The picture on the page 2 (New
Functions) shows e.g. this setting!
5
/8
Custom
O.D.C. / Overdrive De Compress
This mini-knob L reduces the compression created by the ODR-1
overdrive stage This makes the sound more dynamic (sounds more
open), amplifies more the center-frequencies a bit and therefore
sounds louder The effect is subtle and becomes more noticeable
audible the more the Drive knob is turned up
Lo Cut
With this button M very low-frequencies (bass) are regulated away Due to the lack of signal component,
the auditory impression of less overdriving can occur, as the density of the signal decreases accordingly!
Blue Left stop
Red Mid-Position
Orange Right stop
So do not be surprised:
When "turning to the right",
the bass decreases - that is
so intentional
♦ Bonus: If the control is
turned all the way to the right (orange), the overdrive (about 3 o'clock position) increases to counteract the
reduced distortion!
Mid
With this control K, the mid-frequencies can be raised (blue) or lowered (violet) While this changes the
natural ODR-1 sound, it can be useful in, e g solo play, ensure a much better enforcement in the band
structure
The frequency and the bandwidth are optimally selected for the guitar sound but also overlap with the
Spectrum-control If so, correct it with the Spectrum-control!
In the middle-position (orange) - the button snaps in noticeably - it sounds like the ODR 1 again

English Owner’s Manual ODR-C
6
/8
LED Brightness
In the basic version, the brightness is at a medium brightness-level With a small screwdriver, the LED
brightness N can be set inside to a desired brightness
Sound Examples
Low Gain Drive Light Overdrive / Blues
Medium Overdrive
Blues Solo / Overdrive
Heavy Dynamic Rhythm
Heavy Compressed Solo

English Owner’s Manual ODR-C
7
/8
Technical Data
• Input Impedance 1 MΩ
• Output Impedance 1 kΩ
• Power supply with DC 9 V battery:
o Dry battery 6F22 (9 V)-Type (Carbon)
o Dry battery 6LR61 (9 V)-Type (Alkali-Manganese)
• Battery life during continuous operation
*)
:
o Carbon: approx 20 hours (calculated with a battery capacity of 300mAh)
o Alkaline manganese: approx 33 hours (calculated with a battery capacity of 500mAh)
)
This information depends on the battery and the ambient conditions!
• DC power supply 9 V to 18 V (electronically stabilized)
• Power consumption: approx 15 mA at 9 V, approx 25 mA at 18 V
• Dimensions 125 (L) x 66 (W) x 58 (H) mm
• Weight ca 370 g (without Battery)
Important Notes / Safety Instruction
• DC voltages above 20 volts could damage the ODR-C!
• Do not use the ODR-C in a humid, dusty, dirty, or hot environment
• Liquids of any kind can damage the device (Keep your cat away!)
• Do not use harsh detergents If necessary, the ODR-C should be cleaned with a soft cloth
• Batteries
o Improper handling of batteries can cause them to explode or leak Therefore, always observe all
safety instructions regarding the batteries
o If the device is powered by a battery, the decreasing capacity LED will be dimly lit Then the
battery should be replaced
o When changing the battery, the cables at the connections (input, DC, output) must be removed
beforehand! This prevents possible malfunctions or damage
o Inserting a mono jack plug into the input socket switches the device on! Please keep this in mind
when using the battery and pull out the jack plug when switching off
• Technical and written changes reserved!
• This manual describes the specifications and details of the device when this document is published
• A current version of this manual can be found on the Nordland website:
https //nordland-electronics.de/en/products/download-en.html

English Owner’s Manual ODR-C
200320
RoHS
Copyright © 2019 Nordland® Electronics
Nordland is a registered trademark!
http://nordland-electronics com
Table of contents
