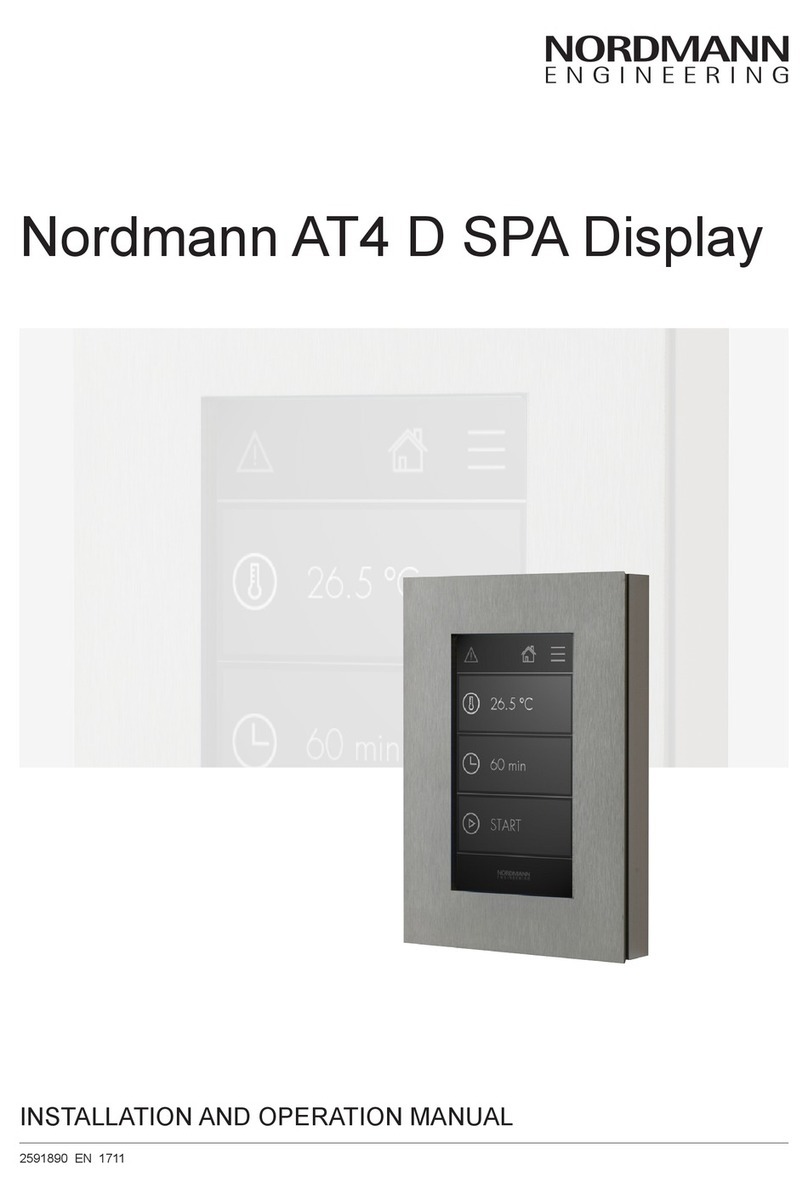
Nordmann Engineering 2600624 User manual

300362 DE/EN 2101
Seite/Page 1
2600624
2600626
2600627
2600628
SPA Display IPX7
OMEGA, SPA & AT4D
Artikel-Nr.
2600624
2600626
2600627
2600628
Bezeichnung
Display mit Unterputzgehäuse, IPX7, SPA Control
Display mit Aufputz, IPX7, SPA Control
UP-Gehäuse (inkl. Befestigungsmat.), IPX7, AT4D
AP-Gehäuse (inkl. Befestigungsmat.), IPX7, AT4D
Part No.
2600624
2600626
2600627
2600628
Description
Display w ush-mounted housing, IPX7, SPA Control
Display with surface-mounted housing, IPX7, SPA C.
UP housing (incl. mounting material), IPX7, AT4D
AP housing (incl. mounting material), IPX7, AT4D
Lieferumfang
1x Display verklebt auf Edelstahlrahmen
1x Displaygehäuse
1x Montagezubehör
Scope of delivery
1x Display glued on stainless steel frame
1x Display housing
1x Mounting accessories
Sicherheitshinweise
• Die Montagearbeiten dürfen nur durch geschultes und
autorisiertes Fachpersonal ausgeführt werden. Die
Überwachung der Qualikation ist Sache des Kunden.
• Verwenden Sie ausschliesslich das im Lieferumfang
enthaltene Befestigungsmaterial.
• Beachten Sie unbedingt die Sicherheitshinweise und
Informationen in der Montageanleitung und der Be-
triebsanleitung zum jeweiligen Gerät zu dem das
Installation-Kit UP Display verwendet wird.
Safety notes
• The mounting work must be carried out only by trained
and authorised technical personnel. It is the owner’s
responsibility to verify proper qualication of the per-
sonnel.
• Only use the xing material included in the delivery.
• Observe the safety notes and the information given in
the installation manual and operation manual of the
respective device with which the Installation kit UP
Display is used.
Beschreibung
Bei der neuen Version des SPA Displays ist der Edel-
stahlrahmen mit dem Display verklebt und bildet eine
Einheit. Hier wird beschrieben, wie die bauseitige Abdich-
tung zwischen Rahmen und Wand bzw. Rahmen und AP
Gehäuse durchzuführen ist.
Description
In the new version of the SPA Display, the stainless steel
frame is glued to the display and forms one unit. Here it
is described how the sealing between frame and wall or
frame and AP housing is to be carried out on site.
Benötigtes Verbrauchsmaterial
• Qualitativ hochwertiges Silikon in passender Farbe
• Klebeband zum Abkleben der Fliesen und des Rahmens
• Seifenwasser
Required consumable material
• High quality silicone in matching color
• Adhesive tape to cover the tiles and the frame
• Soap water
Benötigtes Werkzeug
• Silikonpistole
• Silikonabzieher
Required tools
• Silicone gun
• Silicone puller
Video des Arbeitsablaufes
https://youtu.be/3PvHPsfyBuM
Video of the workow
https://youtu.be/3PvHPsfyBuM
Video des fertigen Displays
https://youtu.be/bbFrTH19TXA
Video of the nal display
https://youtu.be/bbFrTH19TXA

Installation
Führen Sie die Verkabelung anhand der IOM SPA
Display und IOM AT4D Spa Display Kapitel 4.4 durch.
Führen Sie die Konguration des Condair Omega bzw.
Delta SPA durch und gehen Sie bei mehreren Displays
entsprechend dem Display ID vor. Beim AT4D kongurie-
ren Sie gemäss Kapitel 4.6 der IOM AT4D Spa Display.
Installation
Perform wiring using the IOM SPA Display and IOM AT4D
Spa Display chapter 4.4.
Congure the Condair Omega or Delta SPA and proceed
according to the display ID in case of multiple displays.
For the AT4D, congure according to chapter 4.6 of the
IOM AT4D Spa Display.
1
Führen Sie einen Funktionstest durch,
um sicherzugehen, dass das Display
einwandfrei funktioniert bevor es mit
Silikon aufgeklebt wird.
Perform a functional test to make sure
that the display works properly before
it is glued on with silicone.
2
Kleben Sie die Fliesen und den
Rahmen ab.
Legen Sie das Display dazu auf den
Rahmen. Die Magnete ziehen es jetzt
in Position und halten es fest. Bringen
Sie am Rahmen entlang das Klebe-
band an. Lassen Sie eine Lasche ste-
hen, sodass Sie später das Klebeband
einfach wieder abziehen können.
Tape the tiles and the frame.
To do this, place the display on the
frame. The magnets now pull it into
position and hold it rmly. Apply the
adhesive tape along the frame. Leave
a tab so that you can easily remove
the tape later.
3Fetten Sie den Rahmen und die Flie-
sen ein. Grease the frame and the tiles.
4Tragen Sie das Silikon auf. Apply the silicone.
Seite/Page 2

5
Verbinden Sie das Display Kabel mit
dem Kabel im Gehäuse und schieben
Sie es nach innen.
Connect the display cable to the cable
in the housing and push it inwards.
6
Setzen Sie den Rahmen auf und
drücken Sie ihn an. Das zuvor ange-
brachte Klebeband hilft die genaue
Position wieder zu nden.
Place the frame on top and press it on.
The previously applied adhesive tape
helps to nd the exact position again.
7Ziehen Sie das Silikon mit einem
Abstreifer sauber ab.
Pull o the silicone cleanly with a
scraper.
8Entfernen Sie das Klebeband vorsich-
tig von den Fliesen.
Carefully remove the tape from the
tiles.
9Streichen Sie Unebenheiten ggf. mit
Seifenwasser und einem Finger glatt.
Smooth out any unevenness with
soapy water and a nger if necessary.
10
Warten Sie 24 Stunden bevor Sie das
Dampfbad in Betrieb nehmen, sodass
das Silikon sauber durchtrocknen
kann.
Wait 24 hours before operating the
steam bath so that the silicone can dry
cleanly.
Seite/Page 3
This manual suits for next models
3
Other Nordmann Engineering Monitor manuals
