norpak TTX81X User manual

Connecting Video
There are two types of video signal which can be used with the TTX81X.
The “RF in” jack will accept a VHF/UHF signal such as you would obtain
from either a cable outlet or a rooftop antenna for local broadcast. A
threaded (type F) jack is used on the “North American” model (TTX815);
an IEC aerial jack is used on the “European” model (TTX816). If you
have an RF signal, connect it as shown below. If it is the threaded type,
tighten it fully using your fingers.
The “Video In” jack will accept a composite video signal such as you
would obtain from the “video out” jack of a satellite receiver, component
tuner or VCR. This jack is a reliable BNC type; if your video signal source
uses another type of jack (for example, phono), you will need an adaptor
to connect it to the TTX81X. If you have a video signal, connect it as
shown below.
You are now ready to install and use your application software. To
proceed, refer to the manual supplied with the software.
norpak corporation
Telephone: 613-592-4164.
Fax: 613-592-6560
web: http://www.norpak.ca
Document 85-098xx-01, Revision A
norpak corporation
TTX81X TV Data Receiver
Installation Guide
Introduction
This guide describes how to install the TTX81X TV Data Receiver
in your computer, how to connect the video signal to it, and how to
check that it operates properly in your computer.
Once you have completed these steps, you will be ready to install
application software to work with the TTX81X.
Please follow these steps carefully, to ensure a successful
installation.
Information to User
The following warning is provided in compliance with the regulations of the
United States Federal Communications Commission (FCC):
This equipment has been tested and found to comply with the limits for a
Class B digital device, pursuant to Part 15 of the FCC Rules. These limits
are designed to provide reasonable protection against harmful
interference in a residential installation. This equipment generates, uses
and can radiate radio frequency energy and, if not installed and used in
accordance with the instructions, may cause harmful interference to radio
communications. However, there is no guarantee that interference will not
occur in a particular installation. If this equipment does cause harmful
interference to radio or television reception, which can be determined by
turning the equipment off and on, the user is encouraged to try to correct
the interference by one or more of the following measures:
CReorient or relocate the receiving antenna.
CIncrease the separation between the equipment and receiver.
CConnect the equipment into an outlet on a circuit different from that to
which the receiver is connected.
CConsult the dealer or an experienced radio/TV technicain for help.
Changes or modifications not expressly approved by Norpak Corporation
could void the user's authority to operate the equipment.

System Requirements
To use the TTX81X, you need a computer with a vacant 16-bit ISA slot,
and Windows 95, 98 or NT.
Installation
1. With the power off and the power cord unplugged, remove the cover
from your computer, following the manufacturer’s instructions.
2. Locate an unused “16-bit ISA slot” in the computer. If you are unsure
what this means, look closely at the computer’s bus connectors. There
is only one type which will accept the TTX81X; it will not fit in other
connectors such as “PCI”. If there are 2 or more empty ISA slots, try
to leave one slot vacant on each side of the TTX81X; this will ensure
the best possible data reception.
3. Remove the blank mounting bracket from the selected slot, and retain
the screw for later use.
4. Ensure that the “DIP switches” on the TTX81X are all in the OPEN
position, which is how they are set at the factory. This is the best
setting for most computers, since it allows the software to set up the
card automatically.
5. Insert the TTX81X into the connector for the desired slot;. some
pressure will normally be required. Align the hole in the upper edge of
the TTX81X mounting bracket with the screw hole and replace the
screw you removed in step 3.
6. Replace the computer’s cover and apply power.

Testing
After Windows is running, run the hardware test program as follows: click
“Start”, then “Run”, then “Browse”. Locate the XXX program and run it.
This will tell you whether the software was able to correctly identify the
TTX81X card. If this was successful, proceed to Connecting Video. If
not, follow the Troubleshooting instructions.
Troubleshooting
There are two common conditions which can cause the software to be
unable to detect the TTX81X card:
1None of the addresses or interrupts which the TTX81X can use are
available; or
2The setup address which the TTX81X uses to find an available address
and IRQ is assigned to the PCI or other local bus.
In case 1, you need to disable or reconfigure another device in the
computer which is using one of the addresses needed by the TTX81X.
Normally, this is done by using the PC’s setup facility or by setting
switches or jumpers on the conflicting device. The TTX81X needs to use
one of the following address ranges: 200-207, 210-217, 300-307, or 310-
317; it also needs one of the following interrupts: IRQ7, IRQ10, IRQ11 or
IRQ12. Once you have reconfigured your computer so that at least one
address range and one IRQ are available, repeat the test.
In case 2, first try to use your computer’s setup facility to assign either
address 2EF or 3EF to the ISA bus; if available, this may be in a menu
with a name such as “PnP/Legacy” or “PCI/ISA”. If you are able to make
this change, repeat the test. If not, you will need to turn off the computer
by exiting from Windows and remove the computer cover. Then, use the
DIP switches on the TTX81X to select a free address and IRQ. The
switch settings are shown in a table printed on the card and are repeated
below. Once you have set the switches, close the computer, apply power
and repeat the test.
Switch Switch
IRQ Address
1 2 3 4
Closed Closed 7Closed Closed 200-207
Closed Open 10 Closed Open 210-217
Open Closed 11 Open Closed 300-307
Open Open 12* Open Open 310-317*
* If all switches are open, address/IRQ selection is automatic
Popular Receiver manuals by other brands

Chamberlain
Chamberlain STAR450 Series user manual
TFT
TFT EBS 760 Series Operating and service manual
Wegmatt
Wegmatt dAISy HAT quick start guide

Clarion
Clarion CZ502 Owner's manual & installation manual
Raxikol
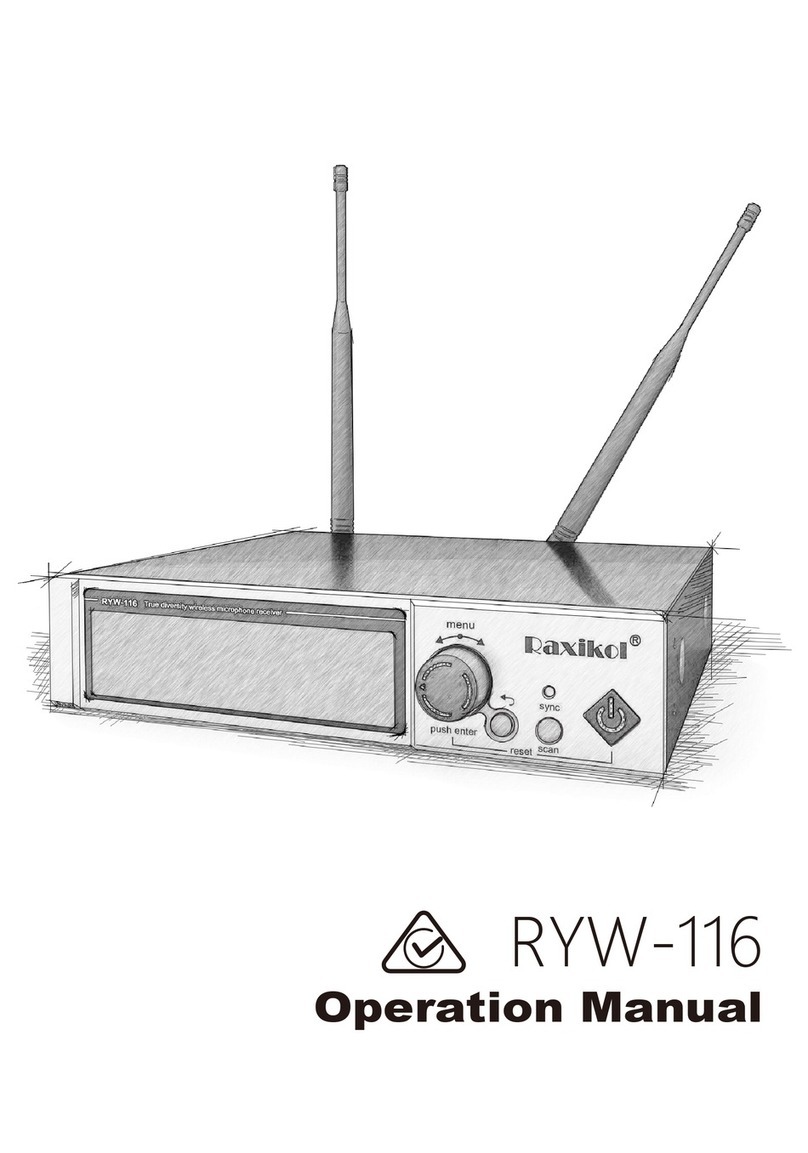
Raxikol RYW-116 Operation manual

Artel
Artel FiberLink 7250 Series Installation and operation manual

