NORPOLE E Series User manual
READ THIS MANUAL CAREFULLY BEFORE USING YOUR REACH-IN
REFRIGERATOR AND KEEP IT FOR FUTURE REFERENCE.
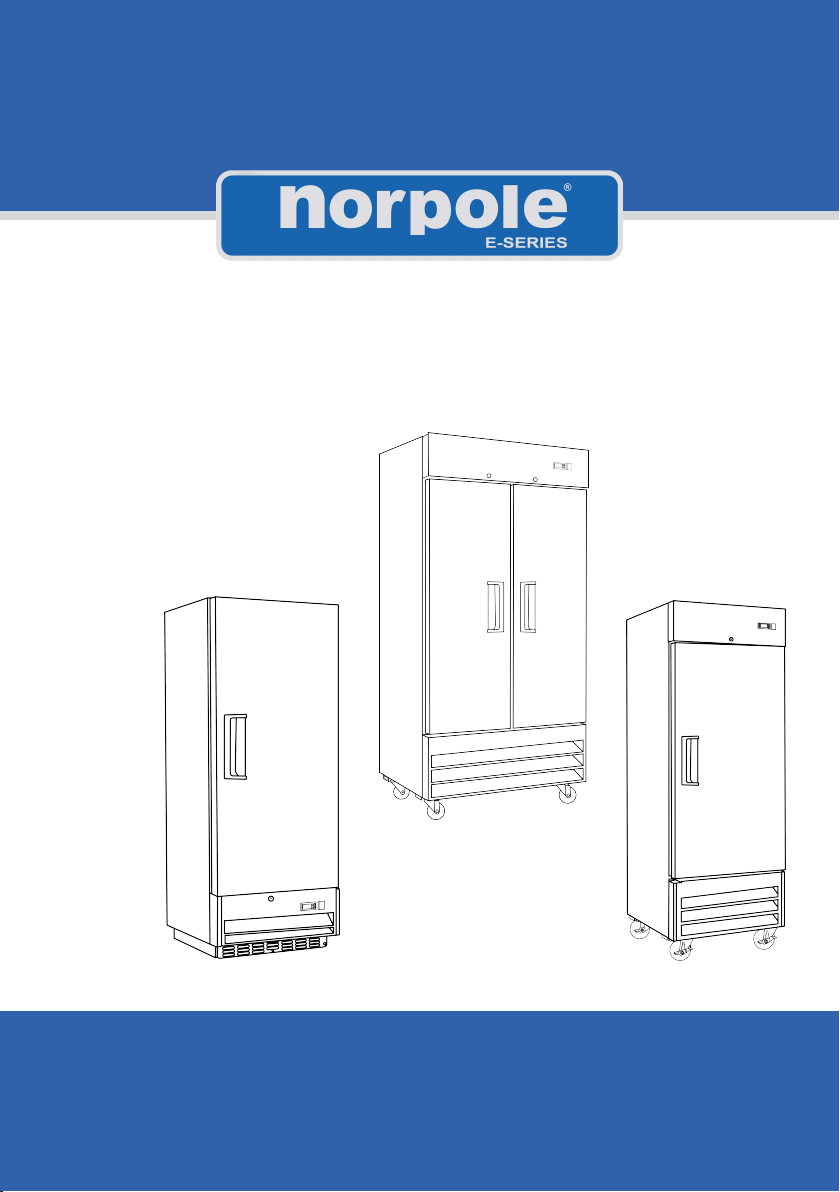
Model NE12R / NE12F / NE19R / NE19F / NE35R / NE35F
Reach-In Refrigerator / Freezer
E-Series
User’s Manual

2
PRODUCT REGISTRATION
1.
2.
required.
3.
Once again, thank you for purchasing a Norpole product.

3
CONTENTS
PRODUCT REGISTRATION . . . . . . . . . . . . . . . . . . . . . . . . . . . . . . . . . . . . . . . .2
IMPORTANT SAFETY INSTRUCTIONS...............................4
INSTALLATION INSTRUCTIONS ....................................5
OPERATING INSTRUCTIONS ......................................6
CARE AND MAINTENANCE. . . . . . . . . . . . . . . . . . . . . . . . . . . . . . . . . . . . . . . .8
TROUBLESHOOTING ............................................9
WARRANTY ...................................................10

4
IMPORTANT SAFETY INSTRUCTIONS
WARNING
CAUTION
1.
2. CAUTION
3.
4.
one outlet for the unit.
5. WARNING
6.
7.
8.
9. WARNING
10.
11.
12. WARNING
13. CAUTIONDO NOT hang on the doors.
READ AND FOLLOW THIS
SAFETY INFORMATION CAREFULLY
SAVE THESE INSTRUCTIONS

5
INSTALLATION INSTRUCTIONS
CAUTION:Read all instructions before installing
• Allow the unit to stand in place at least 24 hours after transporting or moving before plugging it in.
• Make sure that the unit has reached the desired operating temperature before loading product into it.
• Make sure that there is proper ventilation around the unit and in the space in which it will be used.
• Verify that all accessories (shelf clips, shelves, casters, etc.) are correctly installed and in place prior
to plugging in.
• Be sure to read the manual in its entirety before using the unit.
•Make sure that the unit is not resting on or against the electrical cord or plug.
INSTALLATION LOCATION
• Install the unit on a level surface that can support weight of the unit. Uneven surfaces may cause the
unit to make noises or not function properly.
• Install in an indoor, well-ventilated area. The unit will function more efciently with proper ventilation.
ALWAYS allow for 4” of clearance in the back of the unit.
• This unit is not intended for outdoor use. Using it outdoors can result in decreased efciency and
may cause the unit to malfunction or become damaged.
• DO NOT install in an area with high humidity or that is very dusty. Humidity can lead to rusting of the
components or surfaces, and dust can cause the condenser coil to malfunction. Be sure to clean the
condenser regularly, at least once a month, with a brush or clean cloth.
• DO NOT install the unit near any sources of heat or moisture generating equipment. High ambient
temperatures can cause the compressor to overwork, leading to higher energy consumption and
gradual breakdown of the unit.
NOTE:Installing the unit in an improper location or manner may result in failure of the unit, and could
void the warranty.
ELECTRICAL SUPPLY
ALWAYS make sure that the unit is plugged into a properly installed and grounded dedicated outlet that
meets the requirements listed on the ratings label and that has appropriate overcurrent protection. Voltage
that is too high or too low can detrimentally affect the operation of, or damage, the unit. DO NOT modify or
cut the power cord, or use any other plug or an extension cord.

CONTROL PANEL AND DISPL
b C d
Figure 1
e
I 111 @
CONTROL PANEL
0
•o•
@}
t
DISPL
G
�
•o•
AUX
0
Figure 2
Figure 3
A NOTE:
A NOTE:
6

7
TURNING THE UNIT ON AND OFF
the
SETTING THE TEMPERATURE
1. Press SET (
2. Use the UP (
315010 for the refrigerators, and -22°f (0°
C) to 0°f (-18°C) for the freezers
3. Press SET (
NOTE
DEFROSTING
hold the DOWN-DEFROST
NOTE
NOTE
CONTINUOUS CYCLE
To set the unit to run in a continuous cycle, press the UP (
for 3 seconds.
NOTE
LOADING PRODUCT
NOTE

8
CARE AND MAINTENANCE
CLEANING THE CONDENSER COIL
Figure 4
CLEANING THE FAN BLADES AND MOTOR
CLEANING THE INTERIOR
to check that they are properly sealing after they are replaced.
up and out.
WARNING

9
TROUBLESHOOTING
.
Symptom Possible Cause Corrective Action
not running.
Condensing
unit runs for
long periods
placed in unit.
Ensure gaskets are properly in place.
Check condition of gasket, replace if necessary.
Dirty condenser coil. Clean the condenser coil.
Ensure that door gaskets are sealing properly.
placed in unit.
Dirty condenser coil. Clean the condenser coil.
Unit is
noisy.

10
LIMITED WARRANTY
Content losses due to failure of the unit.
Failure of this product if used for purposes other than its intended purpose.
Disposal costs for any failed unit not returned to our factory.
LIMITATIONS OF REMEDIES AND EXCLUSIONS
Parts &Labor Type of Service
1Year
Model Compressor (Part Only)
In-Field
888-775-0202www.mcappliance.com.
NE12R
NE12F
NE19R
NE19F
NE35R
NE35F
1Year
1Year
1Year
1Year
5Years
5Years
5Years
5Years
5Years
In-Field
In-Field
In-Field
In-Field
1Year 5Years In-Field
This manual suits for next models
6
Table of contents
Other NORPOLE Refrigerator manuals


