North PL60 Owner's manual

1
Technical instruction
Manual for use and maintenance
These appliances comply with requirements of E.E.C 73/23/CCE E1603351&
60335248
Before installation
please read the manual
ELECTRIC GRIDDLE
MODELS
PL60 • PL62 PL70 • PL70D
i
PL60
SOTIRIOS D. PRODANAS & CO
PROFESSIONAL ELECTRIC & GAS MACHINES FOR RESTAURANTS-PATISSERIES-SNACK BAR
OFFICE – FACTORY : National Road Kilkis-Thessaloniki P.C 545 00 Tel.: ++30 23410 41991 Fax: ++30 23410 41539
P.O Box 400 70, P.C : 560 00 www.north.gr - e-mail : [email protected]

2
SPECIFICATIONS
The tables below refer to the specifications of models
Appliance’s Dimensions
MODELS LENGTH (mm) DEEP (mm) HIGH (mm)
PL60
400
600
300
(3
8
0)
PL
62
600
600
300(380)
PL
70
400
700
300(460)
PL
70D
800
700
300(460)
Electrical Supply
PL60-PL62-PL70-PL70D
230V AC / 400 3N AC 50Hz
IP Grating
ΙP 20
Appliance’s Safety
Complies to ΕΝ 60335-1 and EN 60335-2-48 - EN 60335-2-42 requirements.
CE marking.
Power
MODEL
POWER IN TOTAL
PL60
4.2
00 Watt
PL
62
8.400 Watt
PL
70
4.200 Watt
PL
70
D
8.400 Watt
Main Parts
Supporting feet.
AISI 430 stainless steel body.
Cooking surface STAL 52 (optional HASD CHROME or S/S 304)
S/S collector Grease AISI 430.
Electrical Components
Wire heating elements:
Thermostat 300C
Indicating lamps for heating elements operation.
General main ignition with indicating lamp.
Fire resistan wiring.
Terminals’ fasteners.
Relay for mixed operation of heating elements
Gland for supply cord.
Earth terminal.
Potential equivalent terminal, marked Ρ.Α.
Six polar polyamide connection for supply cord.

3
1. GENERAL INFORMATION
This technical manual includes instructions for the installation, operation,
care and maintenance of machines manufactured by NORTH. Please,
read carefully and keep it for future reference. This manual should be
referred to both by installing or service technicians and the operators of the
equipment.
After you remove the packing make sure that no damage was caused
during shipping. If in doubt, we recommend that an authorized technician
examine the appliance before you proceed with the installation.
The appliance requires electrical connection. Before proceeding, make
sure that main voltage meet the requirements of the appliance. This
information is available on a label, on the right side of the appliance, as you
face it. In case of incongruence or if in doubt, do not connect the
apparatus. Ask for the equipment to be checked by specialized
personnel.
NORTH equipment are commercial grade appliances and should, there for,
be used by personnel who are specially trained in their use.
All procedures concerning installation and connection of the appliance must
be carried out exclusively by specialized technicians according to
specifications valid in the country where installation is taking place.
Before any routine cleaning, disconnect from electricity mains. The same
procedure must be followed in case of malfunction of the appliance, while
waiting for the service technician.
Any repairs must be exclusively carried out by authorized personnel using
original spare parts only.
The manufacturer cannot be held responsible for damage caused to
persons, animals or property due to misuse, tampering, unauthorized
modification, or uses other than ones mentioned and / or considered in this
manual.

4
2. TECHNICAL INSTRUCTIONS
INSTALLATION
AND
SERVICE INSTRUCTIONS
NORTH EQUIPMENT ARE PROFESSIONAL EQUIPMENT.
ALL ASSEMBLY AND CONNECTION PROCEDURES,
TESTING AND REQUIRED REPAIRS
MUST BE CARRIED OUT
BY SPECIALIZED AND AUTHORIZED PERSONNEL ONLY.
.......................................................................................................
NORTH ENTERPRISES CANNOT BE HELD RESPONSIBLE
FOR ANY NEGATIVE CONSEQUENCES IN CASE OF
INTERVENTIONS BY NON-SPECIALIZED TECHNICAL PERSONNEL
OR DUE TO NONCOMPLIANCE WITH FACTORY INSTRUCTIONS.

5
2.1 INSTALLATION OF THE APPLIANCE........................................................
After making sure the appliance is intact, place it in position so that it is stable and
there is adequate operating space around it.
Make sure that all parts.
Attention ! To avoid accidents, keep all packing materials (cardboard, plastic bags,
metal items, etc) away from children.
Important ! Install the water-grill on a flat non-flammable surface, away from
flammable walls.
2.2 ELECTRICAL CONNECTION.....................................................................
Appliances operates on three phase voltage only
HO7RNF 5 x 2,5 (THREE PHASE CONNECTION )
Connect the phases to L1, L2 and L3
Connect the earth neutral to Ν1 or Ν2.
Connect the earth.
Connect P.A. terminal to water piping using a 10 mm² wire.
IT IS STRONGLY RECOMMENDED TO USE A QUALIFIED
ELECTRICIAN FOR ALL ELECTRICAL CONNECTIONS.
THE MANUFACTURER CANNOT BE HELD RESPONSIBLE FOR
ACCIDENTS AND DAMAGE CAUSED TO PERSONS, ANIMALS OR
PROPERTY DUE TO NONCOMPLIANCE WITH THESE INSTRUCTIONS.

6
2.3 REPLACEMENT OF ELECTRICAL ELEMENTS.......................................
To replace heating elements open the back side of the machine, disconnect wires and
remove elements by slide and push it out.
For Thermostat and indicating lamps open the front cover and replace it For Relays
open the back side of the machine
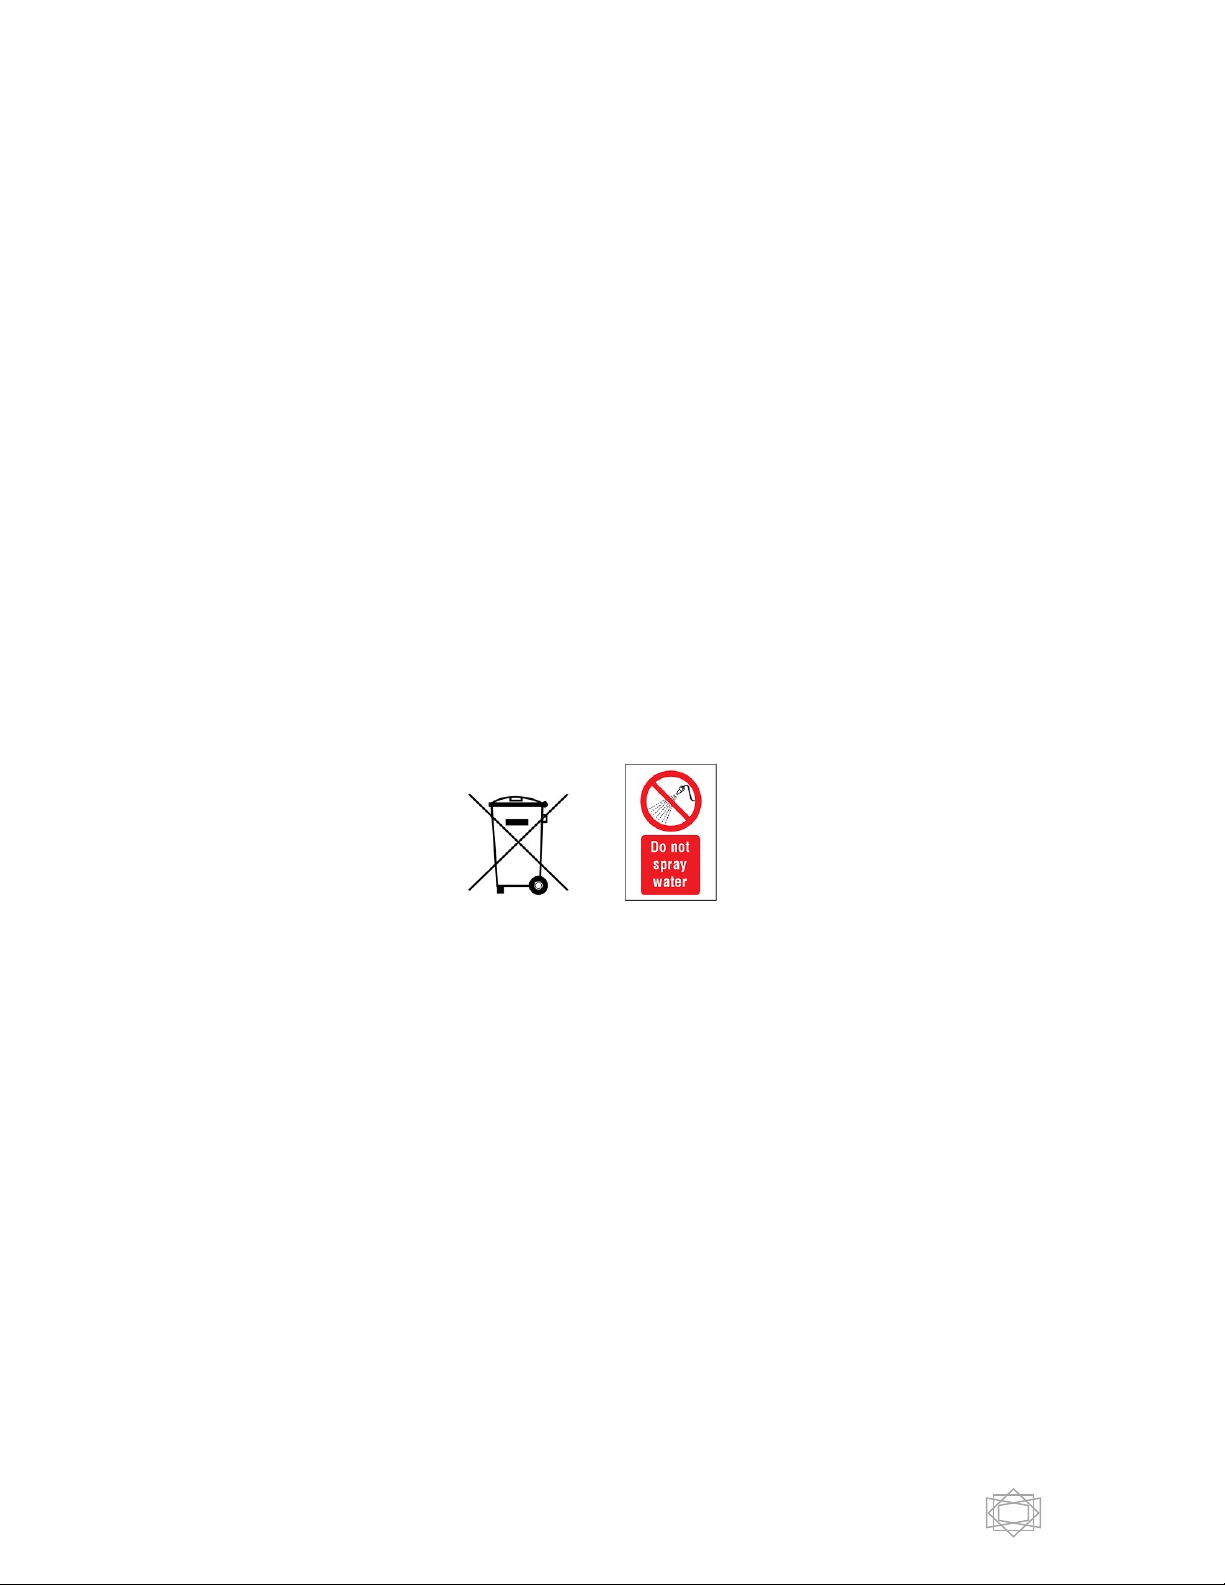
CUT OFF THE POWER SUPPLY BEFORE COVER REMOVAL.
POSSIBLE PROBLEM................................................................................
Even if the appliance is used correctly, some problems may arise for various reasons.
The table that follows mentions some possible problems and some possible causes.
In case of problem we control first if the electrical supply to the machine is right
or not.
POSSIBLE PROBLEM POSSIBLE CAUSES
Machine is not operating
Check if there is damage to 1) all heating
elements 2) the edge of cord connected
with the heating element 3) connection of
relay.
4)
thermostat
Heating element is not operating Check if there is damage to 1) the heating
element 2) the edge of cord connected
with heating element 3) connection of
relay.
2.4 REPLACEMENT OF ELECTRICAL ELEMENTS.......................................
To replace heating elements open the frond and the back of the frames, disconnect
wires and remove the supporting nuts.
For energy regulator and indicating lamps open the cover on the front inside section
of the appliance; where as for relays and others the rear of the appliance.
2.4 TRAINING.....................................................................................................
The personnel who are to install and connect the appliance must train the users
appropriately so that they can handle the operation and safety measures of the
appliance
ATTENTION !!!
Check that main voltage in your working area is suitable for the settings on the
label and that the appliance is properly earthed.
Before any service activity takes place or any parts are replaced on the appliance,
make sure that pains supply is turned off.
THE MANUFACTURER CANNOT BE HELD RESPONSIBLE FOR
ACCIDENTS AND DAMAGE CAUSED TO PERSONS, ANIMALS OR
PROPERTY DUE TO NONCOMPLIANCE WITH THESE INSTRUCTIONS.

7
3. OPERATION INSTRUCTIONS
INSTRUCTIONS TO PERSONNEL
FOR OPERATION AND CARE
NORTH ARE PROFESSIONAL EQUIPMENT.
ALL ASSEMBLY AND CONNECTION PROCEDURES,
TESTING AND REQUIRED REPAIRS MUST BE CARRIED OUT
BY SPECIALIZED AND AUTHORIZED PERSONNEL ONLY.
..............................................................................................................
NORTH ENTERPRISES CANNOT BE HELD RESPONSIBLE FOR ANY
NEGATIVE CONSEQUENCES IN CASE OF INTERVENTIONS BY
NON-SPECIALIZED TECHNICAL PERSONNEL OR DUE TO
NONCOMPLIANCE WITH FACTORY INSTRUCTIONS

8
3.1 TURNING ON THE APPLIANCE ...............................................................
After making sure the appliance has been correctly connected to electricity, you can
start using it.
Turn on General Switch
Turn Thermostat to the desire temperature (cooking range is from 220-250C)
(while thermostat is on the indicate light is on once is reach the desire temperature
indicate light turn off)
3.2 CLEANING AND MAINTENANCE..............................................................
Turn off the heating elements before any cleaning or maintenance procedures. Let
the appliance cool and make sure it has been unplugged from the main supply.
Never use running water to clean the Water-grill appliance
If you are going to not to use the machine for long time it is good to throw oil on
the surface and put oil paper
This manual suits for next models
3
Table of contents
Popular Griddle manuals by other brands

Oster
Oster CKSTGRFM18 user guide

Thermador
Thermador SGRIDDLEW Quick reference guide

SmartLine
SmartLine ACG1 installation instructions

Star Manufacturing International
Star Manufacturing International ULTRA-MAX 824M-LP Installation and operating instructions

GGM gastro
GGM gastro EGK473M instruction manual

R/Evolution
R/Evolution 203217 user manual

Ultra Max
Ultra Max 724T Installation and operation instructions

StarMax
StarMax 524TGD Installation and operation instructions

Ginnys
Ginnys CEG-2100 instruction manual

Life Smart
Life Smart SG160 owner's manual

MasterChef
MasterChef 043-5782-6 instruction manual

Dash Go
Dash Go DMS001 Instruction manual & recipe guide