NOUVOLED DEPICT CYC 1083 User manual

DEPICT CYC 1083
108pcs
*3W RGB FLOOD LIGHT
User Manual
IP65

SAFETY INSTRUCTIONS
This device has left the factory in perfect condition. In order to maintain this condition and
to ensure a safe operation, it is absolutely necessary for the user to follow the safety
instructions and warning notes written in this user manual.
If the device has been exposed to temperature changes due to environmental changes, do
not switch it on immediately. The arising condensation could damage the device.
Leave the device switched off until it has reached room temperature.
This device falls under protection-class I. Therefore, it is essential that the device be
earthed.
The electric connection must carry out by qualified person. The device shall only be used
with rate voltage and frequency.
Make sure that the available voltage is not higher than stated at the end of this manual.
Make sure the power cord is never crimped or damaged by sharp edges. If this would be
the case, replacement of the cable must be done by an authorized dealer.
Always disconnect from the mains, when the device is not in use or before cleaning it. Only
handle the power cord by the plug. Never pull out the plug by tugging the power cord.
During initial start-up some smoke or smell may arise. This is a normal process and does
not necessarily mean that the device is defective, it should decrease gradually.
Please don't project the beam onto combustible substances.
Fixtures cannot be installed on combustible substances, keep more than 50cm distance
with wall for smooth air flow, so there should be no shelter for fans and ventilation for heat
radiation.
If the external flexible cable or cord of this luminaire is damaged, it shall be exclusively
replaced by the manufacturer or his service agent or a similar qualified person in order to
avoid a hazard.
CAUTION
Be careful with your operations. With a dangerous voltage you can
suffer a dangerous electric shock when touching wires!
1
IMPORTANT
Damages caused by the disregard of this user manual are not subject to
warranty. The dealer will not accept liability for any resulting defects or
problems.
OPTIONAL
USAStandard
UK Standard
Euro Standard
②
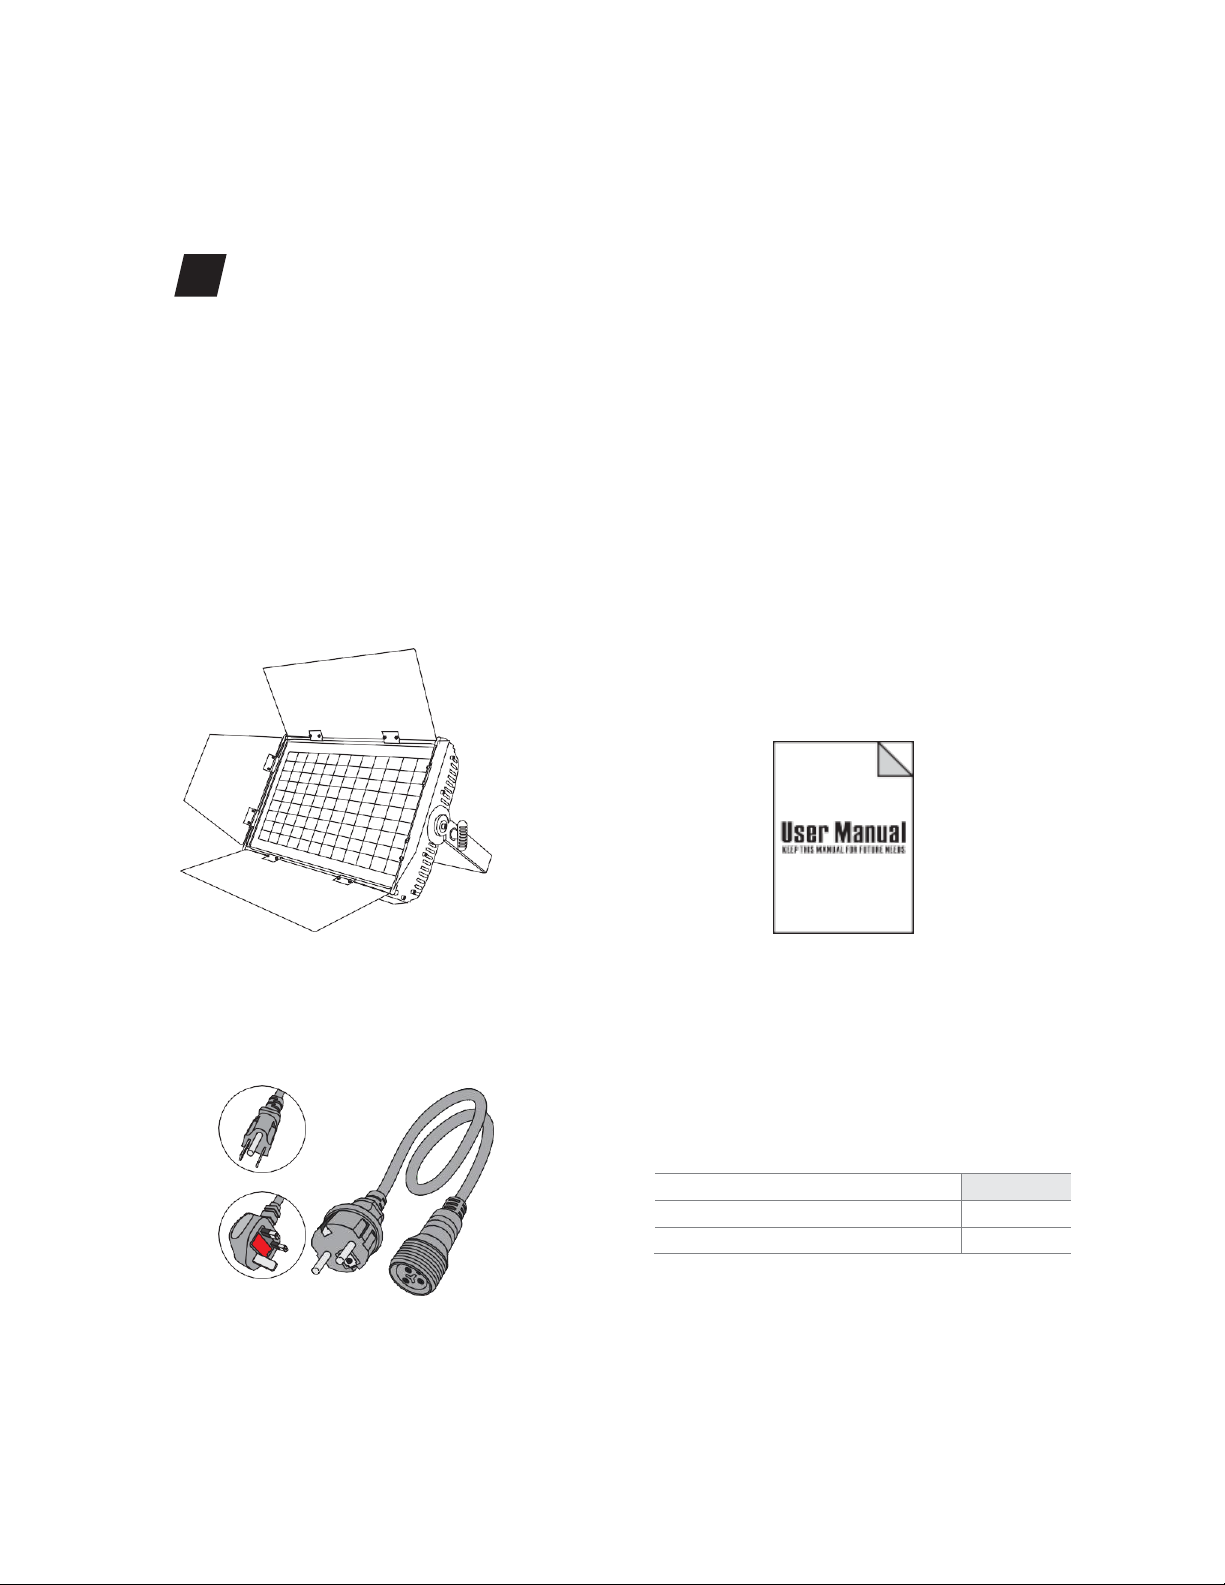
Unpacking
Thank you for choosing our 108pcs*3W RGB LED FLOOD LIGHT. For your own safety, please
read this manual before installing the device. This manual covers the important information on
installation and applications. Please install and operate the fixture with following instructions.
Meanwhile, please keep this manual well for future needs.
The 108pcs*3W RGB LED FLOOD LIGHT is made of a new type of high temperature strength of
cast aluminum casing with nice outlook. The fixture is designed and manufactured strictly following
CE standards, complying with international standard DMX512 protocol. It's available
independently controlled and linkable with each other for operation. And it is applicable for
large-scale live performances, theater, studio, nightclubs and discos.
Please carefully unpack it when you receive the fixture and check whether it is damaged during
the transportation. And please check whether the following items are included inside the box:
①③
①108pcs*3W CW flood light
1PC
②Power Cable
1PC
③User Manual
1PC
2
①4眼观众灯
1PC
②信号线
1PC
③电源线
1PC
④电源输出接口
1PC
⑤说明书
1PC

FEATURES & SPECIFICATIONS
Features
•108PCS*3W RGB LED
•50, 000 hours life span and low power consumption
•Flat and even projection with soft edge
•High intensity, long throw and 60° wide field angle
•Housing made by rugged, die cast aluminum alloy
•High-strength single handle design
•Barn door included
•Tripod stand as optional
•Fan-less no noise cooling system
•0- 100% Smooth and precise linear dimmer
•No noticeable color shift throughout the entire range
•Flicker- free at any frame rate or shutter angle
•25T/sec high-speed shutter/strobe effect with variable speed
•Preset variable/random strobe and dimming pulse effect
•3/6 DMX channels USITT DMX-512
•DMX512, master-slave, and sound control or auto operation
•LED display with 4 control buttons
•Waterproof power connectors IN/OUT
•3-PIN DMX waterproof connectors IN/OUT
•-10°C to 40°C operation temperature
•Die- cast aluminum structure
•IP65 protection rating
Specifications
Input Voltage: AC100-240V 50/60Hz
Max. Power:320W
Product Size
:
46*30.8*15.43cm
Packing Size: 59.5*38.5*23.5cm(1pc/carton)
Net Weight: 10.78kg
Gross Weight: 12kg
①4眼观众灯
1PC
②信号线
1PC
③电源线
1PC
④电源输出接口
1PC
⑤说明书
1PC
③
3
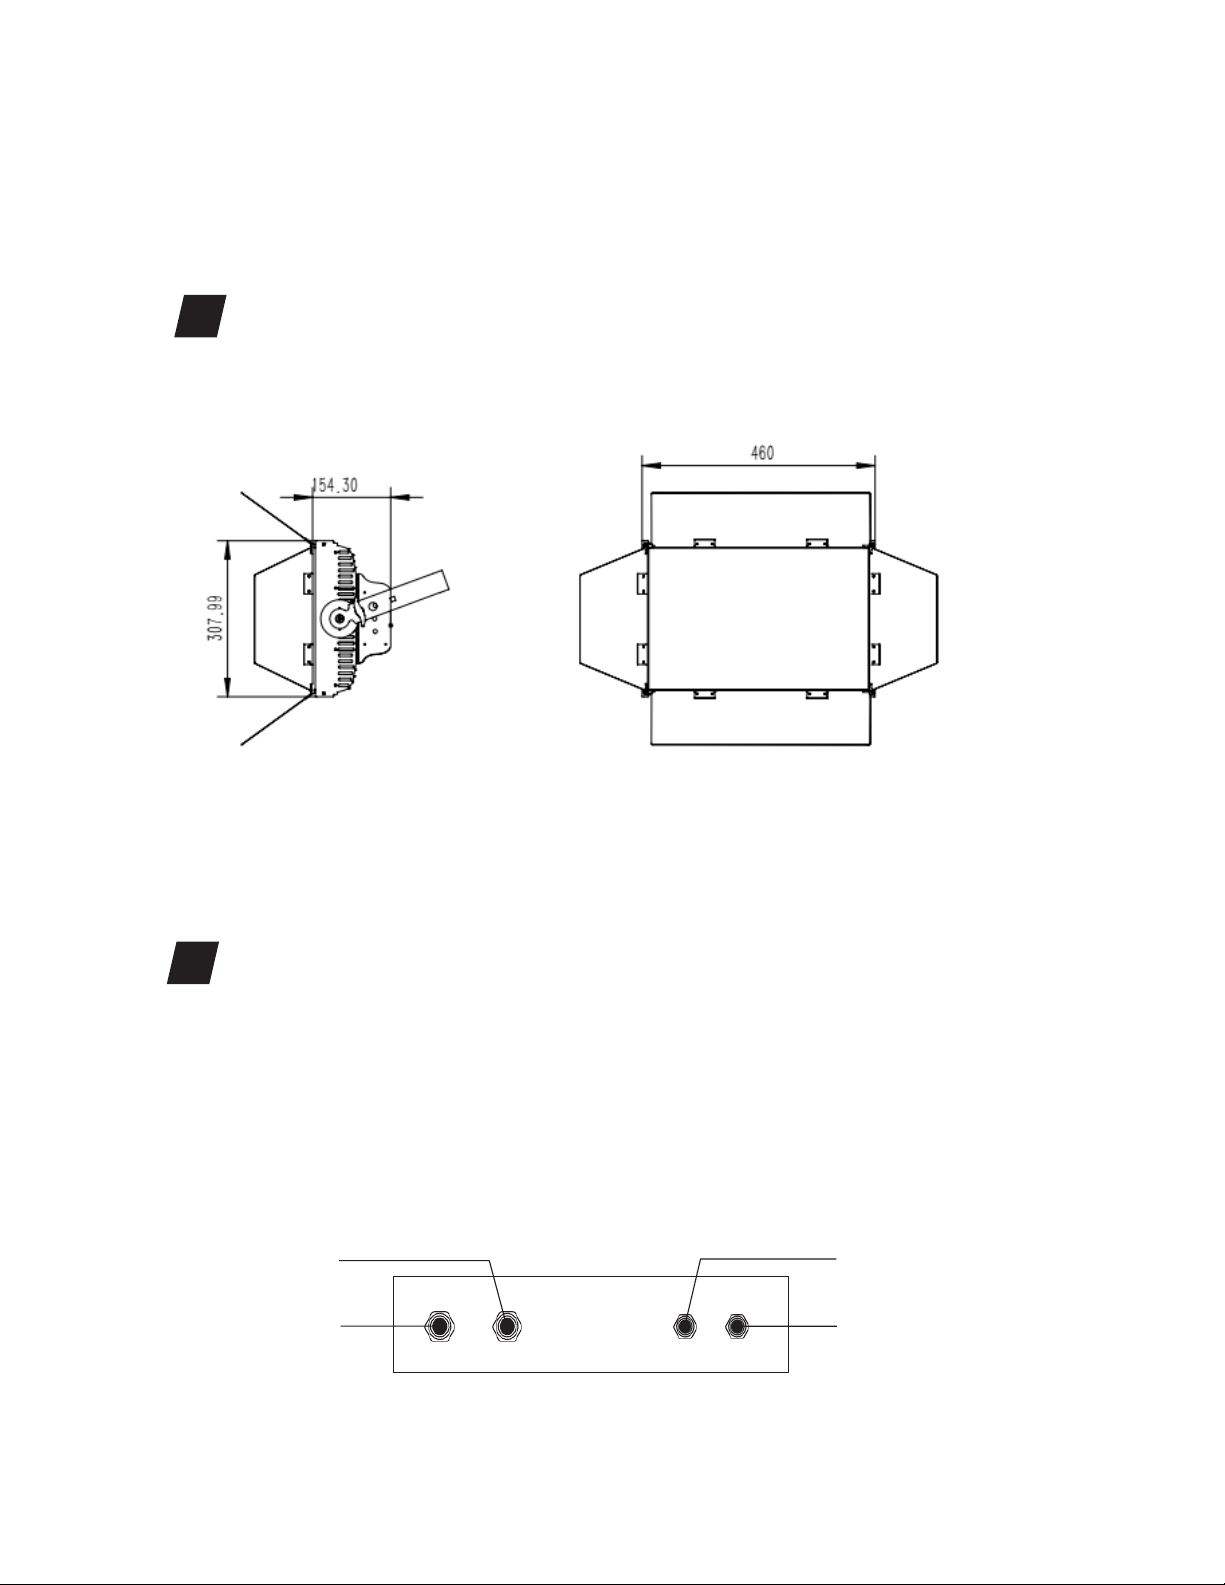
PRODUCT STRUCTURE::
DMX-512 CONTROL CONNECTIONS
Connect the provided XLR cable to the female 3-pin XLR output of your controller and the
other side to the male 3-pin XLR input of the moving head. You can chain multiple
Moving head together through serial linking. The cable needed should be two core,
screened cable with XLR input and output connectors. Please refer to the diagram below.
DMX-512 connection with DMX terminator
DMX IN
POWER In
DMX Out
POWER Out
4
5
Table of contents
Other NOUVOLED Dj Equipment manuals


