NSM IV MP3 User manual

The NSM4MP3 is a micro-computer based hard disk player that replaces the entire CD player
mechanism in your NSM ES IV-CD technology model jukebox. The hard disk player works with any
jukebox that uses the # 174-873 Control Unit CD board or uses the CDM3 player in the CD changer.
This includes the Caravelle II, Fascination, Fire, Fire Bird, Fire Country, Firestorm, Galaxy, Performer
Grand, Silver City, Silver Sky, Soundmaster plus others. Installations a snap! Only two connections, a
4-pin audio cable and an 8-pin control connector to position ST8 on the Control Unit board. The player
takes only seconds to install, without any modifications to the jukebox. Best of all, the hard disk player
will not skip and will never need to be cleaned or lubricated. The player works with any 44-pin ATA/IDE
2.5 inch laptop/notebook hard drive from 2GB and up. Uses the FAT32 filesystem which is compatible
with Windows, Mac, Linux and other systems. A typical 100 CD jukebox, with an average of 20 tracks
each, would require a 10GB hard drive or Compact Flash card at the CD quality bit rate of 192 Kbps.
A.u.S.Spielgeräte
Scheydgasse 48
A-1210 Wien Austria
TEL: +43-(0)1-2716600
FAX: +43-(0)1-271660075
Email: verkauf@aus.at
Web: www.aus.at
NSM IV MP3
Copyright ©2005 All Rights Reserved.
Designated trademarks and brands are the property of their respective owners.
•Works with all laptop/notebook HDD’s
•Supports all layer-III (MP3) encodings
•Variable or fixed bit rates to 320 Kbps
•Detects master/slave drive setting
•Automatic power down on no activity
Hard Disk MP3 Player
For Your NSM ES-IV CD Jukebox

MP3-DSP Kit Contents
Your NSM4MP3 kit comes with a USB 2.0 external HDD circuit board, MP3-DSP digital music player
circuit board, USB connector cable for your PC, connector cables for your NSM jukebox, enclosure, power
supply, storage pouch and a CDROM with installation software for Windows 98SE, ME, 2000 & XP.
The hard disk drive is NOT included.
This is your USB external HDD circuit board. When
assembled with your disk drive and plugged into the
USB port, it will add a drive letter to your computer
and allow you to transfer files between your PC and
the disk drive.
Using Windows Explorer, clear all files from your
disk drive. Create 100 new folders for each of the
CD's. The first two letters of each folder name must
begin with the two digit disc number (00, 01, 02, ...
97, 98, 99). The following letters can be any name or
description you choose. Within each folder drag &
drop your MP3 song files. The first two letters of the
file name must begin with the two digit track
number, 01 to 99.
This is your MP3 digital subsystem player circuit
board. When assembled with your disk drive, you
have a complete music player system.
The NSM4MP3 provides CD changer emulation of
100 discs, with each having a maximum of up to 99
tracks.
DISCLAIMER –PLEASE READ
The NSM IV MP3 kit was developed for jukebox owners for non public performance use. We do not
supply jukebox licenses and do not have any knowledge of what is required. It is the jukebox
owners responsibility to obtain all applicable licenses for public performance of copyright music.

Assembling The Hard Disk Drive
The hard disk drive has two sets of connector pins.
43-pins on the left side and 4-pins on the right.
Position the disk drive onto the circuit board then align the left
side pins with the connector.
Slide the disk drive forward into the connector. The 4-pins on the
right are not used.

Creating New Folders for Disc Numbers
Assemble your disk drive to the USB external HDD board.
Open Windows Explorer
Plug in the external HDD USB cable into your computer.
Within a few moments, a new disk drive letter should appear.
For this example we see “Removable Disk F:”
If you did not see a new disk drive letter, follow the instructions
in your USB manual about setting up your new disk drive or you
can visit www.cdadapter.com and go to the FAQ section.
To create a new folder …
Single click the new drive letter to hi-lite,
Click File | New
Then click on Folder
You should see a New Folder name.
Change the name …
The first two letters must be your disc
number from 00 to 99. The following letters
can be any text you choose.
The 44-pin IDE adapter allows Compact Flash
memory card usage. Works with FAT32 formatted
cards having a capacity of 512MB and up.
Approximate song capacities:
CF Size @128 Kbps @192 Kbps
512MB 128 102
1GB 250 200
2GB 500 400
4GB 1,000800
8GB 2,000 1,600
Insert the memory card into the adapter then plug
the adapter into the 44-pin IDE connector.
Optional Compact Flash Card Adapter

Drag & Drop Your MP3 Song Files
Select the disk and directory for your source of MP3
song files then click the +at “Removable Disk (F:)”
to expand the folders.
If you wish to store the entire set of songs, click on
the first song at the top, scroll down to the last song,
hold down the SHIFT key then click the last song. The
entire list should be hi-lighted. Move your mouse over
the list then hold down the left mouse button and drag
the list to your F: drive folder.
If you wish to store a single song, place your mouse
over the song then hold down the left mouse button
and drag it to your F: drive folder.
Previously, folders were numbered to identify disc positions, here, MP3 song names must be numbered to
identify their track position. Most MP3 “rippers” or “extractors” will provide this track numbering feature for
you. All characters after the two digit track number are ignored and can be any text you choose. Just like
for CD’s, you must have sequential track numbers, you can not have skipped sequences.
MP3 song files can be changed at any time, simply delete the old file and insert the new one.
If you need to change or add the selection position
number of a song, place the mouse over the song then
right click and select Rename.
Position your mouse to the start of the song name
then left click. You should see a blinking cursor
waiting for you to edit.
Setting the Selection Position of Your Songs

NSM ES-IV Jukebox Installation
Hooking Up The Digital Music Player To Your Jukebox
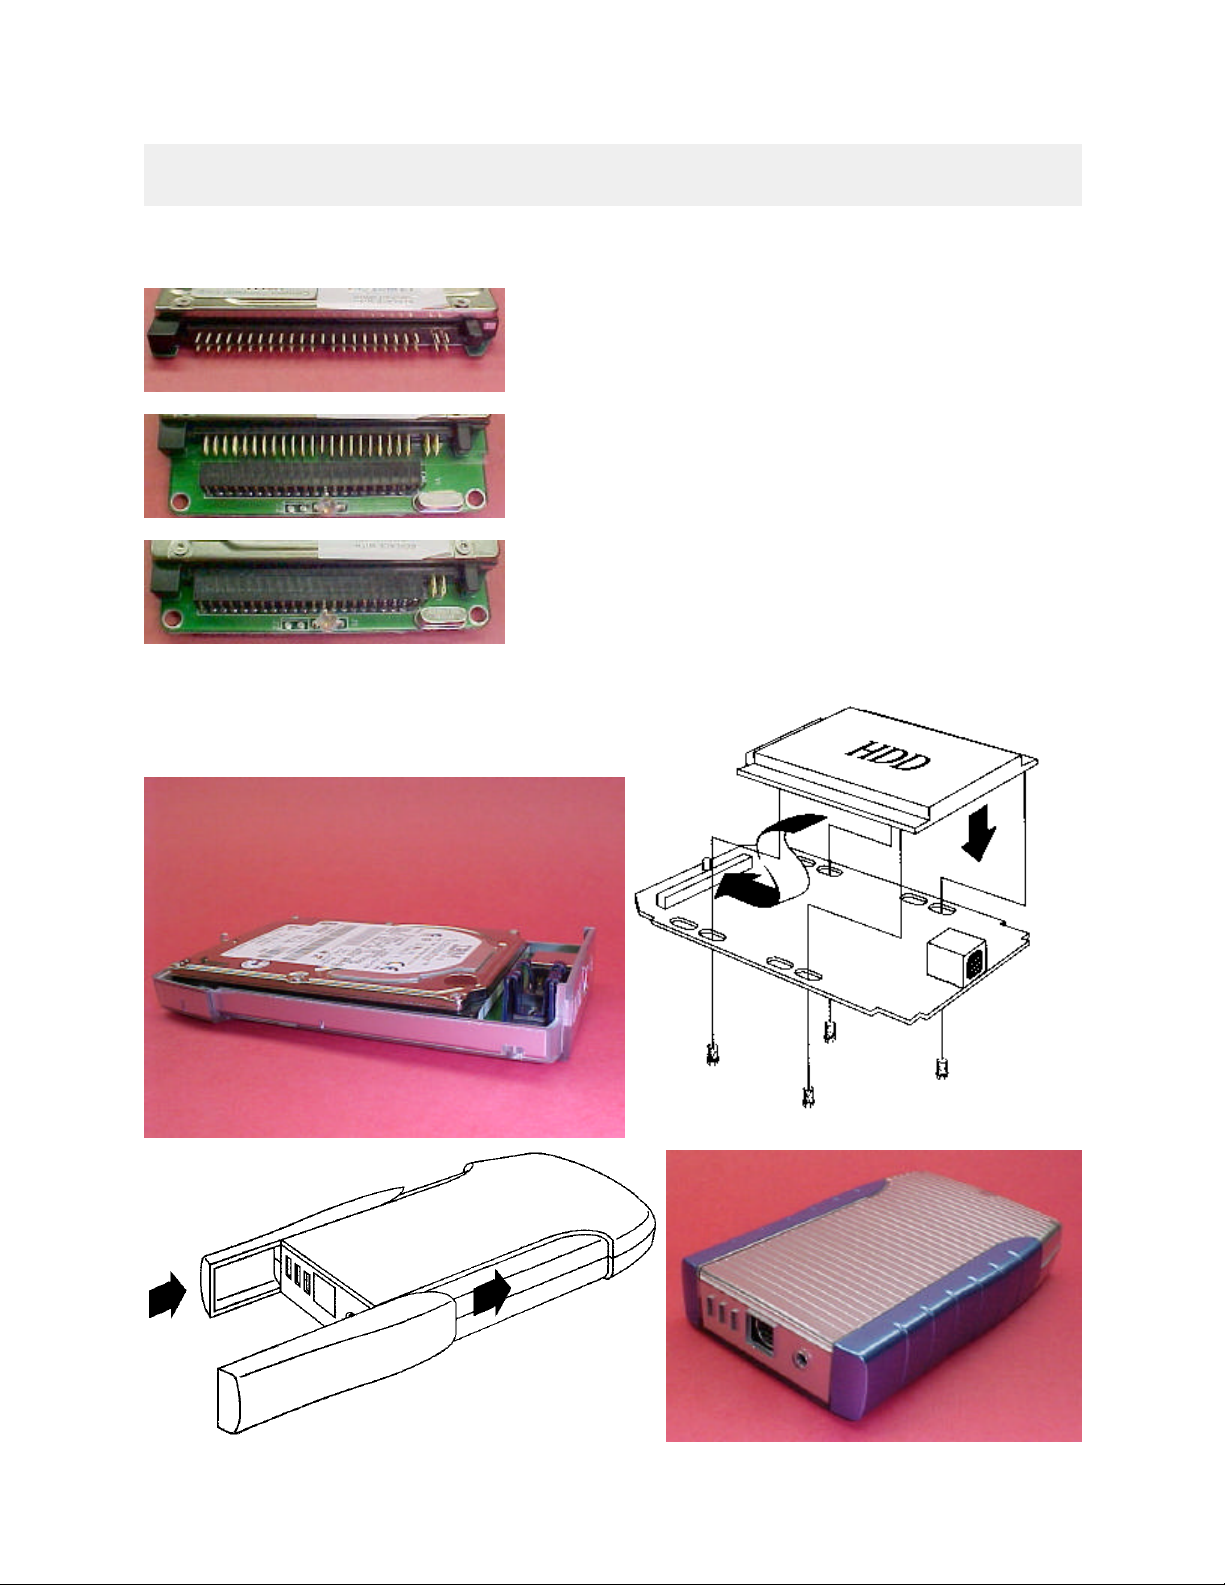
Assemble your hard disc drive to the MP3-DSP digital
music player board. Place the board, back end first, into
the enclosure then press down at the front. The foam pad
is placed on the top cover, over the rear 9-pin connector to
hold it down in place. Plug in the 9-pin mini DIN connector
(arrow or notch at the top). Connect the power supply and
D-Sub connectors as shown at the left.
At the jukebox Control Unit board connector position ST8,
unplug the 8-pin CD Mechanism connector and plug in
the NSM4MP3's connector (blue wire facing toward ST5).
Unplug the connectors at the back of the CD mechanism
changer, attach the 4-pin jukebox audio connector to the
noise decoupler, plug the players RCA audio output
connectors to the other end of the decoupler.
The wall adapter plugs into the jukebox internal outlet.
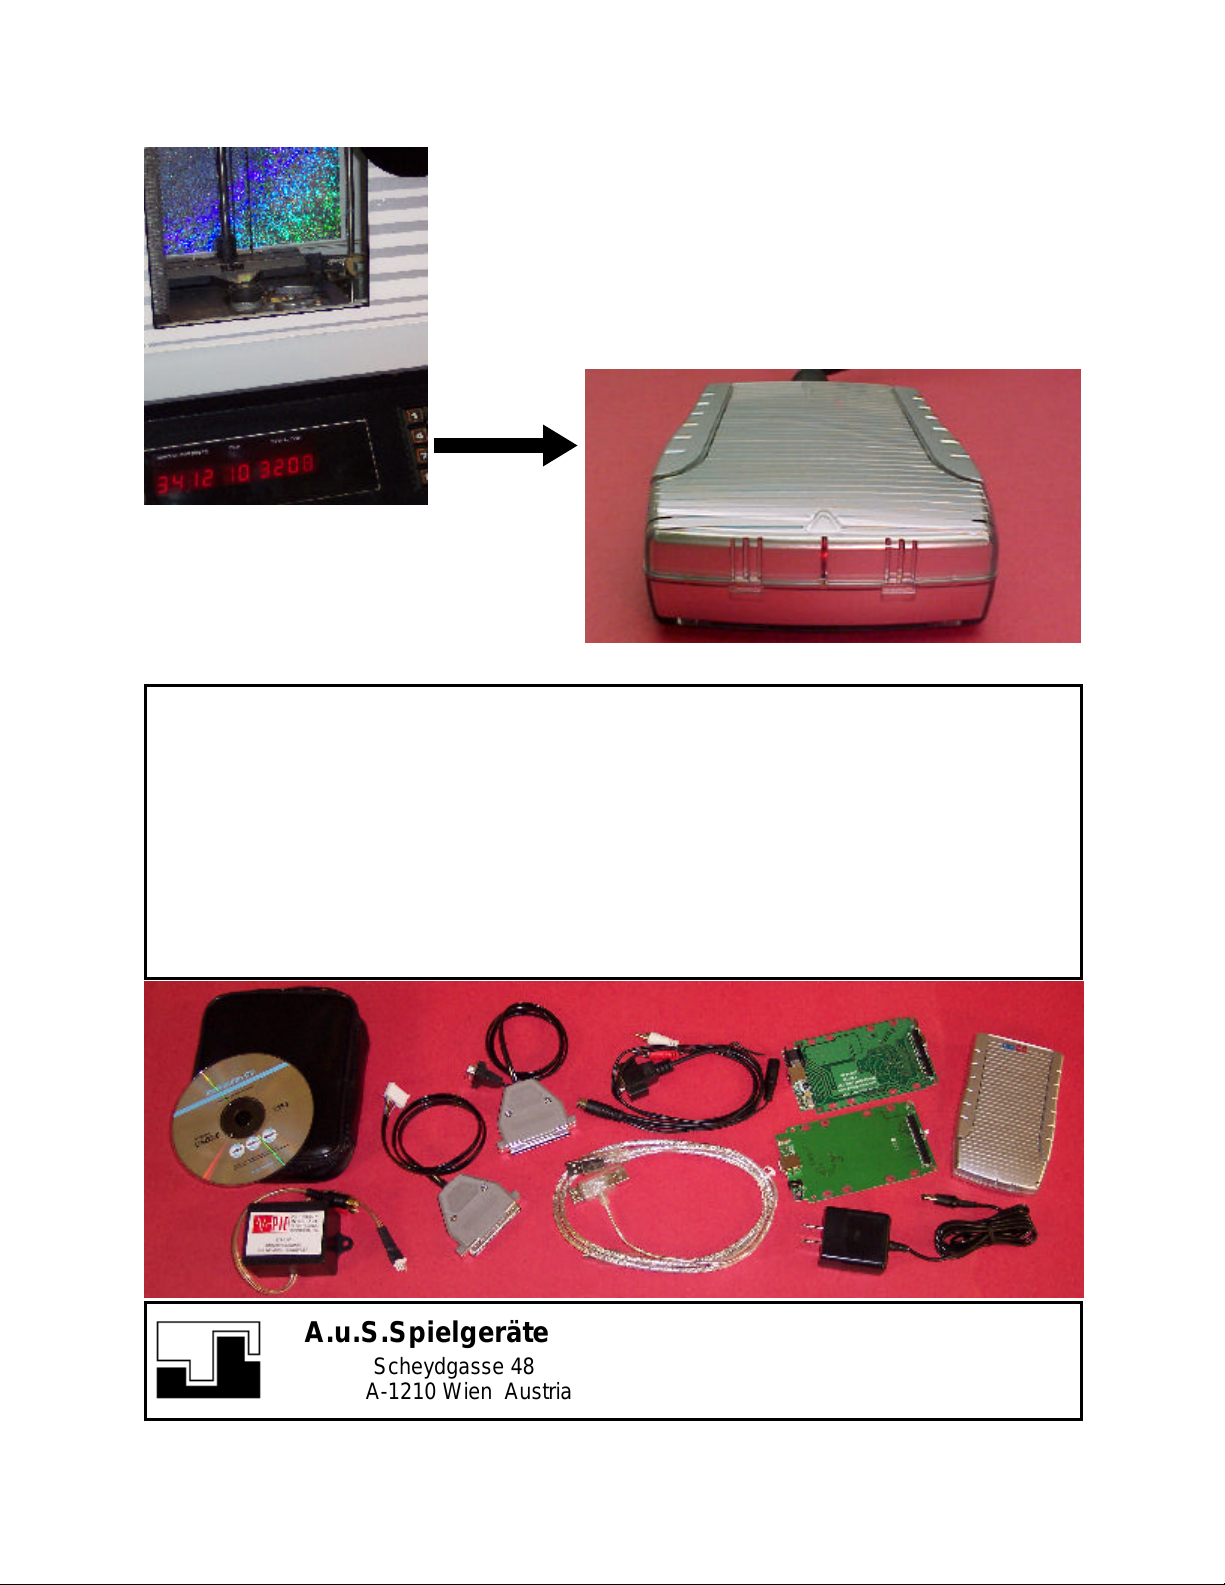
The player can be set in any position. The top photo
shows the player installed in a Firebird, using the small
space along side of the CD mechanism. Foam padding
was used to keep it in place.
Built-In Diagnostics
When the player is powered up, diagnostics are
performed followed by song indexing. The LED will be
blinking rapidly during this time. Depending upon the
number of songs, this can take up to a few seconds to
complete. The LED will stop blinking when finished.
If an error is detected, the LED will continually flash an
error code of one to four blinks each,
(1) INITIALIZATION ERROR, disk drive is not inserted
correctly or MP3 player board failure.
(2) FILESYSTEM ERROR, unable to locate FAT32
filesystem or drive was not formatted.
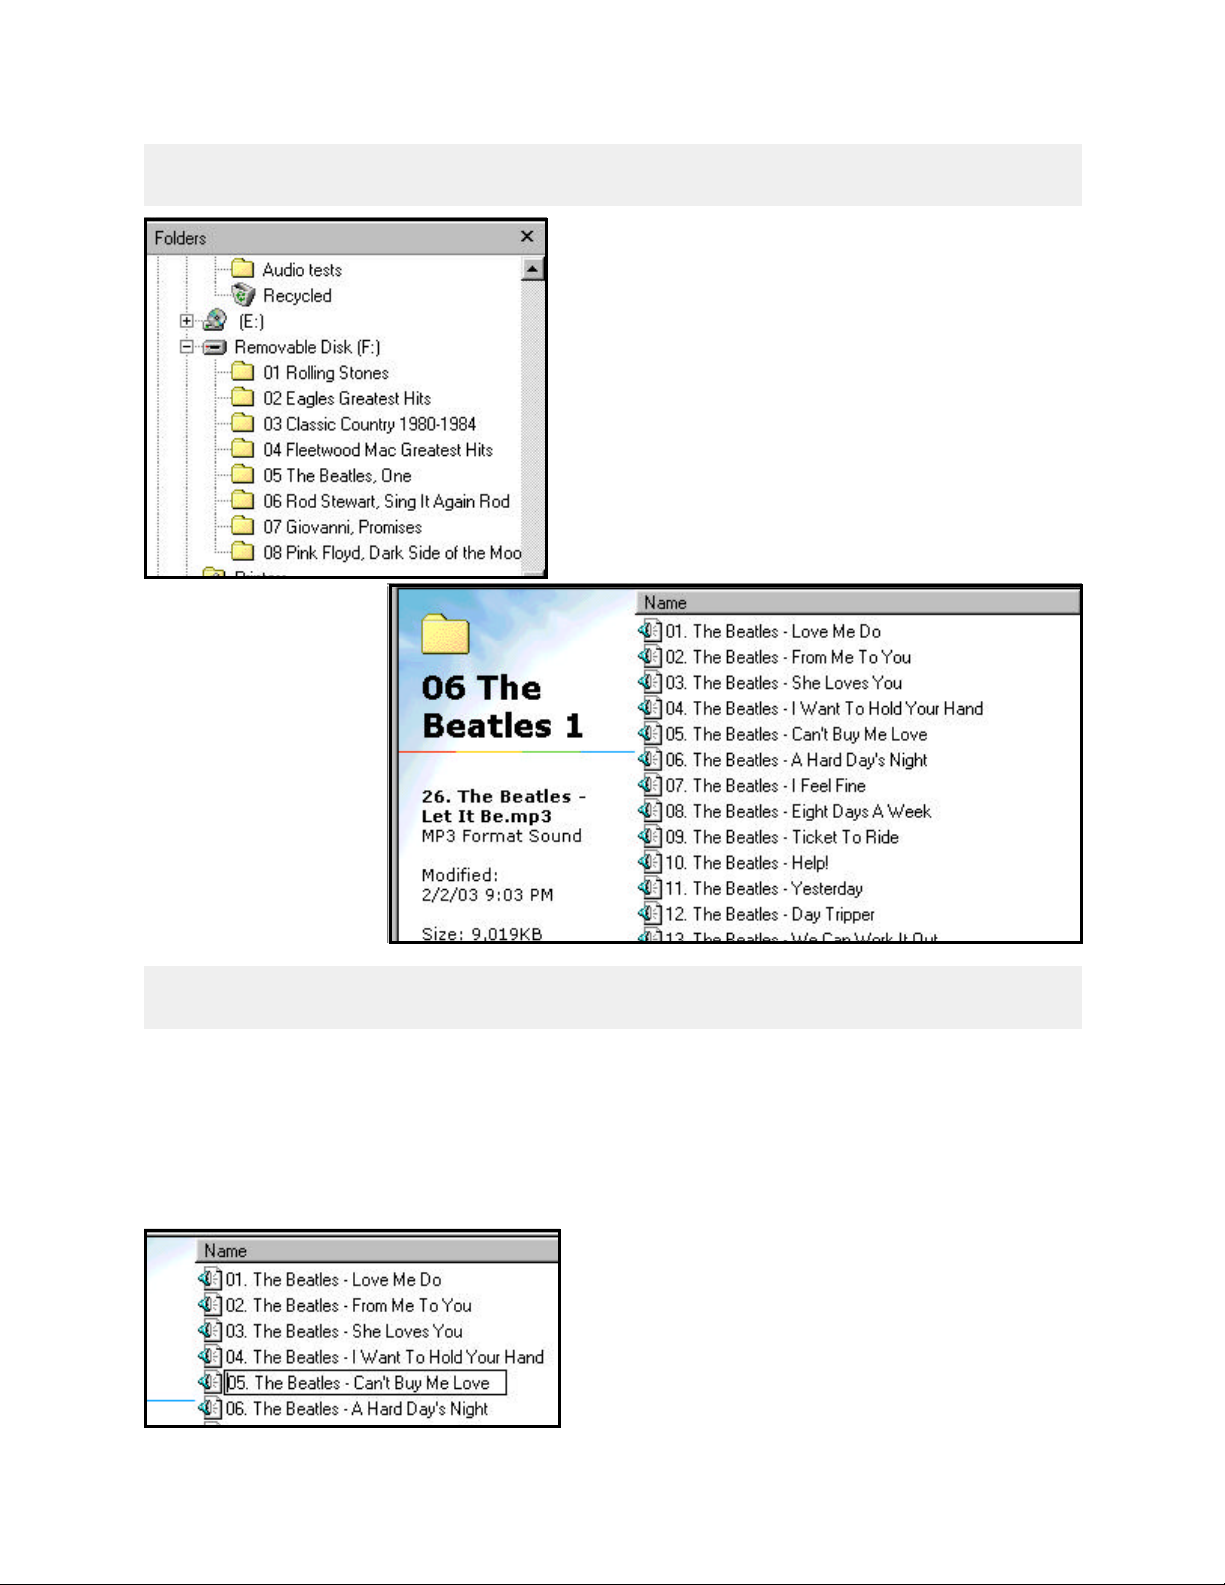
(3) NO FOLDERS FOUND, a directory folder is used for
each CD, check disk contents.
(4) NO MP3 FILES FOUND, MP3 files are used for each
audio track, check disk contents.
Playing MP3 Songs
Your jukebox operates exactly as it did before, two digit
disc number and two digit track number.
The jukebox and player are also capable of having up to
99 tracks for each disc but you may need to set parameter
P22 to play tracks higher than 24. The first two digits are
the maximum disc number and the next two are
maximum track number. Factory setting is 0024 which is
100 discs having up to 24 tracks.
NSM ES-IV series jukeboxes do not employ track select
verification. In other words, you can select a track number
that does not exist. In this case, the jukebox will revert to
play track number 1 on that selected CD.
POWER SUPPLY
AUDIO OUTPUT
MP3 PLAYER
TO JUKEBOX
CONTROL
TO
JUKEBOX
AUDIO
FROM
MP3
PLAYER
9-PIN
D-SUB
37-PIN
D-SUB
Table of contents