NSS Enterprises WRANGLER 2016 B User manual

OPERATION MANUAL
WRANGLER 2016 B, 2016 W/D
IMPORTANT SAFETY INSTRUCTIONS
WARNING: Failure to observe these instructions can cause
personal injury to machine operator or bystanders.
WARNING: Fire or explosion hazard.
NEVER operate this machine in an
explosive atmosphere (grain dust,
flammable liquids or fumes, etc.).
WARNING: Fire or explosion hazard.
NEVER attempt to pick up flammable or
combustible materials or use such
materials in tank.
INTENDED USE
This machine is intended for commercial use,
scrubbing floors in an indoor environment. NSS
does not recommend using this machine for any
other purpose.
FOR SAFETY:
•ALWAYS read and understand all instructions before
operating or servicing machine.
•ALWAYS use this machine ONLY as described in this
manual.
•NEVER attempt to operate this machineunless you
have been trained in its operation.
•NEVER allow an untrained person to operate this
machine.
•NEVER attempt to operate this machine if it is not
working properly or has been damaged in any manner.
•NEVER disconnect or modify any switches or safety
devices (circuit breaker).
•NEVER drop or insert any object into any machine
opening.
•NEVER operate this machine with any air opening
blocked. Keep all air openings free of dust, lint, hair,
etc.
•NEVER pick up anything that is burning or smoking,
such as cigarettes, matches or hot ashes.
•NEVER spray this machine with water or any liquids.
•NEVER allow the vacuum motor or battery charging
plug to get wet or a short may occur.
•NEVER operate this machine when the battery charger
is plugged in.
•NEVER operate this machine with the side skirt
removed.
•NEVER allow this machine to be used as a toy. Close
attention is necessary when used by or near children.
•ALWAYS wear clean tennis shoes or “non-slip” shoes.
Leather soled shoes will become extremely slippery
when wet.
•ALWAYS keep face, fingers, hair or any other
body part or loose clothing away from any machine
opening or moving part (revolving brush, pad
driver, or vacuum motor).
•ALWAYS turn the machine off when attaching pads
or brushes.
•ALWAYS remove keys when this machine is left
unattended.
•ALWAYS be sure that the ramp is secured to the
vehicle before attempting to load/unload.
•ALWAYS use extreme caution when operating the
machine on a ramp or loading/unloading this
machine into or out of a truck/trailer. Use extreme
caution if the ramp is wet, oily, or covered with
cleaning chemicals.
•NEVER stop or turn the machine on a ramp or
incline.
•NEVER attempt to climb a grade or operate this
machine on a ramp or incline of more than 8
degrees.
•NEVER park or store the machine near a dock, on
ramps, near a furnace, boiler, open flame, or other
high heat source.
•NEVER allow this machine to freeze.
•NEVER expose the machine to rain, snow, or
extreme temperatures.
•NEVER store any items on this machine.
•ALWAYS store this machine indoors in a dry, cool
area.
ALL REPAIR SERVICE MUST BE PERFORMED BY AN NSS AUTHORIZED DISTRIBUTOR/
SERVICE STATION USING ONLY NSS ORIGINAL EQUIPMENT PARTS.
SAVE THESE INSTRUCTIONS

IMPORTANT SAFETY INSTRUCTIONS
BATTERY POWERED EQUIPMENT
WARNING: Failure to observe these instructions can cause
personal injury to machine operator or bystanders.
Read and understand all
instructions before installing
or charging batteries.
No smoking, open
flames, or sparks while
working with batteries.
Contains acid.
Avoid contact.
Poison. Causes severe
burns. Avoid contact.
WARNING: Batteries emit hydrogen, which can cause fire or explosion.
NEVER smoke, light a match, or cause a spark during operation or charging.
ALWAYS charge in a well-ventilated area away from open flame.
GENERAL
•ALWAYS read and understand all
instructions before installing or charging
batteries.
•NEVER attempt to install or charge
batteries unless you have been trained to
do so.
•NEVER allow an untrained person to install
or charge batteries.
•ALWAYS remove all jewelry when working
on or near the batteries.
•ALWAYS turn off all switches during
installation and service.
•ALWAYS disconnect the battery leads
before performing any service or repair.
•ALWAYS wear eye protection and
protective clothing to avoid contact with
battery acid.
•NEVER lay anything on top of batteries as
arcing may occur.
•IF CONTACT WITH BATTERY ACID
OCCURS, follow these instructions:
•SKIN –rinse area with water.
•EYES –Flush with water for 15 minutes.
•INTERNAL –Drink water or milk. Follow
with Milk of Magnesia, beaten egg or
vegetable oil. Call a physician immediately.
BATTERY INSTALLATION
•ALWAYS use two people to install, as batteries are
heavy.
•ALWAYS turn off all machine switches.
•ALWAYS position batteries as shown on the machine
installation decal to maintain machine balance.
•ALWAYS connect batteries as shown on the machine
installation decal to avoid shorting out the batteries and
the electrical system.
BATTERY CHARGING
•ALWAYS read instructions on charger carefully.
•ALWAYS use the NSS supplied charger with proper
voltage rating.
For lead acid batteries only, (does not apply to gel cell
or maintenance free batteries).
•ALWAYS check to ensure the battery water level covers
the battery plates before charging.
•ALWAYS check water level after charging and add water
if necessary to bring level to the bottom of the fill hole.
•NEVER overfill batteries as battery
and machine damage may result.
•ALWAYS wipe any acid from the top
of batteries using a soap solution.
•ALWAYS reattach caps to batteries. Do not charge with
caps loose or removed.
•ADD only distilled or treated city water. Not well water.
ALL REPAIR SERVICE MUST BE PERFORMED BY AN NSS AUTHORIZED DISTRIBUTOR/
SERVICE STATION USING ONLY NSS ORIGINALEQUIPMENT PARTS.
SAVE THESE INSTRUCTIONS

3
MACHINE INSPECTION
•Carefully unpack the Wrangler 2016 and recycle
all packing materials.
•Inspect machine for damaged or missing
components. If damage is found, contact the
local freight company to file a freight claim.
MACHINE COMPONENTS
Solution Tank
•The solution tank is the lower part of the machine
body and has a capacity of 16 gal (60.5 l).
•The tank is filled by pouring the water and
cleaning chemicals through the opening and filter
at the front of the tank.
•The amount of water in the tank is measured in
the plastic tube at the right rear of the tank.
•The solution tank is emptied through the clear
plastic tube at the right rear of the tank.
Recovery Tank
•The recovery tank is the upper part of the
machine body and has a capacity of 17 gal (64.3
l).
•The recovery tank is closed by a round, clearview
lid assembly.
•The recovery tank has a foam sensitive float shut-
off assembly. As the water level rises, the float
ball will rise into the tube and shut of the air flow
of the vacuum.
•The vacuum filter is located above the float and
can be accessed by removing the float.
•The float shut-off assembly does not shut off the
vacuum motor.
•The recovery tank is emptied through a large
rubber hose at the front of the machine. Remove
the plug and drain the liquids according to your
local EPA regulations.
Operator Control Panel
•The operator control panel is located at the upper
rear area of the machine. This panel has
components that control various machine
functions.
•The toggle switch on the left controls the brush
motor.
•The toggle switch on the right controls the
vacuum motor.
•On W/D models, the grips in the middle of the
panel control the machine. These grips rotate
forward and backward to control the direction and
speed of the machine. The further these grips
are rotated, the faster the machine moves. The
twist grips have a “dead man” feature that returns
the machine to neutral when the handles are
released.
Circuit Breaker
•The circuit breakers are located to the left of the
handle grips.
•The right circuit breaker is for the vacuum motor.
•The next circuit breaker is for the drive motor on W/D
models.
•The left circuit breaker is for the brush motor.
Battery Meter
•The battery meter is located on the left side of the
operator control panel.
•Work Range -This is the green area in the middle of
the meter. It shows the approximate amount of
“power” available in the batteries.
•Recharge Range -This is the red area on the left of
the meter. It shows when the batteries need to be
recharged. Continued machine operation in this area
will cause battery damage and potential machine
damage.
•Charge Range -This is the red area on the right of
the meter. It shows the approximate amount of
recharging the batteries have received. To observe
this reading on a W/D model, turn on the master
switch, observe the meter, then turn off the master
switch.
Battery Charging Plug
•This plug is located below the right grip near the split
of the tanks.
•The battery charger plug is inserted into the charging
plug to recharge the batteries.
•This plug is red on any 24 volt machine such as the
Wrangler 2016.
Battery Package (see safety instructions)
•The Wrangler 2016 is a 24 volt system and is
available with two battery packages.
•Four (4) 6 volt, 225 amp hour batteries or two (2) 12
volt 145 amp hour batteries.
To install the batteries: (batteries are heavy -use two
people to install)
•Turn off all switches and tilt open the recovery tank
to expose the battery compartment.
•Refer to wiring diagram inside the battery
compartment for arrangement of batteries.
•Install battery cables as shown on diagram.
•Tighten bolts and hex nuts with a wrench. Loose or
improper battery connections will causebattery or
machine damage and possible personal injury.
•CAUTION: Do not touch two terminals with wrench.
Battery Compartment Drain Hose
•This hose is located on the right near the rear of the
machine. The hose uses a pinch clamp to hold it
closed. This hose collects spilled liquids from the
battery compartment.
•Inspect the hose for liquid level on a weekly basis.
•Dispose of liquids according to your local EPA
regulations.

4
Solution Control (Valve) Lever
•The solution control lever is located in middle rear
of the machine. This lever controls the solution
valve and the amounts of liquid put on the floor
when cleaning.
•Pull up on the handle to open the valve, push
down on the handle to close the valve.
•Solution is controlled by the solenoid valve and
will not flow until the brush is in operation.
Solution Filter Assembly
•Attached to the bottom of the tank is a filter
assembly designed to stop debris from entering
the solution valve.
•If the solution stops flowing to the brush, empth
the tank and open the filter fitting (by hand),
remove and clean the screen.
Drive Motor (on W/D Model)
•This machine is powered forward and reverse by
a 24 volt drive motor.
•The speed is electronically controlled for smooth
increase and decrease in speed.
•The motor moves the drive wheels through a
gearbox and transaxle system.
•This motor has carbon brushes that must be
serviced on a regular basis. The carbon brushes
have an expected life of 2,000 operating hours.
Brush Gear Motor
•The brush motor is located on the front of the
machine. The motor is attached to a gearbox to
turn the pad driver or brush.
•The right lift arm is used to raise or lower the
brush motor to and from transport, float, or heavy
scrub positions.
•This motor has carbon brushes that must be
serviced on a regular basis. The carbon brushes
have an expected life of 2,000 operating hours.
Vacuum Motor
•This machine has a 24 volt vacuum motor.
•The vacuum motor is mounted to the underside of
the recovery (top) tank.
•This motor has carbon brushes that must be
serviced on a regular basis. The carbon brushes
have an expected life of 700 operating hours.
Squeegee Assembly
•The squeegee assembly may use a dual (2)
urethane blade system to recover liquids from the
floor. Also available is a curved assembly with a
gum rubber rear blade and neoprene front blade.
•The squeegee assembly has a wide, flat frame to
help prevent damage, two (2) mounting knobs
and two (2) small wheels to prevent “rollover” in
reverse.
•The squeegee assembly mounts to a metal
bracket at the rear center of the machine.
•Raise and lower the squeegee assembly with the
handle at the center rear of the machine.
MACHINE OPERATION
General Information
The Wrangler 2016 is very maneuverable and is
designed to clean as you drive the machine from
behind.
•Always sweep the floor before scrubbing. You may
also need to preclean some spills or stains before
scrubbing. Consult your local NSS Authorized
Distributor for procedures and more complete
chemical advice.
•Always wear clean “tennis shoes” or “non-slip” shoes
when working with an automatic scrubber. Leather
soled shoes of any type will be extremely slippery
when wet.
•Make sure you wipe your shoes dry before walking
onto other areas of bare floor or carpet. Some floor
cleaning chemicals may cause great damage to
carpet or other floor surfaces.
Daily Use
Follow these steps to prepare the machine for daily
operation.
Prepare the solution tank:
•Never use water over 140°F (60°C) degrees.
Excessively hot water may damage components
such as the tanks.
•Pour all liquids through the mesh filter at the front of
the solution tank.
•Put 1 to 2 gallons of clean water into the solution
tank first to help dilute the chemicals and prevent
excess sudsing.
•Consult your local distributor for complete chemical
advice. Dilute the cleaning chemicals according to
the manufacturer’s instructions.
•Add the cleaning chemicals to the solution tank and
fill with water as needed.
Prepare the recovery tank:
•Always use a defoamer to protect the vacuum motor
of this machine. Every time you empty the recovery
tank, we recommend that you add at least 4 to 6
ounces of defoamer chemical into the empty
recovery tank before resuming work. Vacuum the
defoamer into the recovery tank through the
squeegee vac hose.
•Make sure the drain plug of the recovery tank hose is
closed tightly.
To install a brush or pad driver and pad:
•There are a wide range of pads or brushes available
for the many cleaning applications of
this machine. Consult your local NSS distributor for
application recommendations.
•Turn the pad drivers upside down on the floor and
remove the pad holding cup.

5
•Remove the center cutout of the pad. Place the
pad on the face of the pad driver.
•The pad must be centered on the driver to
prevent wobbling or bouncing.
•Install and secure the pad holding cup to the pad
driver. Turn the pad driver over so that the pad
faces the floor.
•Raise the brush motor into the transport position.
•Align the notches on the pad driver or brush with
the lugs on the drive casting and rotate to lock or
unlock.
To install the squeegee assembly:
•Place the squeegee lift handle in the storage
position.
•Loosen the two mounting knobs and slide the
squeegee assembly onto the mounting plate.
The roller wheels must face the operator.
•Hand tighten the mounting knobs. Do not use
pliers to tighten knobs as this will defeat the
“breakaway” design.
To adjust the squeegee assembly:
As the machine is used, the squeegee blades will
wear or need to be replaced due to damage. Some
adjustment may be needed.
•Turn the vacuum motor ON and open the water
valve slightly.
•Squeegee blades should lay over slightly (like a
window squeegee) when the machine is moving
forward or reverse.
•Adjust the blade angle by turning the wing nut (or
knob) on the pivot arm clockwise or
counterclockwise.
•Do not add any weights or other pressure to the
squeegee mechanism, it will not improve the
performance and will shorten service life.
Operating the Machine
Cleaning path
•The Wrangler 2016 has the brush motor offset to
the right side of the machine. This offset allows
you to clean the edge of a floor or an obstructed
area (walls or shelving) with the right side of the
machine.
•Sweep and dust mop the floor to remove dirt and
debris before scrubbing. Accumulations of dirt or
debris on the floor will reduce cleaning
performance.
•Overlap each cleaning path about 2 in. (5 cm) to
prevent streaking and dirty areas.
Normal Cleaning
•Fill solution tank as directed.
•Put defoamer chemical in recovery tank.
•Install pad driver/pad or brush.
•Move machine to area to be cleaned.
•Sweep and dust mop the area to be cleaned.
•Place “Wet Floor” warning signs in area.
•Turn on brush and vacuum motor switches.
•Place brush motor and squeegee assembly in
operating position on the floor.
•On the W/D model, twist handle grips forward (away
from you) to move forward and backward (toward
you) to move in reverse.
•Lift solution valve handle to start liquid flow to floor.
Adjust amount of flow as needed.
•The solution flow is controlled by an electronic
solenoid. The solenoid is turned on when the brush
motor is activated.
•Close the solution valve completely 10 ft (3 m) before
you turn at the end of your cleaning path. This will
reduce the amount of liquid on the floor when you
make your turn. Open the solution valve when
starting the next pass. Repeat this procedure for
each pass.
•Watch the level of liquid in the recovery tank and
listen for the float shut-off to change the sound of the
vac motor. The air flow will stop and you must empty
the recovery tank.
•Take the machine to an approved disposal drain and
turn off all switches.
•Pull the flexible rubber drain hose out from behind
the brush motor. Raise the end of the hose above
the level of the recovery tank, loosen and remove the
hose drain plug. Carefully direct the drain hose into
the drain.
•When tank is empty, replace and tighten the drain
plug. Place the drain hose back behind the brush
motor. Do not obstruct the lift mechanism or brush
motor.
•Resume cleaning operation. Refill solution tank and
empty recovery tank as needed.
•When cleaning is complete, return machine to
storage area to perform daily maintenance.
Special Cleaning
•Double scrubbing -This procedure provides deeper
cleaning on heavily soiled floors. One or more
cleaning passes are made before picking up the
chemicals with the squeegee. Best results are
achieved by placing the brush motor in the heavy
scrub position.
•Stripping -This procedure is used to remove
moderate build-up of floor finish from the floor. The
most aggressive pads or brushes are used in this
procedure. The stripper solution is applied to the
floor with a mop and bucket and then double
scrubbed as described above. Stripper should not
be put into the solution tank. Clean water from the
solution tank is applied to the floor to keep the
chemicals and finish in a “liquid” condition.
•The floor will become extremely slippery in these
operations. The Wrangler should be operated slowly
and great care should be taken when walking on this
surface.

6
MACHINE MAINTENANCE
Routine maintenance is critical to ensure proper
machine operation and cleaning performance.
Perform all maintenance procedures as follows.
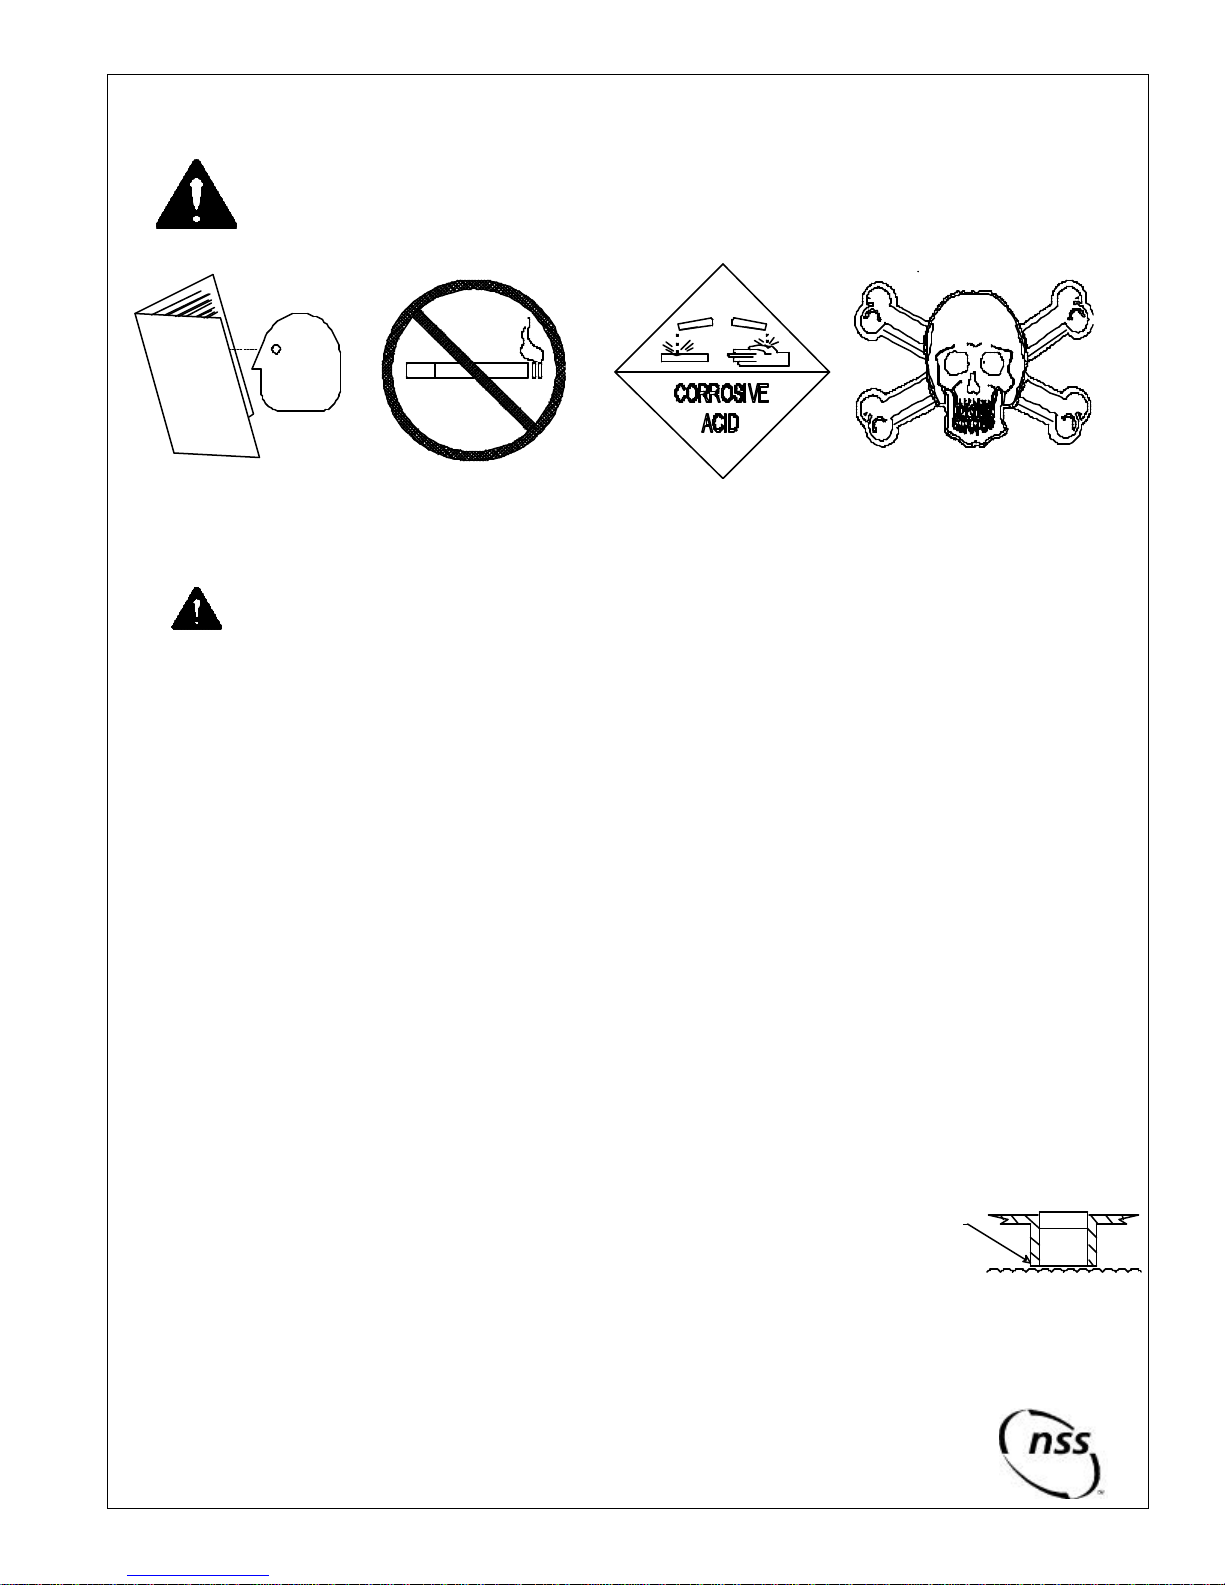
Always turn OFF all machine switches before
performing any maintenance.
Daily Maintenance
Battery Charging
•All power switches must be turned to the OFF
position.
•You must recharge the batteries at the end of
every work shift or when the battery meter
indicates “recharge” during the work shift.
•Connect the battery charger plug (red) to the
machine charging plug.
•Connect the battery charger power cord into a
grounded A.C. outlet of the proper voltage.
•After a few seconds the amp meter will indicate
the battery charger is operating.
•When the recharge cycle is complete, the battery
charger will turn off automatically.
•If the battery charger will not start operating, check
the charging plug connections, the battery cable
connections and the battery voltage.
•If the batteries have been discharged (used) too
deeply, the battery charger will not start. Consult
your local NSS service center for assistance.
Battery Electrolyte (liquid) Level
•Inspect the electrolyte level of at least one cell in
each battery before charging. The liquid must be
visible above the internal plates. Do not charge
the batteries if liquid is below the plates.
•Add only water to the cell of a battery to adjust the
liquid level. Before charging, add only enough
water to cover the top of the internal plates. After
charging add only enough water to bring the level
to the bottom of the fill tube.
•Do not overfill the battery liquid, this will cause
electrolyte (acid) spill. Spilled electrolyte can
cause machine damage and personal injury.
Clean and dispose of spills immediately.
Solution and Recovery Tanks
•Empty all liquids from both solution and recovery
tank.
•Rinse both tanks with clean water to prevent
chemical residue build-up. Empty both tanks.
•Leave recovery tank clear lid open to allow tank to
air dry and prevent odors.
Pad driver or brush
•Remove pad driver or brush from machine.
•Rinse with clean water to prevent chemical build-
up. Allow to air dry on shelf or rack.
•Inspect for wear or damage. Repair or replace as
needed.
Weekly Maintenance
•Verify all daily maintenance has been performed.
•Inspect battery liquid level, adjust to proper level as
needed.
•Check battery terminals and cable connections. Tighten
and remove corrosion as needed.
•Inspect and empty battery compartment drain hose as
described earlier in manual.
•Inspect and clean float screen and small vac filter above
float.
•Check solution flow to pad driver/brush head. Inspect
and clean solution filter assembly.
•Flush solution tank and hoses with a mixture of 8 oz/250
ml white vinager to 1 gal/4 l water.
•Repair or replace any worn or damaged components as
needed.
Monthly Maintenance
•Verify all daily and weekly maintenance has been
performed.
•Grease the caster axle and swivel bearing. Use only
water resistant lithium-based grease.
•Inspect all mechanical linkages, pivot points and ball
joints for freedom of movement. Use a penetrating spray
lubricant that is water resistant. Do not use WD-40
lubricant.
•Inspect all fasteners (bolts, screws, nuts) at mechanical
linkages, pivot points and ball joints
for tightness. Tighten as needed.
•Check return handle springs of the twist grip handles. If
they appear weak or do not return
the grips to the neutral position, replace both springs as
needed.
Mandatory Periodic Maintenance
It is important for you to maintain a record of the amount
of machine operating hours in order to perform this
machine maintenance. It is mandatory that the following
maintenance procedure be performed at the described
interval. This procedure should be performed by an NSS
service center. Failure to perform this procedure may
result in poor machine performance, machine component
damage and failure.
•After every 450-500 hours of operation: Inspect vac
motor carbon brushes for wear.
•After every 650-700 hours of operation: Inspect drive
motor (transaxle) carbon brushes for wear. Inspect
brush drive motor carbon brushes for wear.
•Replace the drive motor (transaxle) carbon brushes
when they are 3/8 in. (9 mm) in length.
•Replace the brush motor carbon brushes when they are
1/2 in. (13 mm) in length.
•Replace the vacuum motor carbon brushes when they
are 7/16 in. (11 mm) in length.
Authorized Repair Service
Repair service for this machine must be performed by an
NSS authorized service center. Repairs not performed
by an unauthorized company will void the machine
warranty. If you require assistance finding an authorized
service center, contact NSS Enterprises.

7
TROUBLE-SHOOTING
PROBLEM CAUSE SOLUTION
No solution flow. Clogged filter. Clean filter.
Low battery charge. Charge the batteries.
The solution valve is closed. Open the solution valve.
Obstruction in the solution hose. Remove the obstruction.
Solution valve or linkage damaged. Repair/replace the valve linkage.
Solution hose kinked. Check for kinks at valve.
Solution tank is empty. Fill the tank.
Solution flow does The solution valve is open. Close the solution valve.
not stop. Solution valve or linkage damage. Repair/replace the valve linkage.
Solution valve is dirty. Clean the solution valve.
Damaged seat and washer in valve. Replace valve.
The valve stem is dirty. Clean and lubricate valve stem.
Hose disconnected or damaged Reinstall or replace hose.
between sol. tank & valve
Will not pick up any Squeegee is up. Lower squeegee.
water from floor. Squeegee hose is off Reinstall hose.
Vac motor switch is “off”. Turn vac motor switch “on”.
Recovery tank is full. Empty tank.
Vacuum shut-off float is stuck. Open float valve/remove obstruction.
Obstruction/damage in the squeegee, Remove obstruction/repair damage.
squeegee hose or standpipe.
Leaking over gasket. Remove old gasket/replace.
Vac motor is not running. Have an authorized serviceman repair.
Recovery drain hose not plugged properly. Install drain hose plug properly.
Will not pick up all of the Debris on squeegee blades Clean squeegee
water from the floor. Squeegee blade is worn/damaged. Reverse/replace squeegee blade.
Obstruction/damage in the squeegee, Remove obstruction/repair damage.
squeegee hose, or standpipe.
Squeegee angle needs adjustment. Adjust angle.
Vacuum motor worn out. Repair/replace vac motor.
Recovery tank drain hose damaged. Repair/replace recovery drain hose.
Batteries do not seem Overcharging batteries. Monitor runtime and adjust charging
to run long enough. frequency accordingly.
Tops of batteries are dirty/wet. Clean/dry, charge batteries.
Battery terminals are dirty, damaged, Clean terminals and connectors,
or loose. replace damaged cables. Charge.
Electrolyte level is too low. Add distilled water and charge.
Batteries are not fully charged. Charge batteries for 8 hours.
Charger is damaged. Have an authorized serviceman repair.
Battery is defective or worn out. Check cell voltage while discharging.
Cleaning is not even. Brush/pad is worn. Replace brush/pads.
Damage to brush assembly, casters Have an authorized serviceman repair.
or solution valve.
Machine does not run. Circuit breaker tripped. Reset circuit breaker.
Loose battery connection Tighten battery connection.
NOTE: If any problems remain after taking the above steps, contact your local authorized
distributor/service station for further evaluation and repair

NSS®Enterprises, Inc.
3115 Frenchmens Road, Toledo, Ohio 43607
PHONE (419) 531-2121 FAX (419) 531-3761
NSS ® Enterprises, Inc. European Distribution Centre
Unit II, Pinfold Trading Estate * 55 Nottingham Road
STAPLEFORD, NOTTINGHAM NG9 8AD ENGLAND U.K.
PHONE: (44) 0115 939 1568 * FAX: (44) 0115 949 0615
WRANGLER 2016 B/2016 W/D Orig. 02/02 Rev B 03/03 9092375
Table of contents
Other NSS Enterprises Floor Machine manuals
Popular Floor Machine manuals by other brands

HydraMaster
HydraMaster PEX 500 635K Information and operating instructions

Tennant
Tennant 5200 Operator and parts manual

Mytee
Mytee 8070 Lite instructions

Oreck
Oreck ORBITER 550 Series user manual

Tornado Karcher
Tornado Karcher EB 30/1 manual

Windsor
Windsor Walk Behind Scrubber SCE326 operating instructions

Diamond
Diamond CROWN G17 Operator's manual

Kärcher
Kärcher BR 55 W BAT manual

Nilfisk-Advance
Nilfisk-Advance R 253 9087362020 Service manual

Oreck
Oreck ORBITER ORB480 user guide

Host
Host Freestyle extractorVAC Safety & maintenance instructions

Nilfisk-Advance
Nilfisk-Advance SCRUBTEC 344 Series Service manual