Ocean Optics SeaChanger User manual

SeaChanger
Installation and Operation Manual
Document Number 640-11100-000-02-0305
SERIAL NUMBER: ___________________
Offices: Ocean Optics, Inc. Sales and Worldwide Headquarters
830 Douglas Ave., Dunedin, FL, USA 34698
www.oceanoptics.com
Phone 727.733.2447
Fax 727.733.3962
Ocean Optics, Inc. Customer Service
8060A Bryan Dairy Road, Largo, FL, USA 33777
www.OceanOnStage.com
Phone 727.545.0741
Fax 727.544.2241
Ocean Optics B.V. (Europe)
Nieuwgraaf 108 G, 6921 RK DUIVEN, The Netherlands
Phone 31-(0)26-3190500
F
ax 31-(0)26-3190505
000-00000-000-02-06

FCC Information
This equipment has been tested and found to comply with the limits for a Class A digital device, pursuant to part 15 of the FCC rules. These
limits are designed to provide reasonable protection against harmful interference when the equipment is operated in a commercial environment.
This equipment generates, uses, and can radiate radio frequency energy and, if not installed and used in accordance with the instruction manual,
may cause harmful interference to radio communications. Operation of this equipment in a residential area is likely to cause harmful interference,
in which case the user will be required to correct the interference at his own expense.
Copyright © 2001-2005 Ocean Optics, Inc.
All rights reserved. No part of this publication may be reproduced, stored in a retrieval system, or transmitted, by any means, electronic,
mechanical, photocopying, recording, or otherwise, without written permission from Ocean Optics, Inc.
This manual is sold as part of an order and subject to the condition that it shall not, by way of trade or otherwise, be lent, re-sold, hired out or
otherwise circulated without the prior consent of Ocean Optics, Inc. in any form of binding or cover other than that in which it is published.
Trademarks
SeaChanger is a trademark of Ocean Optics, Inc. Source Four is a registered trademark of Electronic Theatre Controls, Inc. (ETC). All other
products and services mentioned herein are the trademarks, service marks, registered trademarks, or registered service marks of their respective
owners.
Limit of Liability
Every effort has been made to make this manual as complete and as accurate as possible, but no warranty or fitness is implied. The information
provided is on an “as is” basis. Ocean Optics, Inc. shall have neither liability nor responsibility to any person or entity with respect to any loss or
damages arising from the information contained in this manual.

Important Safety and Warranty
Notices
Safety Information
Please read all instructions prior to assembling, mounting, and operating this equipment.
Product Modification Warning
Ocean Optics products are designed and manufactured to meet the requirements of United States and
International safety regulations. Modifications to the product could affect safety and render the product
noncompliant to relevant safety standards.
Warranty Information
Limited Warranty
Unless otherwise stated, your product unit is covered by a one-year parts and labor limited warranty.
Dichroic filters are not guaranteed against breakage or scratches to coating. It is the owner’s responsibility
to furnish receipts or invoices for verification of purchase, date, and dealer or distributor. If purchase date
cannot be provided, date of manufacture will be used to determine warranty period.
Returning an Item Under Warranty for Repair
It is necessary to obtain a Return Material Authorization (RMA) number from your dealer or point of
purchase BEFORE any units are returned for repair. The manufacturer will make the final determination
as to whether or not the unit is covered by warranty. Lamps are covered by the lamp manufacturer’s
warranty.
All product units or parts returned to Ocean Optics must be packaged in a suitable manner to ensure the
protection of such product units or parts. This packaging must be clearly and prominently marked to
indicate that the package contains returned product units or parts and must also display its RMA number.
Accompany all returned product units or parts with a written explanation of the alleged problem or
malfunction. Ship returned product units or parts to: Ocean Optics, 8060A Bryan Dairy Road, Largo,
Florida, 33777.
640-11100-000-02-0105 i

Important Safety and Warranty Notices
Note
Freight damage claims are invalid for fixtures shipped in non-factory boxes and packing
materials.
Freight
All shipping charges will be paid by the purchaser. Items under warranty shall have return shipping paid
by the manufacturer only in the continental United States. Under no circumstances will freight collect
shipments be accepted. Prepaid shipping does not include rush expediting such as air freight. Air freight
can be sent customer collect in the continental United States.
REPAIR OR REPLACEMENT AS PROVIDED FOR UNDER THIS WARRANTY IS THE
EXCLUSIVE REMEDY OF THE CONSUMER. OCEAN OPTICS, INC. MAKES NO WARRANTIES,
EXPRESS OR IMPLIED, WITH RESPECT TO ANY PRODUCT, AND OCEAN OPTICS
SPECIFICALLY DISCLAIMS ANY WARRANTY OF MERCHANTABILITY OR FITNESS FOR A
PARTICULAR PURPOSE.
Warranty is void if the product is misused, damaged, modified in any way, or for unauthorized repairs or
parts. This warranty gives you specific legal rights; you may also have other rights, which vary from state
to state.
ii 640-11100-000-02-0105

Table of Contents
About This Manual .......................................................................................................... v
Document Purpose and Intended Audience.............................................................................. v
Document Summary.................................................................................................................. v
Product-Related Documentation ............................................................................................... v
Upgrades......................................................................................................................... v
Chapter 1: Features ............................................................................1
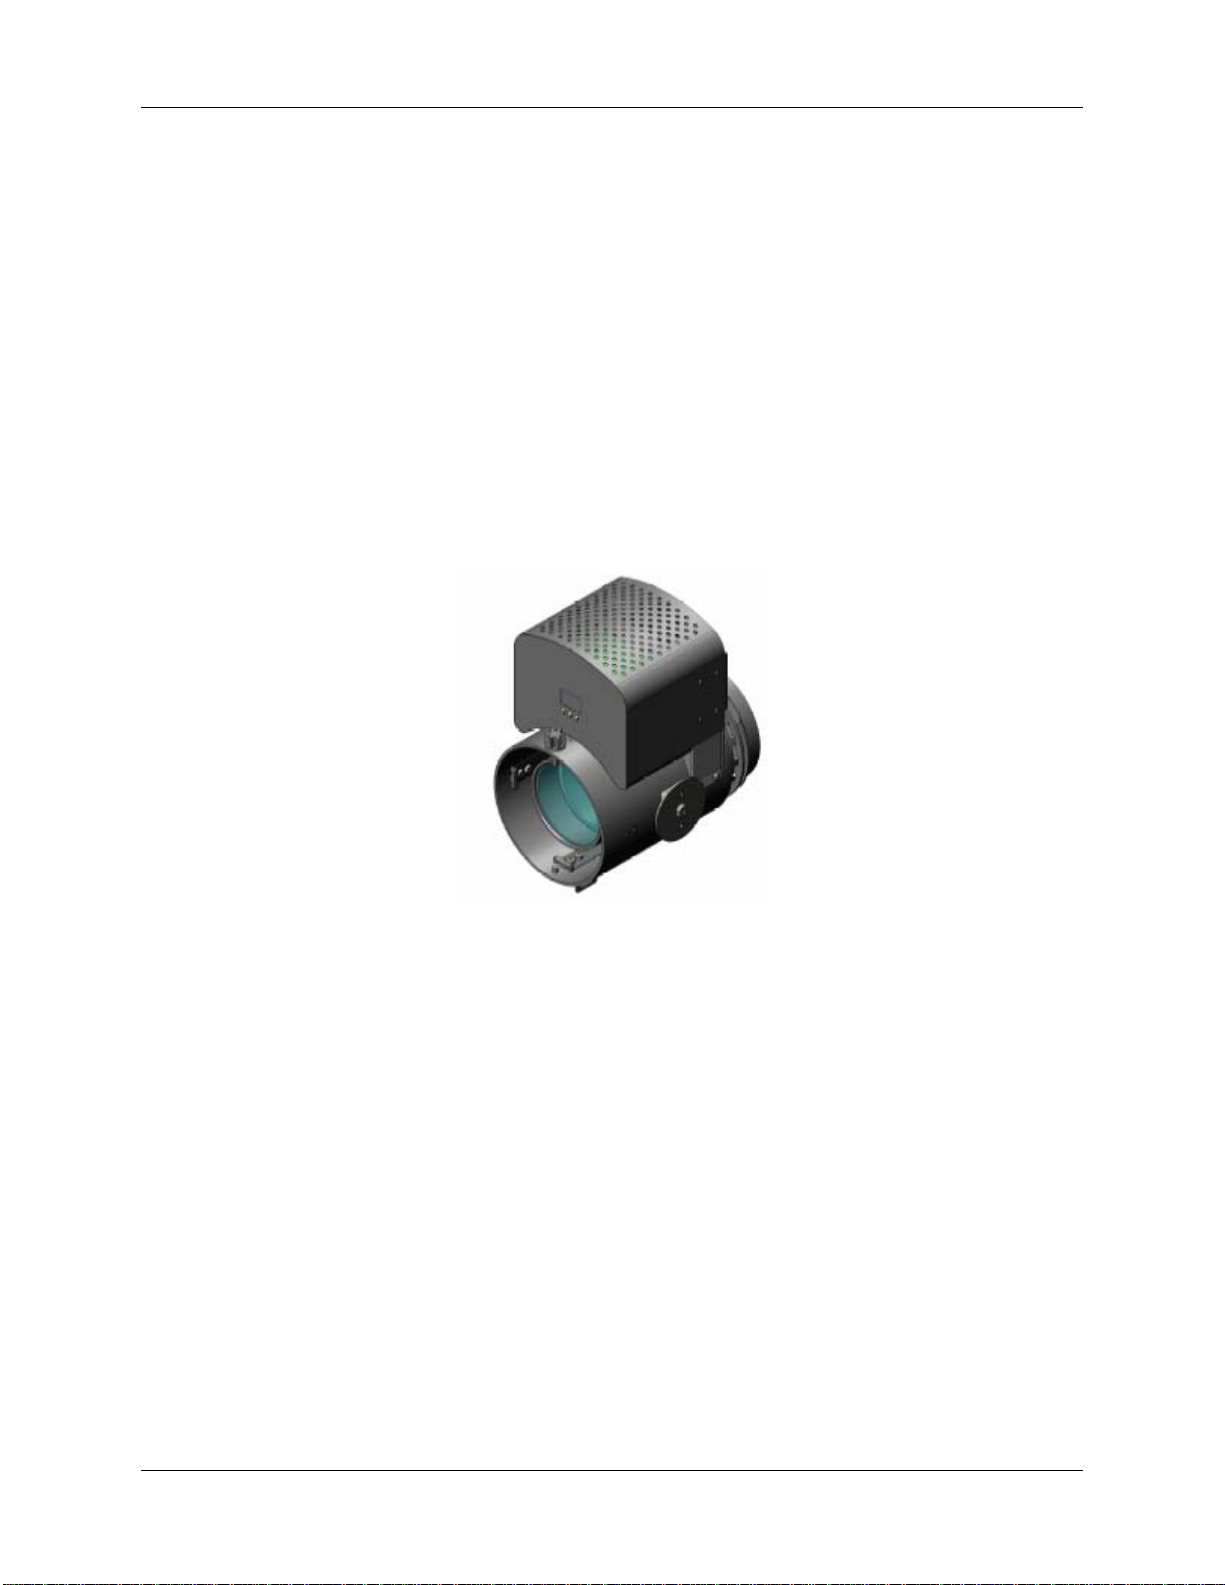
SeaChanger Color Engine .............................................................................................. 1
SeaChanger Features ..................................................................................................... 2
Chapter 2: Setup and Configuration .................................................3
Package Contents ..................................................................................................................... 3
Optional Accessories................................................................................................................. 3
SeaChanger Setup.......................................................................................................... 3
Mounting the SeaChanger on a Source Four Ellipsoidal Fixture..................................... 4
Optimizing Performance ............................................................................................................ 5
Determining a Valid DMX Base Address......................................................................... 6
Setting the SeaChanger DMX Base Address.................................................................. 6
Chapter3: Operation ...........................................................................7
Overview ......................................................................................................................... 7
Power and DMX Connections ................................................................................................... 7
SeaChanger Display and Control Buttons................................................................................. 7
DMX Signal Indicator................................................................................................................. 7
Display Blanking ........................................................................................................................ 7
USITT DMX512-A Manufacturer ID........................................................................................... 8
Setting the Base DMX Address................................................................................................. 8
DMX Control .............................................................................................................................. 9
RDM Communication ................................................................................................................ 10
Direct Panel Entry...................................................................................................................... 11
Demo Mode ............................................................................................................................... 12
640-11100-000-02-0105 iii

Table of Contents
Appendix A: SeaChanger Specifications..........................................13
Appendix B: Maintenance..................................................................14
Cleaning the SeaChanger Dichroics ............................................................................... 14
Index.....................................................................................................15
iv 640-11100-000-02-0105

About This Manual
Document Purpose and Intended Audience
This document provides you with an installation section to get your SeaChanger up and running.
Document Summary
Chapter Description
Chapter 1: Features Provides a list of product features.
Chapter 2: Setup and Configuration Contains instructions for unpacking, installing
and configuring the SeaChanger.
Chapter 3: Operation Contains instructions for using the
SeaChanger.
Appendix A: SeaChanger Specifications Provides product specifications.
Appendix B: Maintenance Provides for cleaning the SeaChanger
dichroics.
Product-Related Documentation
You can access documentation for SeaChanger by visiting our website at www.OceanOnStage.com.
Upgrades
Occasionally, you may find that you need Ocean Optics to make a change or an upgrade to your system.
To facilitate these changes, you must first contact Customer Service and obtain a Return Merchandise
Authorization (RMA) number. Please contact Ocean Optics for specific instructions when returning a
product.
640-11100-000-02-0105 v


Chapter 1
Features
SeaChanger Color Engine
The SeaChanger Color Engine is an innovative dichroic color-mixing accessory for the ETC™Source
Four™ ellipsoidal fixture. SeaChanger gives you the freedom to mix any color as well as perform live
fades from one color to another smoothly, silently, and cleanly.
SeaChanger attaches between the rear housing assembly and the front barrel assembly of the Source Four,
and does not interfere with the gate area. You can still use patterns, irises, gobo changers, and all the
usual accessories with your Source Fourfixture.
SeaChanger uses dichroic borosilicate glass, which will not fade or change color. So, the color you create
during rehearsals is the same color you will see a week, a month, or a year later. And, there are no gel
scrolls to burn out or replace.
640-11100-000-02-0105 1

1: Features and Specifications
SeaChanger Features
Your SeaChanger Color Engine offers the following features:
•Easy installation – Locks on to existing bayonet lens mount with
no modifications
•High-efficiency dichroics – Less light loss with dichroic color
than with a gel
•No interference with Source Four optics – Can be used with any
lens type
•Smooth color mixing – Includes pastel and saturated colors
•Fully dichroic colors that never fade
•Full control over color mixing from smooth, stepless movement
to rapid color changes – Allows slow, imperceptible color fades
•Silent operation – Contains no fans
•Live color fading from one color to another at any speed with no
strange, intermediate colors
•No interference with Source Four’s gobos, irises, or gobo rotators
•Operates on 6 DMX channels: Cyan, Yellow, Magenta (CYM),
and Dimmer
SeaChanger Color Gamut
2 640-11100-000-02-0105

Chapter 2
Setup and Configuration
Unpacking the Products
Unpack your SeaChanger products and verify that they are undamaged. If there is no damage, continue
with the rest of the setup procedure (see SeaChanger Setup). If there is damage, notify both the shipping
agent and the sales agent immediately.
Save the shipping carton and packing materials. The carton and packing materials are specifically
designed to protect the product during transport. Return a product for repair in its original shipping carton
and packing materials. Ocean Optics assumes no responsibility for products that are damaged during
transport. Before returning anything to the factory, call for a Return Material Authorization (RMA)
number. Ocean Optics cannot accept any goods shipped without an RMA number. See Returning an
Item Under Warranty for Repair.
Package Contents
The SeaChanger Color Engine ships with the following items:
•User manual
•Safety cable
Optional Accessories
The following accessories are available from Ocean Optics:
•Extended Yoke for down lighting or FOH installations (Part No. ME451-59)
SeaChanger Setup
Setting up the SeaChanger involves installing the proper power cord cap and setting the DMX start
channels.
Installing a Power Cord Cap
Your SeaChanger ships with a power cord that must be connected to a standard cord cap. Different
locations may require a different power cord cap to connect the fixture to a power source. Because of the
variety of power cord caps used worldwide, Ocean Optics, Inc. cannot make specific recommendations
for the power cord cap. Contact a local authority for the type of power cord cap needed.
640-11100-000-02-0105 3

2: Setup and Configuration
The SeaChanger has a universal power supply onboard that allows for connection to a wide variety of
main power sources. Refer to the Specifications section for details.
When installing the power cord cap, note that the cores in the mains lead are colored in accordance with
the following code:
Color Function
Green with Yellow stripe Ground
Blue Neutral
Brown Live
WARNING
The SeaChanger is Class 1 equipment. This equipment must be connected to an
earth ground.
Note
Maximum total color- changer cable length per SeaChanger should not exceed 600 ft.
(182.9 m).
Mounting the SeaChanger on a Source Four
Ellipsoidal Fixture
The SeaChanger requires no tools to install. It fits between the lamp and the lens module of the Source
Four Ellipsoidal fixture. Perform this procedure before you connect the fixture to power.
WARNING
INTENSE HEAT. AVOID CONTACT BY PERSONS AND MATERIALS.
►Procedure
To install a SeaChanger Color Engine in a Source Four ellipsoidal fixture,
1. Remove the Source Four from the yoke assembly, setting aside the screws to use in Step 2.
2. Using the same screws, attach the SeaChanger as shown in the figure below. Adjust the
SeaChanger to the desired orientation.
4 640-11100-000-02-0105

2: Setup and Configuration
2. Remove the front barrel assembly of the Source Four ellipsoidal fixture by loosening the
thumbscrew and the Philips set screw located above and beneath the lens barrel. Rotate the barrel
assembly until it releases from the mounting tabs located in the rear housing assembly.
3. Insert the SeaChanger into the Source Four rear housing assembly by aligning the mounting tabs
into the rear-locking ring of the SeaChanger. You must rotate the rear housing until the Source
Four mounting tabs are captured in the SeaChanger locking ring channels. Tighten the
thumbscrew and Philips set screw to lock the module onto the Source Four fixture.
5. Insert the front barrel assembly onto the front locking ring of the SeaChanger, engaging the barrel
assembly into the locking ring channels.
6. Adjust the front barrel assembly to the desired orientation and tighten the thumbscrew and Philips
set screw to lock the front barrel assembly to the SeaChanger.
7. Mount the unit using safety cable at the mounting location.
Optimizing Performance
Soft Edge Beam
For optimum performance from SeaChanger and the Source Four when you need a soft edge, always
move the lens tube out (away from the lamp housing) from the focus point, not towards.
640-11100-000-02-0105 5

2: Setup and Configuration
Determining a Valid DMX Base Address
The DMX base address (start channel) identifies each fixture on a link for the DMX controller. There are
512 available channels on each DMX link. These 512 channels are divided among all the devices on a
particular link. The number of channels a fixture requires is called the fixture’s channel range. The DMX
base address assigned to a particular fixture is the first channel available to a fixture in its channel range.
The fixture’s channel range must not overlap any other device’s channel range on the link. When two
devices on the same DMX link have overlapping channel ranges, one or both devices will be disabled or
behave erratically.
Remember the following criteria when determining a valid base address:
•The base address is the number of the first channel in a consecutive block of channels assigned to
an individual fixture.
•If you want two or more fixtures to respond to controller commands in exactly the same way, you
can assign them the same base address. In that case, those fixtures must be the same type and
must share the entire channel range.
•A fixture can be assigned the second block of DMX channels on a link without physically being
the second fixture on the link.
•To avoid overlapping channels, place the start channel at the beginning of a range of available
channels large enough to accommodate that fixture type.
•Every channel in the link does not need to be assigned.
•The channel range required for a fixture differs depending on the fixture type.
Setting the SeaChanger DMX Base Address
The SeaChanger Color Engine requires six DMX channels. Choose a DMX base address that precedes the
base address of any fixture the console controls.
►Procedure
To set the SeaChanger Start channel:
1. Use the front panel buttons and LED numeric display to select the three digit base address. The
displayed address will become active after a three second delay.
6 640-11100-000-02-0105

Chapter 3
Operation
Overview
The SeaChanger can be operated by a DMX512 controller, RDM (Remote Device Management)
device, or from the front panel display.
Power and DMX Connections
The SeaChanger has a self-contained universal AC/DC power supply, permitting connection to
single-phase power sources with a voltage range of 90 – 264 VAC, at a frequency of 50 – 60 Hz.
The DMX I/O connectors are 5-pin XLR type, and are connected in a pass-through arrangement
to enable daisy chaining of multiple fixtures. Either connector can function as an input or output.
An external terminator plug (not supplied) is recommended for the last fixture in a DMX cable
run.
SeaChanger Display and Control Buttons
The SeaChanger features a 3-digit LED display and corresponding panel buttons for numeric
entry. Each button push increments the corresponding digit by 1, and from 9 back to 0.
Addresses and functions programmed via the display panel take effect after a 3 second delay.
DMX Signal Indicator
The SeaChanger display will show a decimal point if a DMX signal is present. The decimal
point will go out when signal is not present or removed.
Display Blanking
The SeaChanger display will blank the digits after a 5-minute delay. The DMX signal indicator
(decimal point) will remain on as long as a DMX signal is present. The display can be powered
on by pushing any of the display buttons once while blanked.
640-11100-000-02-0105 7

3: Operation
USITT DMX512-AManufacturer ID
All Ocean Optics DMX512 addressable fixtures have an ESTA registered Manufacturer's ID of
ASCII "SC" (decimal 83 & 67, or 53h 43h in hex).
Setting the Base DMX Address
The SeaChanger is a six channel DMX device, and requires that a contiguous block of six DMX
addresses be available. The display panel or RDM input is used to enter the DMX base address
of the fixture. Channel 1 is assigned to this base address, and Channels 2 through 6 are assigned
the next five DMX addresses.
8 640-11100-000-02-0105

3: Operation
DMX Control
When connected to a suitable DMX controller, the SeaChanger can be operated via six DMX
channels. The channels are assigned as in Table 1 below:
Table 1 – SeaChanger DMX Channel Map
Channel Name Parameter Percent
Range DMX
Range Hex
Range Reset Default
Percent Value
1 Cyan Color
Saturation 0 – 100% 0 – 255 0 – FF 0%
Full clear
2 Magenta Color Saturation 0 – 100% 0 – 255 0 – FF 0%
Full clear
3 Yellow Color Saturation 0 – 100% 0 – 255 0 – FF 0%
Full clear
Dimmer
Fixture
Brightness 0 – 100%
0 – 255 0 – FF 100%
Full bright
Extreme
Magenta Color
Saturation 0 – 100% 0 – 255 0 – FF 0%
Full clear
CTO Color
Correction 0 – 100% 0 – 255 0 – FF 0%
Full clear
4*
CTB Color
Correction 0 – 100% 0 – 255 0 – FF 0%
Full clear
5 Speed Wheel Velocity 0 – 100% 0 – 255 0 – FF Last
programmed
6
Control
(Functions
activate after
a 3 second
hold in
range and
return to 0
value)
Reset Cyan
Reset Magenta
Reset Yellow
Reset Dimmer
Reset All
Start Demo Mode
16 – 18%
20 – 22%
24 – 26%
28 – 30%
32 – 34%
71 – 73%
41 – 47
51 – 57
61 – 67
71 – 77
81 – 87
181 – 187
29 – 2f
33 – 37
3d – 43
47 – 4d
51 – 57
b5 – bb
0%
Note
* Depending on your SeaChanger configuration, the wheel in position 4 may differ. The
tables indicate the settings for the various optional wheels.
640-11100-000-02-0105 9

3: Operation
RDM Communication
The SeaChanger is RDM (Remote Device Management) compliant to BSR 1.20, draft standard
2.1. RDM allows the SeaChanger base DMX address to be remotely set, and the operating mode
or fixture settings to be changed. Table 2 below lists the available functions via RDM:
Table 2 – SeaChanger RDM Control
RDM Input Function Type
001 - 512 Set Fixture Base Address Modal
700 Autoflip Display Action
701 Display Normal & Lock Action
702 Display Invert & Lock Action
800 Start Demo Mode Modal
900 All in Full Modal
901 Cyan Full Modal
902 Magenta Full Modal
903 Yellow Full Modal
904 Wheel 4 Full Modal
905 Red (Magenta + Yellow) Modal
906 Green (Cyan + Yellow) Modal
907 Blue (Cyan + Magenta) Modal
908 Lavender Tint L003 Modal
909 Med Bastard Amber L004 Modal
910 Orange L104 Modal
911 Fluorescent Green L219 Modal
912 Pale Lavender L136 Modal
913 No Color Blue L144 Modal
914 Pale Rose L154 Modal
915 Bastard Amber L162 Modal
916 Flame Red L164 Modal
917 Light Red L182 Modal
918 Rose Purple L048 Modal
919 Kelly Green R084 Modal
920 Billington Pink R336 Modal
921 Sea Blue R071 Modal
922 Plasa Red L029 Modal
923 Mayan Sun R318 Modal
924 Surprise Pink R051 Modal
925 Congo Blue R382 Modal
990 Reset All Home Position Action
991 Reset Cyan Home Position Action
992 Reset Magenta Home Position Action
993 Reset Yellow Home Position Action
994 Reset Wheel 4 Home Position Action
Modal functions remain in effect until another is selected. Actions return to
the current mode after execution.
Gel Match functions 908 – 925 are based on Ushio HPL 575/WC/120V lamp.
Functions take effect after a 3 second delay.
10 640-11100-000-02-0105

3: Operation
Direct Panel Entry
The SeaChanger display panel provides a means to set the fixture base address, select the
operating mode, and program settings. These parameters are shown in Table 3 below:
Table 3 – SeaChanger Direct Panel Entry
Display Input Function Type
001 - 507 Set Fixture Base Address Modal
700 Autoflip Display Action
701 Display Normal & Lock Action
702 Display Invert & Lock Action
800 Start Demo Mode Modal
900 All in Full Modal
901 Cyan Full Modal
902 Magenta Full Modal
903 Yellow Full Modal
904 Wheel 4 Full Modal
905 Red (Magenta + Yellow) Modal
906 Green (Cyan + Yellow) Modal
907 Blue (Cyan + Magenta) Modal
908 Lavender Tint L003 Modal
909 Med Bastard Amber L004 Modal
910 Orange L104 Modal
911 Fluorescent Green L219 Modal
912 Pale Lavender L136 Modal
913 No Color Blue L144 Modal
914 Pale Rose L154 Modal
915 Bastard Amber L162 Modal
916 Flame Red L164 Modal
917 Light Red L182 Modal
918 Rose Purple L048 Modal
919 Kelly Green R084 Modal
920 Billington Pink R336 Modal
921 Sea Blue R071 Modal
922 Plasa Red L029 Modal
923 Mayan Sun R318 Modal
924 Surprise Pink R051 Modal
925 Congo Blue R382 Modal
990 Reset All Home Position Action
991 Reset Cyan Home Position Action
992 Reset Magenta Home Position Action
993 Reset Yellow Home Position Action
994 Reset Wheel 4 Home Position Action
Modal functions remain in effect until another is selected. Actions return to
the current mode after execution.
Gel Match functions 908 – 925 are based on Ushio HPL 575/WC/120V lamp.
Functions take effect after a 3 second delay.
640-11100-000-02-0105 11

3: Operation
Demo Mode
The SeaChanger demo mode provides for color changing without a DMX controller attached.
Selection of “800” via RDM or direct entry starts the demo mode. The fixture will sequence
through the colors in Table 4 below, with a four second dwell time at each color. Custom demo
color tables are available at the time of order; please contact Ocean Optics for more information.
Table 4 – SeaChanger Demo Colors
Sequence Number Function RDM/Display
Equivalent
1 Cyan 901
2 Magenta 902
3 Yellow 903
4 Red 905
5 Green 906
6 Blue 907
7 Lavender Tint L003 908
8 Med Bastard Amber L004 909
9 Orange L104 910
10 Fluorescent Green L219 911
11 Pale Lavender L136 912
12 No Color Blue L144 913
13 Pale Rose L154 914
14 Bastard Amber L162 915
15 Flame Red L164 916
16 Light Red L182 917
17 Rose Purple L048 918
18 Kelly Green R084 919
19 Billington Pink R336 920
20 Sea Blue R071 921
21 Plasa Red L029 922
22 Mayan Sun R318 923
23 Surprise Pink R051 924
24 Congo Blue R382 925
Gel Match demo colors 7 - 24 are based on Ushio HPL 575/WC/120V lamp.
For convenience, demo mode can also be started from a connected DMX controller via the
control channel. Please refer to Table 1 for details.
To cancel demo mode, select a DMX base address between 1 and 507.
12 640-11100-000-02-0105
Table of contents