-2-
1. PRODUCTS OVERVIEW............................................................................................................................................3
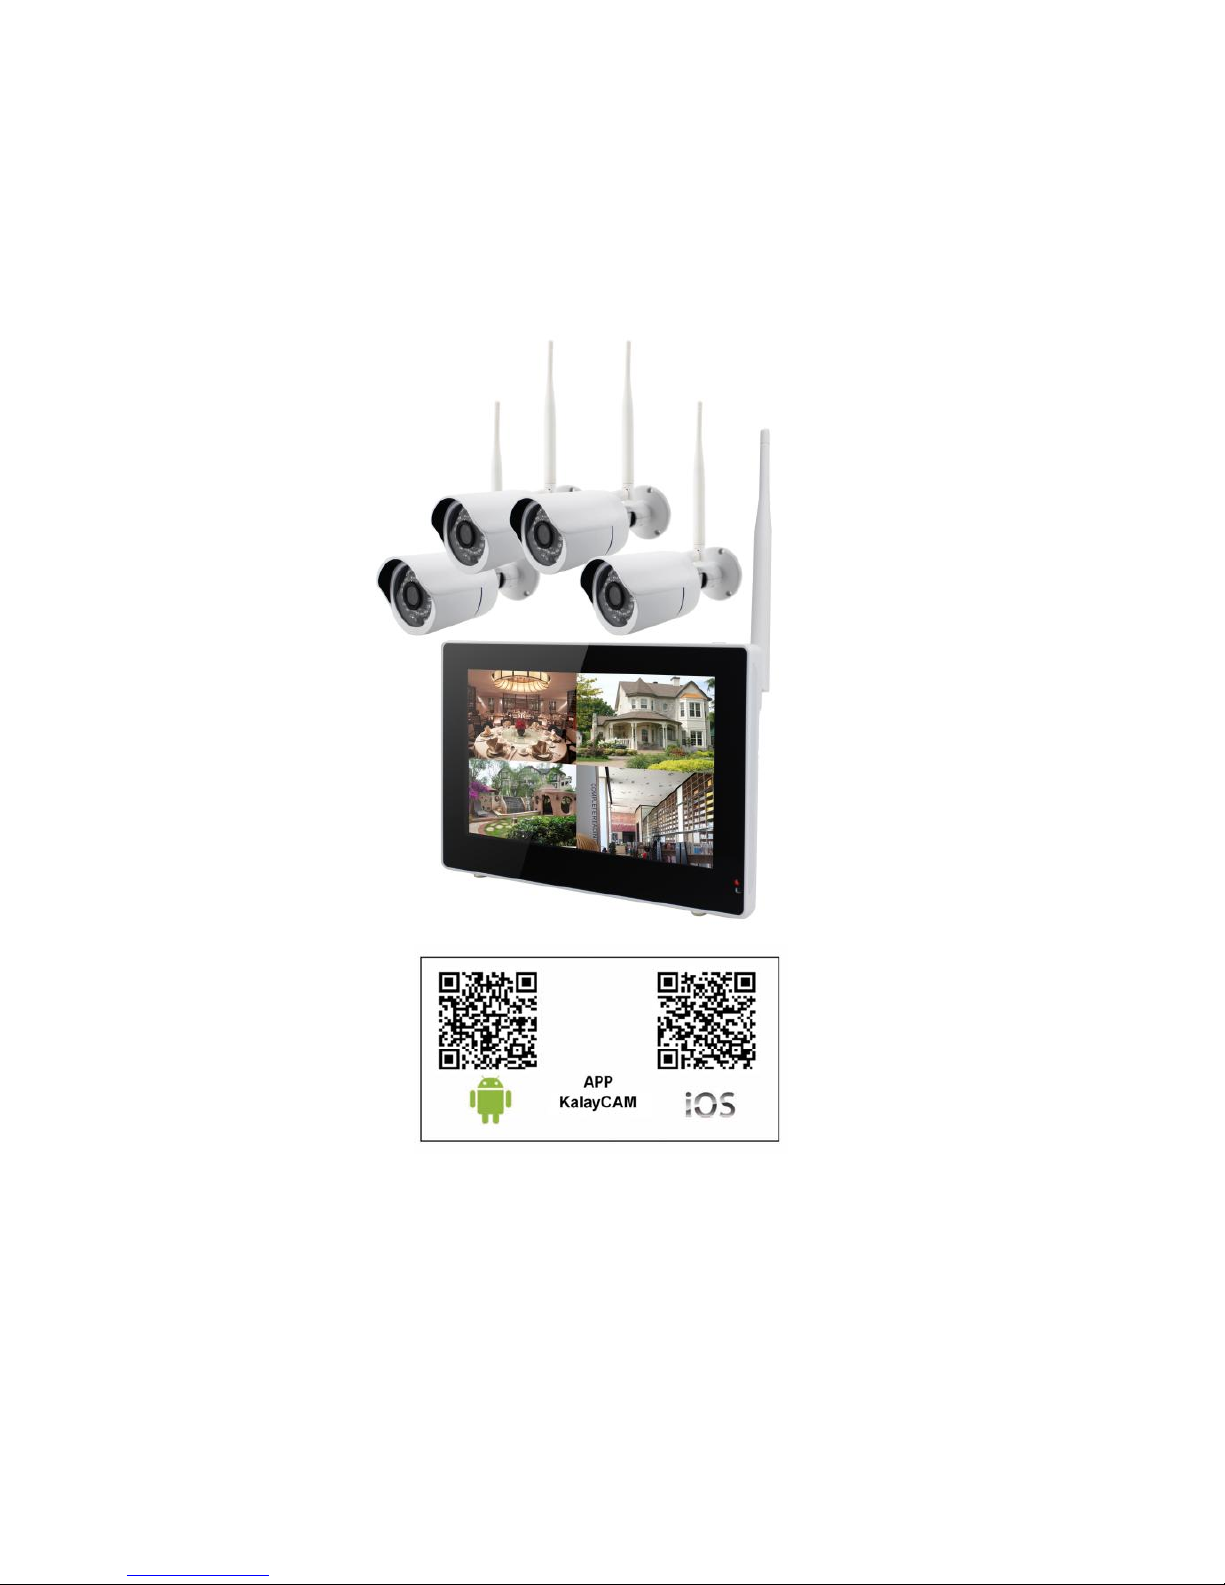
1.1 NVR
..................................................................................................................................................
3
1.2 Bracket ( Optional )......................................................................................................................3
1.3 Camera............................................................................................................................................3
2. HARD DISK INSTALLATION....................................................................................................................................4
3. SPECIFICATIONS.......................................................................................................................................................4
4. QUICK SETUP.............................................................................................................................................................6
4.1 Connect the NVR .......................................................................................................................... 6
4.2 Connect the Camera.....................................................................................................................6
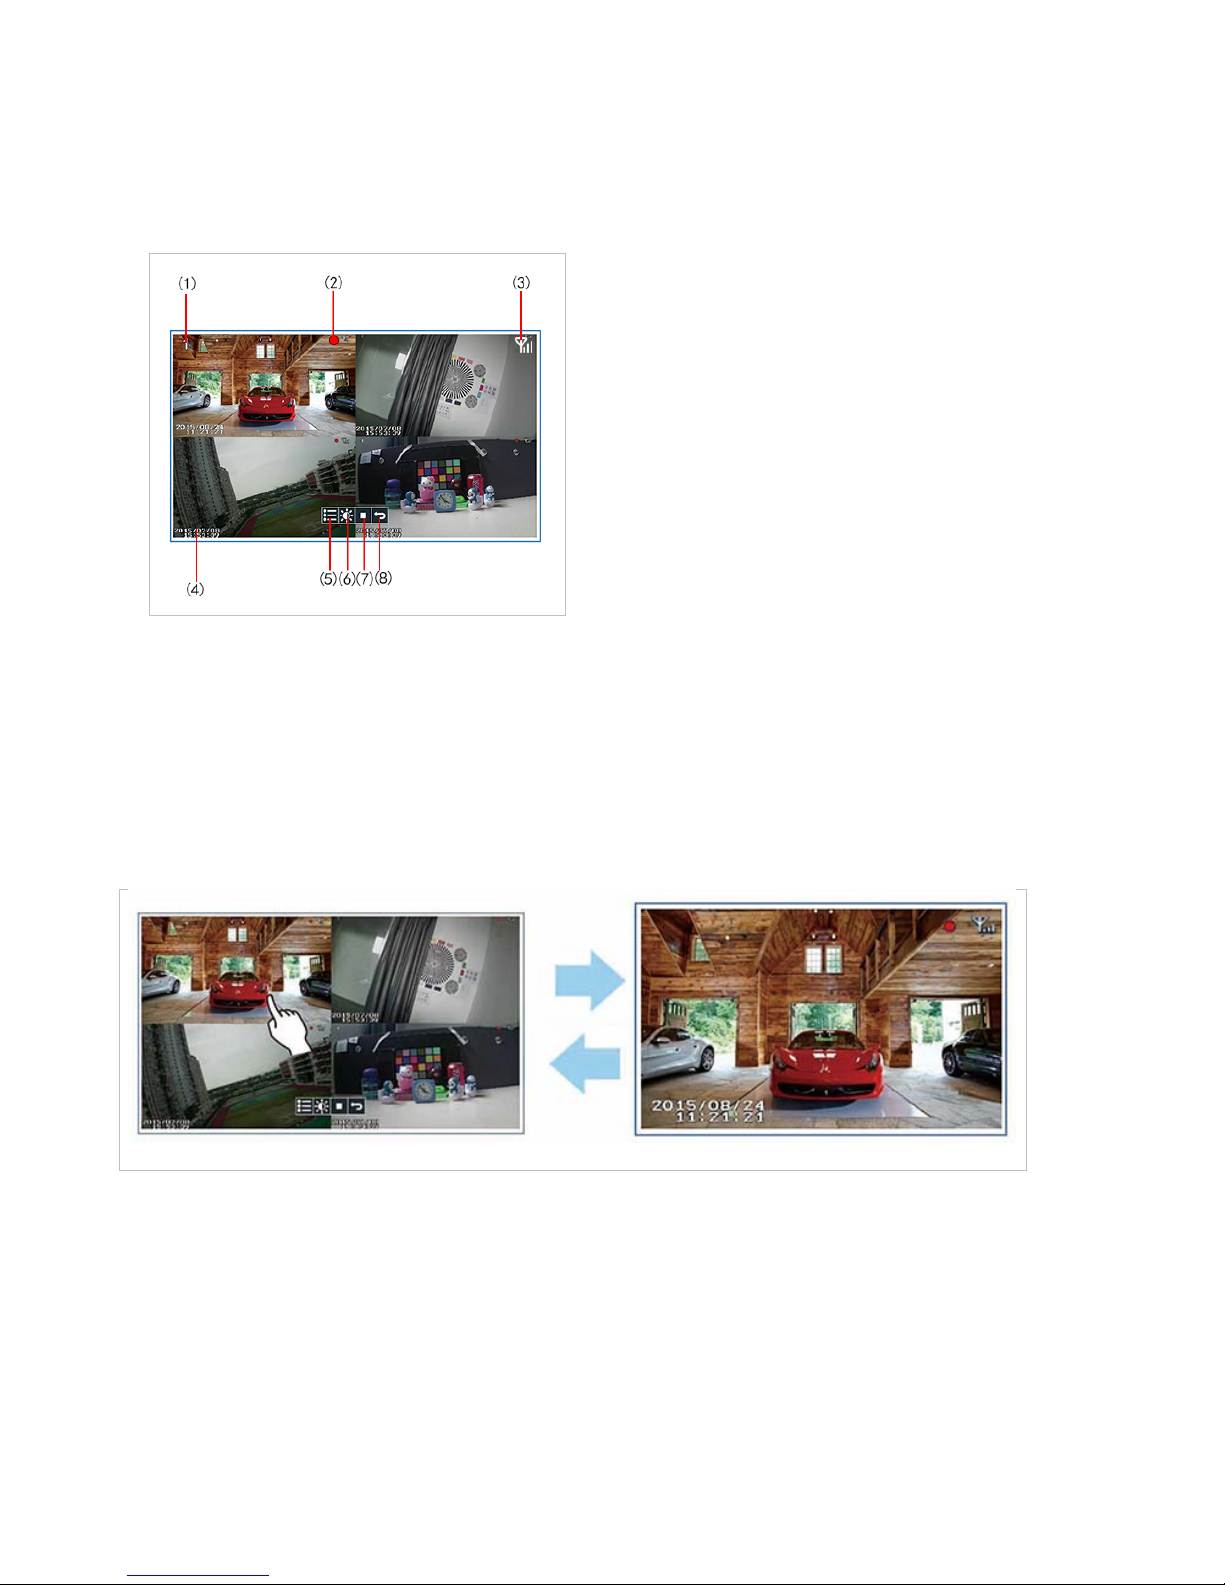
4.3 Live View Video Monitoring........................................................................................................7
4.3.1On‐ScreenDisplay...................................................................................................................7
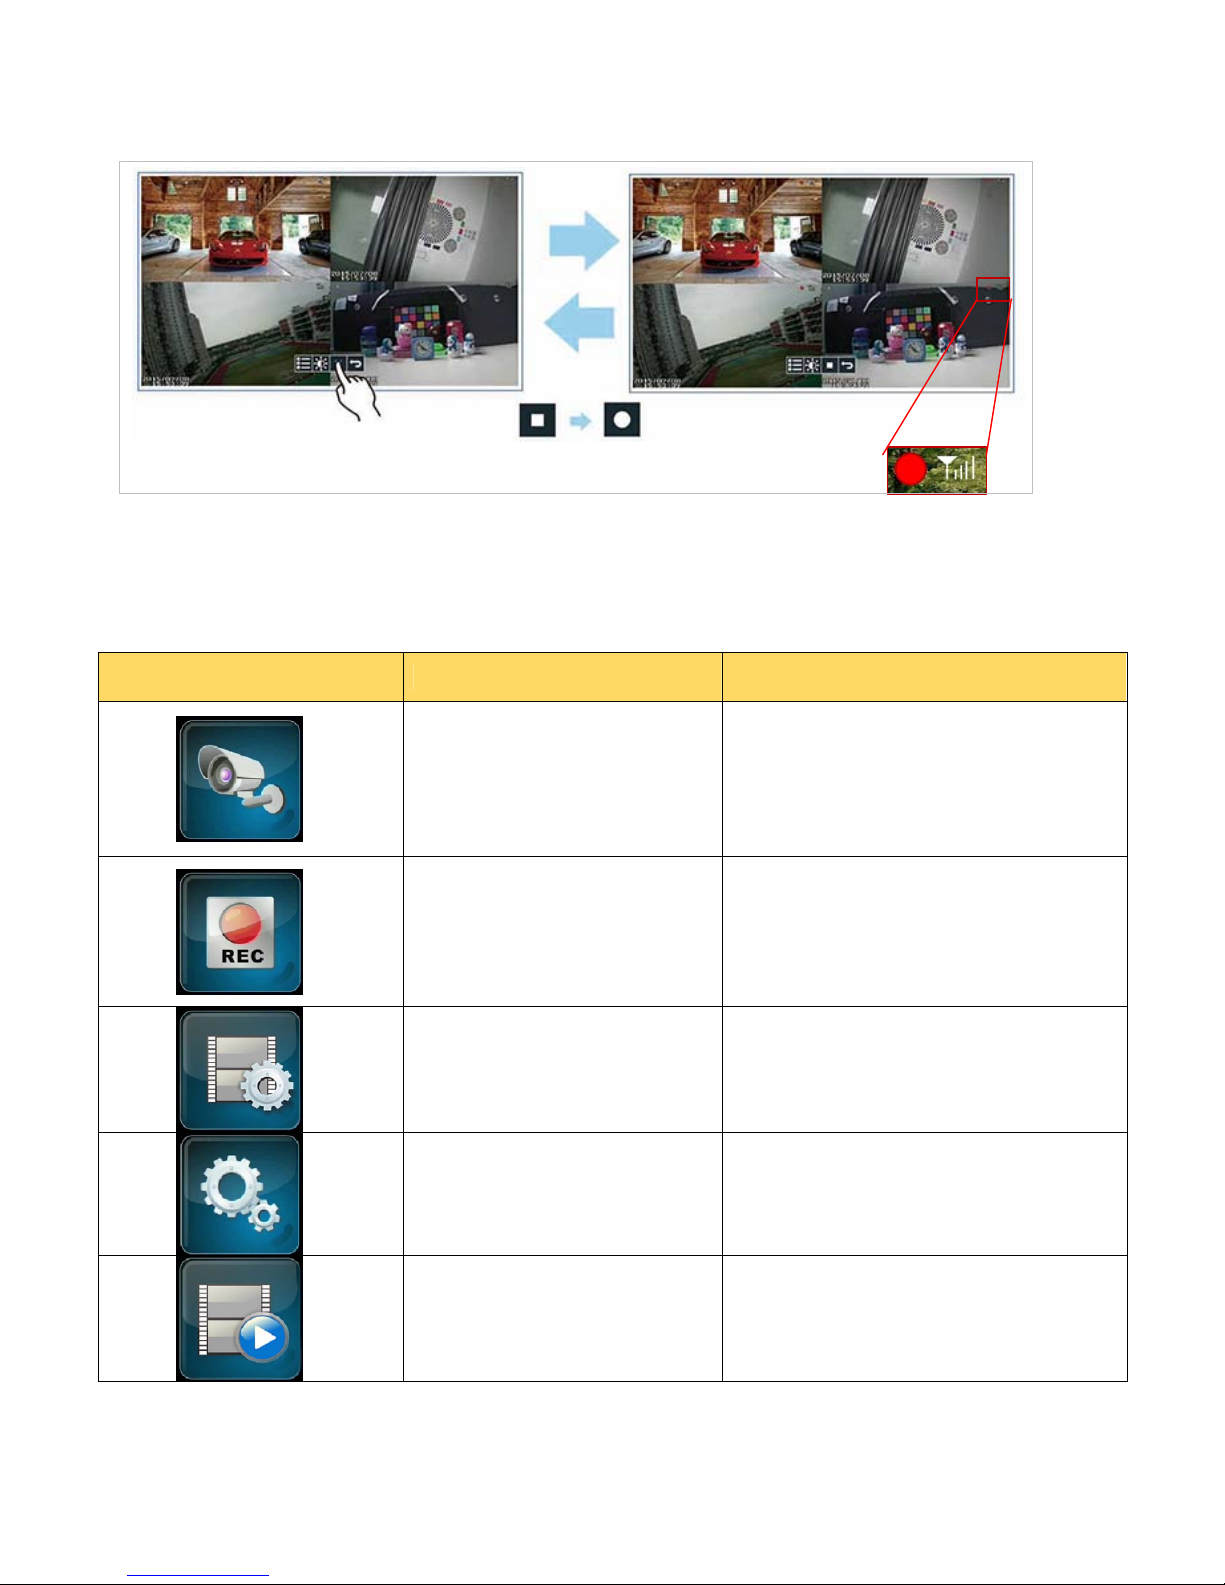
5. MENU OPERATION....................................................................................................................................................9
5.1 Main Menu.......................................................................................................................................9
5.2 Camera Setting.............................................................................................................................10
5.2.1Pairing....................................................................................................................................10
5.2.2Activation..............................................................................................................................12
5.2.3Brightness..............................................................................................................................13
5.2.4Volume..................................................................................................................................13
5.2.5MDSensitivity(MotionDetectSensitivity)............................................................................13
5.3 Record Setting..............................................................................................................................14
5.3.1RecordTime...........................................................................................................................14
5.3.2DateStamp.............................................................................................................................15
5.3.3LoopRecording......................................................................................................................15
5.3.4HDDFormat............................................................................................................................15
5.4 Record Trigger Setting...............................................................................................................16
5.5 System Setting.............................................................................................................................17
5.5.2TVOutput(AnalogVideo/MonoAudioOut).........................................................................18
5.5.3PowerSaving(TurnOFFvideoOutput).................................................................................18
5.5.5LanguageSetting....................................................................................................................19
5.5.6Setpassword..........................................................................................................................19
5.6 Event List.......................................................................................................................................20
5.6.1Browsevideofiles..................................................................................................................21
5.6.3ExportvideofiletoTFCard....................................................................................................23
5.6.4FormatTFcard.......................................................................................................................23
5.7 HDD Capacity................................................................................................................................23
5.8 Network Function........................................................................................................................25
5.8.1NetworkStatus.......................................................................................................................25
5.8.2FirmwareUpdate...................................................................................................................25
6. MOBILE APPs “Kalay Cam” by TUTK.................................................................................................................26
6.1 Quick NVR Setup using Kalay Cam........................................................................................27
6.2 More functions in CAMERA mode..........................................................................................28
6.3 LIVE mode setting.......................................................................................................................30