manuals.online logo
Brands
  1. Home
  2. •
  3. Brands
  4. •
  5. FLIR
  6. •
  7. Security Camera
  8. •
  9. FLIR CP-6302-30-R User manual

FLIR CP-6302-30-R User manual

Other manuals for CP-6302-30-R

1

This manual suits for next models

1

Other FLIR Security Camera manuals

FLIR Quasar CP-6408-21-I User manual

FLIR

FLIR Quasar CP-6408-21-I User manual

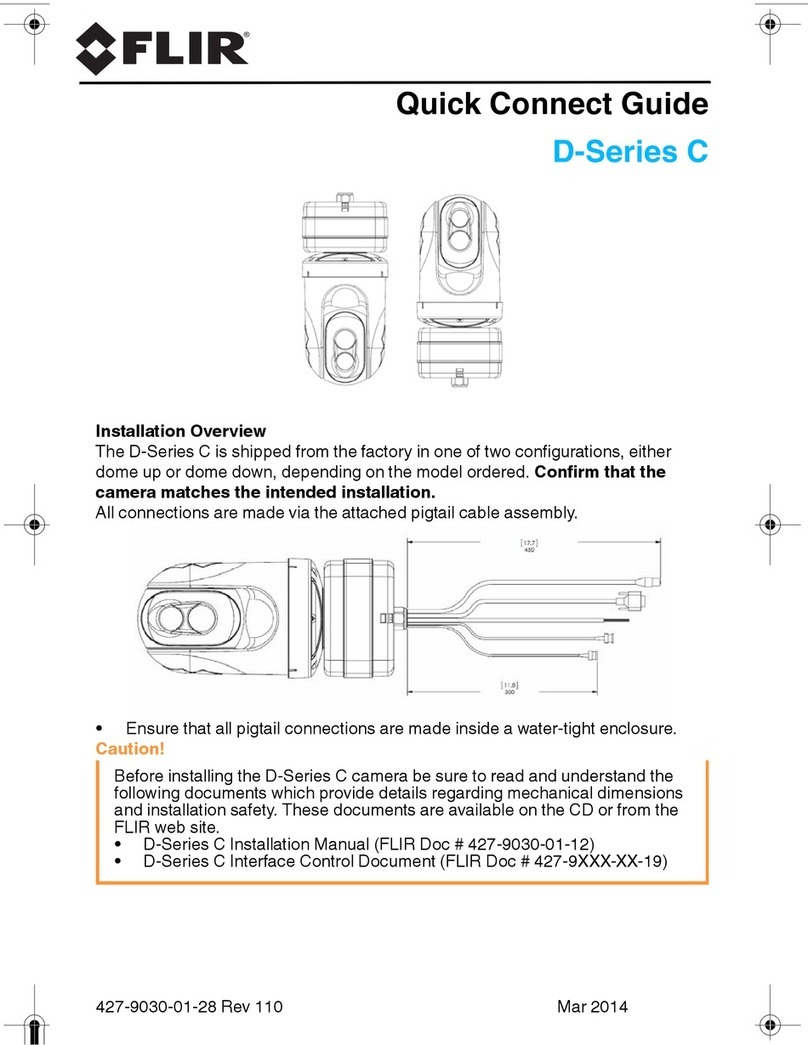
FLIR D-Series C Assembly instructions

FLIR

FLIR D-Series C Assembly instructions

FLIR FX User manual

FLIR

FLIR FX User manual

FLIR M-Series User manual

FLIR

FLIR M-Series User manual

FLIR Ariel CM-3202-11-I User manual

FLIR

FLIR Ariel CM-3202-11-I User manual

FLIR DIGIMERGE DBD24TL User manual

FLIR

FLIR DIGIMERGE DBD24TL User manual

FLIR MPX ME363 User manual

FLIR

FLIR MPX ME363 User manual

FLIR DNB14UX2 User manual

FLIR

FLIR DNB14UX2 User manual

FLIR MD-Series User manual

FLIR

FLIR MD-Series User manual

FLIR MPX ME313L User manual

FLIR

FLIR MPX ME313L User manual

FLIR Quasar Gen II CM-6212-H1 Manual

FLIR

FLIR Quasar Gen II CM-6212-H1 Manual

FLIR Lorex LNB3321 Series User manual

FLIR

FLIR Lorex LNB3321 Series User manual

FLIR Ariel CM-3102 Manual

FLIR

FLIR Ariel CM-3102 Manual

FLIR FC-Series Assembly instructions

FLIR

FLIR FC-Series Assembly instructions

FLIR MPX ME343S User manual

FLIR

FLIR MPX ME343S User manual

FLIR Quasar Gen III User manual

FLIR

FLIR Quasar Gen III User manual

FLIR HM-Series User manual

FLIR

FLIR HM-Series User manual

FLIR Navigator II User manual

FLIR

FLIR Navigator II User manual

FLIR N347VW4 SERIES User manual

FLIR

FLIR N347VW4 SERIES User manual

FLIR SyncroIP Camera Series Use and care manual

FLIR

FLIR SyncroIP Camera Series Use and care manual

FLIR C336ZC1 Operating and maintenance manual

FLIR

FLIR C336ZC1 Operating and maintenance manual

FLIR Quasar CP-6408-21-I User manual

FLIR

FLIR Quasar CP-6408-21-I User manual

FLIR Quasar CP-6408 User manual

FLIR

FLIR Quasar CP-6408 User manual

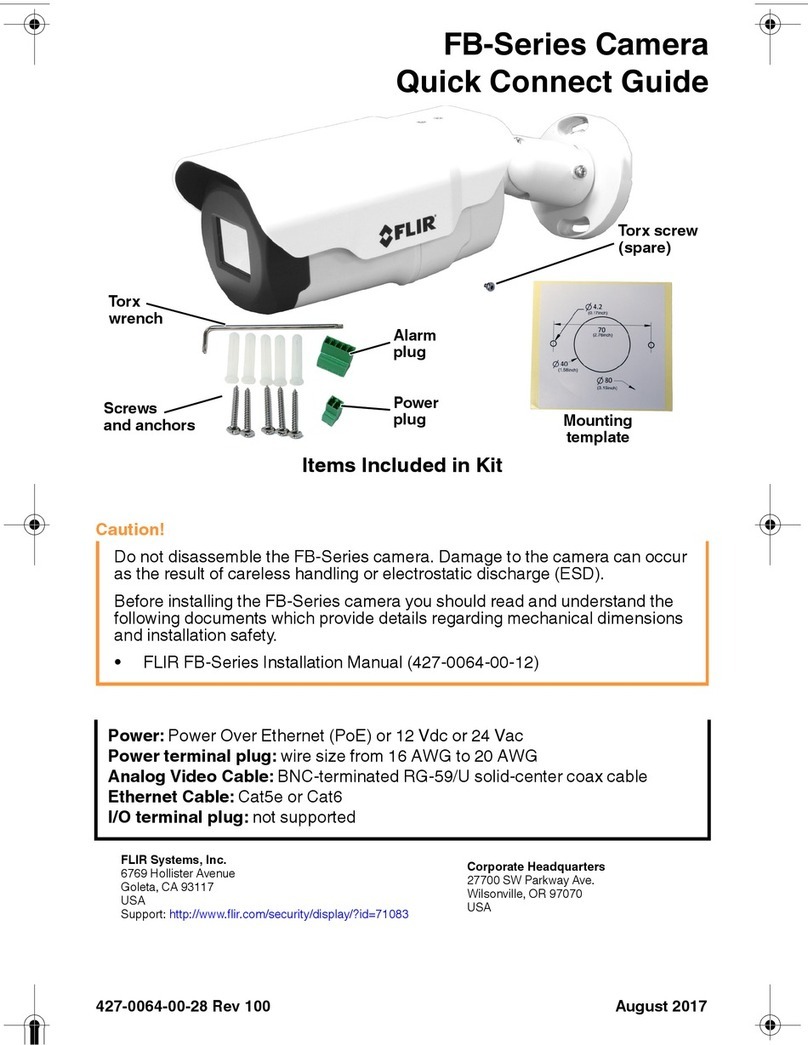
FLIR FB-Series Assembly instructions

FLIR

FLIR FB-Series Assembly instructions

Popular Security Camera manuals by other brands

ADEMCO RapidDome Owners Operating & Installation Guide

ADEMCO

ADEMCO RapidDome Owners Operating & Installation Guide

EverFocus EBA2880 user manual

EverFocus

EverFocus EBA2880 user manual

Honeywell OptiCAM-IR Installation and setup guide

Honeywell

Honeywell OptiCAM-IR Installation and setup guide

Uniq UC-600 user manual

Uniq

Uniq UC-600 user manual

OPTICOM NVD-120-S datasheet

OPTICOM

OPTICOM NVD-120-S datasheet

Steren CCTV-221 instruction manual

Steren

Steren CCTV-221 instruction manual

Arm Electronics C420BCDNVFIR Features

Arm Electronics

Arm Electronics C420BCDNVFIR Features

Eneo PLD-2036PTZ installation guide

Eneo

Eneo PLD-2036PTZ installation guide

Axis AXIS M20 Series installation guide

Axis

Axis AXIS M20 Series installation guide

Panasonic KX-HCM230 operating instructions

Panasonic

Panasonic KX-HCM230 operating instructions

COP-USA CC15NV-SL Specifications

COP-USA

COP-USA CC15NV-SL Specifications

Active Silicon HARRIER H.264 quick start guide

Active Silicon

Active Silicon HARRIER H.264 quick start guide

Motorola Avigilon 1.3C-H5SL-BO1-IR installation guide

Motorola

Motorola Avigilon 1.3C-H5SL-BO1-IR installation guide

INSTEON 2864-232 user manual

INSTEON

INSTEON 2864-232 user manual

Wisenet XNB-6002 quick start guide

Wisenet

Wisenet XNB-6002 quick start guide

Axis M5525-E user manual

Axis

Axis M5525-E user manual

Vitek VTC-IR62NZ922 user guide

Vitek

Vitek VTC-IR62NZ922 user guide

Panasonic WV-SF342 Specifications

Panasonic

Panasonic WV-SF342 Specifications

manuals.online logo
manuals.online logoBrands
  • About & Mission
  • Contact us
  • Privacy Policy
  • Terms and Conditions

Copyright 2025 Manuals.Online. All Rights Reserved.

Quick Install Guide
Quasar Gen IlI
CP-6302-30-R
Indoor 30x HD PTZ IP Camera
A. Insert and Configure SD Card
If local recording is required to stroe snapshots and/or recordings triggered by events, an SDXC card (not supplied)
must be used.
Insert an SDXC card (up to 128GB, Class 10) in the card slot inside the camera housing (See diagram overleaf).
Replace the camera bubble when complete.
B. Mount the Camera
Verify that the operating temperature range is between -40°C ~ 50°C (-40° ~ 122°F), 0-90% relative humidity (non-
condensing).
Be sure to have the required accessories and tools available.
Refer to the User and Installation Guide for mounting instructions.
Make all required wiring connections (See connector details overleaf)
C. Accessing Camera Documentation and Utility Software from the Web
D. Install the ActiveX Plug-in
Ensure that ActiveXcontrols can be
downloaded by:
(a) Changing the ActiveX controls and
plug-in settings
or
(b) Setting the Internet security level to
default.
For further details, refer to the camera’s
User and Installation Guide.
To set ActiveX controls & plug-in settings:
·
Start Internet Explorer.
·
Select Tools > Internet Options from the
main menu of the browser.
·
Select the Security tab and click Internet.
·
Click Custom level to change ActiveX
settings.
·
Set all ActiveX controls and plug-ins
settings to Prompt or Enable.
To set the Internet Security Level:
·
Start Internet Explorer.
·
Select Tools > Internet Options from
the main menu of the browser.
·
Select the Security tab and click
Internet.
·
Click Default level.
·
Click OK.
·
Close and reopen the browser window.
1. After the request to install the ActiveX
control file (install.cab) appears on the
screen, click Yes.
2. After installing the plug-in, in the pop-up
security warning that opens, click Install
to start downloading the Quasar Player
software onto the PC.
3. Click Finish when the Quasar Player
installation is completed.
E. Connect the Camera
3-Pin Power Connector
Power
Connector
Pin
Definition
1
AC 24L
2
Ground
3
AC 24N
Terminal Connectors
14-pin Terminal Block
Pin
Definition
Pin
Definition
1
Audio-Out
9
Alarm-In 4
2
Ground (Audio I/O)
10
Alarm-In 3
3
Alarm-Out A1
11
Alarm-In2
4
Alarm-Out A2
12
Alarm-In 1
5
Alarm-Out B1
13
Ground
(Alarm I/O and RS-485)
6
Alarm-Out B2
14
Audio-In
7
RS-485 D+
8
RS-485 D-
1. Two-pin connector (If using a 12VDC power supply)
2. Console connector (Technician)
3. Cat 5e/Cat 6 cable from the switch to the RJ45 connector for 10/100/1000 Mbps
Ethernet and PoE+.
If using PoE, use CP-POE-60W PoE injector or equivalent. Verify that there are steady
green and flashing yellow LEDs.
4. Three-pin power connector (if using a 24VAC power supply or a heater) (See E.
Connectors)
5. Video output to a DVR (Attach coax cable to the BNC connector for video output)
6. 14-pin terminal block connector for alarm and audio in/out - Attach wires from external
devices.
7. Factory Reset Button. To reset factory defaults at any time, press the Default button for
at least 20 seconds.
8. MicroSD Card slot. (User-supplied - Min recommended 4GB, up to 128GB, Class 10)
F. Discover the Camera
The camera’s web interface should be
accessed by Internet Explorer 10 and higher
(32-bit) with the ActiveX plug-in.
Set the Camera's IP address and Video Format
1. Download and install the DNA Utility from the FLIR website as shown
above
2. Attach the unit to the same LAN segment as the computer that is
managing the unit. DNAautomaticallydiscovers the unit on the network
and displays the device’s current IP address in the Discover List.
3. Select the unit from the Discover List.
4. If using a Static IP address (as on a Latitude System), follow
the DNAinstructions to set the desired IP address.
5. On a system using DHCP, select the DHCP option in DNA.
6. To select PAL or NTSC, select the device in the Discover list,
right-click to open the context menu and clicking Change Video
Format.
5. Click Update.
G: If using Storage on the Edge
1. Use the Web interface to verify that the card status is displayed as Mounted in the System > Edge Recording > SD
Card screen.
2. Format the card.
3. Configure the camera to store snapshots and recordings from the System > Edge Recording screens.
H. Attach to VMS
Once you have completed installation and setup and found the
current IP address with DNA, use your VMS Discovery/Attach
procedures to attach the camera to your VMS.
CP-6302-30-R_QIG_v3
FLIR Systems, Inc.
Tel: +1-800-254-0632
6769 Hollister Ave.
product.enterprise.support@flir.com
Goleta, CA 93117
www.flir.com/security