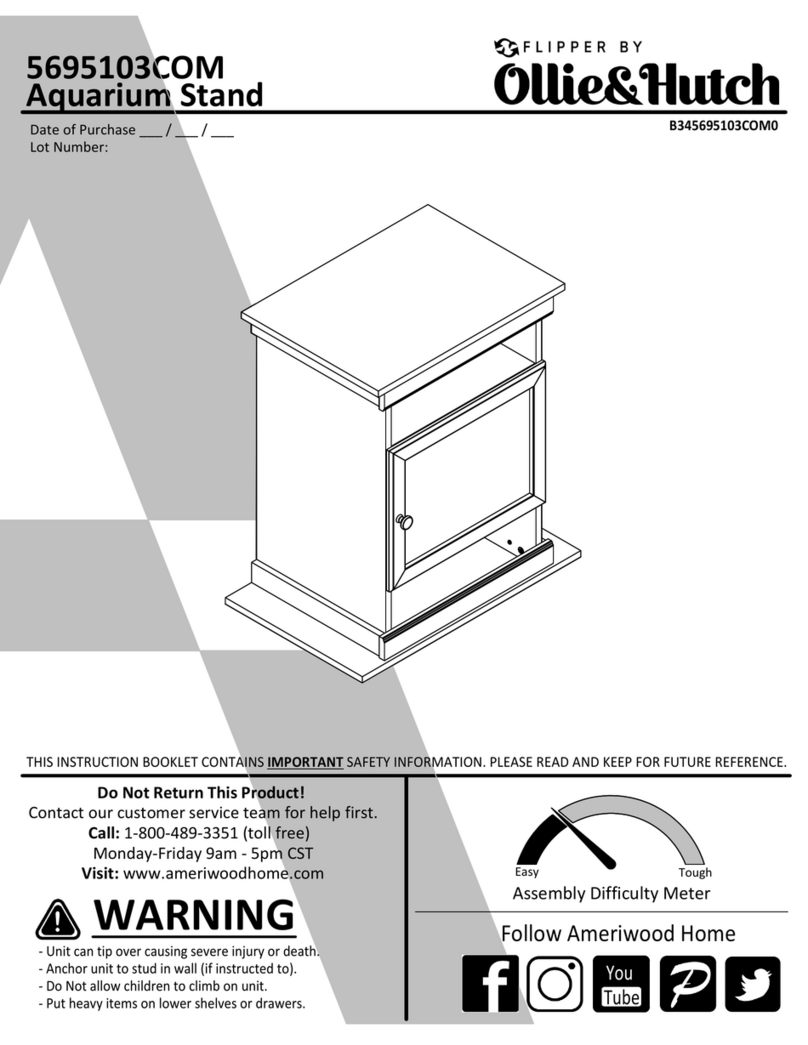
Ollie & Hutch FLIPPER 5696096COM User manual

- Unit can tip over causing severe injury or death.
- Anchor unit to stud in wall (if instructed to).
- Do Not allow children to climb on unit.
- Put heavy items on lower shelves or drawers.
THIS INSTRUCTION BOOKLET CONTAINS IMPORTANT SAFETY INFORMATION. PLEASE READ AND KEEP FOR FUTURE REFERENCE.
WARNING
Follow Ameriwood Home
Tube
You
Do Not Return This Product!
Contact our customer service team for help first.
Call: 1-800-489-3351 (toll free)
Monday-Friday 9am - 5pm CST
Visit: www.ameriwoodhome.com Assembly Difficulty Meter
Easy Tough
B345696096COM00YC
Date of Purchase ___ / ___ / ___
Lot Number:
5696096COM
20 Gallon Aquarium Stand/Rustic Gray

Contact Us!
Do NOT return this product!
Contact our friendly customer service team first for help.
Call us!
1-800-489-3351
Monday-Friday
9am - 5pm CST
Visit ameriwoodhome.com
Assembly Tips
- Open your item in the area you plan to keep it to avoid excessive heavy lifting.
- Identify, sort and count the parts before attempting assembly.
- Compression dowels are lightly tapped in with a hammer.
- Slides are labeled with a R (right) and L (left) for proper placement.
- Make sure to always face the point on the top of the Cam Lock towards the
outer edge.
- Use all the nails provided for the back panel and spread them out equally.
- Back panel must be used to make sure your unit is sturdy.
- Do NOT use harsh chemicals or abrasive cleaners on this item.
- Never push, pull, or drag your furniture.
ameriwoodhome.com
2
Tube
You
Tube
You
PEOPLE NEEDED FOR ASSEMBLY: 1-2
ESTIMATED ASSEMBLY TIME: 1.0-1.5 HOUR
Helpful Hints

Before You Start
P
Quick
Tip
Assembly
P
P
P
ameriwoodhome.com
3
Read through each step carefully and follow the proper order
Separate and count all your parts and hardware
Give yourself enough room for the assembly process
Have the following tools: Flat Head Screwdriver, #2 Phillips Head
Screwdriver and Hammer
Caution: If using a power drill or power screwdriver for screwing,
please be aware to slow down and stop when screw is tight. Failure
to do so may result in stripping the screw.
P
Tube
You
This Cam Lock Fastening System will be used throughout the assembly process.
1
3
2
4
Cam Lock Fastening System

ameriwoodhome.com
4
Board Identification
Not Actual Size
Tube
You
BC
A
Top
T5696096010YC
Left side frame
T5696096020YC
D
Right side frame
T5696096030YC
Bottom panel
T5696096040YC
F
G
E
Front support panel
T5696096050YC
Back panel
T5696096060YC
H
Adjustable shelf
T5696096070YC
Door (x2)
T5696096080YC

ameriwoodhome.com
5
Board Identification
Not Actual Size
Tube
You
A
B
C
D
G
F
E
H
H

Part List
ameriwoodhome.com
6
Tube
You
Actual Size
× 4
1
Hardware Bag Reference Number:
25696096COM0YC
Ø1/4"X2"
Bolt
TYC1001
× 2
2
Ø5/32"X1"L
Bolt
TYC1002
M8X35mm
× 10
5
Cam bolt
TYC1005
Ø8X30 mm
× 10
Wood dowel
TYC1004
4
× 24
3
Ø3X14 mm
Screw
TYC1003

× 4
79
Washer
TYC1009
M4*105mm
× 1 8
Spring washer
TYC1008
Hex key
TYC1007
× 4
6× 10
Ø15X 12mm
× 2
13
EVA Pad
TYC1013
× 1
12
Glue
TYC1012
× 2
10
Knob
TYC1010
× 4
11
Hinge
TYC1011
Part List
ameriwoodhome.com
7
Tube
You
Not Actual Size
Hardware Bag Reference Number:
25696096COM0YC
Cam lock
TYC1006
× 4
14
Shelf support
TYC1014
Ø1/4" Ø1/4"X16mm

Tube
You
ameriwoodhome.com
STEP
8
1
M8X35mm
× 10
5
B
C
Do not over tighten
5
1.1 Attach (5) to (B) & (C) as illustrated.

Tube
You
ameriwoodhome.com
STEP
9
2
Ø8X30 mm
× 10
4× 4
11 × 8
3
Ø3X14 mm
12
4
4
4
4
4
4
F
EH
D
11
11
3
3
x 2
2.1 Attach (4) to (D), (E) & (F) as illustrated.
2.2 Attach (11) to (H) with (3) as illustrated.
Use one drop of glue in dowel hole.
G
lue
Wooden
Dowel
Hole for
wooden
dowel

Tube
You
ameriwoodhome.com
STEP
10
3
12
6× 5
Ø15X 12mm
Assembly
UNLOCK
LOCK
Tip
Quick
Proper orientation of CAM LOCK
6
B
F
D
E
Use one drop of glue in dowel hole.
G
lue
Wooden
Dowel
Hole for
wooden
dowel
3.1 Attach (B) to (D), (E) & (F) with (6) as illustrated.

Tube
You
ameriwoodhome.com
STEP
11
4
12
6× 5
Ø15X 12mm
6
C
D
F
E
4.1 Attach (C) to (D) (E) & (F) with (6) as illustrated.
Assembly
UNLOCK
LOCK
Tip
Quick
Proper orientation of CAM LOCK
Use one drop of glue in dowel hole.
G
lue
Wooden
Dowel
Hole for
wooden
dowel

Tube
You
ameriwoodhome.com
STEP
12
5
Ø1/4"X16mm
M4
× 1
Ø1/4"
Ø1/4"X2"
× 4
1
78× 4
× 4
9
8
9
7
A
1
B
C
5.1 Attach (A) to (B) & (C) with (1) (7) (8) (9) as illustrated.

Tube
You
ameriwoodhome.com
STEP
13
6
× 4
14
14
G
B
B
C
C
6.1 Attach (14) to (B) & (C) as illustrated.
6.2 Attach (G) to (B) & (C) as illustrated.

Tube
You
ameriwoodhome.com
STEP
14
7
× 16
3
Ø3X14 mm
H
H
11
3
B
C
7.1 Attach (11) to (B) & (C) with (3) as illustrated.

Tube
You
ameriwoodhome.com
STEP
15
8
A
A
B
C
Cabinet
Door
Cabinet
Door
Cabinet
Door
To adjust the vertical height.
Loosen the four screws "A" on bolt hinges. Two of them are usually in slotted
holes which allows you to adjust up of down by a few mm. then tighten back up.
Para ajustar la altura vertical
Afloje los cuatro tornillos "A" en ambas bisagras. Dos de esos están usualmente
en los agujeros llanos. Lo que significa que usted puede regular de arriba hacia
abajo. Por unos pocos milimetros. Luego apriete hacia arriba.
Pour régler la hauteur verticale.
Desserrez les quatre vis "A" sur les deux charnières. Deux d'entre elles sont
habituellement dans des fentes afin de vous permettre de les vis après
l'ajustement.
To adjust side ways.
Turning the screw "C" on BOTH hinges on each door.
Para ajustar los lados marcados
Gire los tornillos "C" de ambas bisagras en cada puerta
Pour régler latéralement.
Tournez la vis "C" sur les DEUX charnières de chaque porte.
To adjust the vertical height.
Loosen screw "B" and adjust door, if the door can not be adjusted, please
loosen screw "C", then try again. Tighten screw "B" and "C".
Para ajustar profundo.
Afloje los tornillos y ajuste la puerta, si la puerta no puede ser ajustada. Por
favor afloje los tornillos "C" y luego trate otra vez.
Apriete los tornillos "B" y "C"
Pour régler la profondeur.
Desserrez la vis "B" et ajustez la porte. Si la porte ne peut pas s'ajuster,
desserrez la vis "C", pui essayez de nouveau.
Serrez les vis "B" et "C".
8.1 Door hinge adjustment method.

Tube
You
ameriwoodhome.com
STEP
16
9
× 2
2
Ø5/32"X1"L
× 2
13
× 2
10
13
2
10
9.1 Attach (10) to (H) with (2) as illustrated.
9.2 Attach (13) to (H) as illustrated.
H
H

Maximum Loads
Warning: Risk of injury to persons - do not place a television on this furniture. This furniture is
not approved for use with a television.
This unit has been designed to support the maximum loads shown. Exceeding these load limits could
cause sagging, instability, product collapse, and/or serious injury.
Tube
You
ameriwoodhome.com
17
Certificate of Conformity
1. This certificate applies to the Dorel Home Furnishings, Inc. product identified by this instruction manual.
2. This certificate applies to compliance of this product with the CPSC Ban on Lead-Containing Paint (16 CFR 1303).
3. This product is distributed by: Dorel Home Furnishings, Inc.
410 East First Street South
Wright City, MO 63390
636-745-3351
4. Site of Manufacture: Binh Duong, Vietnam.
5. See front page of instruction manual for date of manufacture.
15 lbs/
6.8 kgs
250 lbs/ 113.6 kgs
15 lbs/
6.8 kgs

ameriwoodhome.com
18
Register your product to receive the following:
* New trend details - sneak peek on what's new
* Surveys - have a voice within our community
* Exclusive deals and discount codes
* Quick and easy replacement part service
To register your product, visit ameriwoodhome.com
Visit your local retailer's website, rate your purchased
product and leave us some feedback!
We would like to extend a big "Thank You" to all of
our customers for taking the time to assemble this
Ameriwood Home product, and to give us your
valuable feedback.
Tube
You

ameriwoodhome.com
19
Cubierta Delantera
Este libro de instrucciones contiene información IMPORTANTE de seguridad. Por favor lea y manténgalo
para referencia en el futuro.
No Regrese este producto! Comuniquese con nuestro amistoso equipo de servicio al cliente para obtener
ayuda.
Llamenos al: 1-800-489-3351 (Gratis) Lunes - Viernes 9am - 5pm CST
Visitar: www.ameriwoodhome.com
PRECAUCION
Este mueble puede volcarse y causar graves heridas y/o muerte.
Anclar el mueble a un poste de madera en la pared (si esto se requiere).
No Permita que los niños monten el mueble.
Mantenga los artículos más pesados en los cajones de abajo.
Consejos Útiles (página 2)
- Abra su artículo en el área donde usted planea utilizarlo para evitar levantar y moverlo menos
- Identificar, ordenar y contar las piezas antes de intentar ensamblar
- Las clavijas de compresión se golpean con un martillo
- Las diapositivas están marcadas con una R (derecha) y L (izquierda) para la colocación correcta
- Asegúrese de que siempre este el punto locaizado en la parte superior de bloqueador de leva
este volteadohacia borde exterior
- Utilizar todos los clavos para el panel de atras y distribuirlos por igual
- El panel de atras debe utilizarse para asegurarse de que la unidad quede fija y firme
- No use quimicas fuertes ni limpiadores abrasivos en este articulo
- Nunca empuje, tire ni arrastre los muebles
Antes de Que Empieces (página 3)
-Lea cuidadosamente cada paso y siga el orden correcto
-Separar y contar todas sus piezas y hardware
-Dése suficiente espacio para el proceso de ensamble
-Tenga las siguientes herramientas: destornillador de cabeza plana, #2 cabeza Phillips
Destornillador y martillo
-Precaución: Si usa un taladro electrónico o un destornillador eléctrico para atornillar, por favor asegúrese
que deje de atornillar cuando el tonillos este apretado. Fallar hacer esto puede causar barrer el tornillo.
Sistema de fijar el bloqueo de leva (página 3)
Esta sistema de fijar el bloqueo de leva sera usado en todo el proceso ensamble.
Español
Tube
You

ameriwoodhome.com
20
Español
Tube
You
Lista de Piezas (Página 6)
Tamaño real
(1) TORNILLO
(2) TORNILLO
(3) TORNILLO
(4) PASADOR DE
MADERA
(5) PERNO DE LEVA
Lista de Piezas (Página 7)
Este no es el tamaño real
(6) BLOQUEO DE LEVA
(7) LLAVE HEXAGONAL
(8) ARANDELA DE RESORTE
(9) ARANDELA
(10) PERILLA
(11) BISAGRA
(12) PEGAMENTO
(13) ALMOHADILLA DE EVA
(14) SOPORTE DE ESTANTES
Identificación de los Paneles
(Página 4-5)
Este no es el tamaño real
(A) ARRIBA
(B) MARCO LADO IZQUIERDO
(C) MARCO LADO DERECHO
(D) PANEL INFERIOR
(E) MARCO DE SOPORTE
DELANTERO
(F) PANEL TRASERO
(G) ESTANTE AJUSTABLE
(H) PUERTA
Página 8
1.1 Conecte (5) a (B) y (C) como se ilustra.
Página 9
2.1 Conecte (4) a (D), (E) y (F) como se ilustra.
2.2 Conecte (11) a (H) con (3) como se ilustra.
Página 10
3.1 Conecte (B) a (D), (E) y (F) con (6) como se ilustra.
Pagina 11
4.1 Conecte (C) a (D) (E) y (F) con (6) como se ilustra.
Página 12
5.1 Conecte (A) a (B) y (C) con (1) (7) (8) (9) como se ilustra.
Precaución: asegúrese de que todos los pernos estén bien apretados. No hacerlo puede resultar en el colapso de
la unidad, daños a la propiedad o lesiones.
Página 13
6.1 Conecte (14) a (B) y (C) como se ilustra.
6.2 Conecte (G) a (B) y (C) como se ilustra.
Página 14
7.1 Conecte (11) a (B) y (C) con (3) como se ilustra.
Página 15
8.1 Método de ajuste de las bisagras de la puerta.
Página 16
9.1 Conecte (10) a (H) con (2) como se ilustra.
9.2 Conecte (13) a (H) como se ilustra.
Página 17
CARGA MAXIMA
Esta unidad ha sido diseñada para soportar la carga máxima anotada. El exceder estos límites puede
causar inestabilidad, colapsarse y/o causar serias lesiones.
ADVERTENCIA: Riesgo de lesiones a las personas - no coloque un televisor sobre muebles. Este
mueble no está aprobado para su uso con un televisor.
Table of contents
Languages:
Other Ollie & Hutch Indoor Furnishing manuals
Popular Indoor Furnishing manuals by other brands

Pella
Pella 80ML0106 Installation instruction

Aerocool
Aerocool AC120 How to assemble

Human Touch
Human Touch Perfect Chair pc420 Classic Manual Plus Use & care manual

Whalen
Whalen Bayside CSC3N1C-56-9 Assembly instructions

Briefkasten Manufaktur
Briefkasten Manufaktur KANT RAL 7016 Assembly instructions

Costway
Costway JV10616 manual

The Land of Nod
The Land of Nod Wrightwood Bunk Bed Assembly instructions

A-Collection
A-Collection Vivere II installation instructions

Home Decorators
Home Decorators 3700C-SF Assembly instructions

Maintal
Maintal Zazou EB SH42 Assembly instructions

J.Burrows
J.Burrows SEDF129WC1 Assembly instructions

LAZBOY
LAZBOY Sleep Sofa Series instructions