manuals.online logo
Brands
  1. Home
  2. •
  3. Brands
  4. •
  5. oluce
  6. •
  7. Outdoor Light
  8. •
  9. oluce COUPÉ 3320 R User manual

oluce COUPÉ 3320 R User manual

ISTRUZIONI PER IL MONTAGGIO
MOUNTING INSTRUCTIONS
INSTRUCTION POUR LE MONTAGE
MONTAGEANLEITUNG
IT - COLLEGAMENTO DEL CAVO DI TIPO Y: in caso
di danneggiamento del cavo di alimentazione, questo deve
essere sostituito dall’assistenza o dal personale qualificato.
EN - CONNECTION OF CABLE TYPE Y: in case of
power cable damage it has to be replaced by costumer
service or by the qualified personnel.
FR - CONNEXION DU CÂBLE TYPE (RÉF) Y: en cas de
dommage du câble électrique le câble doit être remplacé par
le service clientèle ou par du personnel qualifié.
DE - KABELANSCHLUSS TYP Y: Bei Beschädigung des
Speisekabels muss dieses vom Kundendienst oder vom
Fachpersonal ausgewechselt werden.
fig. 1
EN - This product must not be discarded as the responsi-
bility of the City sanitation, it must be gathered together
separately and discarded.
FR - Ce produit ne doit pas etre mis avec les ordures
municipales, il faut effectuer un ramassage séparé.
DE - Dieses Produkt darf nicht als Gemeindekehricht
entsorgt werden. Entsorgung muss getrennt erfolgen.
IT - Questo prodotto non deve essere smaltito
come un rifiuto municipale misto, effettuare una
raccolta separata.
CLASSE I - CLASS I - CLASSE I - KLASSE I
Terra • Ground • Terre • Sicherheitserdunh
O luce S.r.l.
Via Brescia, 2 - 20097 San Donato Milanese (Mi) - Italia
Tel. +39 2 9849 1435 - Fax +39 2 9849 0779
http://www.oluce.com - e-mail : [email protected]
IT - Per la sicurezza elettrica ed il corretto montaggio
della lampada seguire la sequenza delle immagini.
Disinserire la rete di alimentazione prima di interveni-
re sulla lampada. Per pulire la lampada non
usare detergenti abrasivi.
EN - For electrical safety and a correct lamp assembly,
follow the sequence of the pictures. Cut off the electrical
current before any intervention on the lamp. Do not use
abrasive detergents when cleaning the lamp.
FR - Pour la sécurité életctrique et un montage correct
de la lampe, suivre la sèquence des images.Débrancher
le courant électrique avant d'intervenir sur la lampe.
Ne pas employer de détergents abrasifs
pour nettoyer la lampe.
DE - Zwecks der elektrischen Sicherheit und zur
korrekten Montage, die Reihenfolge der Abbildungen
verfolgen.Vor Handhabung der Lampe, elektrischen
Strom ausschalten. Keine ätzenden Reinigungsmittel
zum Säubern der Lampe verwenden.
3320 R - 1 x max 100W(E27) ↑190-240 →160 cm
COUPÉ
3320 R
designer Joe Colombo
EN - The symbol indicates the suitability of fixtures to be
mounted directly on normally infammable surfaces.
FR - Le symbole indique que les appareils sont indiqués
pour être monté directement sur des surfaces normale-
ment inflammables.
DE - Das Symbol zeigt an, ob die Geräte dazu geeignet
sind, auf normal entflammbaren Oberflächen
angebracht zu werden.
IT - Il simbolo indica l’idoneità degli
apparecchi al montaggio diretto su superfici
normalmente infiammabili.
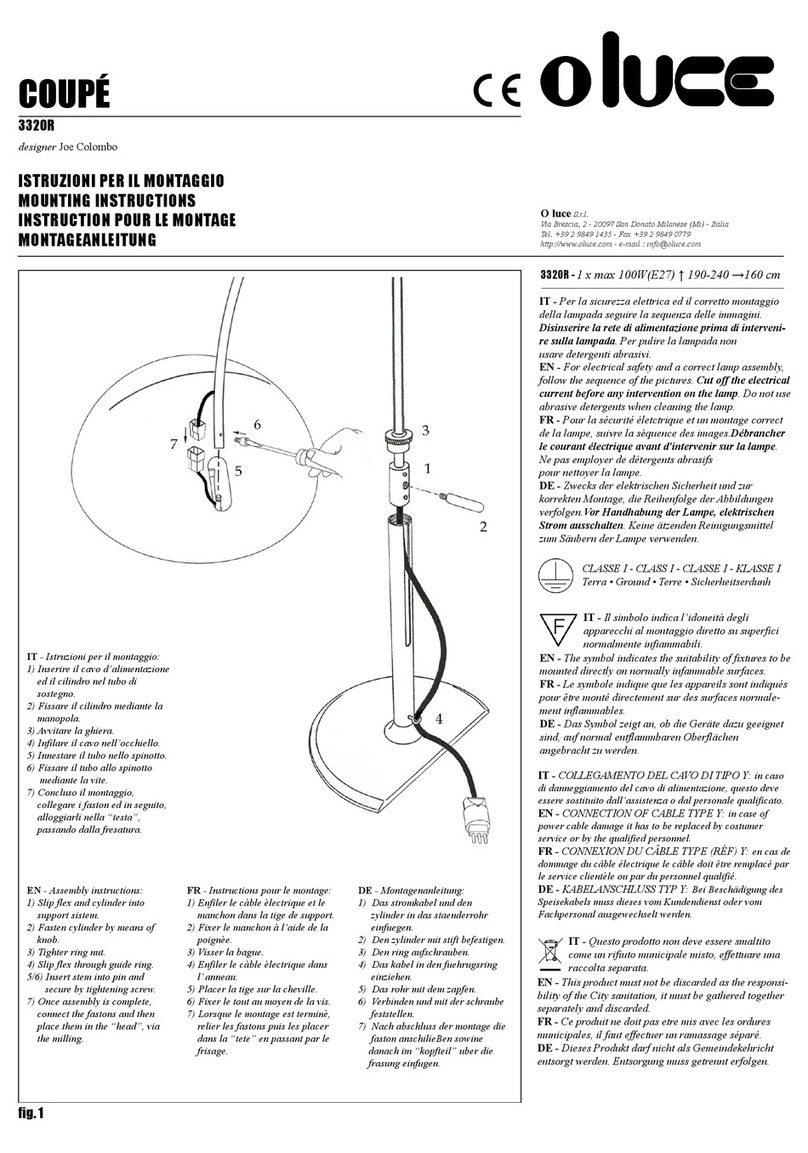
IT - Istruzioni per il montaggio:
1) Inserire il cavo d’alimentazione
ed il cilindro nel tubo di
sostegno.
2) Fissare il cilindro mediante la
manopola.
3) Avvitare la ghiera.
4) Infilare il cavo nell’occhiello.
5) Innestare il tubo nello spinotto.
6) Fissare il tubo allo spinotto
mediante la vite.
7) Concluso il montaggio,
collegare i faston ed in seguito,
alloggiarli nella “testa”,
passando dalla fresatura.
8) Assemblare la spina.
EN - Assembly instructions:
1) Slip flex and cylinder into
support sistem.
2) Fasten cylinder by means of
knob.
3) Tighter ring nut.
4) Slip flex through guide ring.
5/6) Insert stem into pin and
secure by tightening screw.
7) Once assembly is complete,
connect the fastons and then
place them in the “head”, via
the milling.
8) Assemble the plug.
FR - Instructions pour le montage:
1) Enfiler le càble èlectrique et le
manchon dans la tige de support.
2) Fixer le manchon à l’aide de la
poignèe.
3) Visser la bague.
4) Enfiler le càble èlectrique dans
l’ anneau.
5) Placer la tige sur la cheville.
6) Fixer le tout au moyen de la vis.
7) Lorsque le montage est terminè,
relier les fastons puis les placer
dans la “tete” en passant par le
frisage.
8) Assembler la fiche.
DE - Montagenanleitung:
1) Das stromkabel und den
zylinder in das staenderrohr
einfuegen.
2) Den zylinder mit stift befestigen.
3) Den ring aufschrauben.
4) Das kabel in den fuehrugsring
einziehen.
5) Das rohr mit dem zapfen.
6) Verbinden und mit der schraube
feststellen.
7) Nach abschluss der montage die
faston anschilieBen sowine
danach im “kopfteil” uber die
frasung einfugen.
8) Den stecker zusammensetzen.
ISTRUZIONI PER IL MONTAGGIO
MOUNTING INSTRUCTIONS
INSTRUCTION POUR LE MONTAGE
MONTAGEANLEITUNG
IT - COLLEGAMENTO DEL CAVO DI TIPO Y: in caso
di danneggiamento del cavo di alimentazione, questo deve
essere sostituito dall’assistenza o dal personale qualificato.
EN - CONNECTION OF CABLE TYPE Y: in case of
power cable damage it has to be replaced by costumer
service or by the qualified personnel.
FR - CONNEXION DU CÂBLE TYPE (RÉF) Y: en cas de
dommage du câble électrique le câble doit être remplacé par
le service clientèle ou par du personnel qualifié.
DE - KABELANSCHLUSS TYP Y: Bei Beschädigung des
Speisekabels muss dieses vom Kundendienst oder vom
Fachpersonal ausgewechselt werden.
fig. 1 fig. 2
fig. 3 fig. 4
EN - This product must not be discarded as the responsi-
bility of the City sanitation, it must be gathered together
separately and discarded.
FR - Ce produit ne doit pas etre mis avec les ordures
municipales, il faut effectuer un ramassage séparé.
DE - Dieses Produkt darf nicht als Gemeindekehricht
entsorgt werden. Entsorgung muss getrennt erfolgen.
IT - Questo prodotto non deve essere smaltito
come un rifiuto municipale misto, effettuare una
raccolta separata.
CLASSE I - CLASS I - CLASSE I - KLASSE I
Terra • Ground • Terre • Sicherheitserdunh
O luce S.r.l.
Via Brescia, 2 - 20097 San Donato Milanese (Mi) - Italia
Tel. +39 2 9849 1435 - Fax +39 2 9849 0779
http://www.oluce.com - e-mail : [email protected]
IT - Per la sicurezza elettrica ed il corretto montaggio
della lampada seguire la sequenza delle immagini.
Disinserire la rete di alimentazione prima di interveni-
re sulla lampada. Per pulire la lampada non
usare detergenti abrasivi.
EN - For electrical safety and a correct lamp assembly,
follow the sequence of the pictures. Cut off the electrical
current before any intervention on the lamp. Do not use
abrasive detergents when cleaning the lamp.
FR - Pour la sécurité életctrique et un montage correct
de la lampe, suivre la sèquence des images.Débrancher
le courant électrique avant d'intervenir sur la lampe.
Ne pas employer de détergents abrasifs
pour nettoyer la lampe.
DE - Zwecks der elektrischen Sicherheit und zur
korrekten Montage, die Reihenfolge der Abbildungen
verfolgen.Vor Handhabung der Lampe, elektrischen
Strom ausschalten. Keine ätzenden Reinigungsmittel
zum Säubern der Lampe verwenden.
3320 R - 1 x max 100W(E27) ↑190-240 →160 cm
COUPÉ
3320 R
designer Joe Colombo
EN - The symbol indicates the suitability of fixtures to be
mounted directly on normally infammable surfaces.
FR - Le symbole indique que les appareils sont indiqués
pour être monté directement sur des surfaces normale-
ment inflammables.
DE - Das Symbol zeigt an, ob die Geräte dazu geeignet
sind, auf normal entflammbaren Oberflächen
angebracht zu werden.
IT - Il simbolo indica l’idoneità degli
apparecchi al montaggio diretto su superfici
normalmente infiammabili.

Other oluce Outdoor Light manuals

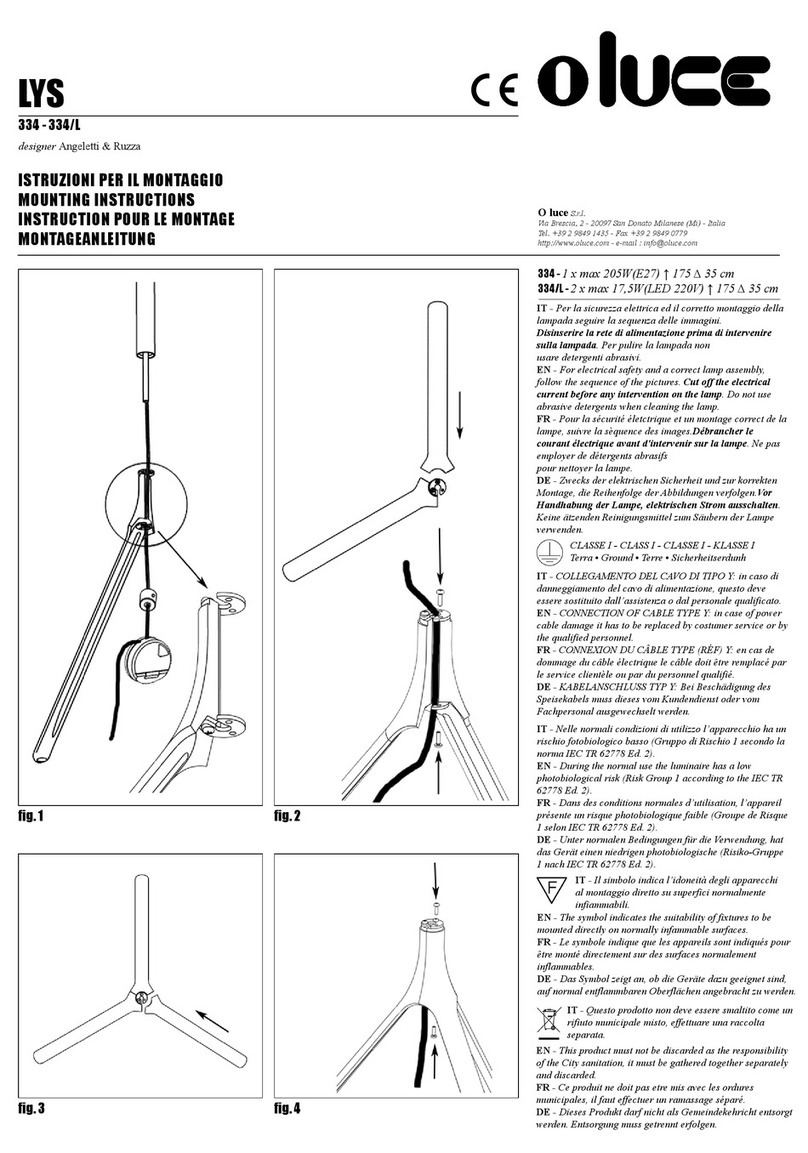
oluce 334 User manual

oluce

oluce 334 User manual

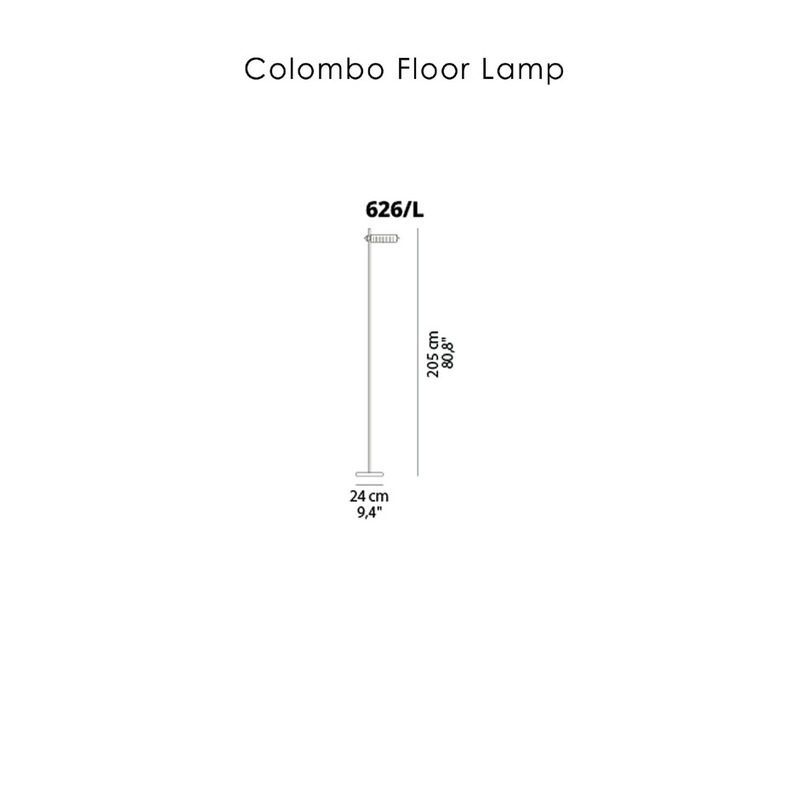
oluce COLOMBO 626/L User manual

oluce

oluce COLOMBO 626/L User manual

oluce AMANITA 319 User manual

oluce

oluce AMANITA 319 User manual

oluce ILO User manual

oluce

oluce ILO User manual

oluce STONES 207 User manual

oluce

oluce STONES 207 User manual

oluce COUPE 3320R User manual

oluce

oluce COUPE 3320R User manual

oluce SUPERLUNA 397 User manual

oluce

oluce SUPERLUNA 397 User manual

Popular Outdoor Light manuals by other brands

Stahl L148 Series operating instructions

Stahl

Stahl L148 Series operating instructions

Jula 422-106 operating instructions

Jula

Jula 422-106 operating instructions

Endon EL-40065 instruction manual

Endon

Endon EL-40065 instruction manual

Lighthub Direct BHRO10PIR installation instructions

Lighthub Direct

Lighthub Direct BHRO10PIR installation instructions

Jensen Dynamique Assembly and instructions for use

Jensen

Jensen Dynamique Assembly and instructions for use

Platek FESSURA Assembly instructions

Platek

Platek FESSURA Assembly instructions

Dyson Lightcycle CD05 operating manual

Dyson

Dyson Lightcycle CD05 operating manual

STEINEL L 260 LED installation instructions

STEINEL

STEINEL L 260 LED installation instructions

Lake Lite LL-SPL-8 series instructions

Lake Lite

Lake Lite LL-SPL-8 series instructions

Vaxcel T0099 Assembly and installation instructions

Vaxcel

Vaxcel T0099 Assembly and installation instructions

kobi Solar LED STREET 15W user manual

kobi

kobi Solar LED STREET 15W user manual

Hihome WAL-RGBCCT27 quick start

Hihome

Hihome WAL-RGBCCT27 quick start

Xterior MICRO FACET LED INSTALLATION, CLEANING AND MAINTENANCE

Xterior

Xterior MICRO FACET LED INSTALLATION, CLEANING AND MAINTENANCE

Schrack Technik ZELDA Medium High Up/Down Series Assembly instructions

Schrack Technik

Schrack Technik ZELDA Medium High Up/Down Series Assembly instructions

Maxim Carriage House VX instruction manual

Maxim

Maxim Carriage House VX instruction manual

kobi SOLAR LED SPIKE 2x1W user manual

kobi

kobi SOLAR LED SPIKE 2x1W user manual

LIGMAN RO-80496-A installation manual

LIGMAN

LIGMAN RO-80496-A installation manual

VIBIA Plis Outdoor Aassembly Instructions

VIBIA

VIBIA Plis Outdoor Aassembly Instructions

manuals.online logo
manuals.online logoBrands
  • About & Mission
  • Contact us
  • Privacy Policy
  • Terms and Conditions

Copyright 2025 Manuals.Online. All Rights Reserved.