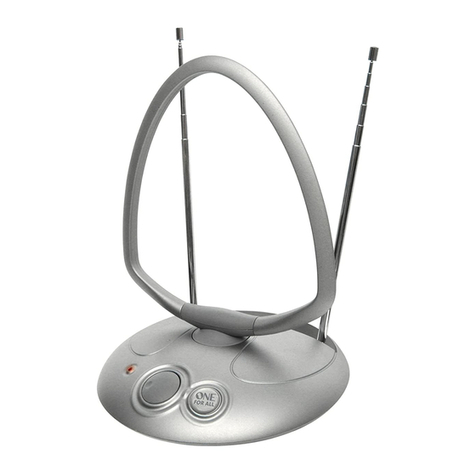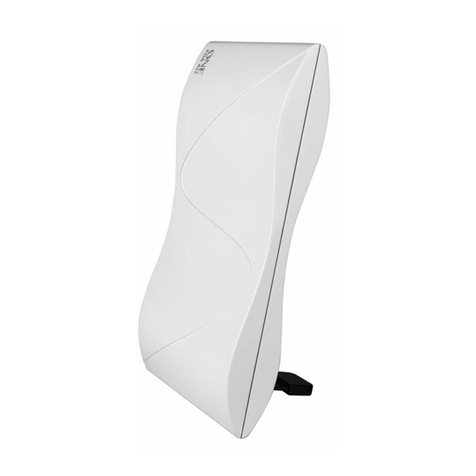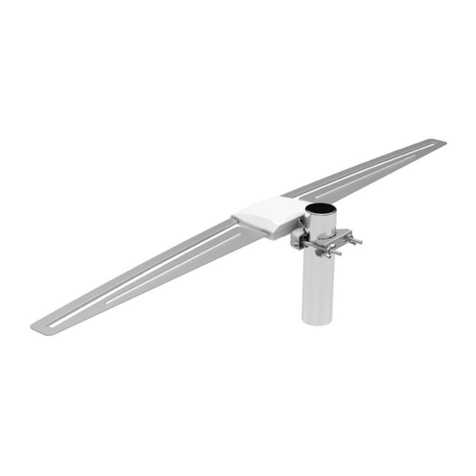
Grounding your OFA Antenna
When installing your attic / outdoor antenna on your rooftop or outdoors, it is recommended that you follow National
and/or Local Electrical codes to properly ground your antenna.This will reduce the chances of your antenna or mast being
struck by lightning. Please consult National Electrical Code, Article 810, or contact a local electrician for details and/or
assistance.
Mise à la terre de l’antenne One For All
Lors de l’installation de l’antenne sur le toit ou à l’extérieur de votre maison, il est recommandé de suivre les codes
électriques nationaux et locaux afin que l’antenne soit correctement mise à la terre. Cela réduira les risques que l’antenne
ou son mât soit ciblé par la foudre. Consultez le code national de l’électricité, article 810, ou contactez un électricien de la
région pour obtenir plus de détails ou de l’assistance.
IMPORTANT!
FOLLOW ALL SAFETY PROCEDURES, WARNINGS AND INSTRUCTIONS
WHEN INSTALLING YOUR ANTENNA.
SUIVEZ L’ENSEMBLE DES PROCÉDURES DE SÉCURITÉ, DES
AVERTISSEMENTS ET DES INSTRUCTIONS LORS DE L’INSTALLATION DE
L’ANTENNE.
SAFETY PROCEDURES
• Make sure there is another person present (on the ground) while installing the attic / outdoor Antenna.
• DO NOT attempt to mount the antenna on a windy, rainy or snowy day.
PROCÉDURES DE SÉCURITÉ
• Assurez-vous qu’une autre personne est présente (au sol) lorsque vous installez l’antenne.
• N’ESSAYEZ PAS d’installer l’antenne lorsqu’il vente, qu’il pleut ou qu’il neige
MOUNT THE ANTENNA AT LEAST 20 FT. FROM ALL POWER LINES OR
UTILITY POLES.
FIXEZ L’ANTENNE À AU MOINS 20 PIEDS DES LIGNES ÉLECTRIQUES ET
DES POTEAUX ÉLECTRIQUES.
POWER LINE WARNING
If you intend to mount the attic / outdoor Antenna on a rooftop, make sure to mount it at least 20 ft. away from any power lines or
utility poles.
AVERTISSEMENT RELATIF AUX LIGNES ÉLECTRIQUES
Si vous envisagez de mettre l’antenne sur le toit, assurez-vous de la fixer à au moins 20 pieds de toute ligne électrique et
de tout poteau électrique.
QUICK INSTALLATION GUIDE
GUIDE D' INSTALLATION
MINIMUM
20 FT
WARRANTY / GUARANTEE INFORMATION
1 Year Limited Warranty against defects in material and workmanship can be found at www.oneforall-canada.ca
LIMITED WARRANTY
Warranty: Universal Electronics BV warrants this product to be free from defects in material and workmanship for
a period of one year from the date of purchase. This warranty does not apply to damage caused by shipping or
handling, or damage caused by accident, abuse, misuse, misapplication, ordinary wear, improper maintenance,
failure to follow instructions or as a result of any unauthorized modifications. The foregoing warranty shall apply
only to the original buyer, and is and shall be in lieu of any and all other warranties, whether expressed or implied
and of all other obligations or liabilities on the part of Universal Electronics BV neither assumes responsibility
for, nor authorizes any other person purporting to act on its behalf to modify or to change this warranty, nor
to assume for it any other warranty or liability concerning this product. The maximum liability for Universal
Electronics BV under all circumstances for any warranty issue shall be limited to a replacement of the defective
product. It is recommended that the customer check their equipment on a regular basis for proper operation.
Remedies: Your exclusive remedy under this Limited Warranty is that Universal Electronics BV, at its option, will
repair or replace, without charge for parts and/or labor, the product found to be defective.
Disclaimer: THE FOREGOING LIMITED WARRANTY IS THE SOLE AND EXCLUSIVE WARRANTY BY UNIVERSAL
ELECTRONICS BV WITH RESPECT TO THE PRODUCTS. THERE ARE NO OTHER REPRESENTATIONS OR WARRANTIES,
EXPRESS OR IMPLIED, EXCEPT AS REQUIRED BY APPLICABLE LAW. ANY IMPLIED WARRANTIES REQUIRED BY LAW
ARE LIMITED IN DURATION TOWARRANTY PERIOD PROVIDED HEREIN. SOME STATES DO NOT ALLOW LIMITATIONS
ON HOW LONG AN IMPLIED WARRANTY LASTS, SO THE ABOVE LIMITATIONS MAY NOT APPLY TO YOU.
IN NO EVENT SHALL Universal Electronics BV OR ANY OF ITS AFFILIATES BE LIABLE FOR ANY INCIDENTAL, SPECIAL,
INDIRECT, CONSEQUENTIAL, OR MULTIPLE DAMAGES, INCLUDING BUT NOT LIMITED TO, LOST PROFITS, LOST OR
DAMAGE TO SOFTWARE OR DATA, OR DAMAGE TO EQUIPMENT ARISING OUT OF THE USE OF ANY PRODUCT,
EVEN IF ADVISED OF THE POSSIBILITY OF SUCH DAMAGES. THIS STANDARD WARRANTY GIVES YOU SPECIFIC
LEGAL RIGHTS, AND YOU MAY ALSO HAVE OTHER RIGHTS, WHICH MAY VARY FROM STATE TO STATE. SOME STATES
DO NOT ALLOW THE EXCLUSION OR LIMITATION OF INCIDENTAL OR CONSEQUENTIAL DAMAGE, SO THE ABOVE
LIMITATIONS MAY NOT APPLY TO YOU.
Reception quality and the numbers of channels received are dependent on multiple factors like distance fromTV
broadcast tower, broadcast power, line of sight, terrain, metal construction materials and other environmental
factors.
LEGAL NOTICES
FCC STATEMENT:
This equipment has been tested and found to comply with the limits for a Class B digital device, pursuant to part
15 of the FCC Rules. These limits are designed to provide reasonable protection against harmful interference
in a residential installation. This equipment generates, uses and can radiate radio frequency energy and, if not
installed and used in accordance with the instructions, may cause harmful interference to radio communications.
However, there is no guarantee that interference will not occur in a particular installation. If this equipment does
cause harmful interference to radio or television reception, which can be determined by turning the equipment
off and on, the user is encouraged to try to correct the interference by one or more of the following measures:
- Reorient or relocate the receiving antenna.
- Increase the separation between the equipment and receiver.
- Connect the equipment into an outlet on a circuit different from that to which the receiver is connected.
- Consult the dealer or an experienced radio/TV technician for help.
This device complies with part 15 of the FCC Rules. Operation is subject to the following two conditions: (1) This
device may not cause harmful interference, and (2) this device must accept any interference received, including
interference that may cause undesired operation.
Caution: Changes or modifications not expressly approved by the party responsible for compliance could void
the user’s authority to operate the equipment.
FRANÇAIS
GARANTIE ET RENSEIGNEMENTS CONNEXES
Vous trouverez une garantie limitée de 1 an contre les défectuosités de matériel et de fabrication à l’adresse
www.oneforall-canada.ca
GARANTIE LIMITÉE
Garantie : Universal Electronics BV garantit que ce produit est exempt de toute défectuosité de matériel et de
fabrication pendant une période d’un an à compter de la date d’achat. Cette garantie ne s’applique pas aux dom-
mages causés par le transport ou la manutention, ou encore par accident, usage abusif, mauvaise utilisation, usure
normale, entretien incorrect, non-respect des instructions ou découlant de toute modification non autorisée. La
garantie qui précède s’applique uniquement à l’acheteur primitif. Elle remplace toutes les autres garanties, expli-
cites ou implicites, ainsi que toutes les autres obligations ou responsabilités assumées par Universal Electronics
BV et a préséance sur celles-ci. La société n’est nullement responsable de et n’autorise quiconque prétendant
agir en son nom à modifier ou à altérer cette garantie, et n’a nullement à assumer en vertu de celle-ci toute autre
garantie ou responsabilité concernant ce produit. La responsabilité maximale d’Universal Electronics BV dans
toutes les circonstances et pour tout problème de garantie se limitera au remplacement du produit défectueux. Il
est recommandé au client de vérifier régulièrement l’équipement pour qu’il fonctionne correctement.
Recours: En vertu de cette garantie limitée, votre recours exclusif consiste à ce qu’Universal Electronics BV, à
sa discrétion, répare ou remplace le produit jugé défectueux sans frais relatifs aux pièces et à la main-d’œuvre.
Avertissement : LA GARANTIE LIMITÉE PRÉCÉDENTE EST LA SEULE GARANTIE EXCLUSIVE D’Universal Electronics
BV EN CE QUI CONCERNE LES PRODUITS. IL N’EXISTE AUCUNE AUTRE REPRÉSENTATION NI GARANTIE, EXPRESSE
OU IMPLICITE, SAUF SI LA LOI APPLICABLE L’EXIGE. TOUTE GARANTIE IMPLICITE EXIGÉE PAR LA LOI SE LIMITE À
LA DURÉE DE LA PÉRIODE DE GARANTIE INDIQUÉE AUX PRÉSENTES. PUISQUE CERTAINS ÉTATS ET CERTAINES
PROVINCES N’AUTORISENT PAS LES LIMITATIONS VISANT LA DURÉE D’UNE GARANTIE IMPLICITE, LES LIMITATIONS
PRÉCÉDENTES PEUVENT NE PAS S’APPLIQUER DANS VOTRE CAS.
UNIVERSAL ELECTRONICS BV OU L’UNE DE SES FILIALES NE SONT EN AUCUN CAS RESPONSABLES DES
DOMMAGES ACCESSOIRES, SPÉCIAUX, INDIRECTS, CONSÉCUTIFS OU MULTIPLES, Y COMPRIS, SANS S’Y LIMITER,
DES PERTES DE PROFITS, DES PERTES OU DES DOMMAGES TOUCHANT DES LOGICIELS OU DES DONNÉES, NI
DES DOMMAGES CAUSÉS À DE L’ÉQUIPEMENT DÉCOULANT DE L’UTILISATION DE TOUT PRODUIT, MÊME SI LA
POSSIBILITÉ DE TELS DOMMAGES A ÉTÉ SOULEVÉE. CETTE GARANTIE STANDARD VOUS ACCORDE DES DROITS
JURIDIQUES SPÉCIFIQUES ET IL SE PEUT QUE VOUS JOUISSIEZ AUSSI D’AUTRES DROITS POUVANT VARIER D’UN
ÉTAT OU D’UNE PROVINCE À L’AUTRE.
PUISQUE CERTAINS ÉTATS ET CERTAINES PROVINCES N’AUTORISENT PAS LES EXCLUSIONS OU LES LIMITATIONS
VISANT LES DOMMAGES ACCESSOIRES OU CONSÉCUTIFS, LES LIMITATIONS PRÉCÉDENTES PEUVENT NE PAS
S’APPLIQUER DANS VOTRE CAS.
La qualité de la réception et le nombre de chaînes captées dépendent de nombreux facteurs tels que la distance
séparant l’appareil de la tour diffusant les chaînes, la puissance de diffusion, la visibilité directe, le terrain, les
matériaux de construction en métal et d’autres facteurs environnementaux.
MENTIONS LÉGALES
DÉCLARATION DE LA FCC :
Cet équipement a été testé et déclaré conforme aux limites imposées aux appareils numériques de classe B,
conformément à la section 15 de la réglementation de la FCC. Ces limites sont conçues pour fournir une protection
raisonnable contre les interférences nuisibles dans une installation résidentielle. Cet équipement génère, utilise et
peut émettre de l’énergie de fréquence radio. S’il n’est pas installé et utilisé conformément aux instructions, il peut
causer des interférences nuisibles aux communications radio.
Cependant, rien ne garantit que des interférences ne se produiront pas dans une installation particulière. Si cet
équipement cause des interférences nuisibles à la réception radio ou à la réception de programmes de télévision,
ce qui peut être déterminé en éteignant et en rallumant l’équipement, l’utilisateur est prié de tenter de mettre un
terme aux interférences en appliquant l’une ou plusieurs des mesures suivantes :
- Réorienter ou déplacer l’antenne de réception.
- Augmenter la distance séparant l’équipement et le récepteur.
- Brancher l’équipement dans une prise reliée à un circuit différent de celui auquel le récepteur est connecté.
- Demander l’aide du revendeur ou d’un technicien expérimenté en appareils de radio et de télévision.
Cet appareil est conforme à la section 15 de la réglementation de la FCC. Son utilisation est soumise aux deux
conditions suivantes : (1) Cet appareil ne doit pas causer d’interférences nuisibles, et (2) cet appareil doit accepter
toutes les interférences reçues, y compris celles pouvant entraîner un fonctionnement indésirable.
Mise en garde : Les changements ou modifications non expressément approuvés par la partie responsable de
la conformité peuvent entraîner la révocation de l’autorisation accordée à l’utilisateur de
se servir de l’équipement.
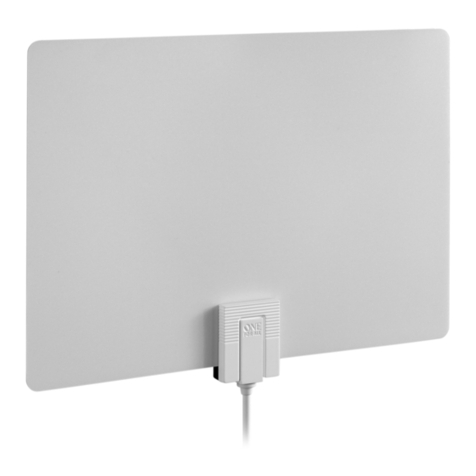
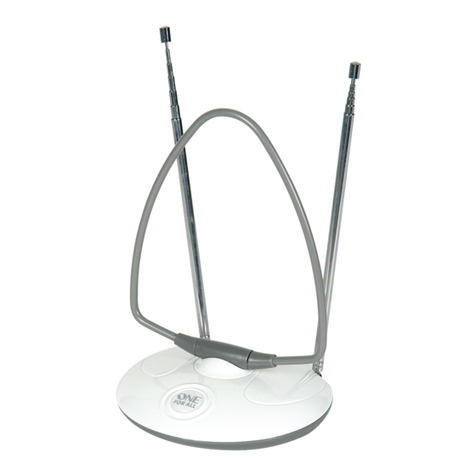
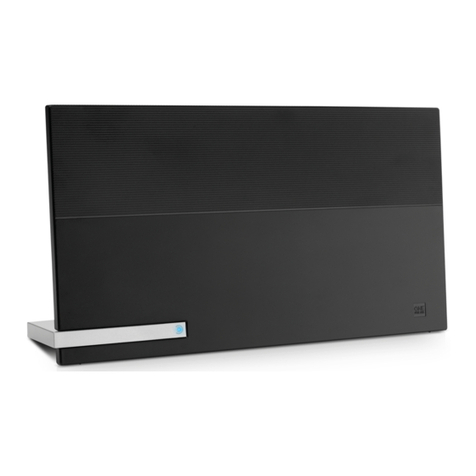
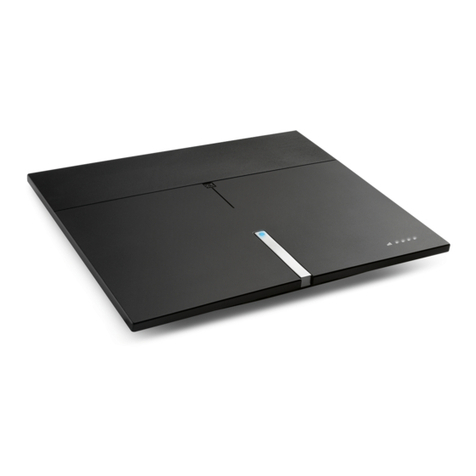
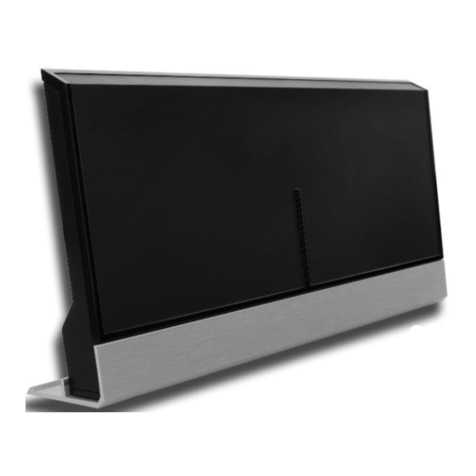
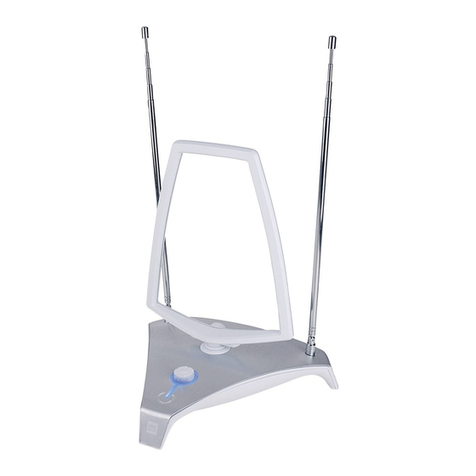
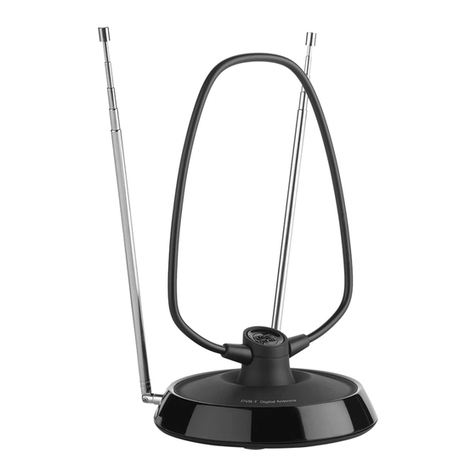
PLACEMENT TIPS FOR ANTENNAS:
- Avoid metal surfaces (like a metal stand)
- Move the antenna close to or in a window
- Position the antenna as high as possible
FRANÇAIS
CONSEILS POUR DISPOSER L’ANTENNE :
- Évitez les surfaces métalliques (comme un support métallique)
- Disposez l’antenne près d’une fenêtre ou dans une fenêtre
- Placez l’antenne le plus haut possible
Universal Electronics BV
PO Box 3332, 7500 DH
Colosseum 2, 7521 PT
Enschede, The Netherlands
One For All is a registered trademark of Universal Electronics BV
One For All est une marque deposée de Universal Electronics BV
Made in China, Fabriqué en Chine
www.oneforall-canada.ca
Customer Support:
Service à la clientèle:
Before returning this product
please visit:
Avant de retourner ce produit au
magasin, s.v.p. visitez
17411
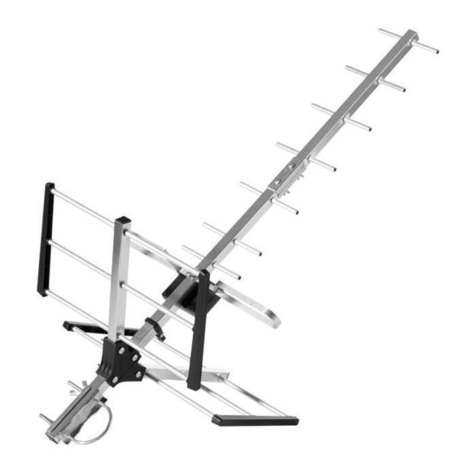
ATTIC / OUTDOOR
ANTENNA
17411_712029 CAN.indd 1 29-03-19 15:22

