OPERATING INSTRUCTIONS
- 6 -
RINSE
1. SOAK RINSE – This is recommended for normally soiled clothes.
Transfer the laundry from spin tub to the wash tub.
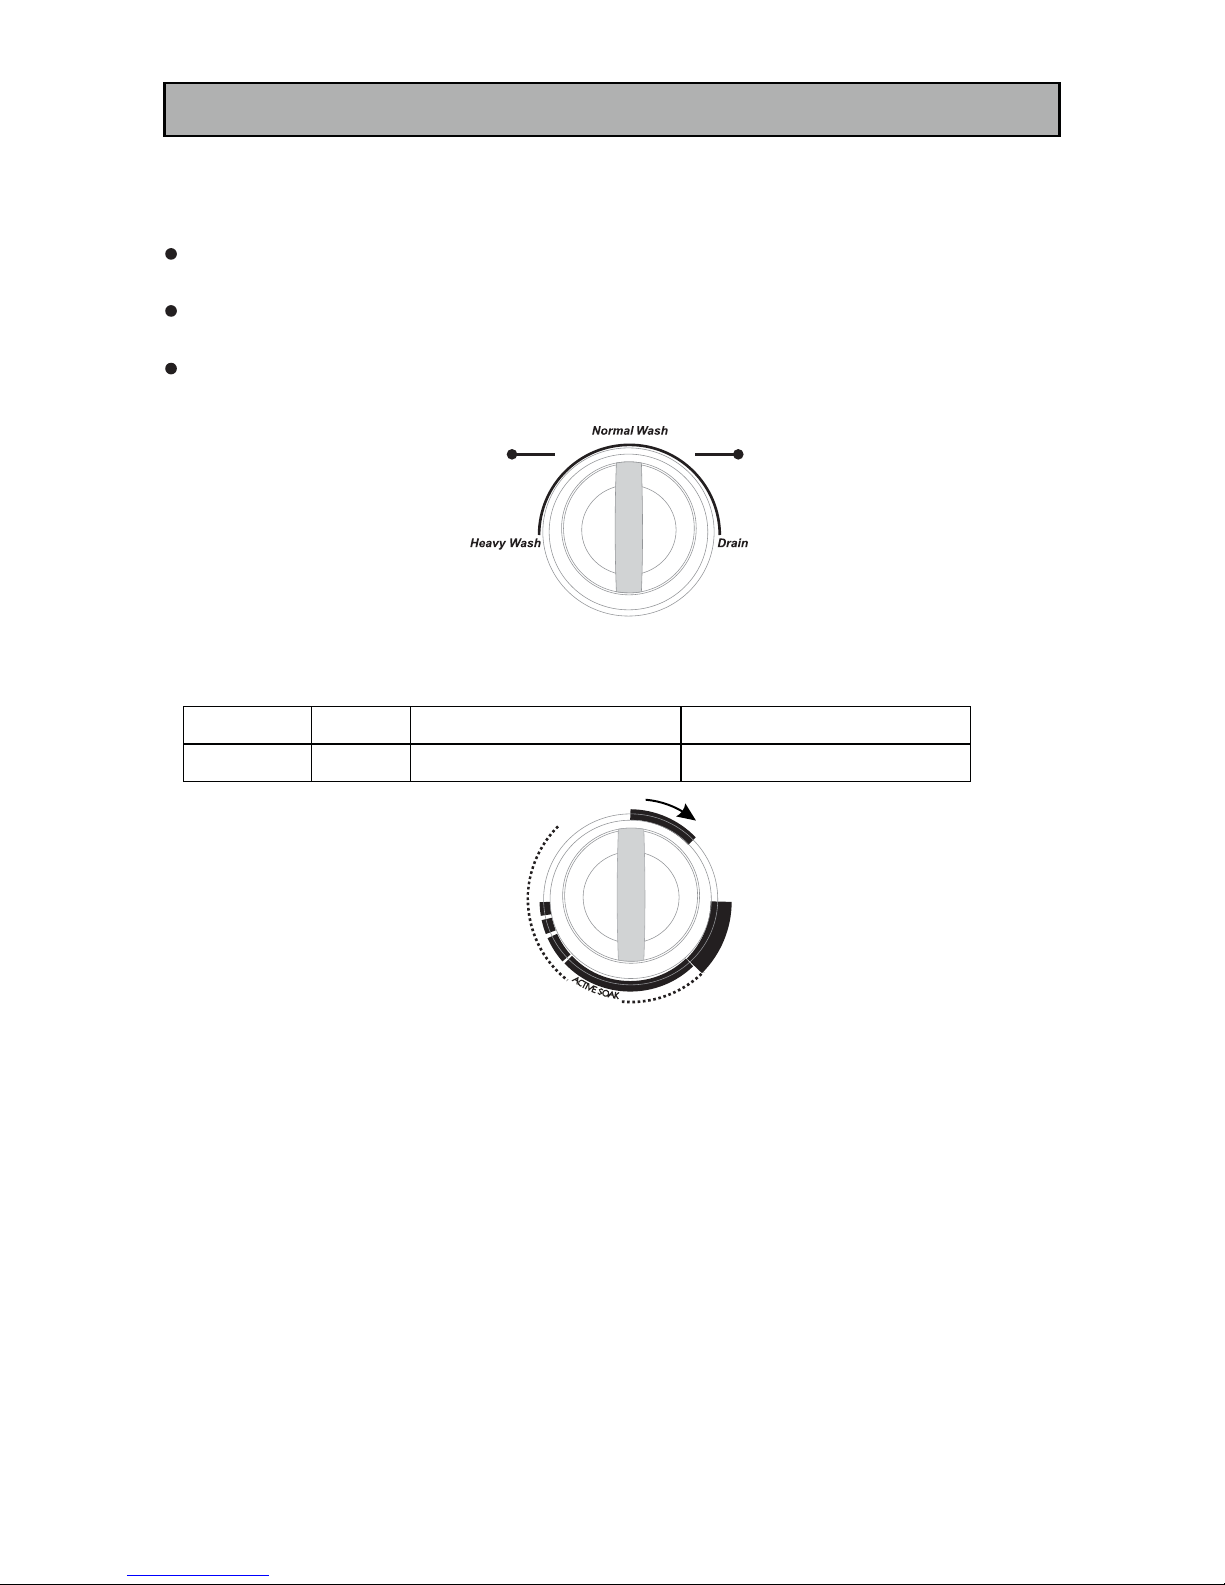
Set the WASH-DRAIN SELECTOR knob to wash.
Take the water up to appropriate level.
Set the wash time to 4 to 6 min. Soak rinse will be performed.
2. OVER FLOW RINSE – This is recommended if more detergent was used or for baby clothes.
Transfer the laundry from spin tub to the wash tub (after step B).
Set the WASH-DRAIN SELECTOR knob to wash.
Take the water up to appropriate level.
Set the wash time to 4 to 6 min. Overflow rinse will be performed.
Keep the water tap on so the water flows while the rinse is being performed.
Step C
3. SPIN SHOWER RINSE/WATER SAVER RINSE – This is recommended for
less soiled cloths / for water saving.
This to be performed after Step B.
Set the water selector to SPIN INLET.
Open the water tap and allow the water
to flow to spin tub.
PLEASE ENSURE THAT THE
SPIN TUB IS NOT ROTATING
AND WATER TAP IS OPENED
PARTIALLY.
After about 2 min close the tap.
Set the spin timer for 2 min.
Note :
INTERMEDIATE SPIN
Transfer the laundry to the spin tub, arrange it evenly and place the spin cap on top of
the laundry tightly and horizontally.
Set the spin timer to 2-4 min.
Note : Do not open the Spin Lid while spin tub is running.
Distribute laundry evenly in tub
Step B
Put the Spin Cap in place
Clothes
Spin Tub
Ensure Spin Cap is pressed
on top of clothes.
Do not leave the water tap open while the spin tub is rotating. This
can only waste water.