ENANCER Electrónica S.A. Page 4 of 13
Rua Max Grundig 9
4705-820 Braga Portugal info@only-smartbuildings.com
Tel: +351 253 221 484 www.only-smartbuildings.com
The LCD indicates the room temperature, the time and the day of the week.
The days of the week are indicated by the numbers 1 to 7
On the OTC-TERMO the LEDs 20º, 22º and 24º indicate the room temperature. In
case the target temperature is changed, these LEDs show the selected temperature
for 2.5 seconds and then return to showing the room temperature.
When two LEDs light up (e.g. 20º and 22º) this means that the temperature is
between them (e.g. 21º). If the room temperature is higher as 24º or lower than 20º
the respective LEDs blink.
CONFIGURATION VIA THE OTC-CLIMA
The OTC-CLIMA allows adjustment of several parameters both local and of other
OTC-TERMO units scattered throughout the house.
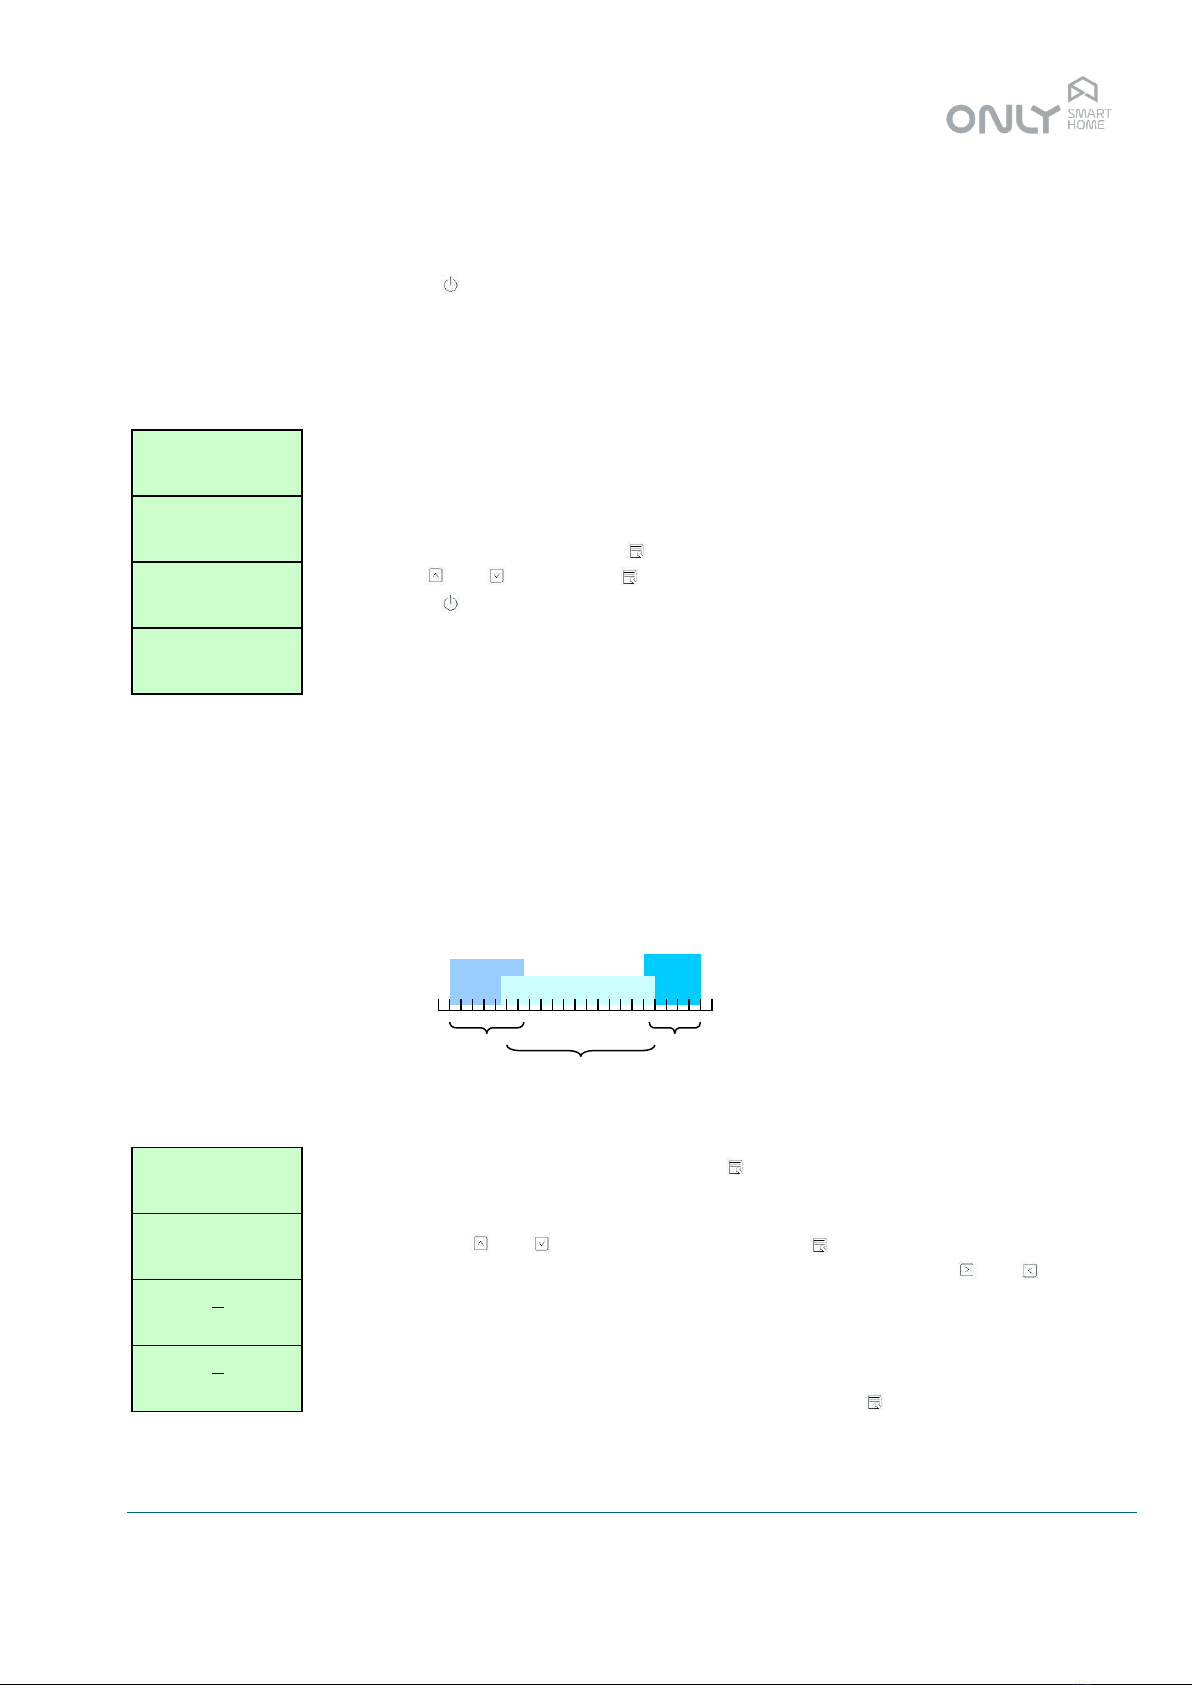
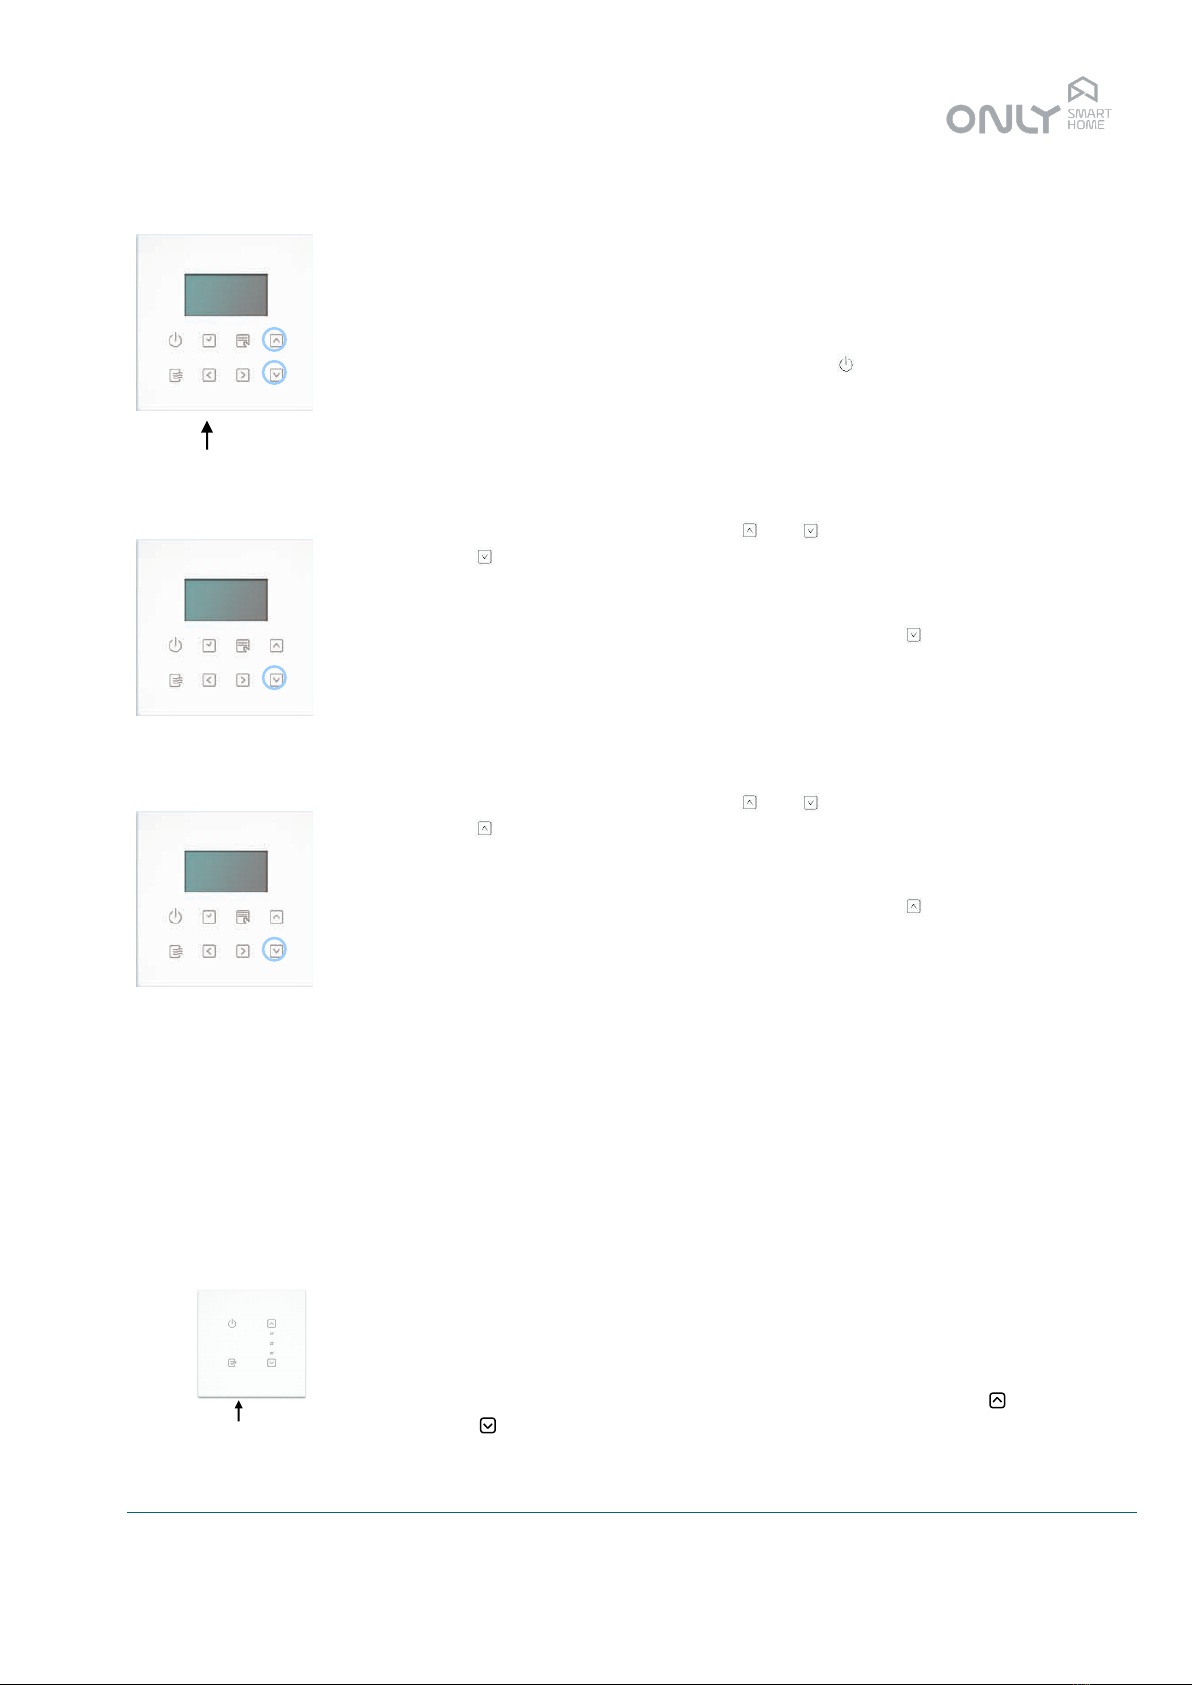
Pressing the key enters the setup menu.
With the and keys you can navigate in the menu between the other menu
options. Possible options are:
1-DATA - set the date and time
2-CICLO - cycle selection –summer or winter
3-INVERN - definition of winter programme
4-VERAO - definition of summer programme
5-INSTAL - installation of OTC-TERMO
6-REMOVE - removal of OTC-TERMO
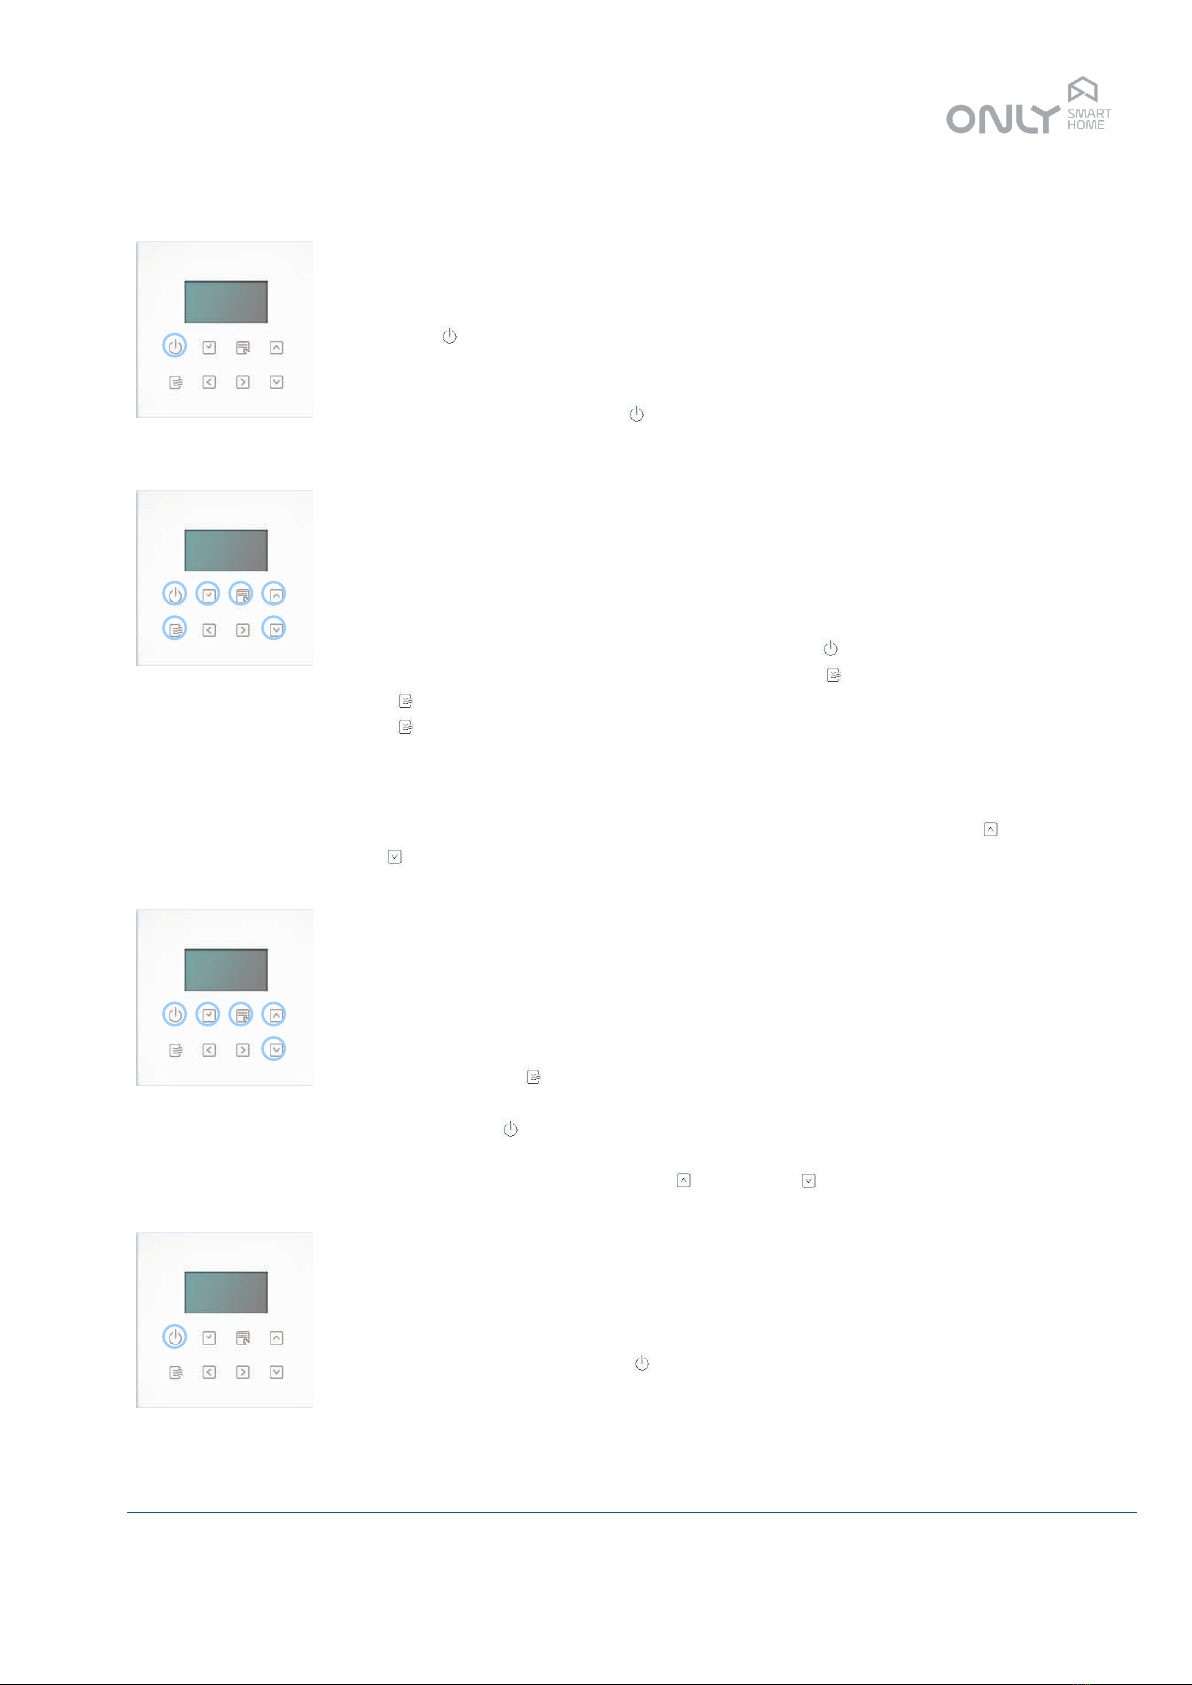
Within the menu the button lets you select the option and the button lets you
exit the current menu and go back to the former.
1. Setting the date and time
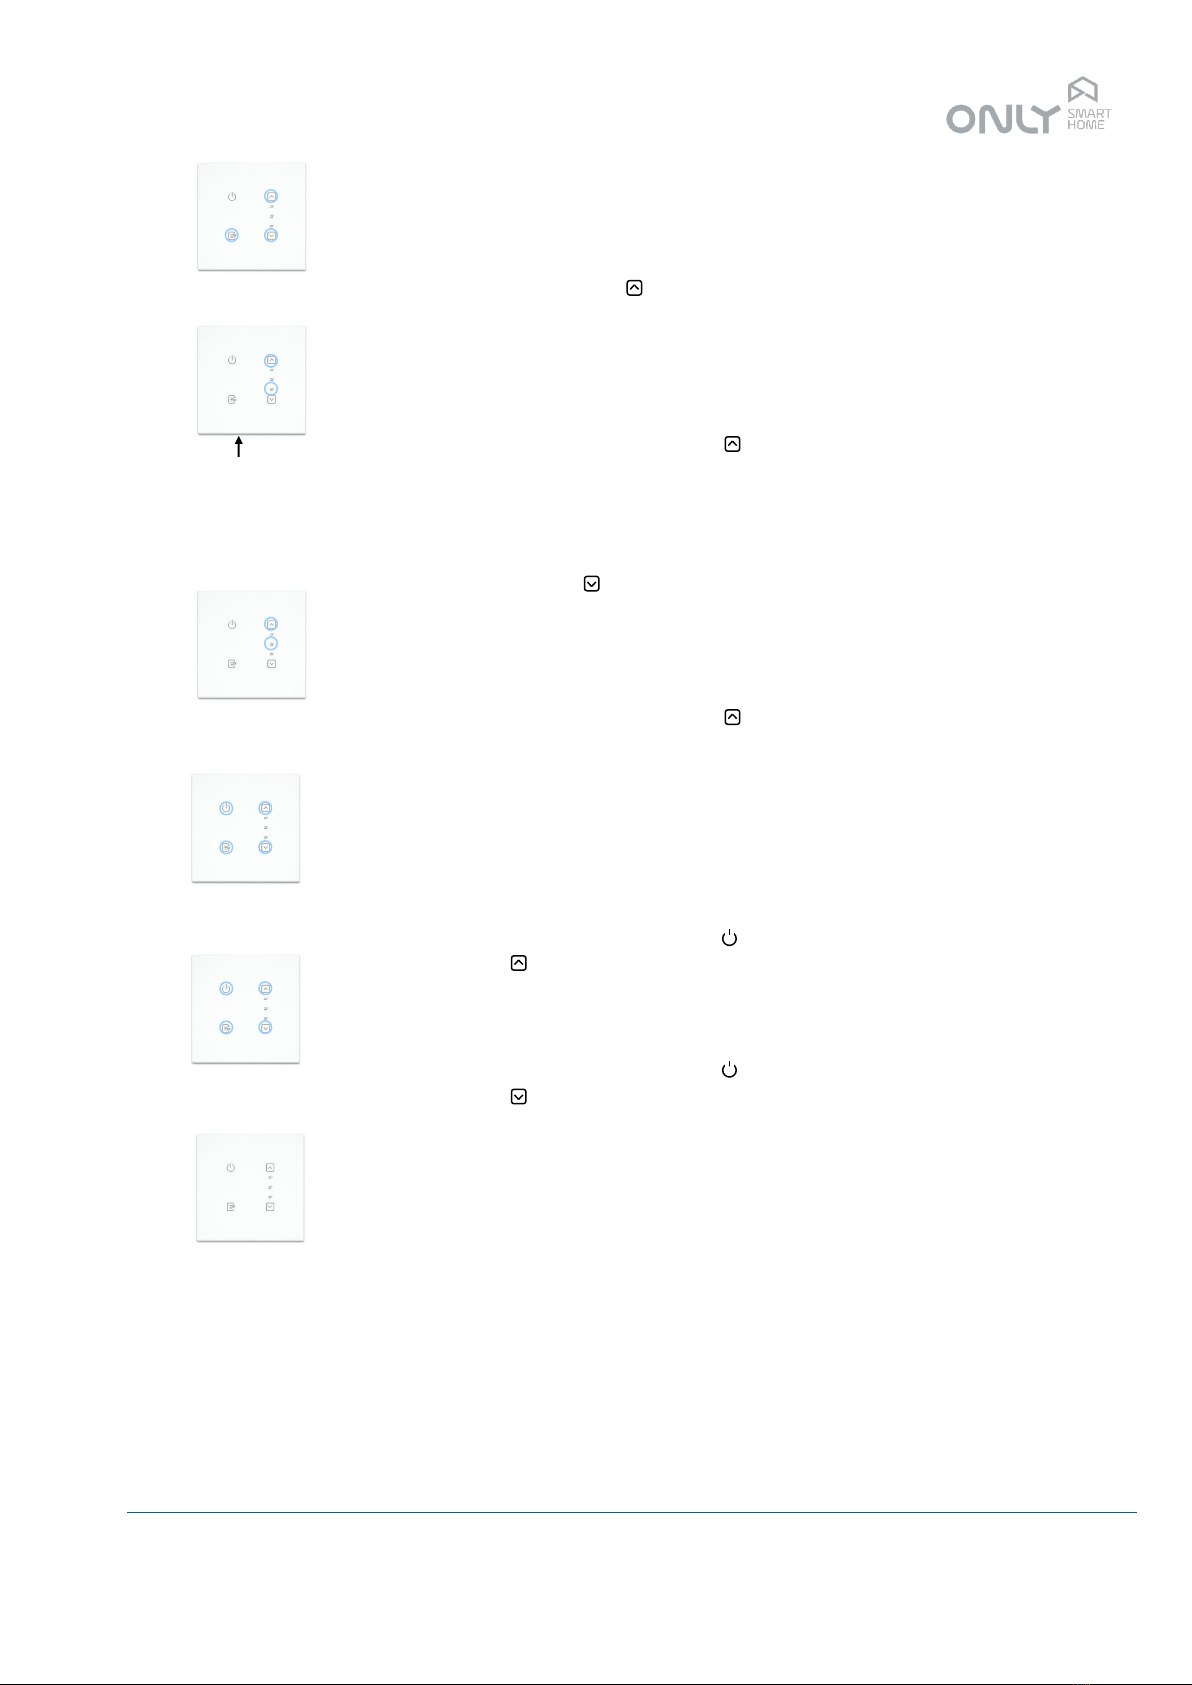
The ONLY climate control units have illuminated touch sensors that function as
buttons. They allow the following functions:
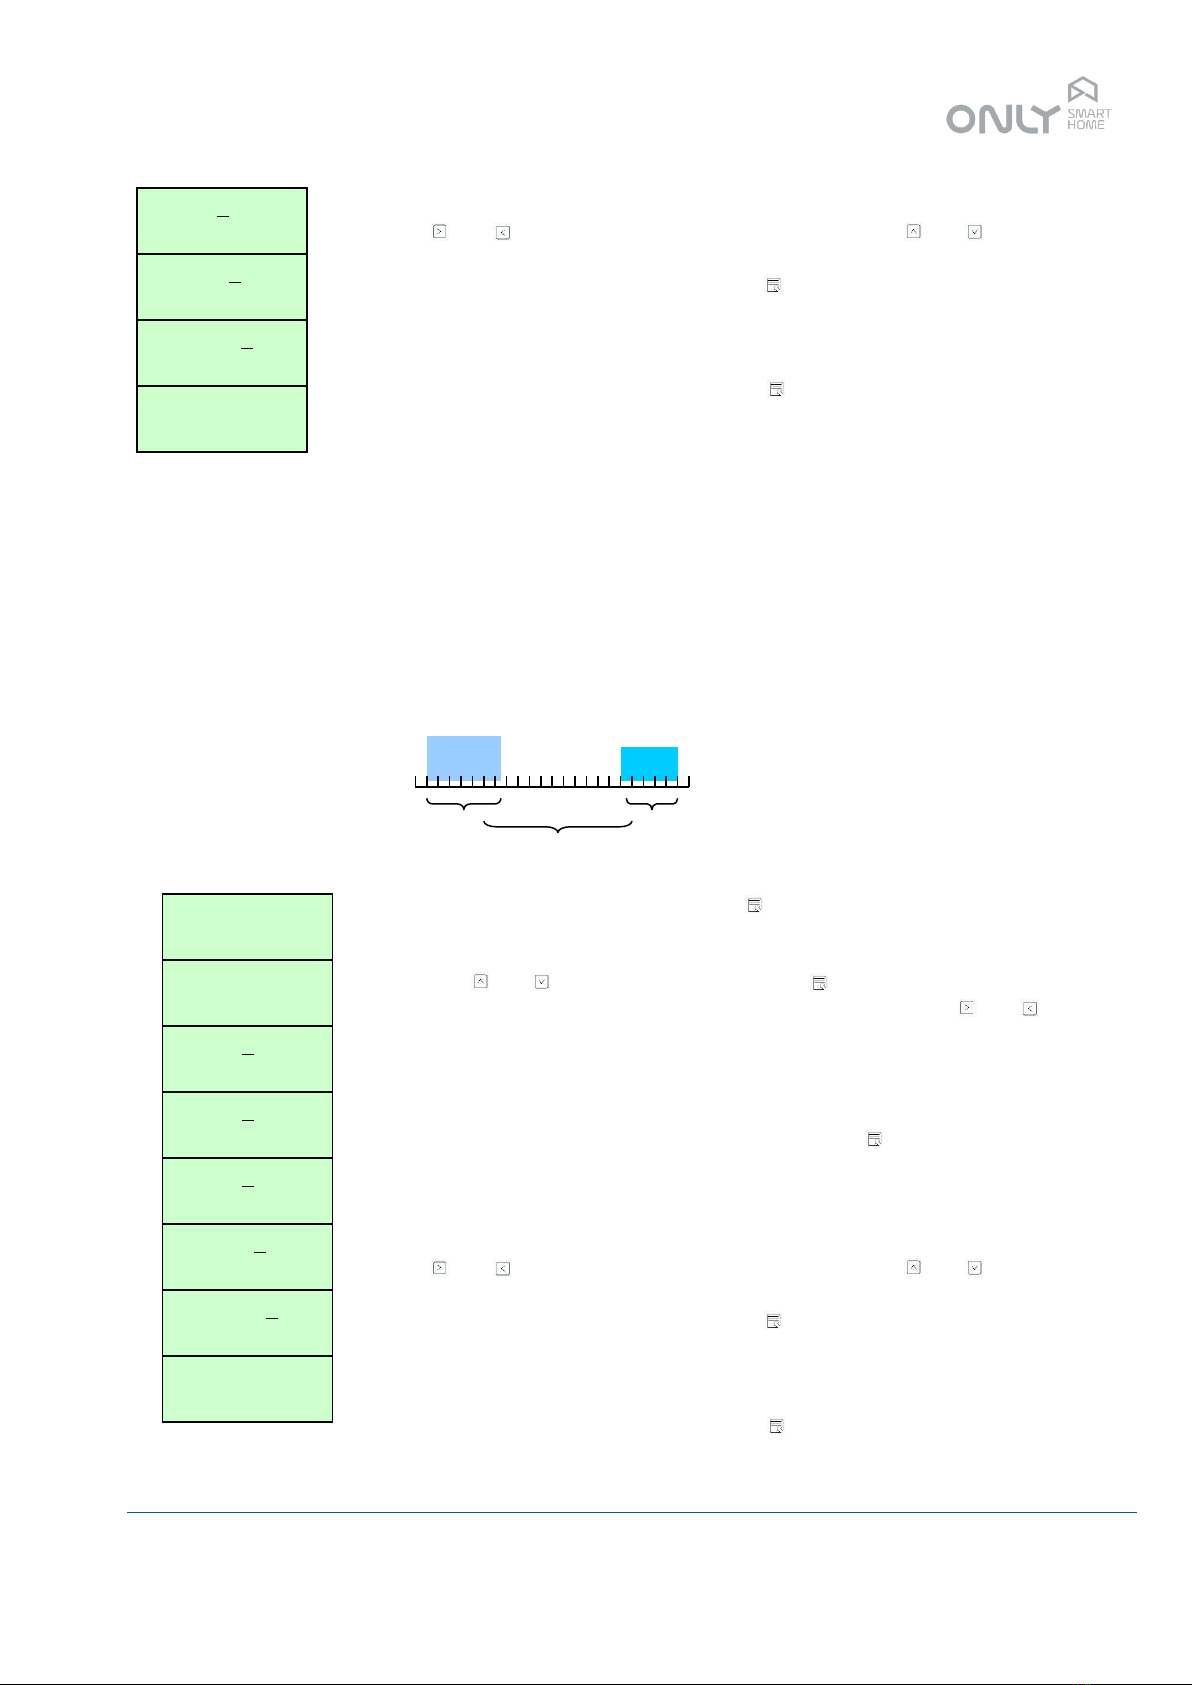
To set the date and time press within the option 1-DATE.
With the keys and you select the digit you want.
To move to the next digit press , or press to go to the previous digit. The date
format is DD-MM-YY.
When the date is set, press to validate and move to the time adjustment.
With the keys and you select the digit you want.
To move to the next digit press , or press to go to the previous digit.
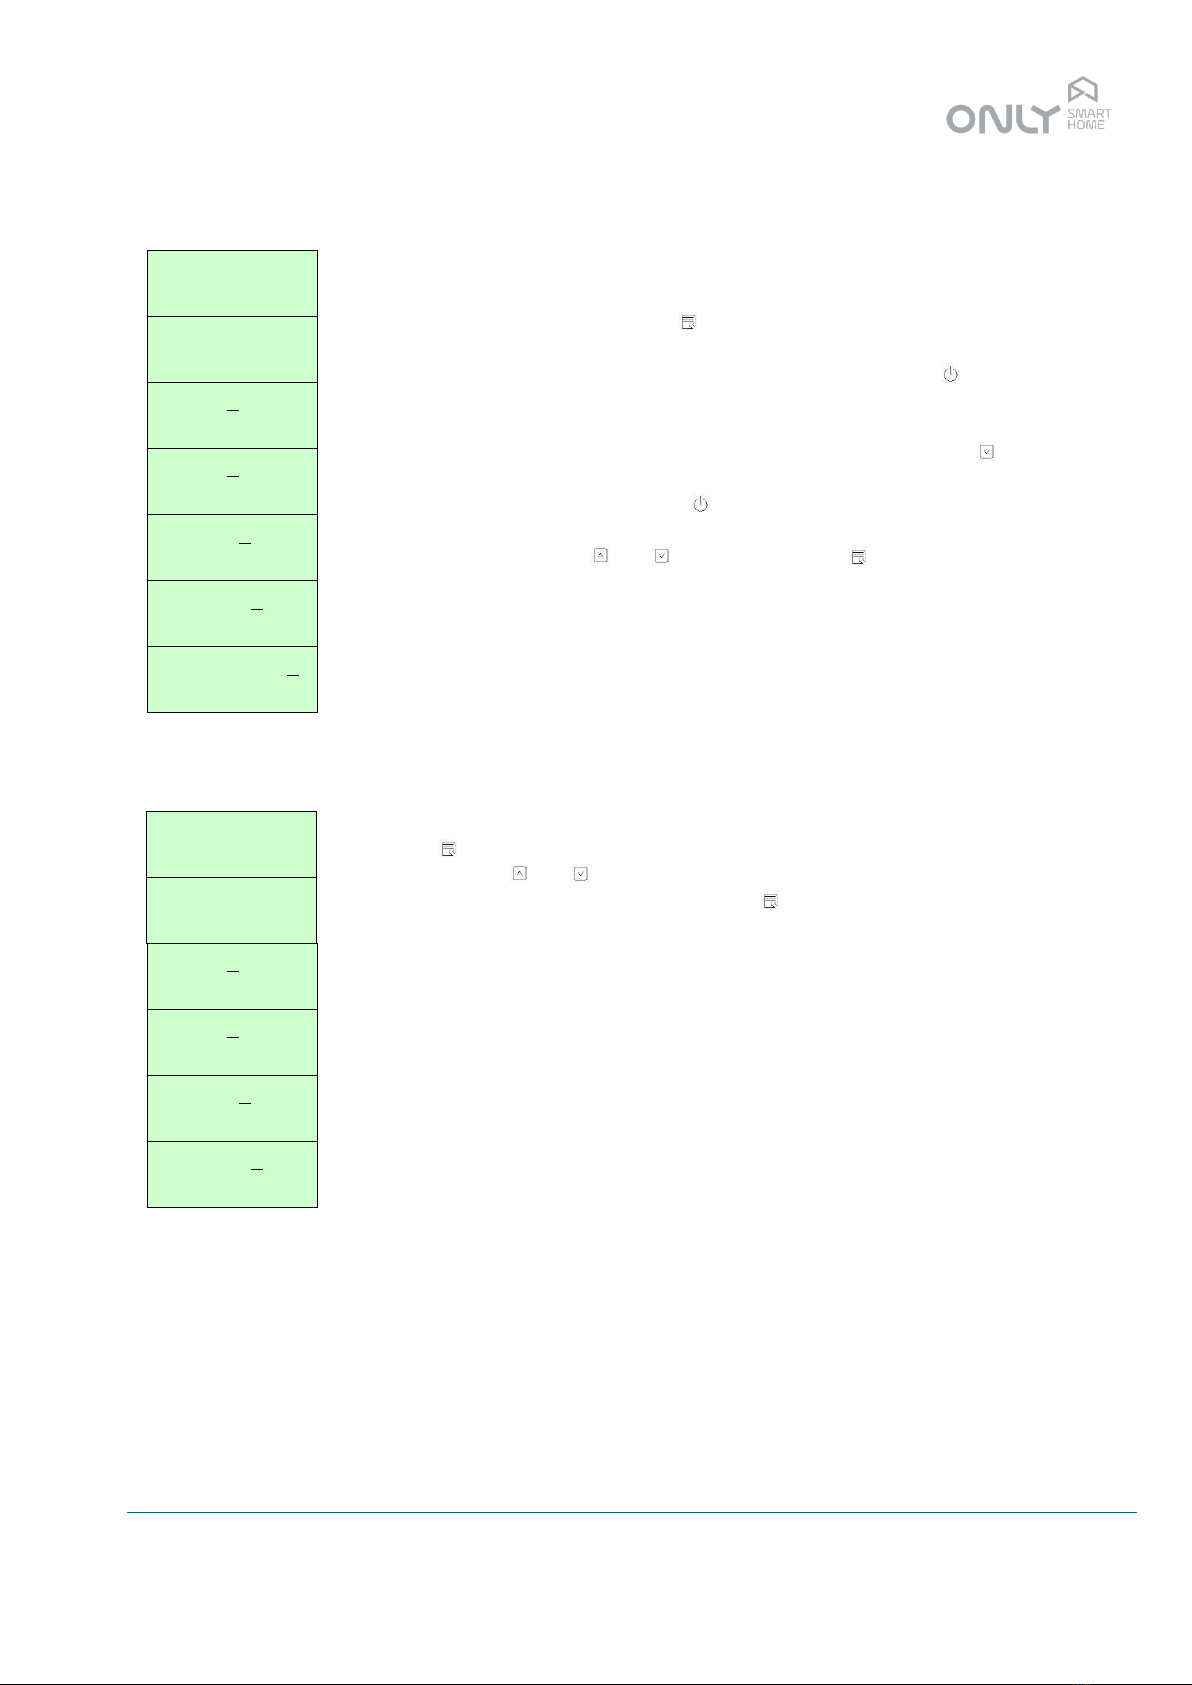
When the time is set, press to validate and move to the time zone adjustment.
The zone set to “_” means that the automatic adjustment of summer and winter time
is not active.
If the time zone is set to any other value, automatic adjustment of summer and
winter time is active. This adjustment is done at the same time at 01:00 hrs on the
last Sunday in March and at 02:00 hrs on the last Sunday in October.
For continental Portugal, the zone is 0 because we are in the GMT (Greenwich Main
Time) time zone.
After setting the zone press to validate. The menu returns to the beginning.
The weekday is automatically adjusted. The days of the week are indicated as
follows:
1 = Monday
2 = Tuesday
3 = Wednesday