68
General information
The CD 70 NAVI offers state-of-the-art In-
Car Infotainment.
Enjoy uninterrupted radio reception thanks
to the powerful twin tuner. And with RDS
TMC you are always kept up-to-date with
the latest traffic situation. The twin tuner
will create a list of currently receivable
stations without you even noticing. This
allows you to access the stations of the
current transmission environment without
tedious searching.
The integrated CD player entertains you
with audio and MP3 CDs.
The Digital Sound Processor provides five
preset sound styles for sound optimisation
(four for music and one for voice).
The navigation system with its dynamic
guidance leads you safely to your
destination and automatically circumvents
congestion and other road obstructions on
request.
A well thought-out design of the control
elements, clear menus on a large graphics
display and a large click dial allow simple
and intuitive operation.
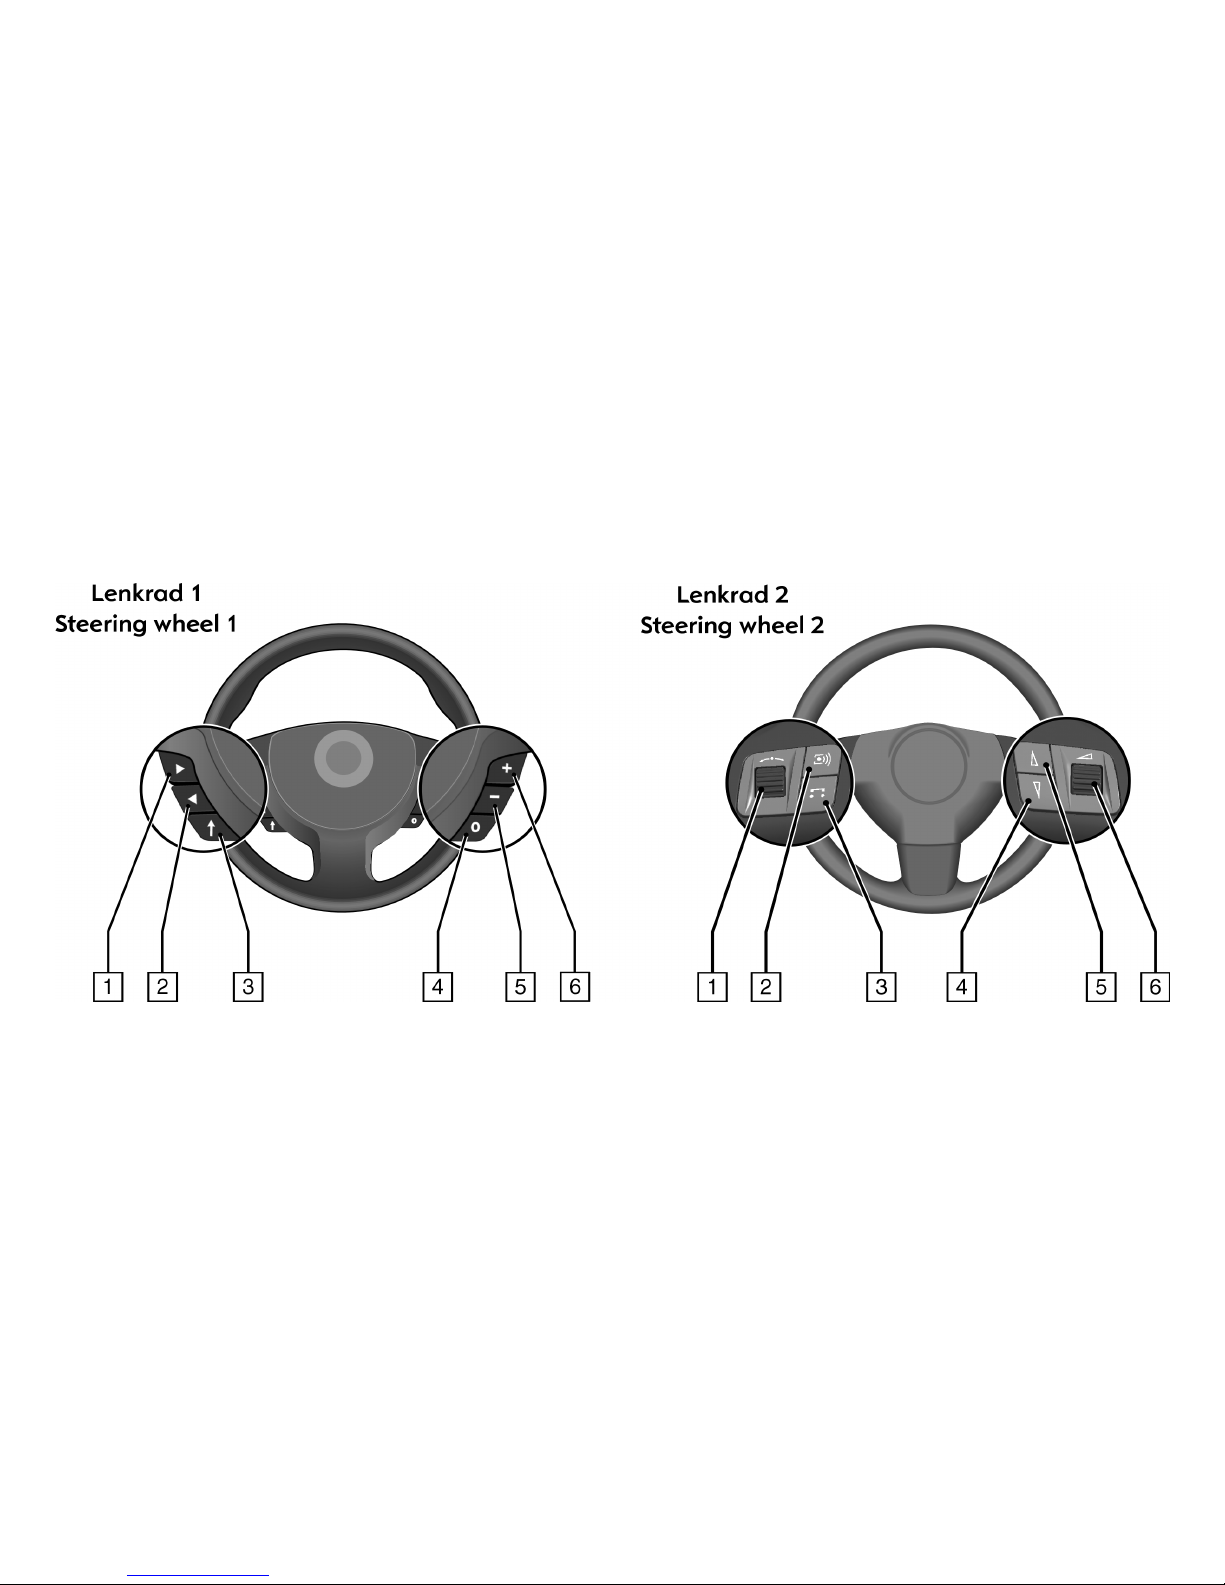
The steering wheel remote control 3allows
you to operate your Infotainment System
without having to take your hands off the
steering wheel.
General notes on these
operating instructions
To provide you with a rapid overview of the
product’s various functions, a summary of
all control elements is given in the section
entitled “Brief overview” together with
each cover page.
The section entitled “Operation” contains
a description of the basic operating steps
of the Infotainment System.
The sections entitled “Radio”, “CD/MP3
player”, “Navigation” and “Settings”
provide a detailed description of your
Infotainment System.
If you are looking for a particular subject,
the keyword index at the end of the
instructions provides quick reference.
A list of the menu displays helps you with
the displayed information.
If your Infotainment System does not
function as expected, read the
“Troubleshooting” and “General notes”
sections first. A suspected fault can often
be remedied quickly.
The following symbols help you to
understand the operating instructions:
☞A hand in front of the text requires you
to do something.
✔A tick in front of the text represents the
unit’s reaction
A bullet point in front of the text
denotes additional information on
this subject.
– A line in front of the text indicates
enumeration.
GSafety instructions and warnings
contain important information for the
safe use of the Infotainment System.
Failure to observe this information may
result in a risk of damage or injury.
Therefore, please observe this
information with particular care.
3A star indicates equipment that is not
part of all vehicles (model options,
country options, optional equipment).
6An arrow indicates that this subject is
continued on the following page.