OPEN303W
User Guide
9
More Settings…
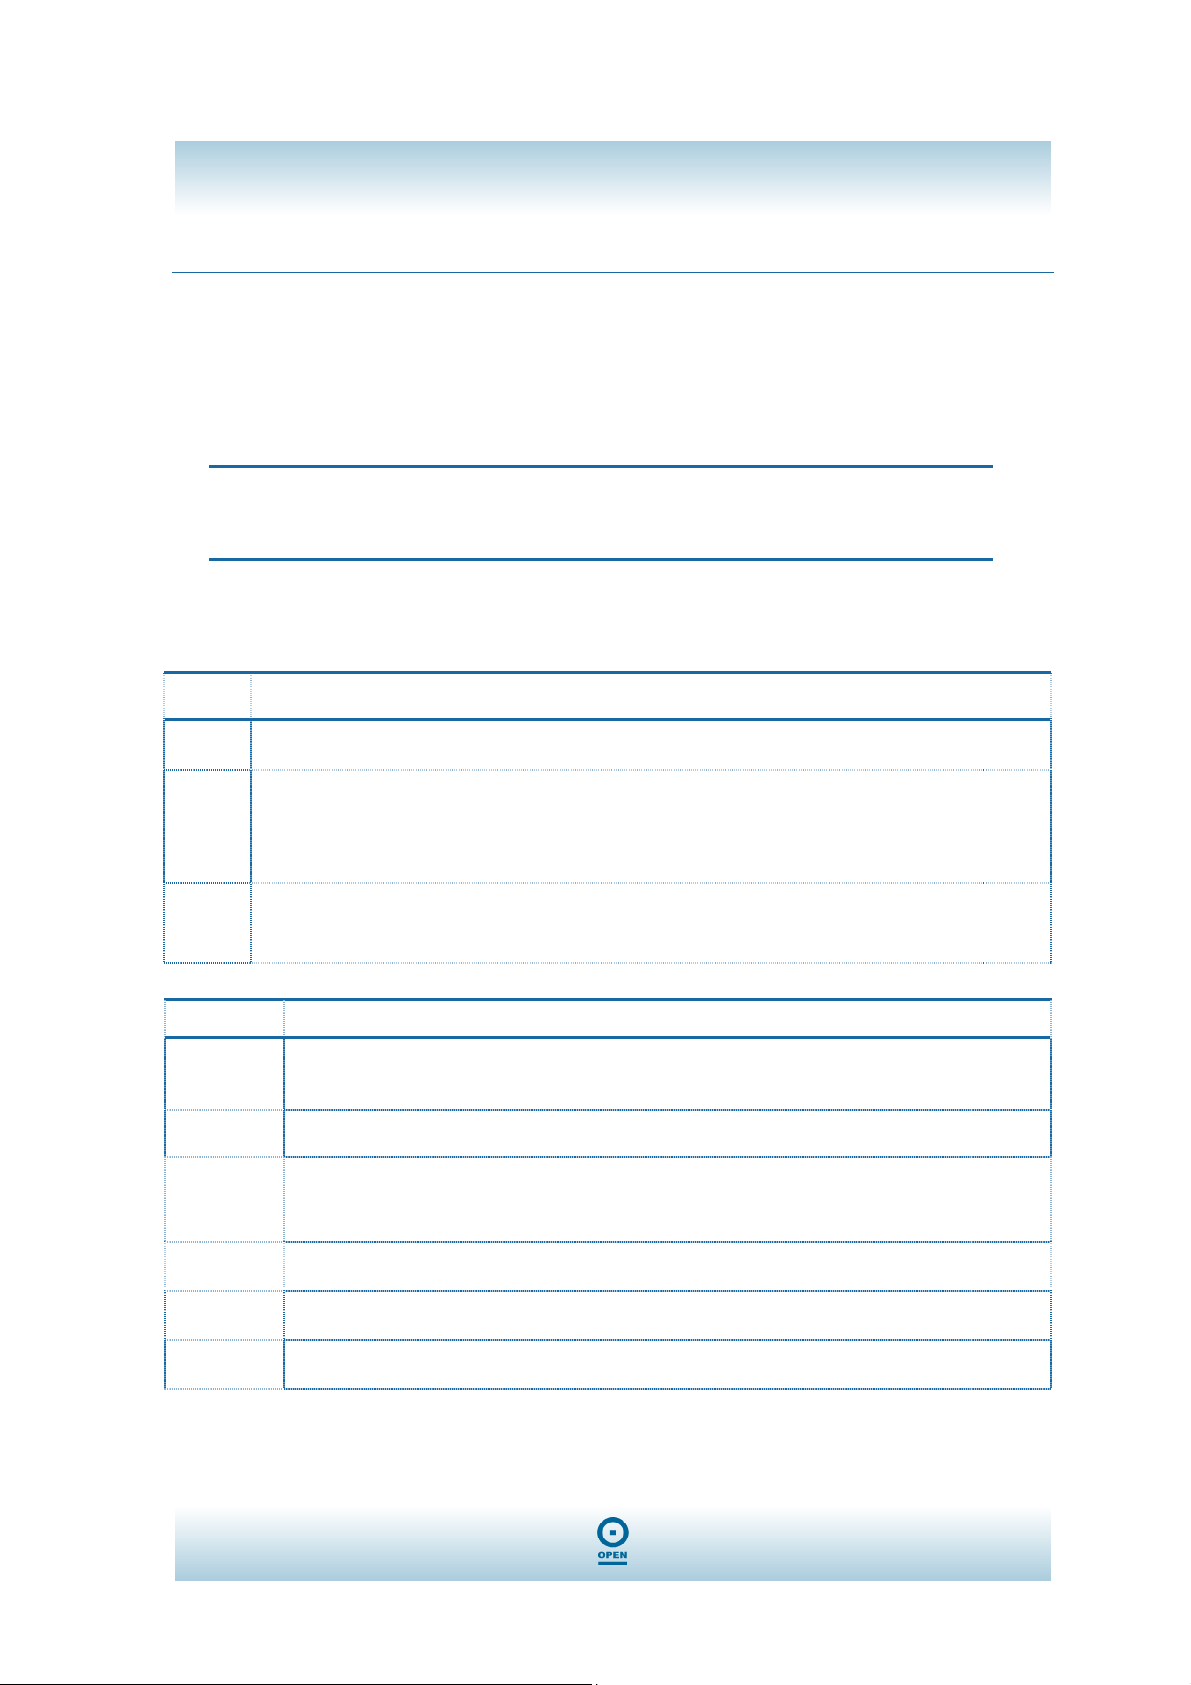
Field Definition
Tx Frame
The quantities for the ireless net ork card transmit.
(Frame: The unit of packet)
Rx Frame
The quantities for the ireless net ork card receive.
(Frame: The unit of packet)
Field Definition
Channel
The Channel ill change automatically according to AP’s setting.
Tx Rate
Click the do n arro ▼ to select the Tx Rate from Auto, 1, 2, 5.5, 11, 6, 9, 12, 18, 24, 36, 48, 54
Mbps, you can select up to 54 Mbps.
SSID The SSID is the unique name shared among all points in your ireless net ork. The name must be
identical for all devices and points attempting to connect to the same net ork.
Any
You may select to have SSID by choosing any, the SSID ill be obtained automatically from
hichever Access Point ith the optimal signal for this device. If any is left unchecked, it means you
ill have to enter the SSID manually.
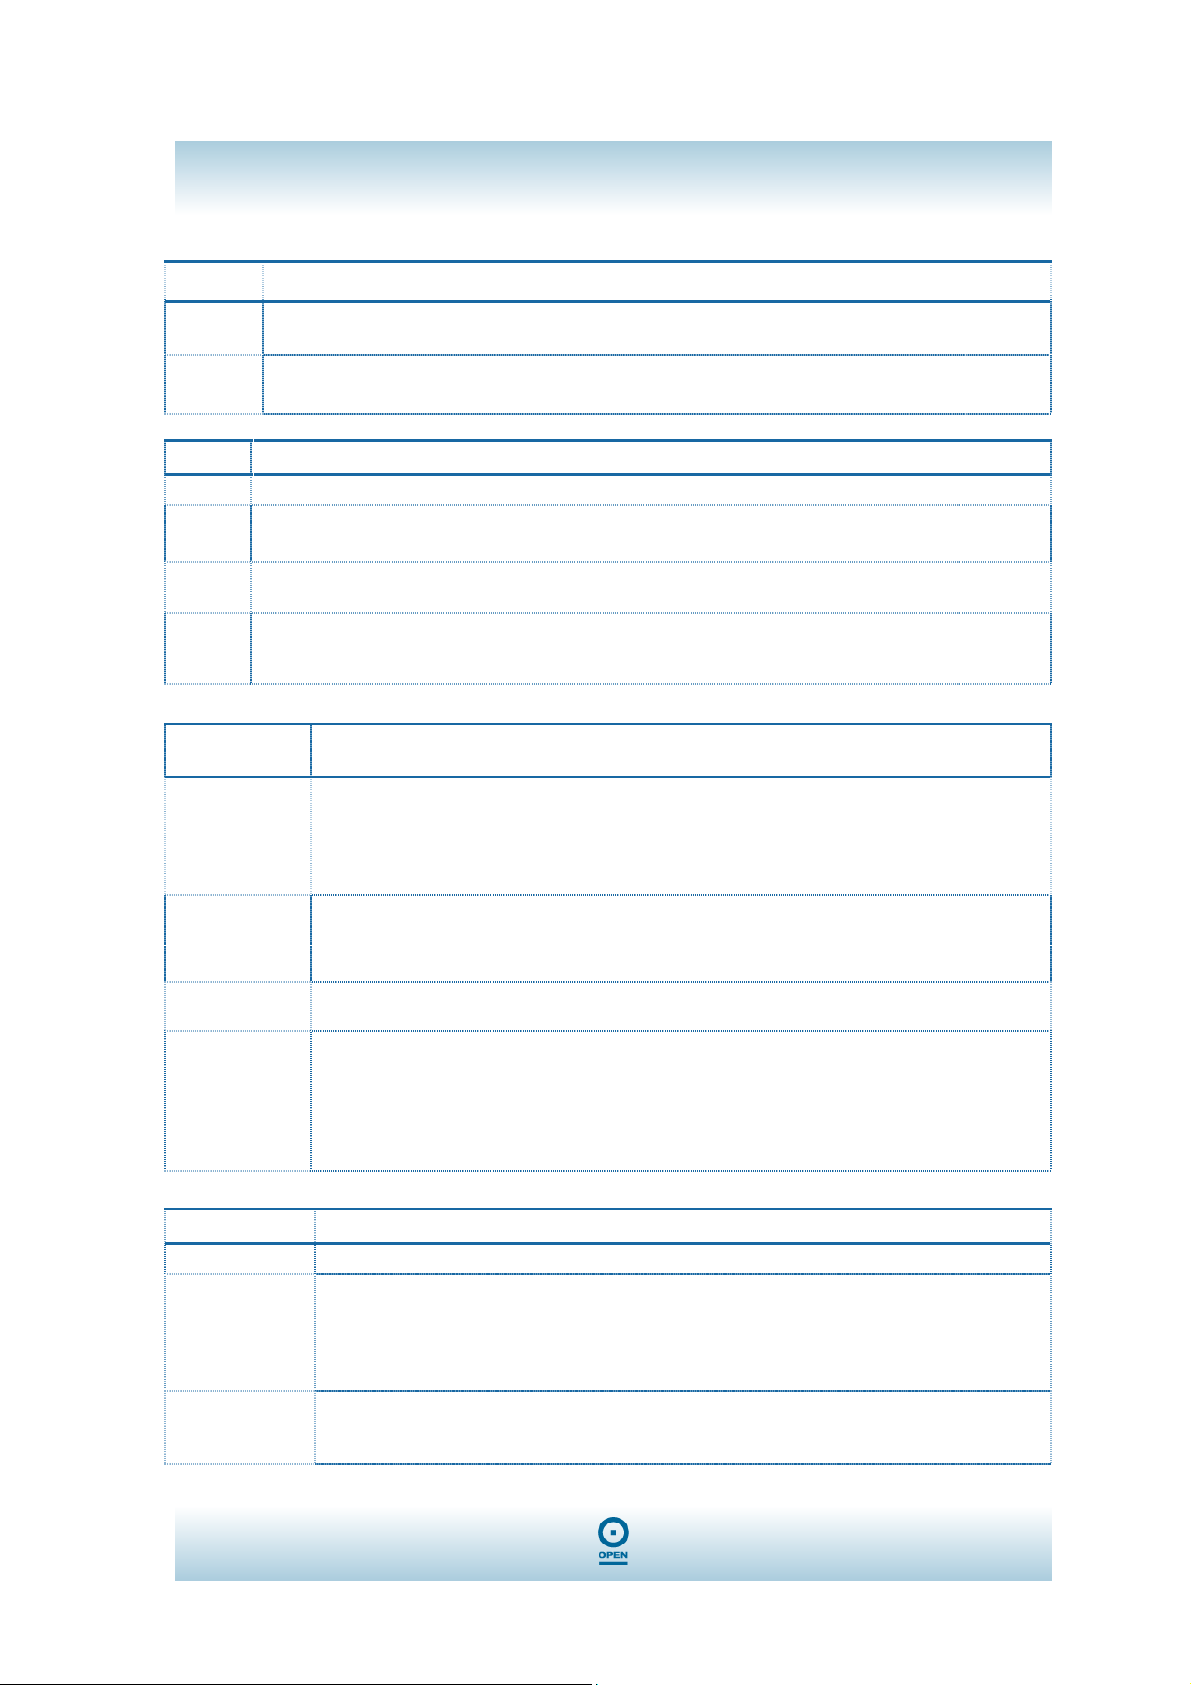
Field Definition
Net ork Type
The infrastructure is intended for the connection bet een ireless net ork cards and an
Access Point. With the ireless adaptor, you can connect ireless LAN to a ired global
net ork via an Access Point.
Equipped ith the ireless adaptor, you can share files and printers bet een each
COMPUTER and laptop.
Encryption
You can only set your Security preference hen Change is selected and then all fields are
active for change. To save settings, press Apply hen you are done ith the settings. Select
from the pull-do n menu, there are four options including Disable, WEP, TKIP and AES.
Authentication
Mode
You can select the Authentication Mode from the pull-do n men, including Auto, Open
System, Shared Key, WPA and WPA PSK.
Encryption
Setting
WEP Encryption Setting WPA Encryption Setting.
You can only set your Security preference hen Change is selected and then all fields are
active for change. To save settings, press Apply hen you are done ith the settings.
WEP Encryption Setting
Key length. You may select the key length bet een 64 (bit), 128 (bit) and 256 (bit).
Field Definition
Default Key ID You can set your default key ID at #1~#4.
Key Format
Select Hexadecimal if you are using hexadecimal numbers (0-9, or A-F).
Select ASCII if you are using ASCII characters (case-sensitive).
10 hexadecimal digits or ASCII characters are needed if 64-bit WEP is used; 26
hexadecimal digits or 13 ASCII characters are needed if 128-bitWEP is usedP 8
hexadecimal digits or 29 ASCII characters are needed if 2 6-bitWEP is used.
Key Value
#1~#4 This setting is the configuration key used in accessing the ireless net ork via WEP
encryption. You can specify up to 4 different keys to encrypt or decrypt ireless data.
The Key is provided via 802.1x authentication