Opitec 117.178 User manual
1
Round file
117.178
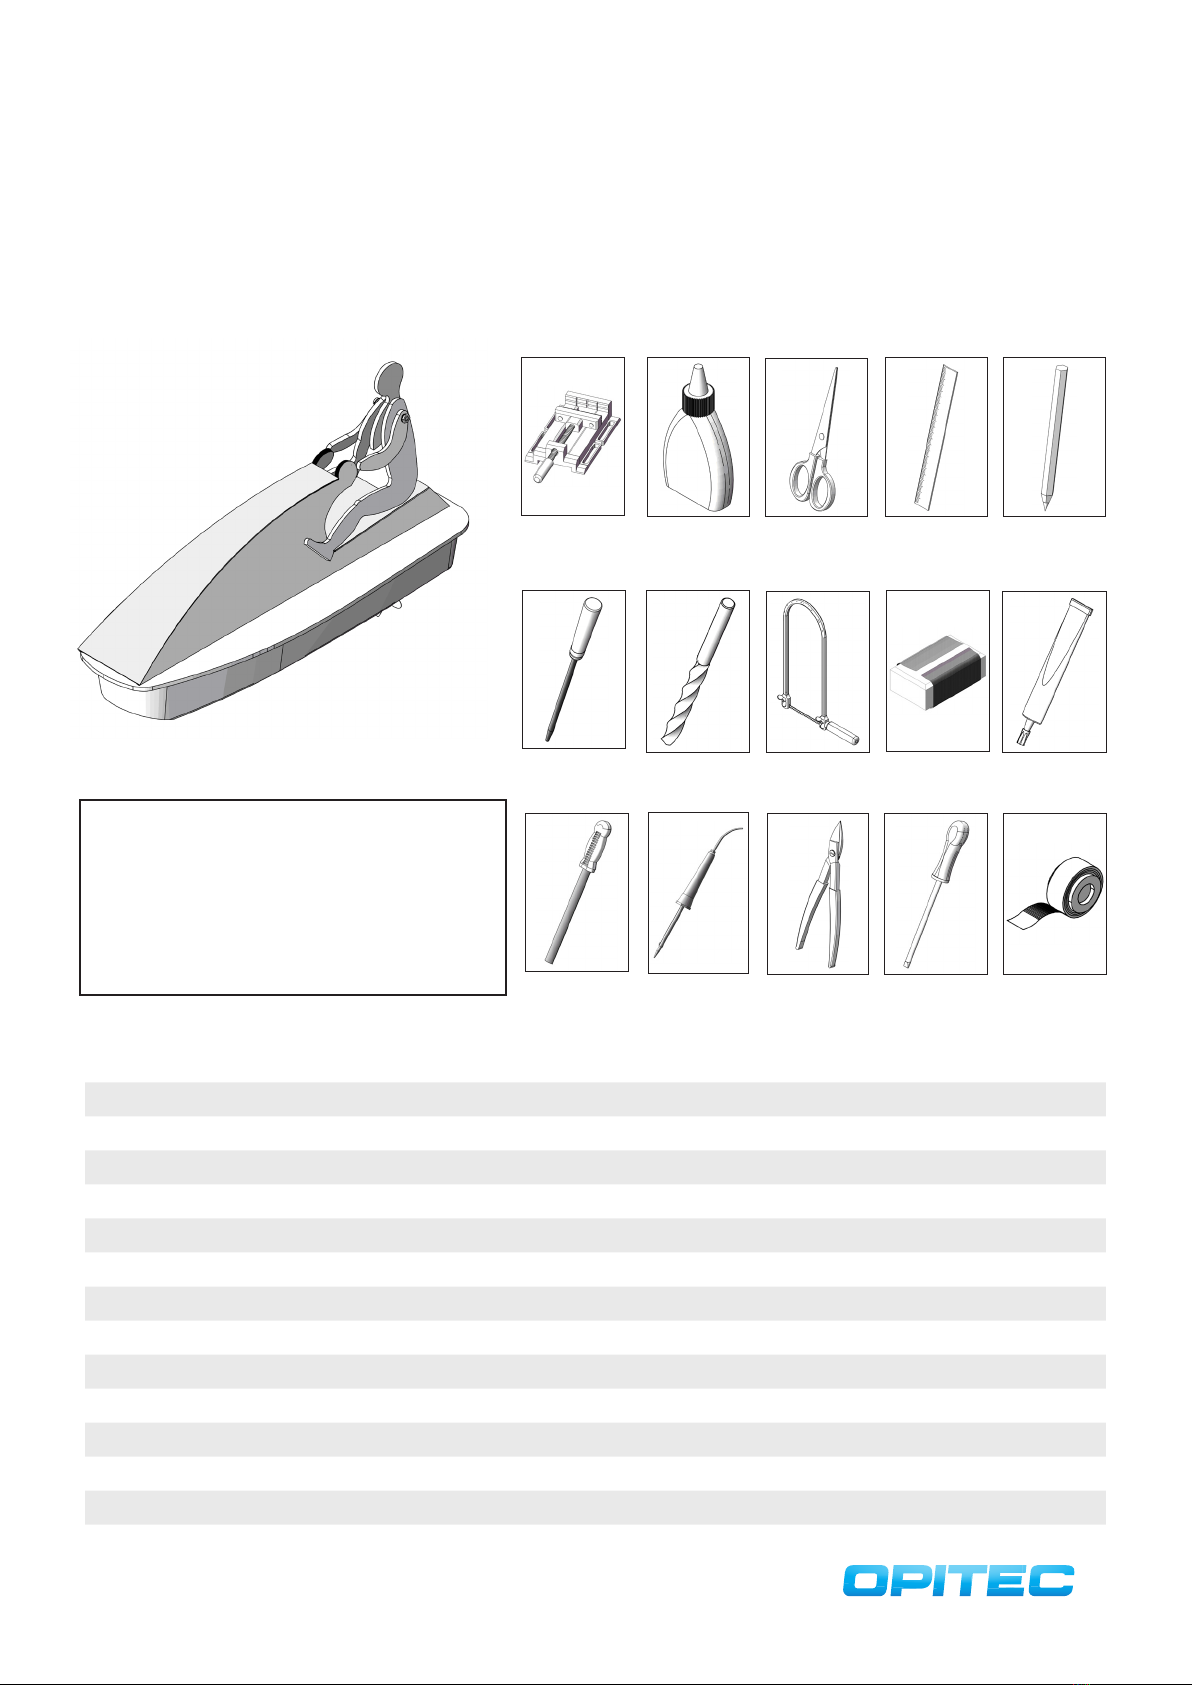
Jet-ski with motor boat engine
Content Quantity Dimensions( mm) Designation Part no.
Hull 1 280x100 Hull 1
Plywood 2 300x210x3 Base & individual parts 2
Wooden bar 2 250x5x5 Frame 3
Wooden bar 1 50x10x5 Engine bracket 4
Aluminium sheet 1 200x200x0,3 Aluminium parts 5
Brass pipe 1 ø3x100 Brass pipe 6
Round brass bar 1 ø2x245 Round brass bar 7
Propellor (clockwise-turning) 1 Propellor 8
Wire connectors 1 Fastening rudder 9
Washers 12 7/3,2 Fastening rudder 10
Silicon tube 11/3 Connection motor & shaft 11
Mounting bracket 1ø21 Engine fastening 12
Motor 1 Motor 13
Tools required:
Scissors
Wood glue
(water resis-
tant)
Please Note
The OPITEC range of projects is not intended as play toys for
young children. They are teaching aids for young people lear-
ning the skills of Craft, Design and Technology. These projects
should only be undertaken and operated with the guidance of a
fully qualified adult. The finished projects are not suitable to
give to children under 3 years old. Some parts can be swallowed.
Danger of suffocation!
Ruler Pencil
Jigsaw
Drills Sandpaper Super glue
Metal cutters Phillips
screwdriver
Adhesive tape
ø2
ø3
ø4
Engineer‘s file Soldering iron
Vice with ben-
ding support
2
1
34
2
4x
5x
5
10
5
10
ø4 ø3
A
B
c
DE
F
G
H
I
J
K
LM
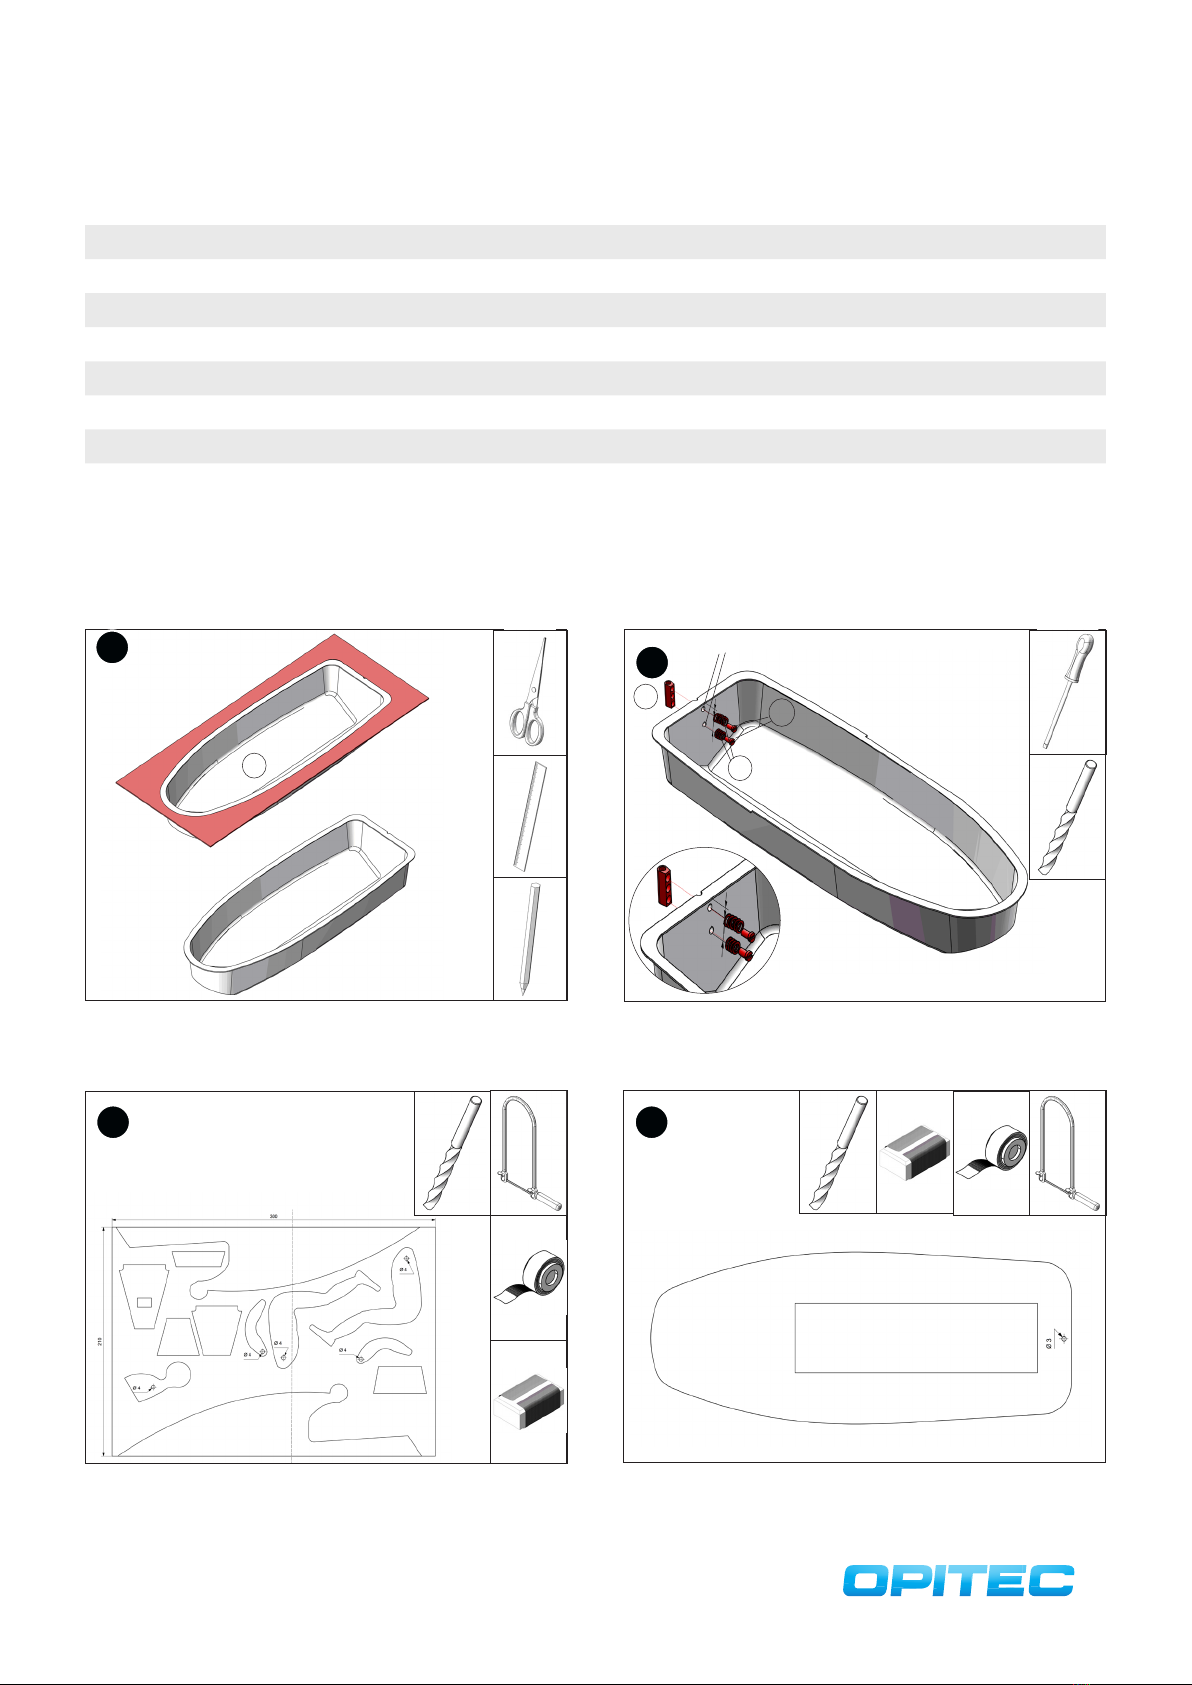
Draw a 5mm rim round the hull (1) and cut o any excess material.
Glue the template for the individual pieces (pages 9+11) together and
glue to the plywood (2). Drill the ø 4mm holes and saw out all pieces
as accurately as possible. Tidy up the sawn edges with sandpaper.
Glue the template (page 7) on to the second piece of plywood (2), drill
a ø 3mm hole and cut out. Tidy up the sawn edges with sandpaper.
Measure and centre 2 drill holes at the stern of the hull and drill two ø 3mm holes.
Attach the wire connectors (9) with 5 washers (10- upper screw), 4 washers (10-
lower screw) and 2 screws (19). Do not tighten just yet.
Instructions 117.178
Jet-ski with motor boat engine
Content Quantity Dimensions( mm) Designation Part no.
Wire, red 1 Cabling 14
Metal axle 1 ø3x70 Fastening rudder 15
Phillips metal screw 2 2,9x13 Fastening 16
Cylinder head bolt 1 25xM3 Fastening 17
Cap nut M3 1 Fastening person 18
Cylinder head bolt 2 3x6 Fastening 19
Battery holder 1 Battery holder 20
Rocker switch 1 15x10,5 Switch 21
Drill holes ø 3mm
1
9
10
19

3
56
5a
8
10
9
B
AC
E
I
H
7
F
G
D
J
K
L
18
10
10
17
5b
5c
5a
5b
6
7
Glue the template (page13+15) together, copy on to the aluminium
sheet and cut out the individual parts with metal cutters. Clean up the
edges with an engineer‘s file.
Glue the individual pieces A, B,C,E, H + I together as shown. Let the
glue dry properly.
Using super glue, stick the piece of aluminium (5a) to the top as
shown, one piece at a time. Then cut o the excess with the metal
cutters and file the edges flush.
Shorten the brass bar (7) to 115mm and deburr properly. Deburr the
brass pipe (6) as well. Insert the bar to test whether it works. Add the
propeller to one end.
Instructions 117.178
Jet-ski with motor boat engine
Bend the aluminium parts (5b) on one end approx.15mm by 90° and fit in.
Cut o the excess at the end and deburr the edge. Glue in with super glue to
create the seat as shown.
Glue parts E,F,G together as shown. Let the glue dry properly. Then
connect both arms (L+K) and the head to the body (J) using the screw
(17), the washers (10) and the cap nut (18)!

4
11
ø3
13
14
M
15
3
12
15
5c
positive pole
14 120mm
16
12
11
4
13
20
Instructions 117.178
Jet-ski with motor boat engine
Drill a hole (ø3 mm) in the bottom of the hull, 75mm away from the
edge of the stern. File it with the a round file until the brass pipe can
be glued into its future position without tension.
Pull the silicon tube (11) over the motor shaft. Screw the motor (13) with the mounting bracket (12) and the metal screws (16) to the wooden bar (4).
Strip the insulation from both sides of an approx. 120mm length of wire (14) and connect one end to the positive pole of the motor (marked red).
Connect the black cable from the battery holder to the negative pole of the engine. Fit the unit to the hull in such a way, that the motor axle can be
connected to the round brass bar through the silicon tube (11). Glue the motor in place with super glue. Align the pipe with the axle and glue in place
(see illustration point 11), using 2 component glue! Make sure that the propeller can rotate.
Centre the deck (M) and glue to the hull (1) with super glue. Measure and build a frame for the deck opening from the pine bars (3),
fit into the deck opening and glue in, so that the strips protrude over
the deck by 2mm.
Shorten the metal axle (15) to approx. 40mm. Wrap the rudder (5c)
around the axle as shown above and glue it on. Then insert into the
wire connectors (9) and tighten the screws. For measurements see
point 11!

5
16 17
Fit the switch (22) into the designated opening in the construction as
shown. Connect the red cable from the battery holder to the central
switch connector. Connect the red cable from the motor (13) to the
outer switch connector.
Instructions 117.178
Jet-ski with motor boat engine
Then insert the batteries and place the top of the jet-ski on to the
frame in the deck.
18
Place the figure you constructed in point 7 on the jet-ski and it‘s all
done!

6

7
Instructions 117.178
Jet-ski with motor boat engine
Template Scale 1:1

8

9
Instructions 117.178
Jet-ski with motor boat engine
Template individual pieces Scale 1:1
Dividing line

10
Popular Boat manuals by other brands


PURSUIT
PURSUIT OS 335 owner's manual

Boston Whaler
Boston Whaler CONQUEST 345 owner's manual

Jeanneau
Jeanneau SUN ODYSSEY 41 DS owner's manual

Meridian
Meridian 490 Pilothouse owner's manual

Advanced Elements
Advanced Elements AdvancedFrame Expedition AE1009 owner's manual

Robo Marine Indonesia
Robo Marine Indonesia GEOMAR user manual


