Optimus SYSTEM 740 User manual

Cat. No. 13-1287
OWNER’S MANUAL
Please read before using this equipment.
SYSTEM 740
Mini Stereo Component System
13-1287.fm Page 1 Wednesday, July 14, 1999 5:56 PM

2
FEATURES
Your Optimus System 740 Mini Stereo
Component System offers, in one
compact package, all of the versatile
features that you need for excellent
stereo sound and entertainment.
The System 740 includes an AM/FM
stereo tuner, a dual cassette recorder
with auto-stop, speakers, and a 3-
band frequency equalizer.
Its features include:
Auto-Stop — to protect the tape and
tape-handling parts, automatically
stops the cassette tape when it finish-
es.
Multiple Source Recordin
g
— lets
you record from the radio, another
cassette tape, or an external audio
source.
Automatic Level Control (ALC) —
automatically adjusts the recording
level.
Consecutive Tape Pla
y
— plays one
side each of two tapes, back to back.
Normal or Hi
g
h-Speed Dubbin
g
—
lets you copy tapes at normal or twice
the normal speed.
3-Band Frequenc
y
Equalizer — lets
you adjust the sound to your prefer-
ence and your room’s unique acous-
tics.
E-Bass Control — boosts low tones
for an emphasized bass sound.
Auxiliar
y
Input Jacks — let you hear
an external audio source through your
system.
Supplied Speakers — let you imme-
diately begin listening to your system.
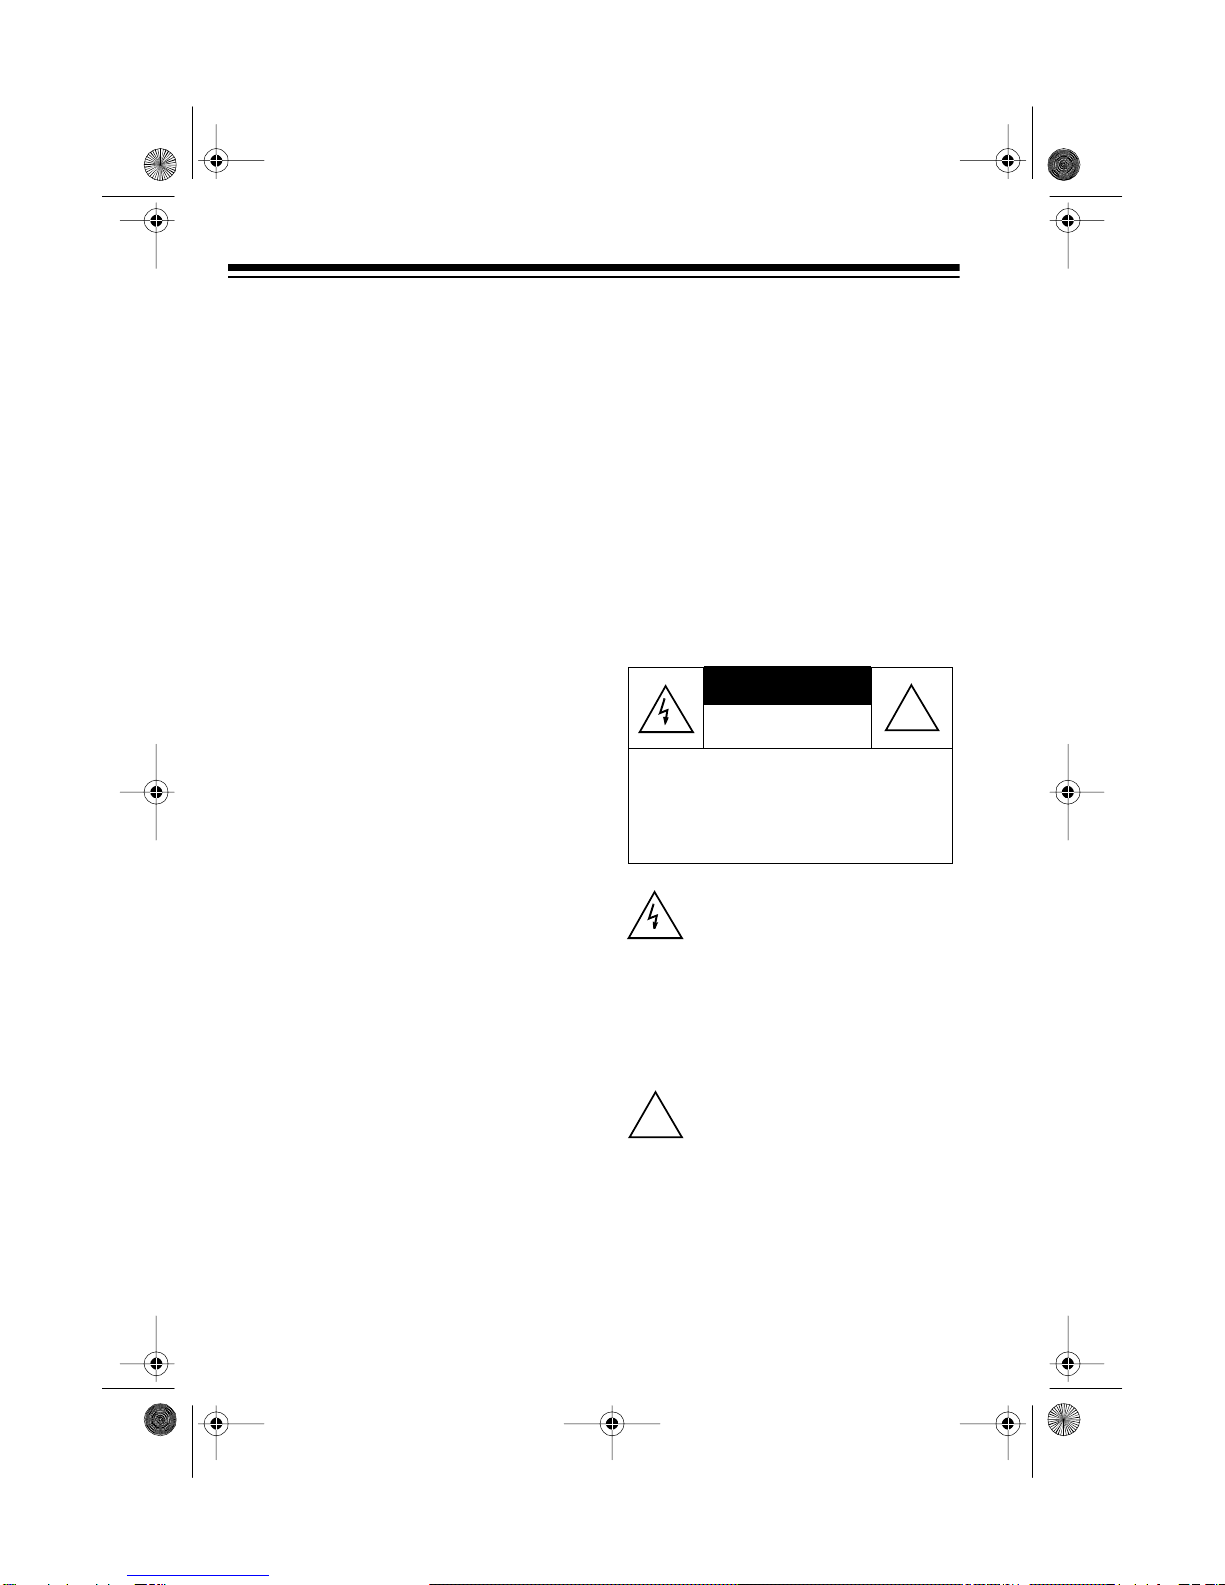
Warnin
g
: To prevent fire or shock
hazard, do not expose this product to
rain or moisture.
This symbol is intended to alert
you to the presence of uninsu-
lated dan
g
erous volta
g
e within
the product’s enclosure that
mi
g
ht be of sufficient ma
g
nitude
to constitute a risk of electric
shock. Do not open the prod-
uct’s case.
This symbol is intended to in-
form you that important operat-
in
g
and maintenance instruc-
tions are included in the litera-
ture accompanyin
g
this product.
RISK OF ELECTRIC SHOCK.
DO NOT OPEN.
CAUTION: TO REDUCE THE RISK OF
ELECTRIC SHOCK, DO NOT REMOVE
COVER OR BACK. NO USER-SERVICE-
ABLE PARTS INSIDE. REFER SERVIC-
ING TO QUALIFIED PERSONNEL.
CAUTION
!
!
© 1996 Tandy Corporation.
All Rights Reserved.
Optimus is a registered trademark used by Tandy Corporation.
RadioShack is a trademark used by Tandy Corporation.
13-1287.fm Page 2 Wednesday, July 14, 1999 5:56 PM

3
CONTENTS
Connections ......................................................................................................... 4
Connecting the Speakers ................................................................................ 4
Connecting an Auxiliary Audio Source ............................................................ 4
Connecting an External Antenna .................................................................... 4
Connecting Power ........................................................................................... 5
Using Headphones ......................................................................................... 5
Listening Safely ........................................................................................ 5
Basic Operation ................................................................................................... 6
Turning On/Off the System ............................................................................. 6
Adjusting the Balance ..................................................................................... 6
Using the Frequency Equalizer ....................................................................... 6
Using E-Bass .................................................................................................. 7
Using the Mute Button .................................................................................... 7
Radio Operation ................................................................................................... 8
Cassette Pla
y
er Operation .................................................................................. 9
Loading a Cassette Tape ................................................................................ 9
Playing a Cassette Tape ................................................................................. 9
Normal Play .............................................................................................. 9
Fast Forward/Rewind ............................................................................. 10
Consecutive Play .................................................................................... 10
Recording on a Cassette Tape ...................................................................... 11
Recording from the Radio ....................................................................... 11
Dubbing a Cassette Tape ....................................................................... 12
Tape Care Tips .............................................................................................. 13
Preventing Accidental Erasure ............................................................... 13
Erasing a Cassette Tape ........................................................................ 13
Restoring Tape Tension and Sound Quality ........................................... 13
Usin
g
an Auxiliar
y
Audio Source ..................................................................... 14
Listening to an Auxiliary Audio Source ......................................................... 14
Recording from an Auxiliary Audio Source ................................................... 14
Care and Maintenance ...................................................................................... 15
The FCC Wants You to Know ....................................................................... 16
Cleaning the Tape-Handling Parts ................................................................ 16
Specifications .................................................................................................... 17
13-1287.fm Page 3 Wednesday, July 14, 1999 5:56 PM

4
CONNECTIONS
Caution: Complete all other connec-
tions to the System 740 before you
connect it to power.
CONNECTING THE
SPEAKERS
1. Insert the right speaker wire’s plug
into the 4 OHM SPK R (right)
speaker jack on the back of the
System 740.
2. Insert the left speaker wire’s plug
into the 4 OHM SPK L (left)
speaker jack on the back of the
System 740.
CONNECTING AN
AUXILIARY AUDIO
SOURCE
To connect an auxiliary audio source,
such as a TV, CD player, or cassette
deck, plug the audio source’s left and
right LINE OUT audio wires into the
AUX L (left) and AUX R (right) input
jacks on the back of the System 740.
See “Using an Auxiliary Audio Source”
on Page 14 for how to operate an ex-
ternal audio source with the System
740.
CONNECTING AN
EXTERNAL ANTENNA
Your System 740 has two antennas.
The AM antenna is built-in, and the
FM antenna is in the power cord. For
improved reception, you can attach an
FM or TV antenna (not supplied) to
the 75-ohm or 300-ohm terminals on
the back of the system. Before you in-
stall an external antenna, be sure to
disconnect the built-in FM antenna by
loosening the upper right antenna ter-
minal and sliding out the U-shaped
connector. Then follow the instruc-
tions supplied with the antenna.
Illus
Illus
Illus
13-1287.fm Page 4 Wednesday, July 14, 1999 5:56 PM

5
If you have an outside VHF TV anten-
na, you can use a signal splitter to
connect this system and a TV to the
same antenna. Your local RadioShack
store has a wide selection of antennas
and connectors.
CONNECTING POWER
To connect power, after making all
other connections, plug your system’s
power cord into a standard AC outlet.
Caution: Your system’s power cord
has a polarized plug (one blade is wid-
er than the other). If you have difficulty
inserting the plug into the outlet, do
not force it. Turn the plug over and try
again.
USING HEADPHONES
To listen without disturbing others, you
can connect a pair of 1/8-inch plug ste-
reo headphones (not supplied) to the
System 740. Your local RadioShack
store has a wide selection of stereo
headphones.
To connect headphones, plug the
headphones’ 1/8-inch plug into the
PHONES jack on the front of the Sys-
tem 740.
Note: Connecting headphones auto-
matically disconnects the System
740’s speakers.
Listening Safely
To protect your hearing, follow these
guidelines when you use headphones.
• Set the volume to the lowest set-
ting before you begin listening.
After you begin listening, adjust
the volume to a comfortable listen-
ing level.
• Do not listen at extremely high
volume levels. Extended high-
volume listening can lead to per-
manent hearing loss.
• Once you set the volume, do not
increase it. Over time your ears
adapt to the volume level, so a
volume level that does not cause
discomfort might still damage your
hearing.
Illus
Illus
13-1287.fm Page 5 Wednesday, July 14, 1999 5:56 PM

6
BASIC OPERATION
TURNING ON/OFF THE
SYSTEM
Press POWER to turn on the system.
The POWER indicator lights.
To turn off the system, press POWER
again. The POWER indicator turns off.
ADJUSTING THE
BALANCE
To adjust the sound balance between
the left and right speakers, turn BAL-
ANCE toward L(left) or R(right).
USING THE FREQUENCY
EQUALIZER
You can use FREQUENCY EQUALIZER
to customize the sound you hear
through the speakers.
Each of the three controls lets you ad-
just the level in a specific frequency
range. Slide the control up to boost, or
down to reduce the level. If you set the
control to the center position (0), the
frequency is unaltered.
LOW (100 Hz) — Adjusts the frequen-
cies in the low bass range (low organ
notes and bass drums). Reduces rum-
ble or other low-frequency noise.
MID (1 kHz) — Adjusts the range of
frequencies where the ear is most
sensitive (vocals).
HIGH (6 kHz) — Adjusts high-
frequency sounds (cymbals, flutes,
and violins).
Illus
Illus
Illus
13-1287.fm Page 6 Wednesday, July 14, 1999 5:56 PM

7
USING E-BASS
Press E-BASS once for enhanced
bass effects. The E-BASS indicator
lights.
Press E-BASS again for normal bass
sound. The E-BASS indicator turns
off.
USING THE MUTE
BUTTON
The MUTE button lets you temporarily
turn off the sound.
Press MUTE to turn off the sound. The
MUTE indicator lights. Press MUTE
again to restore the sound. The MUTE
indicator turns off.
Illus
Illus
13-1287.fm Page 7 Wednesday, July 14, 1999 5:56 PM

8
RADIO OPERATION
1. Press TUNER. The TUNER indica-
tor lights.
2. Set BAND to AM or FM.
3. Adjust TUNING to the desired sta-
tion.
Notes:
• Your System 740 has a built-in
AM antenna, and the AC power
cord serves as an FM antenna.
For the best AM reception,
move the system. For the best
FM reception, fully uncoil the
power cord or connect an exter-
nal FM antenna (see “Connect-
ing an External Antenna” on
Page 4).
• If FM reception is strong, set
MODE to STEREO to enhance
the stereo signal. The FM STE-
Illus
Illus
REO indicator lights when you
receive an FM broadcast in ste-
reo.
• If FM stereo reception is weak,
set MODE to MONO. The FM
STEREO indicator turns off and
the sound is mono, but the
reception should improve.
4. Adjust VOLUME, BALANCE, E-
BASS, and FREQUENCY EQUAL-
IZER for the desired sound.
Illus
13-1287.fm Page 8 Wednesday, July 14, 1999 5:56 PM

9
CASSETTE PLAYER OPERATION
You can play a cassette tape in either
cassette deck, and record tapes in
TAPE 1.
LOADING A CASSETTE
TAPE
Note: Take up any slack in the tape
by turning the cassette’s hub with a
pencil. If you do not remove excess
slack, the tape might become tangled
in the record/playback mechanism.
Avoid touching the tape.
1. Press STOP/EJECT to open the
cassette compartment door.
2. Insert the cassette tape into the
tape guides on the compartment
door, with the side you want to
Illus
Illus
play facing you, the exposed tape
edge facing down, and the full reel
to the left.
3. Close the door.
PLAYING A CASSETTE
TAPE
Normal Play
1. Press TAPE. The TAPE indicator
lights.
2. Load a cassette tape.
Illus
Illus
13-1287.fm Page 9 Wednesday, July 14, 1999 5:56 PM

10
3. Press PLAY. The tape player plays
the cassette tape until it reaches
the end, then it automatically
stops.
Note: Press PAUSE to tempo-
rarily stop the cassette player. To
resume play, press PAUSE again.
4. Adjust VOLUME, E-BASS, BAL-
ANCE, and FREQUENCY EQUAL-
IZER for the desired sound.
5. To manually stop play, press
STOP/EJECT. Press STOP/EJECT
again to open the cassette com-
partment and remove the tape.
Fast Forward/Rewind
Press FAST-F or REWIND to fast-for-
ward or rewind the cassette. To stop
fast-forward or rewind before the end
of the tape, press STOP/EJECT.
Illus
Illus
Consecutive Play
The System 740 can play the first side
of a cassette loaded in TAPE 2, then
the first side of a cassette loaded in
TAPE 1.
1. Load the cassette you want to
play first into TAPE 2 and the one
you want to play second into
TAPE 1.
2. Press PLAY on TAPE 2.
3. Press PAUSE and PLAY on TAPE
1.
The cassette in TAPE 2 plays until it
reaches the end of the side. Then
TAPE 2 stops, and TAPE 1 plays until
it reaches the end of the side.
To manually stop consecutive play be-
fore the tape player automatically
stops, press STOP/EJECT on both
decks.
Illus
13-1287.fm Page 10 Wednesday, July 14, 1999 5:56 PM

11
RECORDING ON A
CASSETTE TAPE
The System 740 can record from the
radio or dub (copy) another tape. It
can also record from an auxiliary au-
dio source (see “Recording from an
Auxiliary Audio Source” on Page 14).
Notes:
•The
VOLUME, E-BASS, BAL-
ANCE, and FREQUENCY EQUAL-
IZER settings do not affect your
recording. The system automati-
cally adjusts those levels.
• Before recording, be sure the
erase-protection tabs are in place
on the cassette tape you are
recording onto (see “Preventing
Accidental Erasure” on Page 13).
• Tape quality greatly affects the
quality of the recording. We rec-
ommend regular length (60- or 90-
minute) cassette tapes. We do not
recommend long-play cassette
tapes such as C-120s because
they are thin and can easily tan-
gle. For low-noise, wide-range
recordings, use normal-bias tape.
Recording from the Radio
1. Load a blank tape (or one you
want to record over) into TAPE 1.
2. Press TUNER.
3. Set BAND to FM or AM.
4. Adjust TUNING to the station you
want to record.
Note: Sometimes AM broadcasts
produce a hum or whistling sound
that you hear while listening to a
recording of them. To reduce or
eliminate this sound, set BEAT
CUT on the back of the system to
the position that gives you the
best quality recording.
5. Press PAUSE then RECORD.
When the selection you want
plays on the radio, release PAUSE
to start recording.
6. To stop recording, press STOP/
EJECT.
Illus
13-1287.fm Page 11 Wednesday, July 14, 1999 5:56 PM

12
Dubbing a Cassette Tape
You can dub at the tape’s normal play-
ing speed or at twice the normal
speed.
1. Load the cassette you want to
copy into TAPE 2 with the side
you want to record facing you.
2. Load a blank cassette (or one you
want to record over) into TAPE 1
with the side you want to record
on facing you.
3. Press TAPE.
4. Set DUBBING to HIGH to dub at
twice the normal speed, or to
NORMAL to dub at normal speed.
Note: Normal speed dubbing pro-
duces the best quality recording.
5. Press PAUSE then RECORD on
TAPE 1. RECORD and PLAY lock
down.
6. Press PLAY on TAPE 2. TAPE 1
automatically releases PAUSE,
and dubbing begins from TAPE 2
to TAPE 1.
Notes:
• To skip an unwanted section
during normal-speed dubbing,
press
PAUSE on TAPE 1 while
the unwanted section plays. To
resume dubbing, press PAUSE
again.
• To temporarily stop recording,
press PAUSE on both tape
decks. Press PAUSE again to
resume recording.
• To monitor the tape while it is
dubbing, adjust VOLUME to a
comfortable listening level. If
you monitor the tape while high-
speed dubbing, you hear a dis-
torted sound.
7. Dubbing stops automatically when
the cassette in TAPE 1 reaches its
end. If the cassette in TAPE 2
continues to play, press STOP/
EJECT.
To stop dubbing before TAPE 1
stops automatically, press STOP/
EJECT on both TAPE 1 and TAPE
2.
Illus
13-1287.fm Page 12 Wednesday, July 14, 1999 5:56 PM

13
TAPE CARE TIPS
Preventing Accidental
Erasure
Cassette tapes have two erase-pro-
tection tabs — one for each side. To
protect a recording from being acci-
dentally recorded over or erased, use
a screwdriver to remove one or both of
the cassette tape’s erase-protection
tabs.
If you want to record on a tape side af-
ter you have removed the erase-pro-
tection tab, place a piece of strong
plastic tape over that side’s erase-pro-
tection hole.
Notes:
• Be sure you cover only the hole
originally covered by the erase-
protection tab.
Illus
Illus
• Removing the erase-protection
tabs does not prevent a bulk
eraser from erasing a cassette
tape.
Erasing a Cassette Tape
If you no longer want a recording, you
can record over it or erase it.
To erase a previously recorded sec-
tion of a tape, simply record over it.
To erase the entire cassette tape,
record silence by pressing TAPE and
recording with no tape in TAPE 2.
To quickly erase a tape, use a bulk
tape eraser (such as Cat. No. 44-232,
not supplied).
Restoring Tape Tension and
Sound Quality
After you play a cassette tape several
times, the tape might become tightly
wound on the reels. This can cause
playback sound quality to deteriorate.
To restore the sound quality, fast-for-
ward the tape from the beginning to
the end of one side, then completely
rewind it. Then loosen the tape reels
by gently tapping each side of the cas-
sette’s outer shell on a flat surface.
Caution: Be careful not to damage
the cassette when tapping it. Do not
touch the exposed tape or allow any
sharp objects near the cassette.
13-1287.fm Page 13 Wednesday, July 14, 1999 5:56 PM

14
USING AN AUXILIARY AUDIO SOURCE
If you connected an auxiliary audio
source, such as a TV, VCR, a CD
player, or an external cassette deck,
you can use your System 740 to listen
to or record from that source. (See
“Connecting an Auxiliary Audio
Source” on Page 4.)
LISTENING TO AN
AUXILIARY AUDIO
SOURCE
1. Turn VOLUME to MIN, and be sure
that the audio source’s volume
control (if it has one) is also set to
its lowest level.
2. Press AUX. The AUX indicator
lights.
3. Operate the audio source accord-
ing to its owner’s manual.
4. Adjust the System 740’s VOLUME,
E-BASS, BALANCE, and FRE-
QUENCY EQUALIZER for the
desired sound.
RECORDING FROM AN
AUXILIARY AUDIO
SOURCE
1. Turn VOLUME to MIN, and be sure
that the audio source’s volume
control (if it has one) is also set to
its lowest level.
2. Press AUX. The AUX indicator
lights.
3. Insert a cassette tape into TAPE
1.
4. Begin play on the audio source as
instructed in its owner’s manual.
5. Press RECORD to begin record-
ing.
Note: To pause the tape during
recording, press PAUSE. To
resume recording, press PAUSE
again.
6. To stop the tape at any time dur-
ing recording, press STOP/EJECT.
7. Stop play on the audio source as
instructed in its owner’s manual.
Illus
13-1287.fm Page 14 Wednesday, July 14, 1999 5:56 PM

15
CARE AND MAINTENANCE
Your Optimus System 740 Mini Stereo Component System is an example of supe-
rior design and craftsmanship. The following suggestions will help you care for the
system so you can enjoy it for years.
Keep the system dry. If it gets wet, wipe it dry immediately. Liquids
might contain minerals that can corrode the electronic circuits.
Use and store the system only in normal temperature environments.
Temperature extremes can shorten the life of electronic devices and
distort or melt plastic parts.
Handle the system gently and carefully. Dropping it can damage the
circuit boards and can cause the system to work improperly.
Keep the system away from dust and dirt, which can cause prema-
ture wear of parts.
Wipe the system with a damp cloth occasionally to keep it looking
new. Do not use harsh chemicals, cleaning solvents, or strong deter-
gents to clean the system.
Modifying or tampering with the system’s internal components can cause a mal-
function and might invalidate its warranty and void your FCC authorization to oper-
ate it. If your system is not performing as it should, take it to your local RadioShack
store for assistance.
CLEANER
13-1287.fm Page 15 Wednesday, July 14, 1999 5:56 PM

16
THE FCC WANTS YOU
TO KNOW
Your system might cause TV or radio
interference even when it is operating
properly. To determine whether your
system is causing the interference,
turn off your system. If the interfer-
ence goes away, your system is caus-
ing the interference. Try to eliminate
the interference by:
• Moving your system away from
the receiver
• Connecting your system to an out-
let that is on a different electrical
circuit from the receiver
• Contacting your local RadioShack
store for help
If you cannot eliminate the interfer-
ence, the FCC requires that you stop
using your system.
CLEANING THE TAPE-
HANDLING PARTS
Dirt, dust or particles of the tape’s
coating can accumulate on the tape
heads and other parts that the tape
touches. This can greatly reduce the
performance of the System 740. Use
the following cleaning procedure after
every 20 hours of tape player opera-
tion.
1. Disconnect power.
2. Open the cassette compartment
doors on TAPE 1 and TAPE 2.
3. Press PLAY on TAPE 1 and TAPE
2 to expose the tape-handling
parts.
4. Use a cotton swab dipped in
denatured alcohol or tape head
cleaning solution to clean the
record/play heads, pinch rollers,
capstans, tape guides, and erase
head.
5. When you finish cleaning, press
STOP/EJECT on TAPE 1 and
TAPE 2, close the cassette com-
partment doors, and reconnect
power.
Your local RadioShack store sells a
complete line of cassette deck clean-
ing supplies.
Tape 1
Tape 2
13-1287.fm Page 16 Wednesday, July 14, 1999 5:56 PM

17
SPECIFICATIONS
RADIO FM AM
Frequency Range 88–108 MHz 530–1710 kHz
IF Rejection 60 dB 60 dB
Image Rejection 20 dB 30 dB
Selectivity 25 dB 20 dB
Signal-to-Noise (S/N) Ratio 60 dB 30 dB
Stereo Separation 22 dB
Usable Sensitivity 6 µV 1300 µV/m
CASSETTE PLAYER
Cassette Mechanism ............................................................................... Auto-Stop
Tape Speed .................................................................................................. 17/8ips
Wow and Flutter ............................................................................................ 0.35%
Signal-to-Noise Ratio ...................................................................................... 40 dB
Separation ...................................................................................................... 40 dB
Frequency Response (±3 dB) ............................................................. 100–8000 Hz
GENERAL
Power Requirements ...................................................................... 120V AC 60 Hz
Speaker Size ................................................................................... 5-Inch Speaker
Speaker Output Impedance ......................................................................... 4 Ohms
Headphones (Stereo) Impedance ....................................................... 16–32 Ohms
Power Output ....................................................................... 1.5 Watts per Channel
Dimensions (HWD)
Main Unit .................................... 95/8¥ 105/8¥ 91/4Inches (244 ¥ 270 ¥ 235 mm)
Speaker ....................................... 95/8¥ 71/16 ¥ 91/4Inches (244 ¥ 180 ¥ 235 mm)
Weight .................................................................................................13 lb (5.9 kg)
Specifications are typical; individual units might vary. Specifications are subject to
change and improvement without notice.
13-1287.fm Page 17 Wednesday, July 14, 1999 5:56 PM

18
NOTES
13-1287.fm Page 18 Wednesday, July 14, 1999 5:56 PM

19
13-1287.fm Page 19 Wednesday, July 14, 1999 5:56 PM

RadioShack
A Division of Tandy Corporation
Fort Worth, Texas 76102
9A6 Printed in Hong Kong
RadioShack Limited Warranty
This product is warranted against defects for 90 days from date of purchase from
RadioShack company-owned stores and authorized RadioShack franchisees and deal-
ers. Within this period, we will repair it without charge for parts and labor. Simply bring
your RadioShack sales slip as proof of purchase date to any RadioShack store. War-
ranty does not cover transportation costs. Nor does it cover a product subjected to mis-
use or accidental damage.
EXCEPT AS PROVIDED HEREIN, RadioShack MAKES NO EXPRESS WARRANTIES
AND ANY IMPLIED WARRANTIES ARE LIMITED IN DURATION TO THE DURATION
OF THE WRITTEN LIMITED WARRANTIES CONTAINED HEREIN. Some states do
not permit limitation or exclusion of implied warranties; therefore, the aforesaid limita-
tion(s) or exclusion(s) may not apply to the purchaser.
This warranty gives you specific legal rights and you may also have other rights which vary from
state to state.
We Service What We Sell
10/95
13-1287.fm Page 20 Wednesday, July 14, 1999 5:56 PM
This manual suits for next models
1
Table of contents
Other Optimus Stereo System manuals

Optimus
Optimus EP-40SIP User manual

Optimus
Optimus SYSTEM 728 User manual

Optimus
Optimus SYSTEM 747 User manual

Optimus
Optimus SYSTEM 746 User manual

Optimus
Optimus SYSTEM 739 User manual

Optimus
Optimus SYSTEM 730 User manual

Optimus
Optimus CD-3330 User manual

Optimus
Optimus SYSTEM 734 User manual

Optimus
Optimus System 744 User manual

Optimus
Optimus System 745 User manual