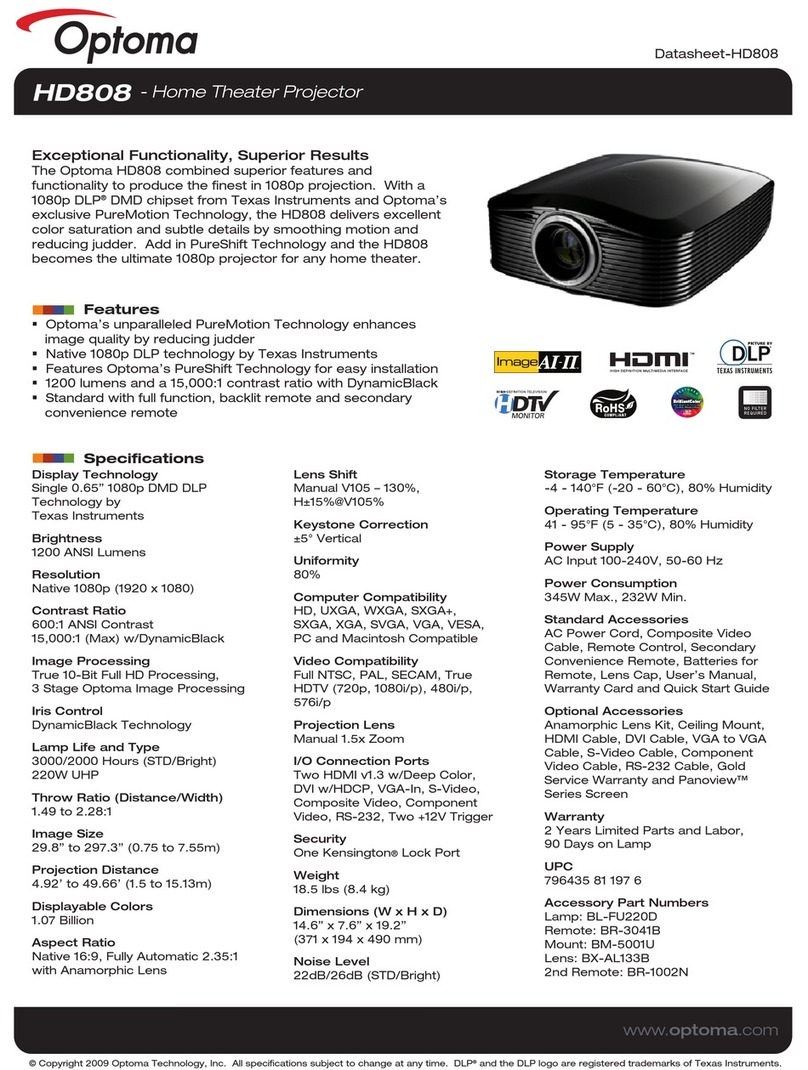
Optoma HD72 Instruction manual

Prepared by SI :
________________________________________
Prepared by TSE :
________________________________________
Checked by :
________________________________________
Approved by :
________________________________________
Model Name : HD72
Date Version Description
2006/02/27 V2.0 Initial Issue
Copyright February, 2006 . All Rights Reserved
P/N#36.83F01.001 . Document#83F-G04-01A
SERVICE MANUAL

Preface
This manual is applied to HD72 0.65” Dark Chip 2 DMD projection system. The
manual gives you a brief description of basic technical information to help in service and
maintain the product.
Your customers will appreciate the quick response time when you immediately
identify problems that occur with our products. We expect your customers will appreciate
the service that you offer them.
This manual is for technicians and people who have an electronic background.
Please send the product back to the distributor for repairing and do not attempt to do
anything that is complex or is not mentioned in the troubleshooting.
Notice:
The information found in this manual is subject to change without prior notice. Any
subsequent changes made to the data herein will be incorporated in future edition.
HD72 Service Manual
Copyright February, 2006
All Rights Reserved
Manual Version 1.0
P/N#36.83F01.001
Document#83F-G04-01A
HD72
I

Table of Contents
Chapter 1 Introduction 1-1
Product Highlight 1-1
Computer CVompatible 1-4
Chapter 2 Disassembly Procedure 2-1
Equipment Needed 2-1
Disassemble Lamp, Top Cover, Keypad Board and IR Receiver 2-2
Disassemble I/O Cover, Main Board, Lamp Driver, LVPS
and Axial Fan Module 2-6
Disassemble Engine Module, DMD Chip, DMD Board,
Color Wheel and Photo Sensor Board 2-11
Disassemble Focus Ring, DMD Fan, Speaker, Blower Fan
and Elevator Module 2-14
Chapter 3 Troubleshooting 3-1
Equipment Needed 3-1
Main procedure 3-1
Chapter 4 Function Test and Alignment Procedure 4-1
Test Equipment Needed 4-1
Service Mode 4-1
Test Condition 4-2
Inspection Procedure 4-2
Chapter 5 Firmware Upgrade Procedure 5-1
Equipment Needed 5-1
Firmware Upgrade Mode 5-1
Installation Procedure 5-2
Firmware Upgrade Procedure 5-6
Chapter 6 EDID Upgrade Procedure 6-1
EDID Introduction 6-1
Equipment Needed 6-1
HD72
II

HD72
III
Setup Procedure 6-2
EDID Key-In Procedure 6-2
Appendix Appendix A 7-1
Exploded Overview 7-1
Appendix B 7-28
I . Serial Number System Definition 7-28
II. PCBA Code Definition 7-29
Reader’s Response 7-30

1-1 HD72
Chapter 1
Introduction
1-1 Highlight
No Item Description
1 Weight Appro x 71b.
2 Dimension (W x D x H) 347.1mm x 245.7mm x 94.7mm
3 Cooling system Advanced air flow
Two fans with low system acoustic noise level
Temperature control circuits with adaptive voltage
control tan speed.
Maximum touch temperature follows UL60950
4 Connect I/O port - HDMI Connector
- DVI-I Input Connector (PC Digital and DVI-HDCP)
Note: Only for DVI-I connector, no VGA connector
- Component VIdeo Input Connector
- Composite Video Input Connector
- S-Video Input Connector
- RS232 Input Connector
- Service Connector
- +12V Relay Connector
- Main Power Switch
- Power Socket
- Kensington MicrosaverTM Lock Port
5 Lamp housing - Lamp could be changed by customer, but should
follow the user manual insturction.
- Replacable Lamp should be provided by Coretronic or
its authouized agencies.
6 Tilt angle: - 7 degree with elevator mechanism
7 Lamp Door Protection - Lamp power supply shut off actomatically when door
open
8 Power supply - Inpu 100-240V, 50/60Hz
9 Power Consumption - 285 W+-10% Full Power
- <13 W Standby Power
10 Input signal spec. - PC Signal
- Hsync Frequency 31.5 ~ 100 kHz
- Vsync Frequency 56 ~ 85 Hz
- Video Signal RGB (PC)
- Analog RGB 0.7 Vp-p, 75 ohm
- Separate TTL H, V Sync Composite TTL Sync.

1-2 HD72
No Name Description
10 Input signal spec. - Video
- Composite video 1Vp-p, 75 ohm
- S-Video Luminance 0.714Vp-p, 75 ohm
- Chrominance 0.286 Vp-p,75 ohm
11 System Controller - TI DDP3020
12 Video compatibility - NTSC : M(3.58MHz),4.43 MHz, 480i
- PAL : B, D, G, H, I, M, N; 60Hz
- SECAM : B, D, G, K, K1, L
- HDTV : 480p, 576i/p, 720p 50 & 60 Hz, 1080i 50 &
60Hz
13 WXGA / Compression - by using “DDP3020” Chips to compress SXGA+ image
into WXGA display
14 Projector control key-
pad
- Power/Standby
- Menu
- Select
- Right Arrow/Re-sync,
- Left Arrow/Source
- Up Arrow/Keystone}+
- Down Arrow/Keystone-
15 Keystone correction - +/- 15 degree
16 Brightness - 1040 lumens (Engineering)
- 880 lumens (Minimum)
17 Contrast ratio - 2000 : 1 full on/full off (Typical)
- 1600 : 1 full on/full off (minimum)
18 Uniformity - 65% minimum
19 Projection lens - F / 2.5 ~2.8, f = 22.25 ~26.69mm. 1.2 x Zoom Lens
20 Throw ratio - 1.58 - 1.90 distance/width
21 Aspect ratio - Native on 16 : 10 (1.6:1) & 16:9 (1.77:1)
22 LED indicator - Power : Power On/Off indicator
23 Lamp life - 2000 hours Brite mode
- 3000 hours Normal mode
24 Lamp type - 220W Lsmp ECO 180W Osram E20.5
25 Optional accessories - DVI I cable
- Ceiling Mount - new ceiling mount with the pole
centred above the lens
- Carry case
- HDMI to DVI adaptor
26 Full Printed manual - EMEA & USA : English, French, German, Spanish and
Portuguese
- ASIA : English, Traditional Chinese, Japanese, Korean
and Simplified Chinese,

1-3 HD72
NO Name Description
27 QSC - With 17 languages : English, German, French, Dutch,
Greek, Swedish, Italian, Spanish, Portuguese,
Polish, Norwegian,(No/DK), Russian, Finnish,
Traditonal Chinese, Simplified Chinese, Japanese,
Korean
28 Color Wheel - 7 segment colour wheel GRBWGRB
(G56R62B47W30G56R62B47).
29 Noise - 29 dB (A)
30 Quick shut down - 30 seconds
31 Input connectors - DVI-I, HDMI, 3xRCA component, Composite, S-Video

1-4 HD72
1-2 Computer Compatible
Compatibility Resolution 85V-Sync (Hz)50
VGA 640 x 480 60
640 x 480 72
640 x 480 75
640 x 480 85
848 x 480 60
848 x 480 75
848 x 480 85
720 x 400 70
720 x 400 85
SVGA 800 x 600 56
800 x 600 60
800 x 600 72
800 x 600 75
800 x 600 85
XGA 1024 x 768 50
1024 x 768 60
1024 x 768 70
1024 x 768 75
1024 x 768 85
WXGA 1280 x 768 50
1280 x 768 60
1280 x 768 70
1280 x 768 72

1-5 HD72
Compatibility Resolution V-Sync (Hz)
1280 x 768 75
1280 x 768 85
HD 1280 x 720 50
1280 x 720 60
1280 x 720 72
1920 x 1080 50
1920 x 1080 60
1920 x 1080 72
SXGA 1280 x 1024 50
1280 x 1024 60
1280 x 1024 70
1280 x 1024 72
1280 x 1024 75
1280 x 1024 85
SXGA+ 1400 x 1050 50
1400 x 1050 60
1400 x 1050 70
1400 x 1050 72
1400 x 1050 75
MAC 1152 x 870 75.06
MAC G4 640 x 480 60

2-1 HD72
2-1 Equipment Needed
Chapter 2
Disassembly Process
Item Photo Item Photo
Screw Bit
(+) :107
Hex Sleeves
5mm
Hex
Sleeves
8mm
Tweezers

2-2 HD72
2-2 Disassemble Lamp, Top Cover, Keypad Board and IR
Receiver
No Procedure Photo
1 Unscrew 1 screw to remove
Lamp Cover
2Unscrew 2 screws to re-
move Lamp Module
Lamp

2-3 HD72
No Procedure Photo
3
Unscrew 5 screws and un-
plug FPC Wire to remove
Top Cover
Note :
There is a tennon in each
side, please press left and
right side cover to separate
top cover easier.
Top Cover

2-4 HD72
No Procedure Photo
4
Unscrew 4 screws (red
circle in right picture) to re-
move Top Shielding Module
Note : There are four ten-
nons, before separate the
top shield, please press
them (Green square in right
picture).
5Unscrew 1 screw to remove
Keypad Board
Top Shielding Module
Keypad Board

2-5 HD72
No Procedure Photo
6
Remove Keypad Button
directly.
7
Remove IR receiver, Mylar
and lens from Top Cover
directly.
Keypad Button
IR Receiver

2-6 HD72
No Procedure Photo
1
Unscrew 2 hex screws and
2 screws to remove I/O
Cover and I/O Shielding
Moudle.
2 Remove Light Cut Mylar.
I/O Cover
I/O Shileding Module
2-3 Disassemble I/O Cover, Main Board, Lamp Driver, LVPS
and Axial Fan Module

2-7 HD72
No Procedure Photo
3Unscrew 3 screws to re-
move Air Duct Module.
4
Unscrew 5 screws and
unplug 7 connectors to re-
move Main Board
Air Duct Module
Main Board

2-8 HD72
No Procedure Photo
5Remove Main Board Mylar
from Main Board
6
Unscrew 5 screws (red
circle) and unplug 3 con-
nectors (green square) to
remove Lamp Driver and
Lamp Driver Holder.
Main Board Mylar
Lamp Driver Lamp Driver Holder

2-9 HD72
No Procedure Photo
7
Unscrew 5 screws to re-
move LVPS Shielding
Module.
8Unplug 3 connectors to
remove LVPS

2-10 HD72
No Procedure Photo
9Unscrew 2 screws to re-
move Axial Fan Module.
Axial Fan module

2-11 HD72
No Procedure Photo
1Unscrew 2 screws to re-
move Wire 2P#22 220C.
2
Unscrew 7 screws to re-
move Engine Module and
remove Upper Lens Sup-
porrer directly.
Wire 2P#22 220C
2-4 Disassemble Engine Module, DMD Chip, DMD Board,
Color Wheel and Photo Sensor Board.
Upper Lens Supporter Engine Module
Other manuals for HD72
6
Table of contents
Other Optoma Projector manuals

Optoma
Optoma TX800 User manual

Optoma
Optoma Neo-i User manual

Optoma
Optoma DLP User manual

Optoma
Optoma Pico PK102 Instruction manual

Optoma
Optoma ES526 User manual

Optoma
Optoma EP719R User manual

Optoma
Optoma ES520 Technical manual

Optoma
Optoma EP725 User manual

Optoma
Optoma Pico PK201 User manual

Optoma
Optoma EP751 User manual

Optoma
Optoma HD8000-LV User manual

Optoma
Optoma DS216 User manual

Optoma
Optoma Optoma EP747 User manual

Optoma
Optoma UHD51 User manual

Optoma
Optoma ZU500USTe User manual

Optoma
Optoma UHZ4000 User manual

Optoma
Optoma GT100 User manual

Optoma
Optoma EX610ST User manual

Optoma
Optoma EW1610 Family User manual

Optoma
Optoma ML750 User manual