manuals.online logo
Brands
  1. Home
  2. •
  3. Brands
  4. •
  5. OSD Audio
  6. •
  7. Amplifier
  8. •
  9. OSD Audio PA90 User manual

OSD Audio PA90 User manual

PA90
PA Amplifier
The lightning flash with
arrowhead symbol, within an
equilateral triangle, is intended
to alert the user to the presence
of un-insulated dangerous
voltage within the products
enclosure that may be of
sufficient magnitude to
constitute a risk of electric
shock to persons.
Warning: To reduce the risk of
electric shock, do not remove
cover (or back). No user
serviceable parts inside. Refer
servicing to qualified service
personnel.
The exclamation point within
the equilateral triangle is
intended to alert the user to the
presence of important
operating and maintenance
(servicing) instructions in the
literature accompanying the
appliance.
TO PREVENT FIRE OR SHOCK HAZARD, DO NOT USE THIS PLUG WITH AN
EXTENSION CORD, RECEPTACLE OR OTHER OUTLET UNLESS THE BLADES CAN
BE FULLY INSERTED TO PREVENT BLADE EXPOSURE.
TO PREVENT FIRE OR SHOCK HAZARD, DO NOT EXPOSE THE APPLIANCE TO RAIN
OR MOISTURE.
(POUR PRÉVENIR UN INCENDIE OU D'ÉLECTROCUTION, NE PAS EXPOSER CET
APPAREIL À LA PLUIE OU L'HUMIDITÉ.)
TO PREVENT ELECTRICAL SHOCK, MATCH WIDE BLADE TO WIDE SLOT, FULLY
INSERT.
1. Read these instructions.
2. Keep these instructions.
3. Read all warnings.
4. Follow all instructions.
5. Do not use this appliance near water.
6. Clean only with dry cloth.
7. The Equipment shall be operated in open area.
8. Do not block any ventilation openings. Install in accordance with the manufacturer's
instructions.
9. Do not install near heat sources such as radiators, heat registers, stoves, or other
appliance (including amplifiers) that produce heat.
10. Do not defeat the safety purpose of the polarized or grounding type plug. A polarized plug
has two blades with one wider than the other. A grounding type plug has two blades and a
third grounding prong. If the provided plug does not fit into your outlet, consult an
electrician for replacement of the obsolete outlet.
11. Protect the power cord from being walked on or pinched particularly at the plugs,
convenience receptacles, and at the point where they exit from the appliance.
12. Only use attachments or accessories specified by the manufacturer.
13. Unplug the appliance during lightning storms or when unused for long periods of time.
14. Refer all servicing to qualified personnel. Servicing is required when the appliance has
been damaged in anyway, such as power supply cord or plug is damaged, liquid has been
spilled or objects have fallen into the appliance, the appliance has been exposed to rain
or moisture, does not operate normally, or has been dropped.
15. Use only with the cart, stand, tripod bracket, or table specified by the manufacturer, or
sold with the apparatus. When a cart is used, use caution when moving the cart/apparatus
combination to avoid injury from tip-over.
This appliance shall not be exposed to dripping or splashing water and no object filled with
liquids such as vases shall be placed on appliance.
L'appareil ne doit pas être exposé aux écoulements ou aux éclaboussures et aucun objet ne
contenant de liquide, tel qu'un vase, ne doit être placé sur l'objet.
Both main plug or main switch disconnect device instruction is accepted.
The mains switch is used as disconnect device and to completely disconnect the apparatus
from mains supply, the mains switch must be switched to “OFF” position and the mains switch
of apparatus should not be obstructed OR should be easily accessed during intended use. In
addition, the location of mains switch on the apparatus and its function shall be described.
Le commutateur du secteur est utilisé pour déconnecter le système. Pour déconnecter
complètement l'appareil de l'alimentation, le commutateur du secteur doit être positionné sur
«OFF». Le commutateur du secteur ne doit pas être obstrué ou doit être facilement accessible
pendant son utilisation.
S3125A
S3125A
PA90 PA Amplifier
The POWER push button will manually switch the PA90
Commercial amplifier on or off.
Control Knobs
Output Adjustment
The OSD PA90 Commercial Amplifier allows you to adjust the
output volume, Treble and Bass by the corresponding control
knob on the front panel. There is a LED Meter to indicate the
output level located above the POWER pushbutton.
The OSD PA90 also has protect function. When it is short
circuit, or over-heating, or overload, this function will be
automatically switched on, then the product will mute and the
RED PROTECT LED indicator will illuminate.
Congratulations on your purchasing of OSD PA90 Commercial
Amplifier.
Please take a few moments to read the entire manual, and be
sure to retain this document for future reference. Please read
and observe all safety instructions detailed on each page.
Note: If any part of this product is damaged or missing,
please call OSD AUDIO Return Department at (562)
697-2600
Input Adjustment The OSD PA90 also has CHIME and ALARM functions. The
ALARM has the top priority and CHIME is second over all the
inputs. When pressing CHIME button, all inputs will be
temporarily mute and the chime sound will come out. When
pressing ALE button, you will start the alarm function, the
alarm will keep on ringing and will not automatically stop until
you press the ALE button again. All inputs will be mute
including the CHIME tone when alarm function is on.
INPUTS
DIP switch is switched down, it means the corresponding MIC
input will provide a 24V phantom power to the microphone, if
the Phantom Power Supply DIP Switch is switched up, the
corresponding MIC input will not provide phantom power to
microphone.
The AUX inputs are using RCA connectors. Each group of AUX
input has “L” and “R” as left channel and right channel inputs
respectively.
The TEL input is using 3 pin terminal block. It allows you to
connect telephone signal as an input of PA 90. The TEL input
gain can be adjusted by the screwdriver adjustment knob
labeled as “Gain” beside the terminal block.
The PA90 commercial amplifier also has 1 pair of RCA
connectors used as “INSERT” in and out. The INSERT IN
connector allows to connect an external audio source to the
unit. The INSERT OUT connector allows to loop the input
sources of PA90 out to other devices.
NOTE: The MIC 1 Input has priority over the other inputs.
When the MIC 1 Input signal is present, the PA90 will
automatically mute other inputs and only MIC 1 Input is
available to output.
There is a total of 7 inputs on the rear panel of the PA90
Commercial Amplifier including 3 MIC inputs, 3 AUX inputs,
and 1 TEL input with input gain adjustment.
The MIC inputs are using balanced XLR connectors. Each MIC
input have a Line/Mic level DIP switch (Switch 1) and a 24V
Phantom Power Supply On/Off DIP switch (Switch 2). If the
Line/Mic DIP switch is switched down, the corresponding MIC
input is set to accept Mic level signal input, if the Line/Mic DIP
switch is switched up, the corresponding MIC input is set to
accept Line level signal input. If the Phantom Power Supply
230V
115V
23 0
Rated input power:130VA
FUSE: T1.5A/250V
CAUTI ON AVIS
RIS K OF ELEC TRIC SH OCK
DO NO T OPEN.
RIS QUE DE CH OC ELEC TRIQU E
NE PAS O UVRIR C E CARTE R,
RES ERVE AU PE RSONN EL
AUT ORISE
WARNING:
TO RE DUCE TH E RISK OF F IRE OR EL ECTRI C SHOCK , DO NOT
EXP OSE THI S EQUIP MENT TO R AIN OR MO ISTUR E
CAUTION:
TO RE DUCE TH E RISK OF F IRE OR EL ECTRI C SHOCK D O NOT
REM OVE COV ER (OR
BAC K).
NO
USE R
SER VICEA BLE
PART S
INS IDE.
REF ER
SER VICIN G TO QUALI FIED SE RVICE P ERSON NEL.
8Ω7 0 V100V
COM
2 4 V DC
PTT
MIC2
1 2
ON
INSERT
Out
In
AUX1AUX2AUX3
R
L
TEL
Gain + Gnd -
MIC3 MIC1
1 2
ON
Phanto m(24V)
Mic
Line
Off
Phanto m(24V)
Mic
Line
Off
Phanto m(24V)
Mic
Line
Off
1 2
ON
MIC2
1 2
ON
INSERT
Out
In
AUX1AUX2AUX3
R
L
TEL
Gain + Gnd -
MIC3 MIC1
1 2
ON
Pha ntom (24V)
Mic
Lin e
Off
Pha ntom (24V)
Mic
Lin e
Off
Pha ntom (24V)
Mic
Lin e
Off
1 2
ON
The OSD PA90 70V/100V Commercial Amplifier has 7 inputs:
MIC 1, MIC 2, MIC 3, AUX 1, AUX 2, AUX 3, and TEL input.
Each of the MIC inputs and AUX inputs can be adjusted the
input gain using the corresponding control knob on the front
panel.
OUTPUT
The OSD PA90 output module, including ( ),
24V DC back up power supply, 8 ohm output, 70V output and
100V output, is using the screw terminal connectors.
If you will use 8 ohm output, connect the speaker ’s positive
terminal to the amplifier’s “8Ω” terminal and connect the
speaker’s negative terminal to the amplifier’s “COM” terminal.
If you will use 70V output, connect the speaker’s positive
terminal to the amplifier ’s “70V” terminal and connect the
speaker’s negative terminal to the amplifier’s “COM” terminal.
If you will use 100V output, connect the speaker’s positive
terminal to the amplifier’s “100V” terminal and connect the
speaker’s negative terminal to the amplifier’s “COM” terminal.
The PPT connectors allow you to connect the OSD PA90 to
external devices to activate the “Push To Talk” function. When
this function is switched on, all inputs will be mute and you can
use MIC 1 to make broadcasting or announcement.
The 24V DC connectors allow you to connect external back up
power supply to OSD PA90. It helps you th use OSD PA90 in
applications that must continue to operate in case of a power
failure or in mobile applications where 115V or 230V AC power
is not available.
PTT Push To Talk
PA90 Power Amplifier Specifications
Power Bandwidth: 55Hz - 15kHZ
60W into 8 ohm output mode with less than 1% THD+N
60W into 70V output mode with less than 1% THD+N
60W into 100V output mode with less than 1% THD+N
Frequency Response: 55Hz to 15kHz, (+0dB, -3.0dB)
AC Mains Fuse: T2A/250V
Note: This amplifier will supply 60W to the output.
Please verify that your speakers are capable of
handling such power to avoid possible damage!
NOTE: This amplifier is capable of use with standard US
voltage (115V) as well as European voltage (230V). The
amplifier will be preset for the voltage of the country it is
sold in. Use with other voltages requires some changes
to be made to the amplifier. Should you wish to use the
amplifier in a country other than the one for which it was
purchased, please contact OSD AUDIO at (562) 697-
2600.
Limited Warranty
OSD AUDIO: warrants its amplifier products against defects in
materials and workmanship for a limited period of time. For a
period of two years from date of original purchase, we will
repair or replace the product, at our option, without charge for
parts and labor.
This limited warranty applies only to purchases from
authorized OSD AUDIO retailers. This limited warranty is
extended only to the original purchaser and is valid only to
customers in USA.
Customers are required to provide a copy of the original sales
invoice from an authorized OSD AUDIO dealer when making a
claim against this limited warranty. This limited warranty only
covers failures due to defects in materials or workmanship that
occur during normal use. It does not cover failures resulting
fr o m a ccident, misuse, abus e, neglect, mis h andling,
misapplication, alteration, faulty installation, modification,
service by anyone other than OSD AUDIO or damage that is
attributable to acts of god. It does not cover costs or
transportation to OSD AUDIO or damage in transit. The
customer should return their defective product, freight prepaid
and insured, to OSD AUDIO, only after receiving a Returned
Merchandise Authorization (RMA) number.
This warranty will become void if the serial number
identification has been wholly or partially removed, altered or
erased. Repair of replacement under the terms of this warranty
does not extend the terms of this warranty. Should a product
prove to be defective in workmanship or material, the
customer’s sole remedies will be repair or replacement as
provided under the terms of this warranty. Under no
circumstances shall OSD AUDIO be liable for loss or damage,
direct, consequential or incidental, arising out of the use of or
inability to use the product.
8Ω7 0 V100V
COM
24V DC
PTT
Signal to Noise ratio:
Mic: better than 55 dB
Line: better than 60 dB
AUX: better than 70 dB
TEL: better than 70 dB
Input Sensitivity:
Mic: -50 dB
Line: -20 dB
AUX: -12 dB
TEL: -10 dB
Tone Adjustment:
Bass: ±10 dB
Treble: ±10 dB
Dimensions: 19.0"w x 13.3"d x 3.6"h, “2U Rack Space Style”
Power Supply: Switchable AC 115V/230V, DC 24V
DC Mains Fuse: T8A/250V
APPLICATIONS
CONNECTING 8 OHM SPEAKERS
In this configuration, the 8 ohm speakers are connected to the
“8Ω” and “COM” terminals. The output of PA90 will then deliver
the rated output power into an 8 ohm load. If you want to
connect multiple speakers to PA90's 8 ohm output, the
speakers should be connected in series/parallel-arrangement
to make the combined impedance 8 ohm or higher. When
connecting speakers, speakers’ positive terminal should be
connected to the “8Ω” terminal and speakers’ negative
terminal should be connected to “COM” terminal for in-phase
connection.
CONNECTING 70V CONSTANT VOLTAGE SPEAKERS
In this configuration, the 70V constant speakers are connected
to the “70V” and “COM” terminals. The output of PA90 will then
deliver the rated output power to the 70V speakers. Multiple
70V speakers should be connected in parallel. When
connecting speakers, speakers’ positive terminal should be
connected to the “70V” terminal and speakers’ negative
terminal should be connected to “COM” terminal for in-phase
connection.
Note: In 70V/100V constant voltage connection, the
summed speaker power should not exceed the rated
PA90 output power.
CONNECTING 100V CONSTANT VOLTAGE SPEAKERS
In this configuration, the 100V constant speakers are
connected to the “100V” and “COM” terminals. The output of
PA90 will then deliver the rated output power to the 100V
speakers. Multiple 100V speakers should be connected in
parallel. When connecting speakers, speakers’ positive
terminal should be connected to the “100V” terminal and
speakers’ negative terminal should be connected to “COM”
terminal for in-phase connection.
USING DC 24V POWER SUPPLY
In this configuration, a DC 24V power supply is connected to
PA90 to help it to be used in mobile applications or in
applications that must continue to operate in case of a AC
power failure.
8Ω7 0 V100V
COM
24V DC
PTT
+
-
DC 12V
Battery
+
-
DC 12V
Battery
8Ω70V1 0 0 V
COM
2 4 V DC
PTT
+-
+-
+-
+-
+-
+-
USING PUSH TO TALK(PTT) FUNCTION
In this configuration, Mic 1 is connected to “PTT” terminals to
activate the “Push To Talk” function. When “PTT” function is
switched on, all the inputs except Mic 1 will be overruled.
Note: Only Mic 1 input could work with “Push to
Talk(PTT)” function.
INSTALL UNIT IN RACK
In this configuration, the OSD PA90 is set to install in a 19"
rack. When mount it I a rack, make sure the mounting brackets
are well fixed by the screws and remove the 4 feet from the
bottom of the unit.
Note: The minimum working load of OSD PA90 is 8
ohm. Make sure the total impedance should not be
lower than that.
Note: Ensure to install the unit where the ambient
temperature does not exceed 55°C.
If you have any questions regarding how to set this up, please
call OSD AUDIO support at (562) 697-2600.
5
signal
trigger
8Ω7 0 V1 0 0 V
COM
24V DC
PTT
MIC2
1 2
ON
MIC3 MIC1
1 2
ON
Pha ntom (24V )
Mic
Lin e
Off
Pha ntom (24V )
Mic
Lin e
Off
Pha ntom (24V )
Mic
Lin e
Off
1 2
ON
8Ω70V1 0 0 V
COM
2 4 V DC
PTT
+-+-+-
8Ω70V1 0 0 V
COM
2 4 V DC
PTT
+-+-+-

Other manuals for PA90

1

Other OSD Audio Amplifier manuals

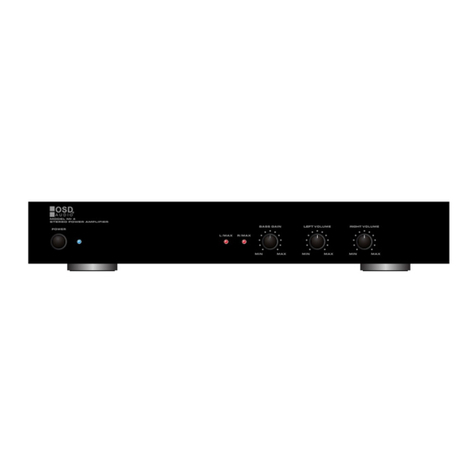
OSD Audio MX 880 User manual

OSD Audio

OSD Audio MX 880 User manual

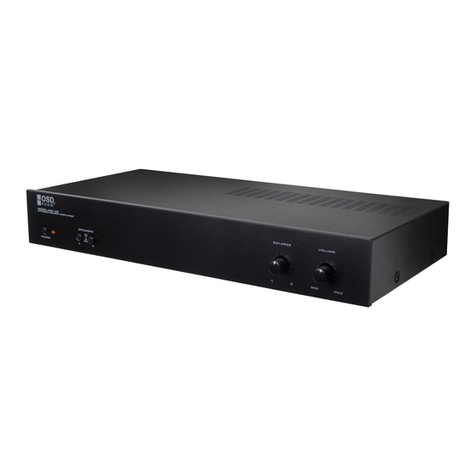
OSD Audio PRE 1 User manual

OSD Audio

OSD Audio PRE 1 User manual

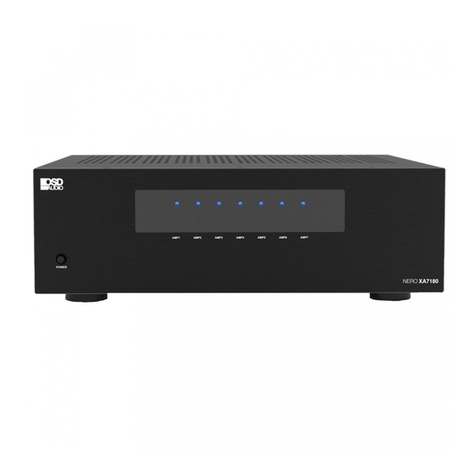
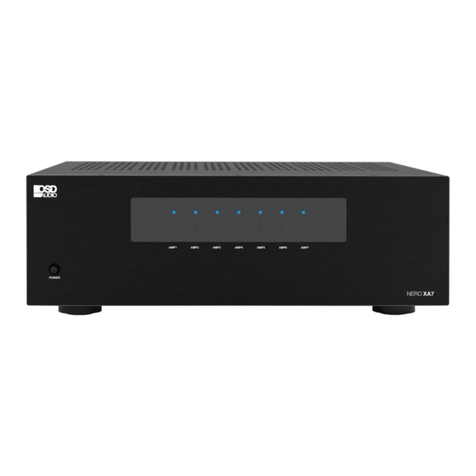
OSD Audio NERO XA7180 User manual

OSD Audio

OSD Audio NERO XA7180 User manual

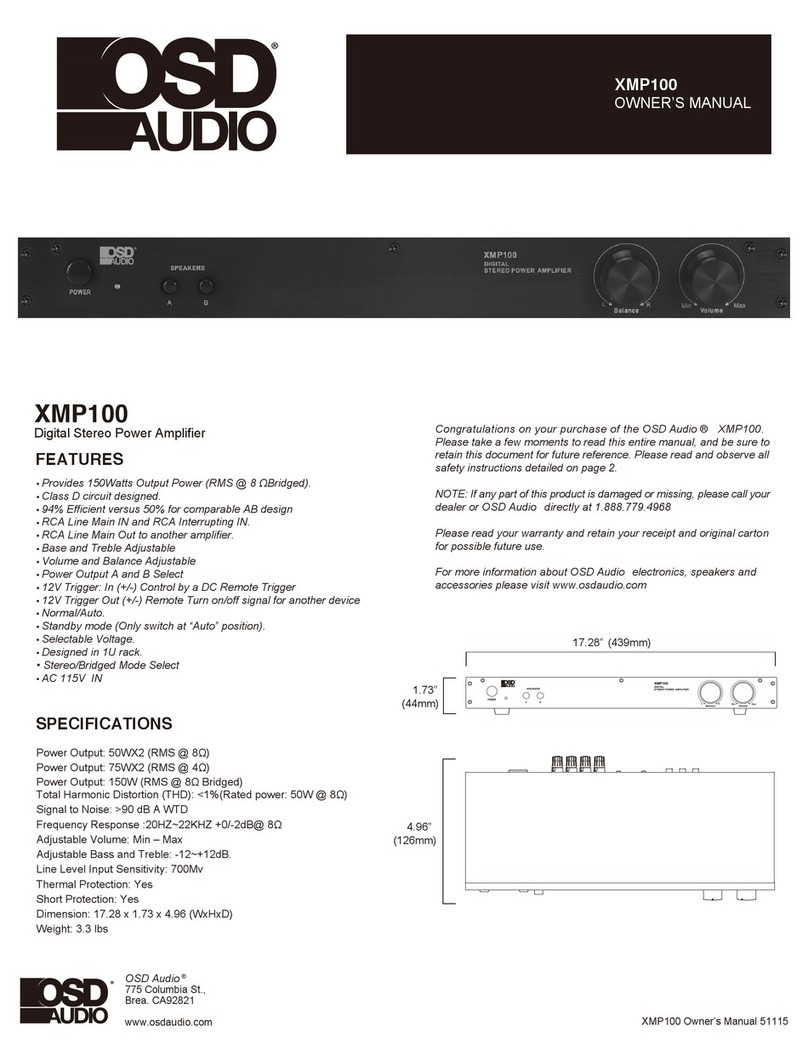
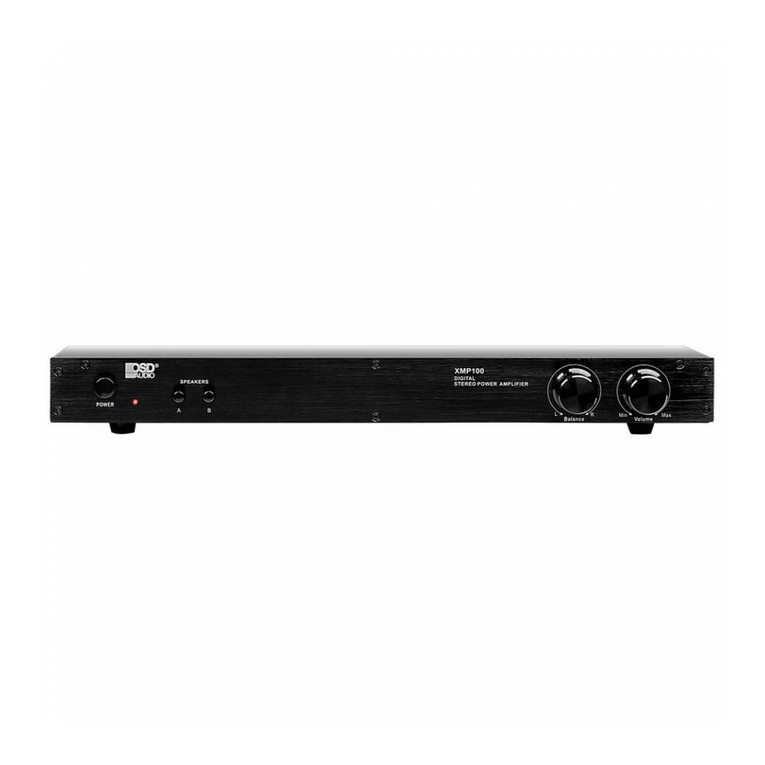
OSD Audio XMP100 User manual

OSD Audio

OSD Audio XMP100 User manual

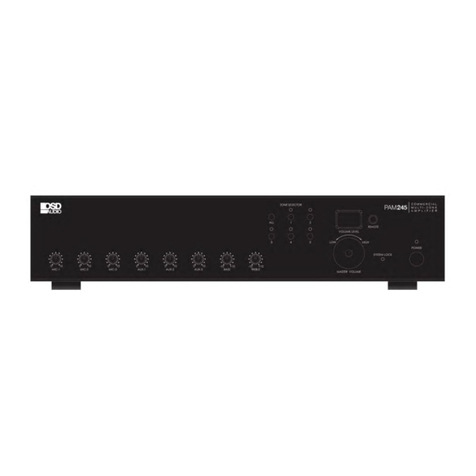
OSD Audio PAM 245 User manual

OSD Audio

OSD Audio PAM 245 User manual

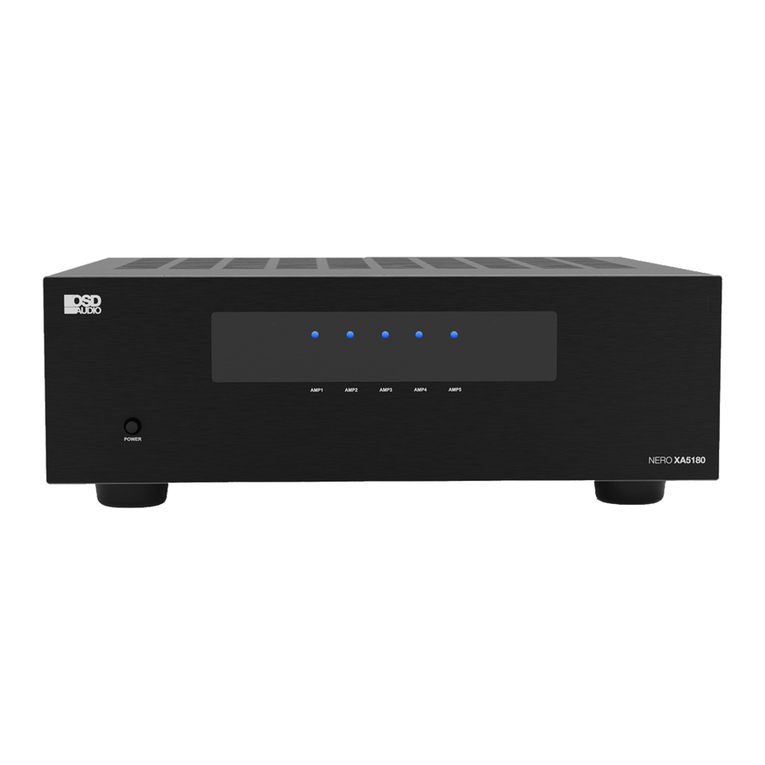
OSD Audio NERO XA5180 User manual

OSD Audio

OSD Audio NERO XA5180 User manual

OSD Audio NERO STREAM WRA User manual

OSD Audio

OSD Audio NERO STREAM WRA User manual

OSD Audio XMP60 Instruction sheet

OSD Audio

OSD Audio XMP60 Instruction sheet

OSD Audio BLACK SRT1 User manual

OSD Audio

OSD Audio BLACK SRT1 User manual

OSD Audio NERO XA3200 User manual

OSD Audio

OSD Audio NERO XA3200 User manual

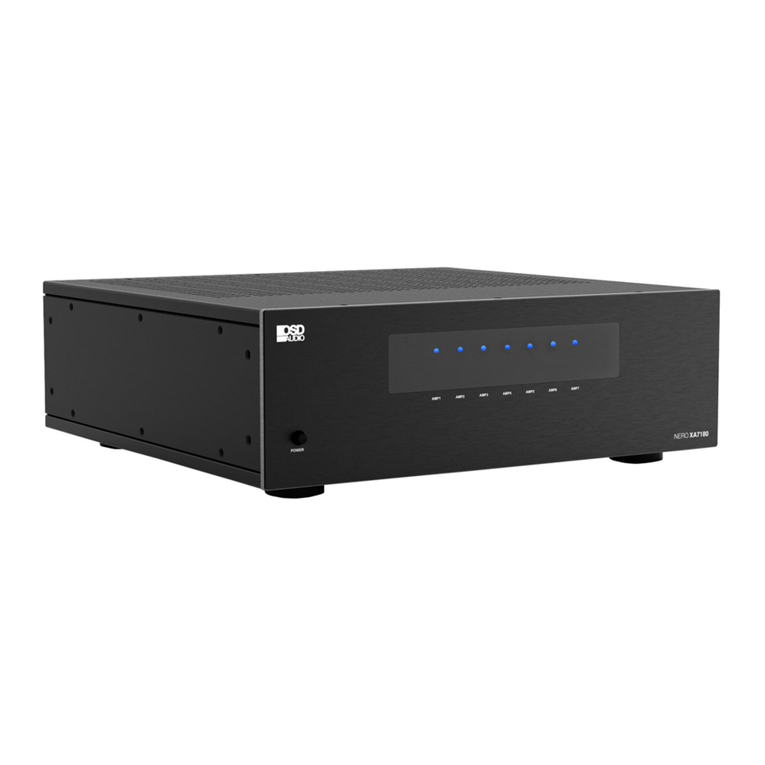
OSD Audio NERO XA7180 User manual

OSD Audio

OSD Audio NERO XA7180 User manual

OSD Audio AMP120 User manual

OSD Audio

OSD Audio AMP120 User manual

OSD Audio PAM 1270 User manual

OSD Audio

OSD Audio PAM 1270 User manual

OSD Audio XPA500 User manual

OSD Audio

OSD Audio XPA500 User manual

OSD Audio NERO MAX12 User manual

OSD Audio

OSD Audio NERO MAX12 User manual

OSD Audio XMP100 User manual

OSD Audio

OSD Audio XMP100 User manual

OSD Audio SMP300 User manual

OSD Audio

OSD Audio SMP300 User manual

OSD Audio SMP 300 User manual

OSD Audio

OSD Audio SMP 300 User manual

OSD Audio NERO XA5180 User manual

OSD Audio

OSD Audio NERO XA5180 User manual

OSD Audio NERO XD User manual

OSD Audio

OSD Audio NERO XD User manual

OSD Audio NERO STREAM XD User manual

OSD Audio

OSD Audio NERO STREAM XD User manual

OSD Audio XMP100 User manual

OSD Audio

OSD Audio XMP100 User manual

OSD Audio SMP200 User manual

OSD Audio

OSD Audio SMP200 User manual

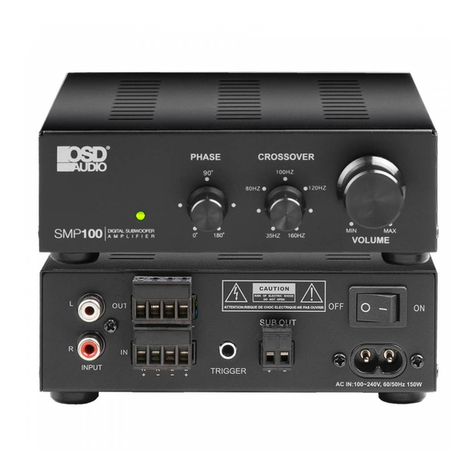
OSD Audio SMP100 User manual

OSD Audio

OSD Audio SMP100 User manual

Popular Amplifier manuals by other brands

Engl Tube Preamp 530 Operator's manual

Engl

Engl Tube Preamp 530 Operator's manual

Lanzar MAXP 1055D user manual

Lanzar

Lanzar MAXP 1055D user manual

DAPAudio CA-4150 user manual

DAPAudio

DAPAudio CA-4150 user manual

CARVIN TS100 Getting started guide

CARVIN

CARVIN TS100 Getting started guide

Einstein The Absolute Tune manual

Einstein

Einstein The Absolute Tune manual

Perreaux SA33 manual

Perreaux

Perreaux SA33 manual

Victory VC35 The Copper user guide

Victory

Victory VC35 The Copper user guide

Altair MF8 SERIES owner's manual

Altair

Altair MF8 SERIES owner's manual

ELECTROCOMPANIET ECP1 MC owner's manual

ELECTROCOMPANIET

ELECTROCOMPANIET ECP1 MC owner's manual

zapco Symbilink Z100C2-SL user manual

zapco

zapco Symbilink Z100C2-SL user manual

Sony XM-SD46X - Stereo Power Amplifier Specifications

Sony

Sony XM-SD46X - Stereo Power Amplifier Specifications

Audiovox Menace PA-S450 owner's manual

Audiovox

Audiovox Menace PA-S450 owner's manual

Beta Three BA1602 user manual

Beta Three

Beta Three BA1602 user manual

Redgum RGM175 owner's manual

Redgum

Redgum RGM175 owner's manual

International Tapetronics Corporation 770 Series Technical manual

International Tapetronics Corporation

International Tapetronics Corporation 770 Series Technical manual

Accell K078C-006B user manual

Accell

Accell K078C-006B user manual

Sony XM-2100GTX - Stereo Power Amplifier operating instructions

Sony

Sony XM-2100GTX - Stereo Power Amplifier operating instructions

McIntosh MC2505 owner's manual

McIntosh

McIntosh MC2505 owner's manual

manuals.online logo
manuals.online logoBrands
  • About & Mission
  • Contact us
  • Privacy Policy
  • Terms and Conditions

Copyright 2025 Manuals.Online. All Rights Reserved.