manuals.online logo
Brands
  1. Home
  2. •
  3. Brands
  4. •
  5. OSD Audio
  6. •
  7. Amplifier
  8. •
  9. OSD Audio BLACK THEATRO X11 User manual

OSD Audio BLACK THEATRO X11 User manual

AMPLIFIER INSTALL GUIDE
THEATRO X11
X11 manual .indd 1 11/13/17 7:38 AM
X11 AMPLIFIER INSTALL GUIDE
INTRODUCTION:
Thank you for your purchase of the The Theatro X11, which is a exible, high performance amplier. It has been designed
for maximum performance, easy of use, and installation exibility. By employing cutting edge technology, the X11 will
easily power your speakers at high power levels, at the same time remaining as efcient as possible, regardless of
volume levels. This allows you to fully enjoy audio and video sources without concern for dynamic headroom during
complex musical passages and high level effects. What’s more, the X11 does it all with exceptionally rened cosmetics
and a sound quality that will satisfy even the most discriminating tastes.
The X11 Power Amplier is a rock solid component that allows you to control and manage all of your system’s speakers
with 11 individual ampliers in a single, easy to use amplier chassis. This makes installation of your home entertainment
system much easier than connecting multiple mono two channel ampliers.
Please read through this manual to familiar yourself with any safety advice and how to set up your amplier. Please
retain this manual for future reference.
UNPACKING:
Care must be taken at all times when handling the amplier due to the weight and the construction of the
product. We recommend a four-person lift wherever appropriate.
The main power cord and trigger lead are contained separately in the packaging and should be removed prior to
unpacking the amplier.
First remove the crate lid and sides. Next remove the protective foam top to expose the X11’s built-in handles on the sides
of the amplier.
FRONT PANEL:
1. STANDBY
a. Dim Red light - Standby mode.
b. Blue light - Power Mode is on.
Turn on or off the X11 by touching this button. When the “ON/
TRIGGER” switch at the rear panel is set to “ON”.
This button has no function when the “ON/TRIGGER” switch is
set to “TRIGGER”. See the feature of “Power Mode”.
2. AMPLIFIER DISPLAY
a. Blue light - Power Mode is on.
b. Orange light - This indicate a fault condition. The fault
condition is one or more of the followings:
• Excessive Operating Temp;
• Excessive Current (Short Circuit);
• DC on the output.
REAR PANEL:
1. Unbalanced RCA Input
Connect to the unbalanced RCA output of preamplier.
NOTE: Many RCA type patch cords can be very tight t and
some have to be removed by twisting action.
2. Balanced XLR Input
Connect to the balanced XLR output of preamplier.
NOTE: Balanced connection offer superior noise immunity
over unbalanced RCA connection. Use balanced XLR
connection whenever possible.
3. Speaker Outputs
a. Connect the speaker wires to the Binding Posts.
NOTE: Red is Positive and Black is Negative.
b. Spade connections or banana plugs ensure a simple,
solid t in the terminal, whereas bare wire may be
awkward when the terminal is screwed down to
compress the wire into place.
4. Power Mode
a. ON - In the ON position, the switch on the front of the
amplier is the method you will use to power up and
power down the amplier.
b. TRIGGER - In the TRIGGER position, the amplier’s ON
and OFF functions are controlled by a source or
preamplier device.
NOTE - Use the 1/8” mono mini-jack to connect a 5~30V
AC/DC trigger wire from preamplier.
c. The X11 supply TRIGGER link out to another amplier
(Use the 1/8” mono jack connect).
5. AC Power
a. Power ON/OFF switch for the amplier.
b. Input voltage requires 115VAC or 230VAC (switch inside).
c. IEC Power Socket.
X11 AMPLIFIER INSTALL GUIDE
STANDBY
X11
2.
1. TROUBLE SHOOTING:
The X11 is the product of careful design and construction, with two years of free warranty service. Most problems that occur can
usually be solved by checking your setup or making sure that the audio and video components connected to the amplier are
on and fully operational. The following information will help you deal with common setup problems you may experience during
normal use of your unit. If problems persist, contact your Dealer for help.
1.
4.
5.
2.
3.
X11 manual .indd 2-3 11/13/17 7:38 AM
SPECIFICATIONS:
Rated Power Output: 380 Watts RMS at 8 ohms, 600 Watts RMS at 4 ohms
Frequency Response: +/- 0.1dB: 10Hz-20kHz +/- 3 dB: 5Hz-80kHz
Signal to Noise Ratio: 110 dB Un-weighted
Distortion: <0.01% (THD 20hz-20kHz)
Damping Factor: >300
Gain: 0.9V(1.2dBm) /UnBal 1.2V(3.8dBm) /Bal
Input Impedance: >20K ohms
External Trigger: 5~30V AC/DC
DC Offset: Less than 5mv
Power Requirements: 115/230VAC, 50/60Hz, 4600W
Standby Power Consumption: 5 Watts
Chassis Type: 10 RU Chassis
Weight: 234 lbs.
Dimensions: 17.14” W x 18.38” H x 21.65 ” D
All Optimal Speaker Design electronics products have a 2 Year Limited Warranty against defects in materials and workmanship. Proof of purchase must accompany all claims.
During the warranty period Optimal Speaker Design will replace any defective part and correct any defect in workmanship without charge for either parts or labor Optimal
Speaker Design may replace returned speakers with a product of equal value and performance. In such cases, some modication to the mounting may be necessary and are
not Optimal Speaker Designs responsibility.
For this warranty to apply, the unit must be installed and used according to its written instructions. If necessary, repairs must be performed by Optimal Speaker Design. The
unit must be returned to Optimal Speaker Design at the owner’s expense and with prior written permission. Accidental damage and shipping damage are not considered
defects, nor is damaged resulting from abuse or from servicing performed by an agency or person not specically authorized in writing by Optimal Speaker Design
Optimal Speaker Design sells products only through authorized dealers and distributors to ensure that customers obtain proper support and service. Any Optimal Speaker
Design product purchased from an unauthorized dealer or other source, including retailers, mail over dealers and on-line sellers will not be honored or serviced under existing
Optimal Speaker Design warranty policy. Any sale of product by an unauthorized source or other manner not authorized by Optimal Speaker Design shall void the warranty on
the applicable product.
Damage to or destruction of components due to application of excessive power voids the warranty on those parts. In these cases, repairs will be made on the basis of the
retail value of the parts and labor. To return for repairs, you must email customer service at [email protected] for a Returned Merchandise Authorization (RMA)
number# then the unit must be shipped to Optimal Speaker Design at the owner’s expense, along with a note explaining the nature of service required. Be sure to pack the
speaker(s) in a corrugated container with at least 3 inches of resilient material to protect the unit from damage in transit.
This Warranty Does Not Cover: Damage caused by abuse, accident, misuse, negligence, or improper operation (installation) • Any products that have been altered or modied
• Any product whose identifying number of decal, serial #, etc. has been altered, defaced or removed • Normal wear and maintenance.
WARRANTY INFO
Optimal Speaker Design | Brea, CA | osdaudio.com
TROUBLE SHOOTING:
No audio output
• Speaker cables may have come undone. Turn o your system and check the cables, and tighten the amplier and speaker
binding posts.
• Damaged audio cable.
• The preamplier volume level is low for the channels concerned. Recheck the preamplier calibration procedure.
• Amplier is in standby mode, and needs to be turned on “BLUE LED”
• Check in case any missing channels have been turned o in a preamplier setup menu. For example, the center amplier
channel will not receive a signal if the preamplier has been set to “Phantom”.
• The ON/TRIGGER switch on the X11 might be in the wrong position.
• A fuse on the unit may have blown or the individual fuse within the power module may have blown.
Hum or Buzzing
Sound is Heard
• If your preamplier has XLR balanced outputs, use them because they oer greater immunity to noise elds.
• Remember to turn o all components in your system, including the amplier, before disconnecting or connecting any
cables during troubleshooting.
• Disconnect all cables which come from outside the room, and check if the hum goes away.
This includes such connections as cable TV, satellite, or roof top antennas.
• Try moving the speaker cables away from any power cords. Try just one speaker, connecting it to each amplier channel
and see if one channel is bad.
Amplier will not
turn on
• The amplier must be plugged into a live outlet.
• The power switch on the rear panel must be on.
• The power mode switch may be set to the wrong mode for your system.
X11 manual .indd 4 11/13/17 7:38 AM
Other OSD Audio Amplifier manuals

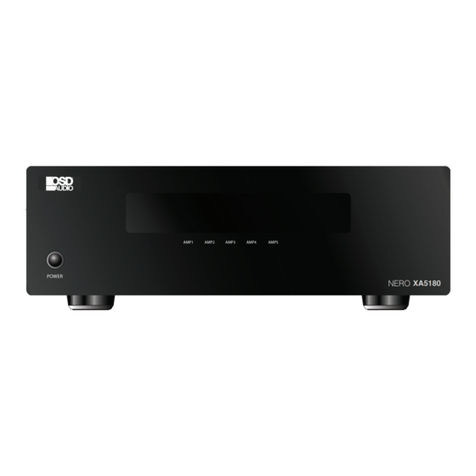
OSD Audio NERO XA5180 User manual

OSD Audio

OSD Audio NERO XA5180 User manual

OSD Audio NERO STREAM WRA User manual

OSD Audio

OSD Audio NERO STREAM WRA User manual

OSD Audio XPA500 User manual

OSD Audio

OSD Audio XPA500 User manual

OSD Audio NERO VOX User manual

OSD Audio

OSD Audio NERO VOX User manual

OSD Audio NERO VOX User manual

OSD Audio

OSD Audio NERO VOX User manual

OSD Audio NERO XA5180 User manual

OSD Audio

OSD Audio NERO XA5180 User manual

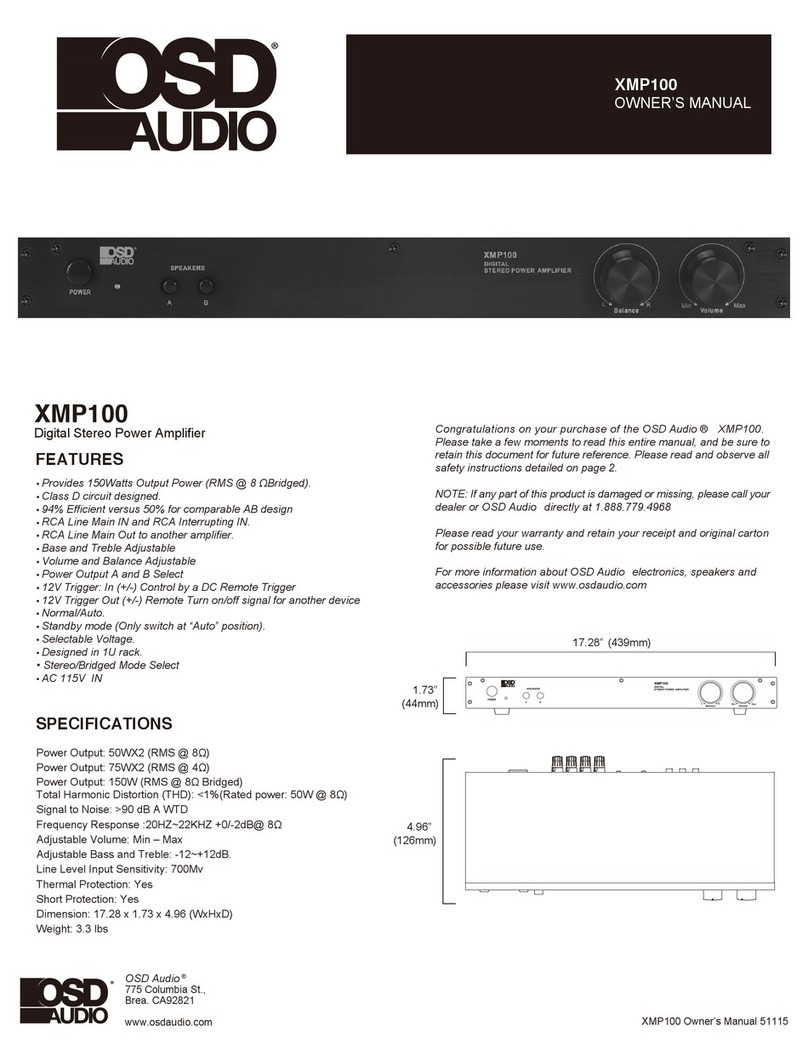
OSD Audio XMP100 User manual

OSD Audio

OSD Audio XMP100 User manual

OSD Audio SMP250 User manual

OSD Audio

OSD Audio SMP250 User manual

OSD Audio NERO XA7180 User manual

OSD Audio

OSD Audio NERO XA7180 User manual

OSD Audio NERO XA5180 User manual

OSD Audio

OSD Audio NERO XA5180 User manual

OSD Audio XPA1000 User manual

OSD Audio

OSD Audio XPA1000 User manual

OSD Audio M14 User manual

OSD Audio

OSD Audio M14 User manual

OSD Audio XMP300 User manual

OSD Audio

OSD Audio XMP300 User manual

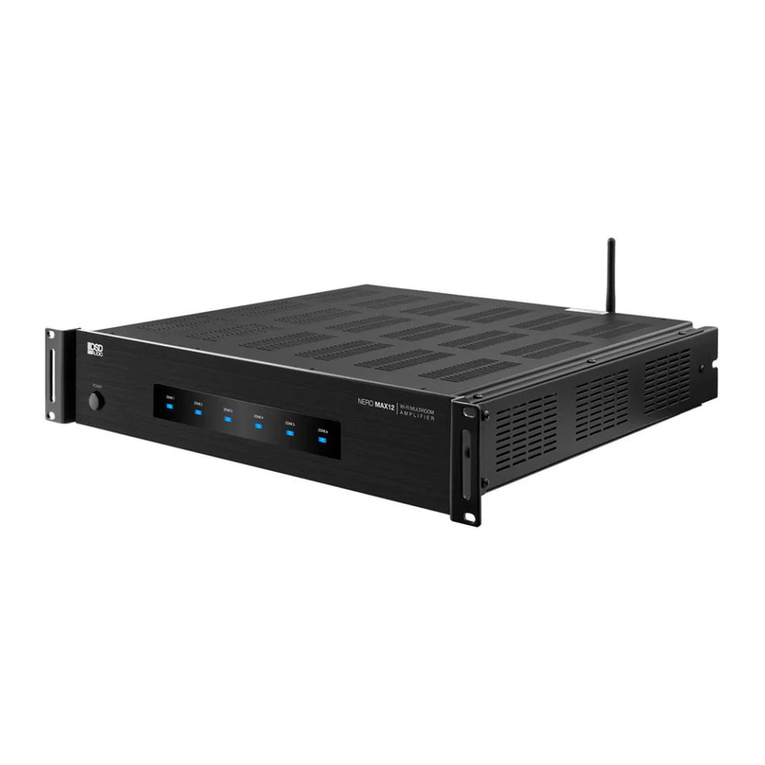
OSD Audio NERO MAX12 User manual

OSD Audio

OSD Audio NERO MAX12 User manual

OSD Audio NERO XA7180 User manual

OSD Audio

OSD Audio NERO XA7180 User manual

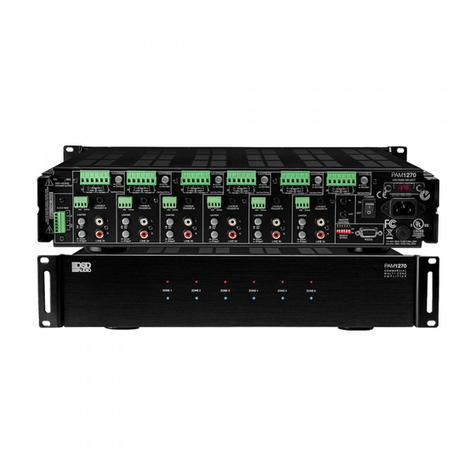
OSD Audio PAM 1270 User manual

OSD Audio

OSD Audio PAM 1270 User manual

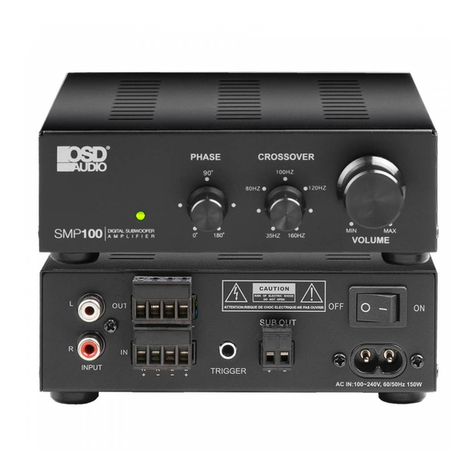
OSD Audio SMP100 User manual

OSD Audio

OSD Audio SMP100 User manual

OSD Audio XPA500 User manual

OSD Audio

OSD Audio XPA500 User manual

OSD Audio AMP120 User manual

OSD Audio

OSD Audio AMP120 User manual

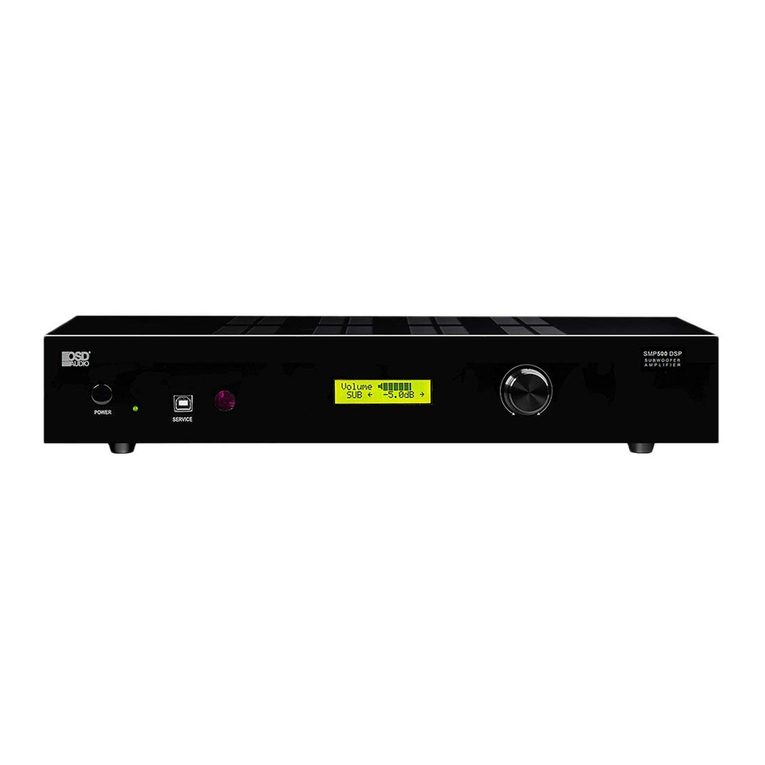
OSD Audio SMPS500DSP User manual

OSD Audio

OSD Audio SMPS500DSP User manual

OSD Audio XMP60 Instruction sheet

OSD Audio

OSD Audio XMP60 Instruction sheet

OSD Audio XPA1000 User manual

OSD Audio

OSD Audio XPA1000 User manual

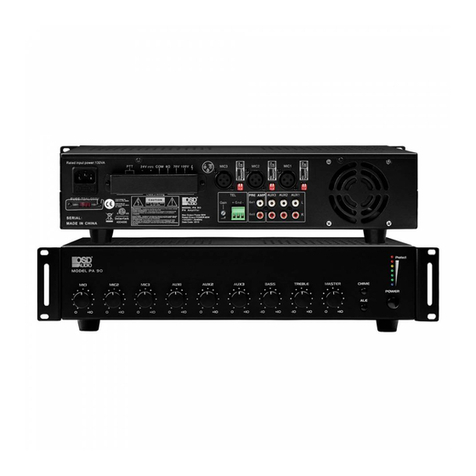
OSD Audio PA90 User manual

OSD Audio

OSD Audio PA90 User manual

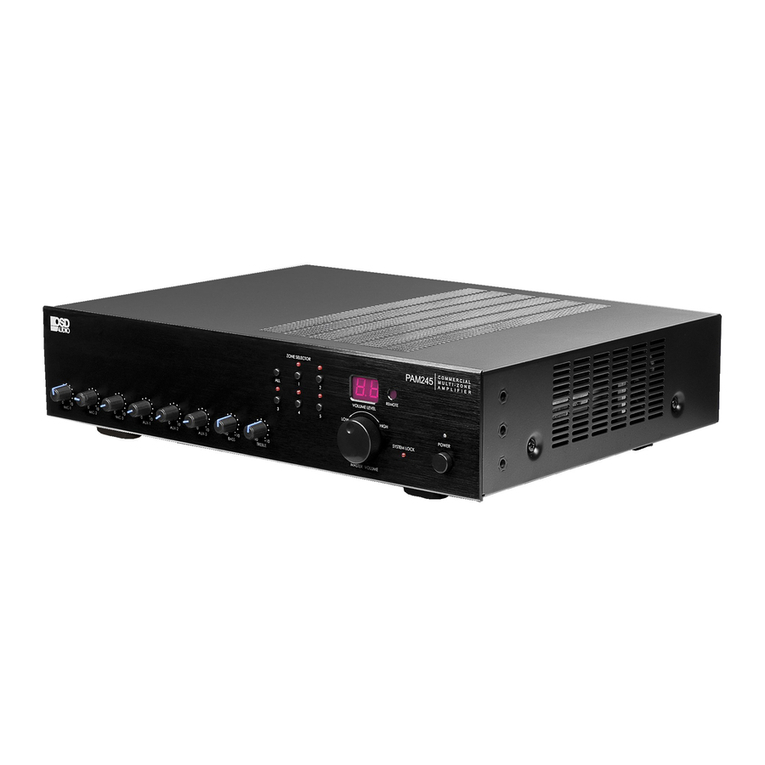
OSD Audio PAM 245 User manual

OSD Audio

OSD Audio PAM 245 User manual

Popular Amplifier manuals by other brands

Sony XM-430 Primary operating instructions

Sony

Sony XM-430 Primary operating instructions

Trilogy H1 user manual

Trilogy

Trilogy H1 user manual

SONNETEER Campion Phono instruction manual

SONNETEER

SONNETEER Campion Phono instruction manual

Hama HDMI 108 operating instructions

Hama

Hama HDMI 108 operating instructions

Speakeasy Vintage Music Line Out Box owner's manual

Speakeasy Vintage Music

Speakeasy Vintage Music Line Out Box owner's manual

Musical Fidelity M6PRE Instructions for use

Musical Fidelity

Musical Fidelity M6PRE Instructions for use

Stewart Audio CVA50-1 Priority PA owner's manual

Stewart Audio

Stewart Audio CVA50-1 Priority PA owner's manual

ATC SCM200ASL user manual

ATC

ATC SCM200ASL user manual

ELECTROCOMPANIET ECI 5 MKII owner's manual

ELECTROCOMPANIET

ELECTROCOMPANIET ECI 5 MKII owner's manual

Peavey ARTIST owner's manual

Peavey

Peavey ARTIST owner's manual

Comelit 49AMP240 Technical manual

Comelit

Comelit 49AMP240 Technical manual

Tokyo Hy-Power HL-2.5KFX instruction manual

Tokyo Hy-Power

Tokyo Hy-Power HL-2.5KFX instruction manual

Adcom GFA-585se user manual

Adcom

Adcom GFA-585se user manual

Powerwave Technologies NTGS86AA Installation & service manual

Powerwave Technologies

Powerwave Technologies NTGS86AA Installation & service manual

Audiolab 8000AP Brochure & specs

Audiolab

Audiolab 8000AP Brochure & specs

Extron electronics VGA Distribution Amplifiers P/2 DA4xi s Specification sheet

Extron electronics

Extron electronics VGA Distribution Amplifiers P/2 DA4xi s Specification sheet

Rivera R100-212A owner's manual

Rivera

Rivera R100-212A owner's manual

Better Music Builder G2 Series owner's manual

Better Music Builder

Better Music Builder G2 Series owner's manual

manuals.online logo
manuals.online logoBrands
  • About & Mission
  • Contact us
  • Privacy Policy
  • Terms and Conditions

Copyright 2025 Manuals.Online. All Rights Reserved.