Ossa EXPLORER 2014 User manual

USER MANUAL EXPLORER 2014

2 User manual

User manual 3
Introduction
We at OSSA Motor would like to thank you for purchasing one of
our products.
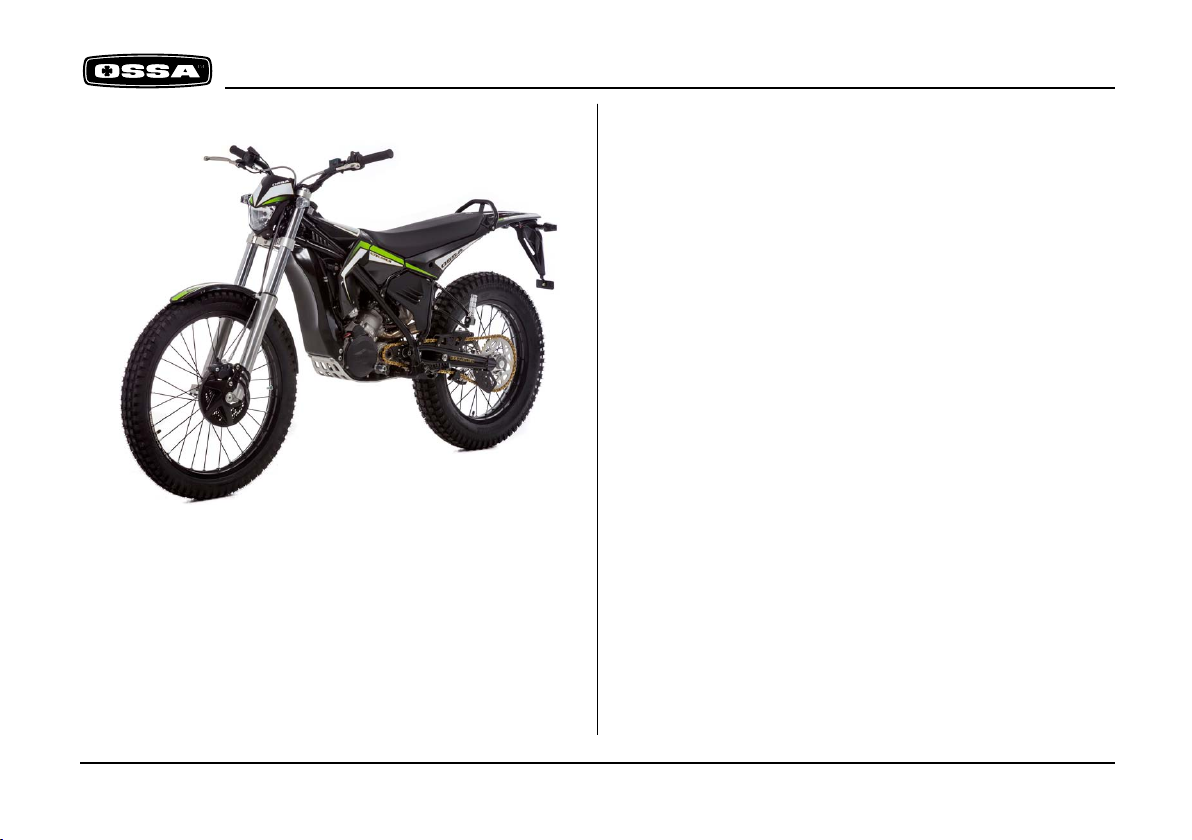
When designing the Explorer, OSSA engineers and designers were
based on the following approach: create a bike that was easier to
reach the most difficult places. Its extreme lightness and trials
qualities, combined with its enhanced ergonomics, make it possi-
ble to enjoy both tours real quiet as trial areas.
For 2014, the Explorer receives multiple internal and external im-
provements. The engine has been thoroughly revised to improve
reliability and further refine its operation, while in the cycle have
polished practical details that make the experience even better to
ride an Explorer.
OSSA motorcycles have been designed, assembled and tested by
experts, and each of its parts has been produced under the su-
pervision of OSSA engineers so as to obtain the best possible re-
sults and the best possible performance.
At OSSA Motor we know that each motorcycle model is unique
and has its own features, which is why we dedicate so much time
on research and design for each item.

4 User manual
Read this manual thoroughly and keep it in a safe place. This
manual provides technical information necessary for keeping your
new Explorer motorcycle in full working condition. It provides in-
formation on common aspects for the motorcycle’s upkeep and
fine tuning. In the event of questions or queries on aspects not
mentioned in this manual, you should consult the OSSA official
distributor or a specialist engineer.
Follow each stage of the instructions provided below for obtaining
good results.
These instructions are accompanied by icons to make reading
quicker and easier.
ATTENTION – This symbol indicates that special
attentionmust be paid!
INFORMATION – Informative note, advice.
Some of the indications specified in this manual are to prevent
possible harm from being inflicted on people or material. Not
following the instructions may result in serious consequences,
which could put people’s lives at risk.
This manual has been put together with the OSSA Explorer current
layout. However, OSSA Motor reserves the right to make changes
tothis layout without prior notification to consumers. In the event
of this taking place, your dealer will provide you with the relevant
information.
- Never overload the motorcycle.
- Any additional weight could destabilise the mo-
torcyclewhich may cause accidents that incur se-
rious injury or even death.
Important

User manual 5
Both your safety and the safety of others are very important when
riding a motorcycle.
Some important advice for using your motorcycle correctly is de-
tailed below.
- Always drive in a responsible way.
- Always use a helmet.
- This motorcycle is designed to be used in both urban and rural
areas. It should be used, however, while respecting other people
and the environment. If, in your geographical area, the use of
motorcycles in rural areas is restricted, you must respect the law.
- Always wear appropriate clothing and protective accessories.
Gloves, boots and thick trousers, among others, are recommen-
dable. Do not wear baggy clothing that might get caught on a
mechanism in the motorcycle.
- Be careful with the exhaust system! The exhaust system gets
extremely hot during and after use of the motorcycle. In the event
of suffering burns, see a doctor as soon as possible.
- Take the time necessary to become familiar with your new mo-
torcycle.
- Make sure your motorcycle is serviced regularly to avoid break-
downs while driving.
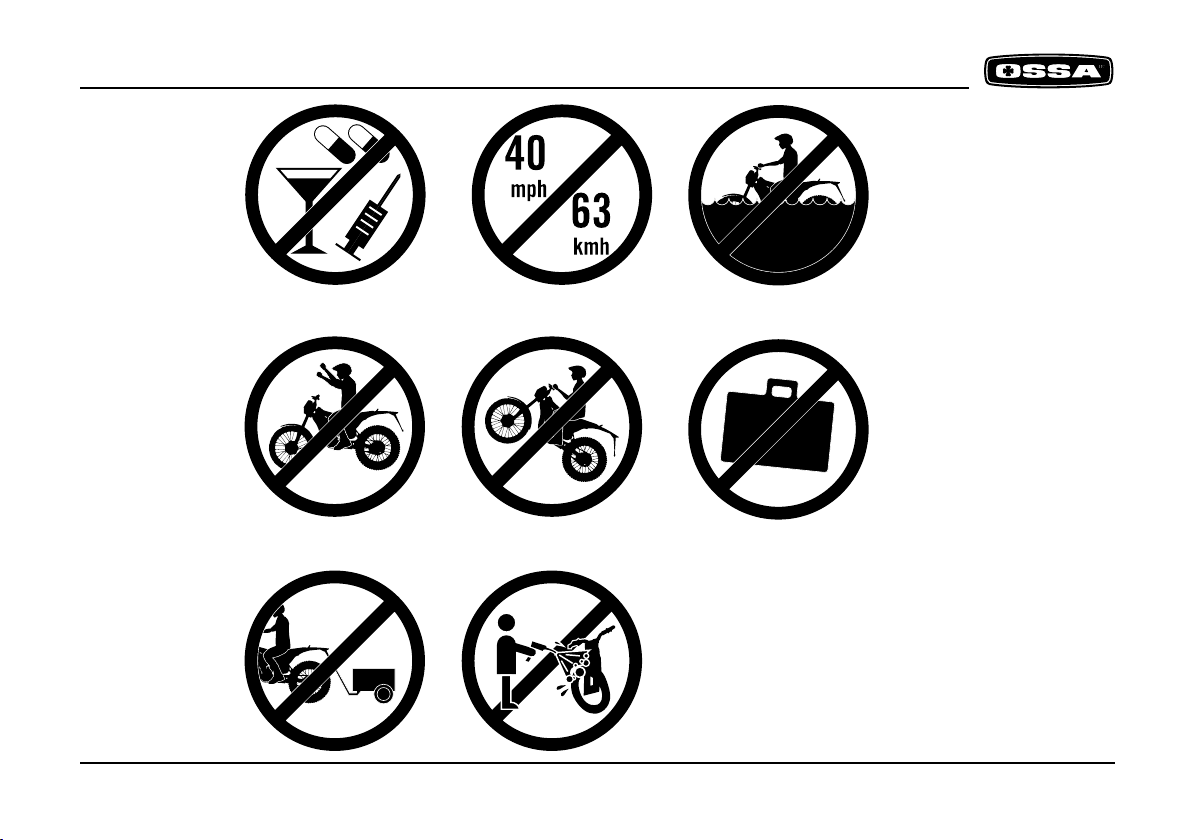
- Never ride if you have consumed alcohol or any type of substance
(medication, drugs) that might affect your driving capability.
- Moderate speed. Do not exceed 63 KPH (40 MPH).
- Do not cross water areas.
- Do not release your hands from the handlebars.
- Do not perform risky maneuvers and stunts.
- Do not use your motorcycle for transporting or towing loads. In
the event of needing to carry loads, always use the box under the
seat. This load may be light-weight and small in volume so that
driving is not affected. Ensure that there are no loose leashes or
other elements that might get caught inside a mechanism. Never
apply additional weight to the handlebars, fork or mudguards. Be
specially careful when transporting any type of load.
- Do not clean the motorcycle with pressurized-water equipment,
since this may damage the parts.
Safety

6 User manual

User manual 7
Introduction 3
Important warning 4
Saferty 5
Contents 7
Technical specifications 8-9
Recommendations 10
Section 1 - Components 11
Location 12-14
Multi-function box 15-22
Control pad 23
Front suspension
Settings 24
Air bleed 24
Seat 25
Anti-theft immobilizer 26
Start lever 27
Fuel tank 28-30
Section 2 – Maintenance and basic operations 31
Maintenance grid 32-33
Adjustments to the motorcycle controls 34
Electric connections 35
Simplified lighting wiring diagram 36
Simplified injection wiring diagram 37
Air filter 38
Radiator 39
Spark plug 40
Chain
Tension adjustments 41
Lubriction of moving parts 42-44
Tyres
Pressure and condition 45
Control of crankcase oil
Filling up and draining 46
Brakes 47
Torque wrenches 48
Storage 49
Troubleshooting 50-54
Registration, series number and key 55-60
Warranty conditions 61-68
Final considerations 69
Contents

8 User manual
ENGINE
Cylinder size 247,7 cc (Explorer 250) / 272,2 cc (Explorer 280)
Type 2 stroke inverted monocylinder with reed box admission
Cooling Liquid cooled
Bore x Stroke 72,5x60 mm (Explorer 250) / 76x60 mm (Explorer 280)
Injection EFI Kokusan Indirect injection
Ignition Digital flywheel CDI Kokusan
Clutch Hydraulic
Start Battery-assisted kickstart
TRANSMISSION
Gearbox 6 speeds
Transmission Primary transmission by gears, final transmission by chain.
Lubrication Mixture 100% synthetic oil lubrication 0.9%
Gearbox and clutch lubrication 450 cc. of Gear Extreme type 75 W oil.
FRAME
Type Made of CR-MO steel tube, with fuel tank and lower part made of forged aluminium
Front suspension Hydraulic fork, 40 mm diameter adjustable in rebound and compression
Rear suspension Variable progressive system with Ollé mono shock absorber with adjustable spring preload
Front brake 185 mm diameter disc with 4-piston brake caliper
Rear brake 180 mm diameter disc with 4-piston brake caliper
Front wheel 28 spokes with 2.75x21 wheel
Rear wheel 28 spokes with 4.00 x 18 tubeless wheel
Engine protector Constructed in AA7075 T6
Kick-start pedal Forged aluminium
Shift pedal Forged aluminium with retractable toe cap
Technical specifications

User manual 9
WEIGHTS AND MEASUREMENTS
Wheelbase 1.328 mm
Seat height 840 mm
Ground clearance 340 mm
Fuel tank capacity 7,6 litres (2,6 + 5 l.)
Dry weight 74 Kg
OSSA Factory reserves the right to make modifications without prior notification. Kokusan, Marzocchi, OHlins are registered trademarks and their use is licensed.
Technical specifications

10 User manual
Recommendations
It is extremely important to follow the recommendations below in order to keep your motorcycle in full working order.
- 12 hours of running-in is recommended to ensure that the engine works correctly and for a long-lasting time period.
- It is important to run the engine for some minutes until it reaches the correct temperature to work correctly.
- The engine lubrication is a mixture of petrol-oil with a 0.9% oil proportion. Always use synthetic oil.
- When the motorcycle is new the oil must be changed for the first time after 5 hours of use and for the second time after 12 hours of
use.

User manual 11
Section 1 - Components

1
2
3
4
5
6
7
8
9
10 11 12 13
14
12 User manual
Location of elements
1 Front mudguard
2 OSSA multi-function box
3 Fan and radiator
4 Cylinder
5 Sparkplug
6 Chain guide
7 Front tyre
8 Front fork bottles
9 Front fork stanchions
10 Shift pedal
11 Chain
12 Chain slider
13 Rear sprocket protector
14 Rear tyre

15
16
17 18
18
19
20 21 22
23
24
25
26
27
User manual 13
Location of elements
15 Rear break caliper and
anti-theft immobilizer
16 Exhaust
17 Kick-start pedal
18 Fuel tank
19 Rear brake disc
20 Swing arm
21 Rear brake lever
22 Crankcase protector
23 Front brake caliper
24 Front brake disc
25 Air filter
26 Rear footrests (depen-
ding on version)
27 Passenger handle

27
28 29
30
31
32 33
34
35
36
37
14 User manual
Location of elements
27 Front brake lever
28 Throttle grip
29 Throttle control
30 Front brake pump
31 Front fork servicing cap
32 OSSA multi-function box
33 Clutch pump
34 Lights control pad
35 Clutch lever
36 Headlights
37 Ignition key

User manual 15
Multi-function box
The OSSA Explorer multi-function box and the indicator lights next
to it provide very useful information at all times. The multi-function
box is a power box system with an LCD screen controlled by a con-
sole with indicator lights, located in the centre of the handlebars.
The information displayed on the multi-function box includes: the
number of revolutions made by the engine, speed, distance covered,
total distance covered, time, average speed, maximum speed, envi-
ronmental temperature, running time and uptime.
This device has an internal memory unit that stores data like total Km
and total running time, even when it is switched off.
Some features may be personalised: the device can measure in kilo-
metres or miles. The wheel circumference value can also be chan-
ged.
A temperature sensor warns us with a yellow light (1) when the engi-
ne temperature is excessive.
Another sensor provides a warning with a red light (2) when the rate
at which the engine turns is excessive.
OSSA Multifunction Display
Function selection button
Left buton Right button
Temperature warning LED
LED warning of

16 User manual
Multi-function box
Functions Technical features Accuracy
Symbol Increasess
Current speed 4 - 399,9 Km/h o M/hSDP0 ,1 Km/h o M/h+ /- 0,1%
0 - 19999 rpm
RPM 10 rpm+ /- 0,1%
Tachometer
Distance covered 0,1 Km/h o M/h+ /- 0,1%
0,0 - 19999 Km / M
DST
Maximum speed MS 4 - 399,9 Km/h o M/h 0,1 Km/h o M/h+ /- 0,1%
TT
Running time 0 - 9999 hours 59 minutes 1 second +/- 0,1%
0 - 12000 rpm
-Variable+ /- 0,1%
Tachometer bar
0,0 - 999999
ODO 1 Km +/- 0,1%
Mileage
1 minute
0 - 999 hours 59 minutes
RT +/- 0,1%
Uptime
1 minute
0 - 9999 hours 59 minutes
ART +/- 0,1%
Accumulated uptime
Each use
12:59:59 - 23:59:59
00:00:00 +/- 0,1%
Clock
Each use
1 year's duration approx
LO +/- 0,1%
Battery low
0 - 3999 mm
---
Tyre size
Technical features
Input voltage: 9-400 V CA/CC.
Speed sensor: magnetic non-contact sensor
Tachometer input: electrical pulse sensor
Wheel circumference adjuster: 1 mm -3.999 mm (increases of 1 mm)
Running temperature / storage: from 0ºC to 60ºC (from 32ºF to 140ºF) / from -20ºC to 80ºC (from - 4ºF to 176ºF)
Battery / Life: 3V CR2032 / 1 year approx

User manual 17
Multi-function box
Functions
RPM: Bar
Bar graph tachometer. The tachometer bar graph displays up to
12,000 rpm.
RPM: Digital tachometer
The RPM appear on the right side, on the second line. The digital
tachometer displays up to 12,000 rpm. The tachometer signal
can be captured from the sparkplug wire.
Warning of gear change due to rpm.
The rpm appear on the right side, on the second line. The digital
tachometer displays up to 12,000 rpm. The tachometer signal is
received from the sparkplug wire.
SPD: Speedometer
The speedometer information appears on the centre of the screen.
It displays up to 399.9 km/hour or miles/hour.
MS: Maximum speed meter
It displays the maximum speed reached during the last operation
after having set the counter at zero.
DST: Distance covered
It appears on the right side, on the second line of the screen. The
TRIP function records the mileage accumulated by the vehicle
since the last RESET.
ODO: Mileage counter
It records the distance or total accumulated mileage for the ve-
hicle. The data is stored in the memory, even when the device is
switched off.
ART: Running time controller
It calculates the total running time. It begins counting as soon as
the engine is switched on.
RT: Total running time controller
It calculates the vehicle’s running time from the last RESET. It
begins to count from when the vehicle starts to move. The data is
stored in the memory, even when the device is switched off.
12/24 hour clock
It displays the current time in 12 or 24 hour clock. It indicates the
temperature of the environment and engine. The display screen
on the upper left shows the environmental temperature. Using an
optional temperature sensor, the screen displays the engine tem-
perature. If excessive, the yellow light comes on.
Indicator that engine turn rate is excessive / Warning of gear
change due to rpm.
If the engine turn rate is excessive a second red warning light will
come on. This function acts as a warning to change gear when a
specific number of rpm is reached. The red light flashes when the
rpm reaches the established value and stops flashing when the
gear is changed.

1 2 32
1
12 3 12
18 User manual
Multi-function box
Adjustment of the multi-function box settings
After confirming each value, the multi-function box will move straight on to the next screen adjustment until the process is complete. If
no button is pressed, the multi-function box will return to the initial screen after 15 seconds.
Activation of the adjustment mode
To activate the adjustment mode
for the multi-function box set-
tings, push buttons 1,2 and 3 si-
multaneously for 3 seconds and
then release them.
Select the speed unit
To select the speed unit between
km/h and m/h, press 1. Confirm
your selection by pressing 2.
Select the wheel circumference
Enter the wheel circumference
by pushing button 1 repeatedly.
To move to the next digit, press
button 3. Confirm the selection
by pushing button 2.
Note: If you don’t know the whe-
el circumference, consult the
“Measuring the wheel circumfe-
rence” section.
Select the time format
To select the time format change
between the 12 and 24, press 1.
Confirm your selection by pres-
sing 2.

12123
1 2 3
User manual 19
Multi-function box
Time adjuster
Set the time by pressing button
1 repeatedly. To move to the
next digit, press button 3. Con-
firm the selection by pushing
button 2.
Adjustment of the revolution pulse
(PPR)
Note:
This step must only be fo-
llowed for those vehicles that
change the PPR pulse type
to a specific turn rate. If you
don’t know this value, press
button 2 to move on to the
next screen. Enter the value
by pressing button 1 repea-
tedly. To move on to the next
digit, press button 3. Confirm
the selection by
pushing button 2.
Adjustment of the revolution pulse
(PPR)
The indicator receives an elec-
tric pulse each time the engi-
ne turns (PPR). Default value
for 2 and 4 stroke engines: 1
PPR. Enter the value by pres-
sing button 1 repeatedly. To
move on to the next digit, press
button 3. Confirm the selection
by pushing button 2.
Adjustment of the revolution pulse
(PPR)
Note:
This stage must only be im-
plemented if in the previous
stage the value 0 was entered.
Default value: 1.0. If you don’t
know this value press button 2
to move on to the next screen.
To move on to the next digit,
press button 3. Confirm the
selection by pressing button 2.

1 2 3
1
1
2
2
3
3
123
20 User manual
Multi-function box
Temperature selector
To select the unit of
temperature,either ºC or ºF,
press button 1. Confirm the
selection by pressing button 2.
Danger temperature selector
Note:
This stage should only be im-
plemented for those vehicles
that have an optional tempera-
ture sensor. When the motor-
cycle temperature exceeds the
set value, right-hand warning
light comes on. Default value:
110ºC (230ºF).
Enter the value by pressing
button 1 repeatedly. To move
on to the next digit, press
button 3. Confirm the selection
by pressing button 2.
Warning temperature selector
Note:
This stage should only be imple-
mented for those vehicles that
have an optional temperature
sensor. When the motorcycle
temperature exceeds the set va-
lue, the left-hand warning light
comes on.
Default value: 90ºC (190ºF). En-
ter the value by pressing button
1 repeatedly. To move on to the
next digit, press button 3. Con-
firm the selection by pressing
button 2.
Gear change turn rate selector
When the set rate is near to be-
ing reached, the left-hand war-
ning light will flash, indicating
the need to change gear.
Default value: 6000 rpm
Enter the value by pressing
button 1 repeatedly. To move on
to the next digit, press button 3.
Confirm the selection by pres-
sing button 2.
Table of contents
Other Ossa Motorcycle manuals