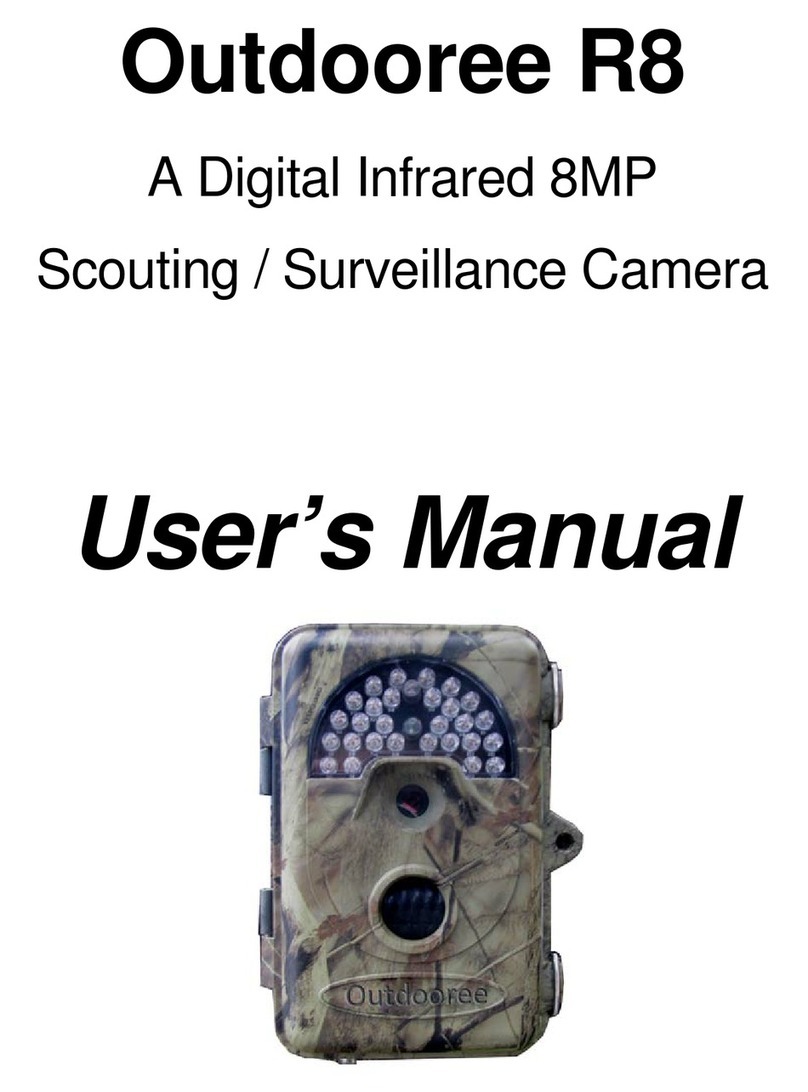
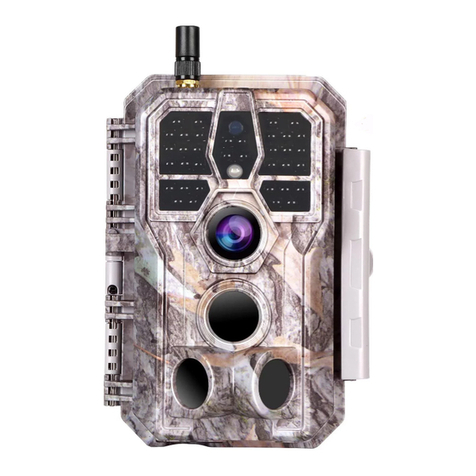
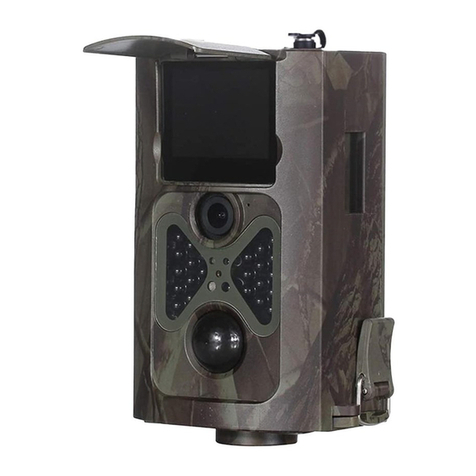
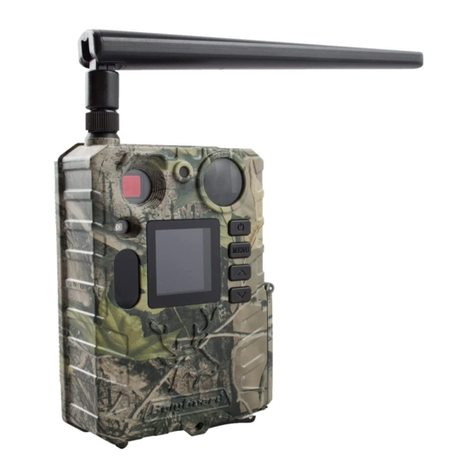
Outdooree R6 User manual

Outdooree R6
A Digital Infrared 5MP
Scouting / Surveillance Camera
User’s Manual

INDEX
1.Introduction…………………………………………..4
2.Parts and controls ID……………..…………………5
3.Installing Batteries and SD card…………………..7
4.Using and Programming the Outdooree R5…..11
4.1 Set Camera Mode…………………………14
4.2 Restore Factory Default Settings………15
4.3 Set Clock……………………………………16
4.4 Set time stamp……………………………..17
4.5 Set TV Output……………………………...18
4.6 Format SD Card……………………………18
4.7 Set Sensitivity level……………………….19
4.8 Set Interval……………………………........19
4.9 Set Video Length………………………….20
4.10 Set Video Resolution……………………21
4.11 Set Burst Mode/Capture Number.........21
4.12 Set Image Resolution............................22
5.Mounting and Positioning your camera.............22
6.Sensing Angle and Distance test........................23
7.Switching on the camera......................................25
8.Playing back/deleting photos/videos..................25
9.Trouble Shooting/FAQ’s.......................................32
10. Technical Specifications………………………..41
1

2

3

Fig.5
1. Introduction
The Outdooree R6 is a digital
scouting/surveillance camera which uses a
highly sensitive Passive Infra-Red (PIR) motion
sensor to detect heat and movement and then
take high quality pictures (up to 5MP still
photos), or video clips.
The Outdooree R6 consumes very little power
(less than 300μA) in a standby (surveillance)
4

state. This means it can deliver up to six months
stand-by operation time when the device is
powered by eight AA alkaline batteries. Once
motion in the monitored area is detected, the
digital camera unit will be triggered in
approximately 1 second and then automatically
take photos or videos according to previously
programmed settings.
The Outdooree R6 is equipped with built-in
infrared LEDs for night time illumination, so that
it delivers clear photos or videos (in black &
white) even in the dark, and it can take color
photos or videos under sufficient daylight. The
Outdooree R6 is designed for outdoor use and
is completely weatherproof.
2. Parts and Controls Identification
a. Packing Contents
The following items are included with your new
Outdooree R6: Keyboard, USB cable, TV cable,
and attachment strap.
5

b. Controls
The Outdooree R6 provides the following
connections for external devices: Keyboard
Port, USB port, SD card slot, TV Out, and
external DC power in (Fig. 1).
Remote Control:
Remote Control is a keyboard for setting
Outdooree R6’s parameters.
The keyboard interface with six keys is
primarily used in SETUP mode to select
operational functions and parameters. As
shown in Fig. 2, these keys are: UP, DOWN,
LEFT, RIGHT, OK and MENU. Four of the keys
can also perform a second function in addition
to their main function: The DOWN key can be
used to set the camera to Photo mode (still
camera icon), and the UP key can set the
camera to Video mode (movie camera icon).
The RIGHT key also serves as the manual
shutter (SHOT) button of the camera and the
OK key switches the camera to the Playback
(REPLAY) mode. These secondary functions
are indicated by icons or text above the key as
shown in Fig. 2.
6

3. INSTALLING THE BATTERIES and SD
CARD
Before you begin learning how to use your
Outdooree R6, you will first need to install a
set of batteries and insert an SD card. Although
that may only take you a minute, there are
some important notes about both batteries and
SD cards you should be aware of, so please
take the time to read the following directions
and cautions:
a. Loading Batteries
After opening the two latches on the right side
of the Outdooree R6, you will see the battery
compartment. The Outdooree R6 has eight
battery slots. Starting at the top of the battery
compartment, slots 1, 2, 3 and 4 form one
group, while slots 5, 6, 7 and 8 form the other
group, each providing 6 volts in parallel. For
maximum battery life, you should install a full
set of eight batteries. The
Outdooree R6
may
also be operated by just four batteries installed
7

in the top group only, starting at slot 1. Battery
life will be shorter with 4 batteries, but the
camera will operate normally. Whether you use
4 or 8, be sure to insert each battery with
correct polarity (negative or “flat” end against
the long spring of each battery slot).
Outdooree recommends using eight new
lithium AA or alkaline AA batteries; NiMh
Rechargeable batteries can also be used, but
they might have a shorter life span due to their
reduced efficiency over time and at low
temperature.
b. Using an External Power Source
(optional, user provided)
Optionally, you can connect an external 6V DC
power source to the “DC In” jack at the bottom
of the Outdooree R6. It is recommended to
use a power source with a current output
greater than 1000mA. However, during bright
daytime operation when no flash is required,
the Outdooree R6 can function with much less
current (>400mA). Please use a compatible
power source cable (not provided) to connect
8

the external DC power source with the power
input jack of the Outdooree R6, making sure
that the polarity is correct. Note: The power
connector is a 4.0x1.7mm coaxial DC power
plug with positive “tip” (inside pin) polarity
(Radio Shack P/N 274-1532 or equivalent).
If both an external power source is connected
and batteries are installed, the
Outdooree R6
will be powered by the external power source.
When the batteries become weak, the low-
battery indicator LED will glow blue, indicating
the batteries should be changed.
c. Inserting the SD Card
Warning!
Be sure the cameras power switch is turned
off before installing batteries or SD
card!!!!!!!
The
Outdooree R6
has 32MB of internal
memory, which can hold only about 25 photos
(@ 5MP resolution). This is handy for testing
and getting familiar with the camera, but you
will no doubt want to leave the camera
9

unattended for longer than a day, so using an
SD card is recommended. Insert the SD card
(with the camera’s power switch in the
OFF
position) before beginning to operate the
camera. Do not insert or remove the SD card
when the power switch is in the
ON
position.
The
Outdooree R6
uses a standard SD
(Secure Digital) memory card to save photos
(in .jpg format) and videos. SD and SDHC
(High Capacity) cards up to a maximum 16GB
capacity are supported. Outdooree
recommends using Outdooree or Sandisk
brand SD cards. Before inserting the SD card
into the card slot after opening the camera’s
front cover, please make sure that the write-
protect switch on the card is in the up/off
position (when looking at the front of the card
the switch is on the left side of the card) (fig. 4).
The following describes how to insert and
remove the SD card:
• Insert the SD card into the card slot with its
label side upwards (see above). A “click” sound
indicates that the card is installed successfully. If
the wrong side of the card is facing up, you will
10

not be able to insert it without force-there is only
one correct way to insert cards. Formatting the
SD card by using the Outdooree R6 “Format”
parameter before using it for the first time is
recommended, especially when a card has been
used in other devices (see “4.6 Format SD Card”
for details).
• To take out the SD card, just gently push in
the card (do not try to pull it out without pushing
in first). The card is released from the slot and
ready to be removed when you hear the click.
4. Using and Programming the
Outdooree R6
Once you’ve prepared your Outdooree R6 by
properly installing batteries and a SD card, you
could simply take it outside, strap it to a tree,
switch it on and leave. The camera will
function in the factory default settings.
However, we highly recommend that you first
spend some additional time indoors with this
manual and your camera until you know a bit
more about what the 2-way work state and
11

those Keyboard keys do. If nothing else, you’ll
probably want to at least set the date and time
so the camera will imprint them on your photos
as they are taken, learn how to set the camera
to shoot video clips instead of still photos if you
like, and read some tips about mounting it on a
tree.
a. THE OFF, ON, AND SETUP MODES
The Outdooree R6 has three basic
operational modes:
- OFF mode: Power switch in the OFF position.
- ON mode: Power switch in the ON position
without Keyboard being connected.
- SETUP mode: Power switch in the ON
position with keyboard being connected.
b. OFF mode
The OFF mode is the “safe” mode when any
actions must be taken, e.g., replacing the SD
card or batteries, or transporting the device.
12

You will also use OFF mode if you connect the
camera to a computer’s USB port later.
c. ON mode
Anytime after the batteries and SD card have
been inserted, you can switch on the camera.
When the power switch is moved to the ON
position, the camera will enter into the ON
(Live) mode. The motion indicator LED (Fig 3)
will blink red for about 10 seconds. This interval
allows time for you to close the Outdooree
R6’s front cover, lock it, and leave the
monitored area. Once in the ON mode, no
manual controls are needed or possible.The
Outdooree R6 will take photos or videos
automatically (according to its current
parameter settings) when it is triggered by the
PIR sensor’s detection of activity in the area it
covers.
13

d. SETUP mode
In anytime in the ON mode, the SETUP mode
is activated when connecting the keyboard with
the Outdooree R6.
In OFF mode you just need connect the
keyboard with Outdooree R6 and power on
the Outdooree R6 if the SETUP mode is
needed.
Under the SETUP mode you can take over the
control of the Outdooree R6 manually or set
operational parameters with the help of a
display, i.e., the built-in LCD.
4.1 Set Camera mode (video or still
images)
Enter into SETUP mode first.
Two ways for setting this parameter: One is to
use the shortcut key and the other is through
the MENU.With the shortcut key, set camera
mode to “video” by pressing the UP key and
set camera mode as “camera” by pressing the
DOWN key.
With MENU Way, Press the MENU button,
Press RIGHT button till “Mode” appears, this
14

parameter has two values: “camera” and
“video”. Pressing UP key can switch between
these two parameters.
Press OK key to save setting or MENU key to
cancel setting and exit. Please note, you’ll quit
the parameter setting without any saving and
no parameter is changed if you press the
MENU key at any time before pressing OK key.
4.2 Restore Factory Default
settings
a. Note: Restoring the factory default
settings will remove any previous settings
you have saved.
b. Enter into SETUP mode, Press the
MENU button.
c. Press the RIGHT or LEFT key till the
“Default” appears, Push the OK key to load
default settings or MENU key to cancel this
operation.
15

4.3 Set Clock
You can set the date and time when necessary,
e.g., after every battery change. The format of
the date is month/day/year while the time
format is hour: minute: second. In MENU state,
the steps as following:
a. Press the LEFT arrow button until “Set
Clock” appears at the top of the screen.
b. Press “OK”
c. Use “UP” and “DOWN” buttons to change
the current hour
d. Use “RIGHT” arrow to move highlighted
box to minutes
e. Use “UP” and “DOWN” buttons to change
the current minute
f. Use “RIGHT” arrow to move highlighted
box to year
g. Use “UP” and “DOWN” buttons to change
the current year
h. Use “RIGHT” arrow to move highlighted
box to month
i. Use “UP” and “DOWN” buttons to change
the current month
16

j. Use “RIGHT” arrow to move highlighted
box to day
k. Use “UP” and “DOWN” buttons to change
the current month
l. Press “OK” to save settings
After the settings of the date and time, press
the OK key to save them or the MENU key to
cancel setting.
4.4 Set time stamp
This parameter defines whether the time
should be stamped in the pictures and video
clips or not.
a. Press the LEFT arrow button until “Time
Stamp” appears at the top of the screen.
b. Use “UP” and “DOWN” arrows to choose
On or Off. “On” will place the date and
time on the lower portion of all pictures
and the first frame of videos.
c. Press OK key for saving setting or MENU
key for canceling operation and exiting.
17

4.5 Set TV output
a. Press the LEFT arrow button until “TV
Output” appears at the top of the screen.
b. In the US, Canada, Mexico, Asia and
South America, TV’s are formatted to
NTSC, European countries use PAL. Use
the “UP” and “DOWN” arrows to select
the appropriate TV Output.
c. Press “OK” to save setting.
4.6 Format SD card
Note: Formatting the SD card will erase all
data stored on the card. Do not format if
there is important data stored, it will be
unrecoverable.
Note: Formatting is highly recommended if
you are using an SD card that has been used
in other electronic equipment such as point
and shoot style cameras.
a. Press the LEFT arrow button until
“Format” appears at the top of the screen.
b. Press “OK”
c. Use the “UP” and “DOWN” arrows to
select “Yes”.
18

d. Press “OK”, a green screen will appear
that says “Format Success” and then the
screen will return to the format screen.
4.7 Set sensitivity level
Note: The sensitivity level dictates how
easily the camera triggers. It is
recommended to use “Low” sensitivity during
winter months to avoid false triggers; “High”
for hot summer, “Normal” for spring and fall
season.
a. Press the LEFT arrow button until
“Sensor Level” appears at the top of the
screen.
b. Use the “UP” and “DOWN” arrows to
select “Low”, “Normal” or “High”.
c. Press OK key for saving setting or MENU
key for canceling operation and exiting.
4.8 Set Interval
Note: The interval setting controls how often
the camera can trigger, i.e.: a 1 minute
19
Table of contents
Other Outdooree Scouting Camera manuals