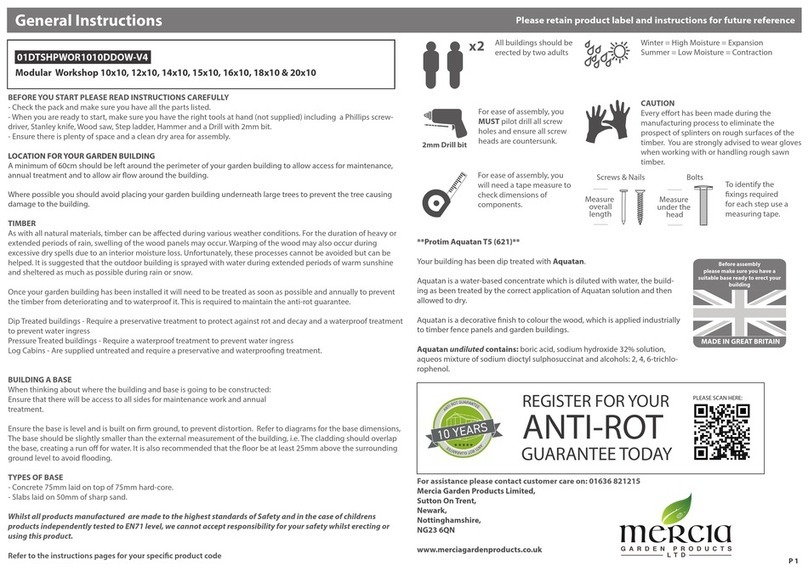
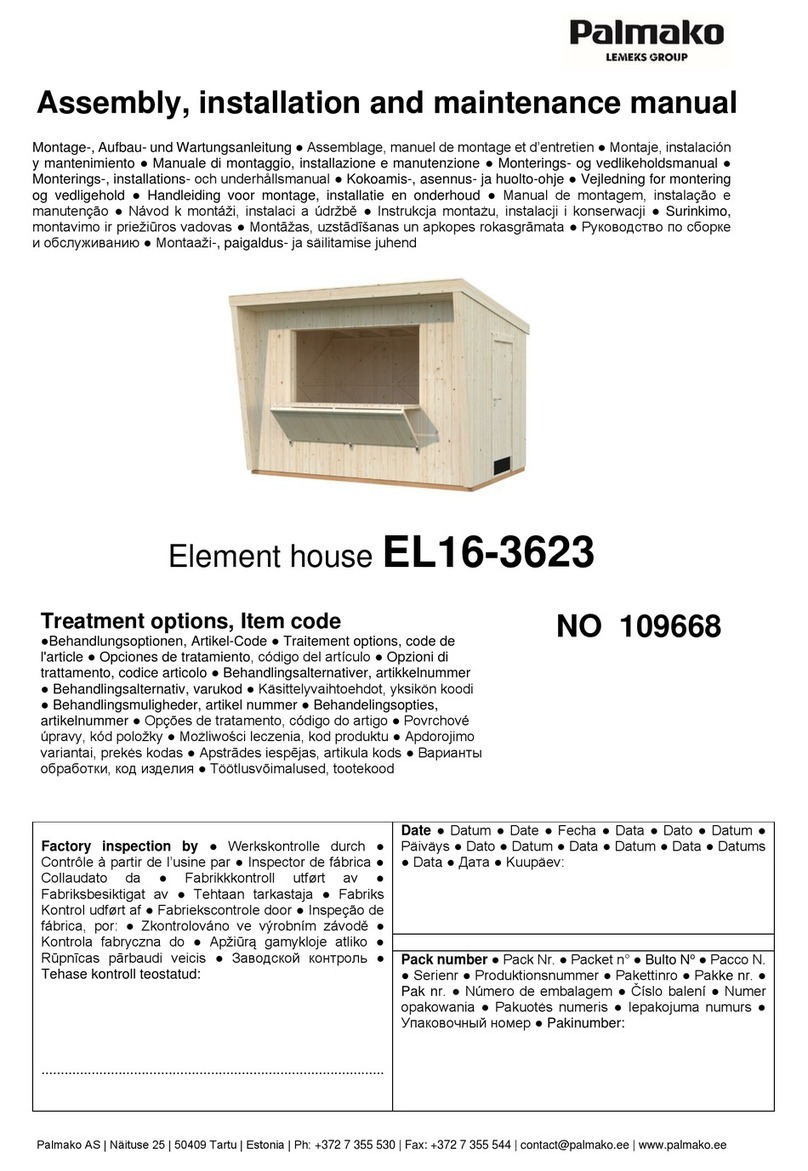
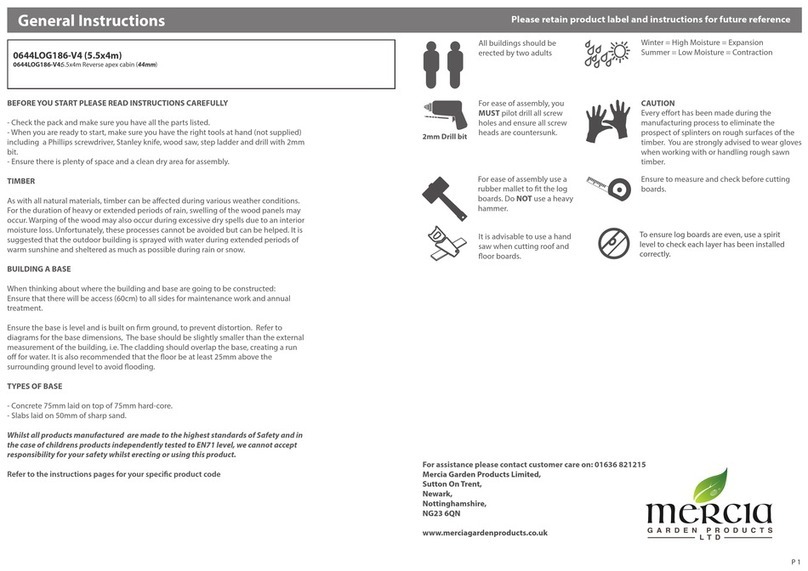
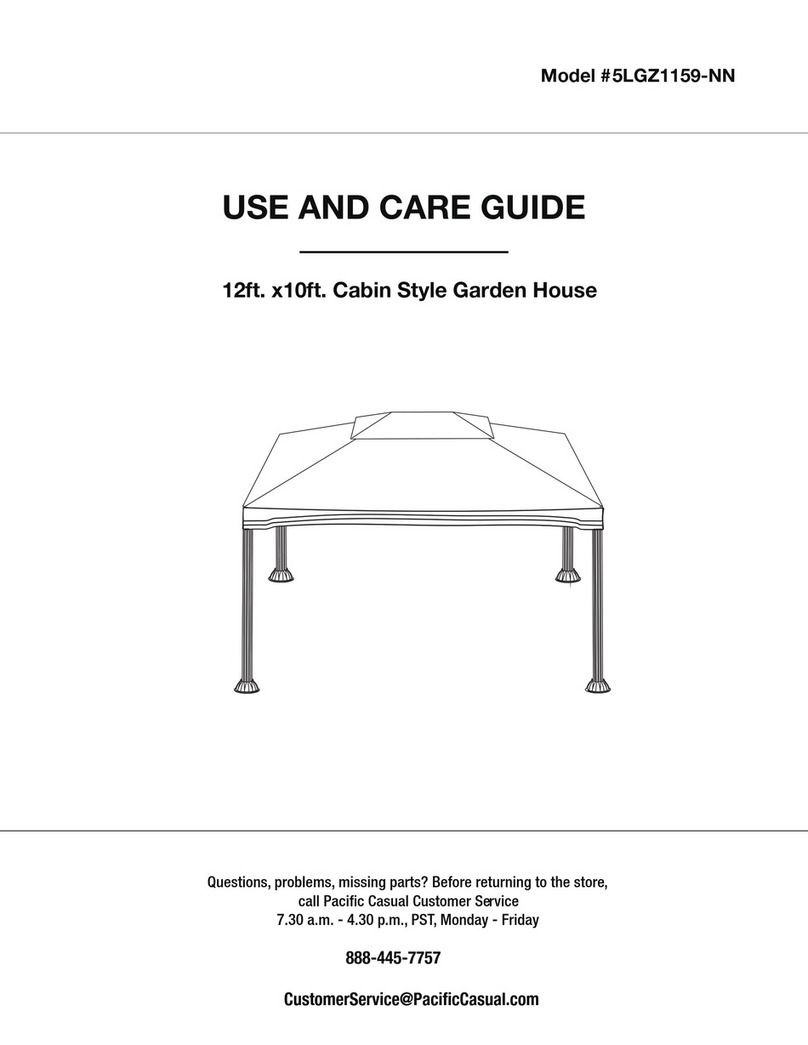
Pacific Casual 5LGZ1295 User manual

Model # 5LGZ1295
1/12
Catina 13x10 ft. Cabin Style Garden House Canopy Gazebo
Ver:1-12-2021
Customer Service:
Call between 7:30am to 4:30pm P.S.T.
(Monday to Friday)
Pacific Casual L.L.C.
1060 Avenida Acaso,
Camarillo CA 93012
TEL: (888)445-6690

PRE-ASSEMBLY PREPARATION:
!THISPACKAGE MAY CONTAIN SMALL ITEMS WHICH SHOULD BE KEPT AWAY FROM CHILDR
EN.
•Please check that all parts and hardware are included before beginning assembly.
•Save all packing materials until assembly is complete to avoid accidentally discarding smaller parts or hardware.
•Read through the preparation and assembly instructions in full before beginning assembly
•Please use CAUTION AND CARE WHEN LIFTING the product to avoid personal injury and
(or) damage to the product.
to reduce the risk of personal injury and damage to product or surroundings.
Always install on level ground utilizing ground stakes. This garden
permanently staked or attached to concrete floor or platform. house cannot be
Keep all children and pets away from assembly area.
Begin assembly no less than 6 feet from any obstruction such as fence, garage, house,
overhanging branches, clothes line or electrical wires.
Some parts may contain sharp edges, wear protective gloves if necessary. At least two or
more people are recommended for safe assembly.
Please have a ladder and a rubber mallet ready before assembly.
Note:
It is very important to read and follow these Safety Precautions before assembly and during the use of this
product.
•
•
•
•
•
Notice: This gazebo / pergola is intended as a temporary shade structure, not a permanent structure.
As a result the canopy / top must be removed during heavy rain, winds, or inclement weather including but not limited
to thunderstorms, hurricanes, snow, and sleet. Failure to do so will risk damage to the canopy / top and the structure
Damage occurred to the unit from not removing the top is not covered by the manufacturer.
1) Keep all flame and heat sources away from this tent fabric. This tent is made with fabric that meets CPAI-84 specifications
for the flame resistance. It is not fire proof. The fabric will burn if left in continuous
The application of any foreign substance to the tent fabric may render the flame-resistance properties ineffective.
2) When assembling and using this product, basic safety precautions must always be followed to reduce the risk of personal
injury and damage to product or surroundings. Do not cook
3)
4) Garden house fabrics are water resistant but not waterproof and may leak during precipitation.
Fabrics will fade from direct exposure to sunlight.
or barbeque under the canopy.
MAINTENANCE A ND CARE TIPS FO R GARDEN HOUSE
Please properly tighten all hardware and perform periodic inspections during usage for cracked welds
or loose nuts or bolts.
5)
contact with any flame source.
of the unit itself.
2/12

3
PLANNING ASSEMBLY
HARDWARE INCLUDED
NOTE: Hardware not shown to actual size.
Part Description Quantity
AA Bolt (M5x10) 24
BB Bolt (M6x16) 4
CC 8
DD 16
8
FF GG
FF
NutEE
8
HH
It will take two people to complete the assembly process.
AA BB
KK
EE
II
Ground stake
A free-standing ladder and a Philips screwdriver are needed during the assembly.
CC
Bolt (M6x50)
Bolt (M6x30)
DD
JJ LL
HH
GG 4
Anchor 4
Guy rope
KK
I I 1
JJ 1
Bolt cap 28
Spanner
Hex wrench
LL
Plastic rings
52
Part Description Quantity
:TSILTRAP
3/12

PACKAGE CONTENTS
Part Description Quantity
A
Right long beam
4
Post
2
C
4
D
Right short beam 2
E
Corner roof tube
2
F
Left short beam
2
Left long beam
G2
Long midde roof tube 2
H
B
A
C
E
F
G
H
I
J
K
L
M
Part Description Quantity
I
Vent cover
1
Vent hub
1
K
L
Post base 4
MMain canopy
4
Corner bracket
1
J
Middle roof tube
B
D
N
4
NNetting panel
:TSILTRAP
4/12

1Attaching post bases and corner brackets
□
Attach one corner bracket (C) to the top of each post (A) with three bolts (AA) using a Philips Screwdriver.
□
Attach one post base (B) to the bottom of each post (A) with three bolts (AA) using a Philips Screwdriver.
□Repeat this for the remaining posts (A), post bases (B) and corner brackets (C).
A
A
A
B
B
C
C
AA
AA
AA
AA
AA
AA
AA
STEP-BY-STEP ASSEMBLY:
5/12

2Assembling beams
□Connect one left long beam (F) into one right long beam (G) and secure them with two bolts (CC) and two nuts (EE) using hex wrench (II)
and spanner (JJ).
□Repeat this for the remaining long beams (F,G).
□Follow the same procedures for the short beams (D,E).
F G
CC EE
CC EE
F G
F G
CC EE
DE
DE
STEP-BY-STEP ASSEMBLY:
6/12

3Setting up the main frame
□Please have a free standing ladder ready for ease of assembly.
□Use two bolts (DD) to attach the (G) side of the assembled long beams to the outside right corner post (A) and two bolts (DD) to attach the
(F) side of the assembled long beams to the outside left corner post (A). (See illustration below)
□Use two bolts (DD) to attach the (E) side of the assembled short beams to the outside right corner post (A) and two bolts (DD) to attach the
(D) side of the assembled short beams to the outside left corner post (A). (See illustration below)
□Repeat the above procedures until the frame is up. Fully tighten all bolts (DD) once frame is up.
IMPORTANT: Do not completely tighten bolts (DD) until the end of this step.
A
A
A
A
D
E
D
E
F
G
F
G
DD
DD
DD
DD
DD
STEP-BY-STEP ASSEMBLY:
7/12

With a person on the ladder in the center of the main frame, insert one corner roof tube (I) into each recevier (I) of the vent hub (H)
until the ball catches and locks.
4Attaching corner roof tubes
□
□Insert the other end of the corner roof tube (I) into the corner bracket (C) on the top of each corner post (A).
H
H
I
I
I
II
I
I
I
I
I
H
C
STEP-BY-STEP ASSEMBLY:
8/12

5Attaching the roof frame
□
Snap one middle roof tube (J) into each receiver (J) of the vent hub (H). Attach (J) to the long cross beam (G) with bolt (BB) .
J
K
J
K
J
K
□
Snap one middle roof tube (K) into each receiver (K) of the vent hub (H). Attach (K) to the short cross beam (E) with bolt (BB).
H
BB
BB
J
G
E
G
4
□Cover all bolts (AA, BB, CC and DD) with bolt caps (KK).
KK 28
KK
KK
BB
K
E
KK
STEP-BY-STEP ASSEMBLY:
9/12

6Attaching the main canopy and the vent cover
□Identify the long side and the short side of the main canopy (M), cover the roof frame with the main canopy (M).
□Fully extend each corner of the main canopy (M) to cover the four corners of the frame.
□Hook each corner of the canopy onto the corner posts (A). Set cross beams between the outside valance and the inside valance of
the main canopy (M). Join adjacent inner valances with hook and loop straps for a clean look.
□From inside of the frame place the vent cover (L) over the roof frame. Fully extend each corner of the vent cover (L) and insert the end
of each roof tube (I/ J) into each pocket.
LM
L
L
M
M
□Place 14 plastic rings (LL) on the lower tube of each long cross beam(F,G).
□Place 12 plastic rings (LL) on the lower tube of each short cross beam(D,E).
LL 52
LL
F, E
LL
D,E
STEP-BY-STEP ASSEMBLY:
10/12

7
Hanging the nettings
□Find the short and long side of each netting panel (N).
Attach the long and short sides of each netting panel to the plastic rings (LL) from the inside corners of the main frame.
Secure each netting panel (N) to the posts (A) using the small tie back on the outside of the netting panels.
With netting panels pulled to each corner, secure the netting panels to the corner post with the large tie back on the inside of
the netting panels.
N
LL
□
□
□
A
N4
STEP-BY-STEP ASSEMBLY:
11/12

8Anchoring the garden house
□Adjust the location of each post until all posts are standing completely upright on level ground. Hammer two ground stakes (FF)
through the holes on each post base (B) into soft ground.
□Measure out from post to the longest possible distance to best use the length of the guy rope (GG) and secure anchor (HH) to ground
at 45 degress.
FF GG HH
HH
HH
GG GG
FF
GG
GG
HH
B
STEP-BY-STEP ASSEMBLY:
12/12
Table of contents
Other Pacific Casual Garden House manuals
Popular Garden House manuals by other brands

X-METAL
X-METAL PLUS 13m2 Assembly instructions

HUTTON
HUTTON 8' x 6' - Security Shed Assembly instructions

Outdoor living today
Outdoor living today CB128-METAL Assembly manual

Rowlinson Garden Products
Rowlinson Garden Products BALTIC CHALET FRG28-4032-1FSC installation manual

Best Barns
Best Barns Hampton Assembly Book

Mercia Garden Products
Mercia Garden Products 01DTOVRA1006SDFW-V1 manual