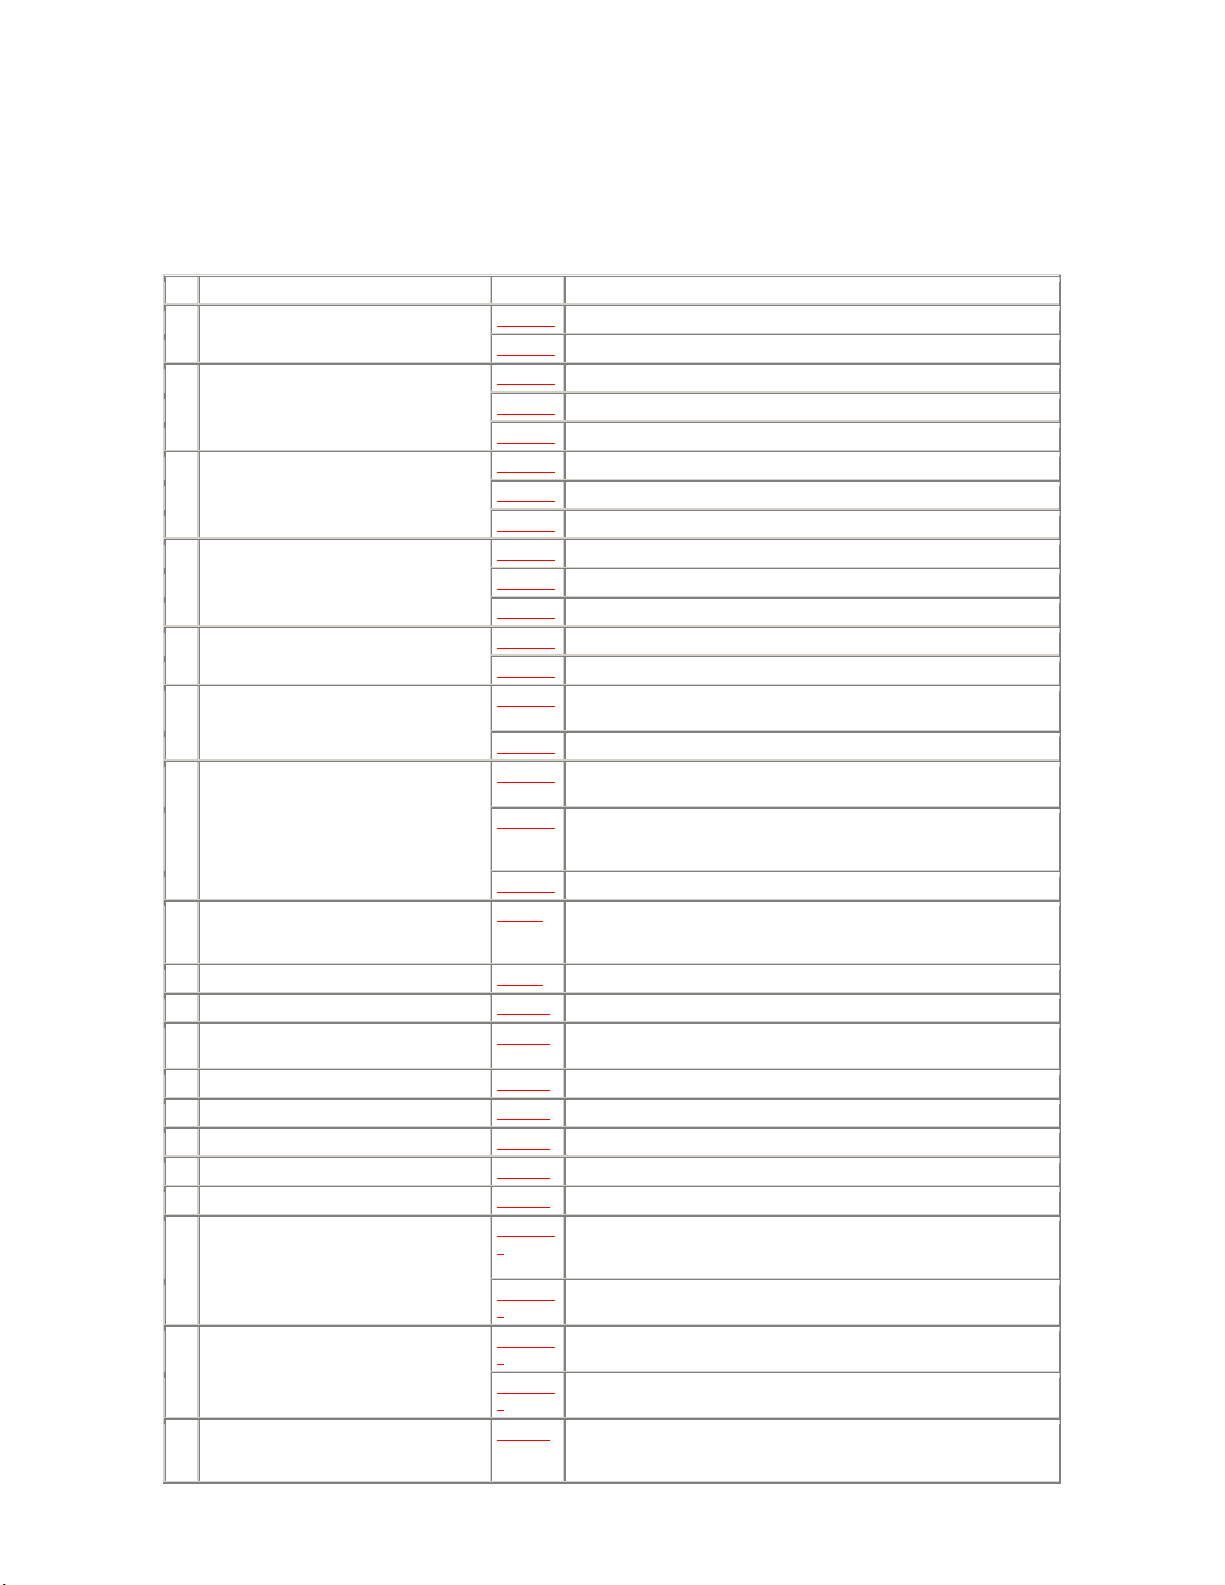
3.2 DISASSEMBLY PROCEDURE
No. Item Fig. Procedure
Fig. D1-1 1) Remove 3 screws. (Q1 &2 have 4 screws) 1 Cassette Up Unit.
Fig. D1-2 2) Take coupling portion off from both S &T sides.
Fig. D2-1 1) Remove a screw from Shield case.
Fig. D2-2 2) Take Cylinder Flex. From connector.
*2 H Amp Unit.
(Only Q1 & Q2)
Fig. D2-3 3) Remove a screw from H Amp Angle.
Fig. D3-1 1) Remove a screw from RT Flex. Flame.
Fig. D3-2 2) Remove 3 screws and then take Cylinder Spring out.
3 Cylinder Unit & RT Flex. Flame.
Fig. D3-3 3) Remove a screw and take RT Flex. Flame out.
Fig. D4-1 1) Pull up and remove LED Holder.
Fig. D4-2 2) Move LED Flat Cable out of position and unhook 2 springs.
4 LED Holder, Cover plate & Idler U.
Fig. D4-3 3) Remove 5 screws and remove Cover Plate & Idler U.
Fig. D5-1 1) Remove 4 screws. 5 Sub Chassis Unit
Fig. D5-2 2) Remove a screw and unhook a spring from Pinch Arm.
Fig. D6-1 1) Remove Cut Washer and take Pinch Arm out.
2) Take Center Gear out.
6 Pinch Arm & Center Gear
Fig. D6-2 3) Take Center Gear Spacer out.
Fig. D7-1 1) Make half loading until
Connection Arm comes out.
Fig. D7-2 2) Disconnect Connection Arms.
a) Hold Loading Gear side.
b) Disconnect connection arms.
7 Rail Unit
Fig. D7-3 3) Remove 4 screws.
8 T-Loading Gear & S-Loading Gear Fig. D8 1) Take T-Loading Gear out.
2) Remove Cut Washer on S-Loading Gear and take S-Loading Gear out.
* Removed Cut Washer can not be used again.
9 Gear Cover Fig. D9 1) Remove a screw and slide Gear Cover to take out.
10 Pinch Beetle & Release Beetle Fig. D10 1) Remove a washer and take Pinch Beetle and Release Beetle out together.
11 Tension Lever & Eject Arm. Fig. D11 1) Remove a screw and take Tension Lever out.
2) Remove a washer and take Eject Arm out.
12 Interface Gears Fig. D12 1) Remove 4 Gears.
13 Cam Gear Fig. D13 1) Remove Cam Gear.
14 Chassis Radon Fig. D14 1) Remove a washer.
15 Boat Radon Fig. D15 1) Remove Boat radon.
16 Drive Gear Fig. D16 1) Remove Drive Gear and a White Waher underneath.
Fig. D17-
1 1) Remove 2 screws and take Capstan Holder out.
* It is not necessary to remove 2 screws for New Capstan Holder. Because it
shapes screw.
17 Capstan Holder & Capstan Motor
Fig. D17-
2 2) Remove 3 screws and take Capstan Motor out downword.
Fig. D18-
1 1) Remove 2 screws and take Loading Motor Unit out. 18 Loading Motor unit & Mechanism Interface
Flex.
Fig. D18-
2 2) Remove 4 screws and dissolder at Mode Sw.
*19 Mode Switch , Deceleration Gears & Tension
Plate. Fig. D19 1) Take Mode Sw out.
2) Remove a washer and take Deceleration Gear (A) out.
3) Take Deceleration Gear (B) out