manuals.online logo
Brands
  1. Home
  2. •
  3. Brands
  4. •
  5. Panasonic
  6. •
  7. Camcorder
  8. •
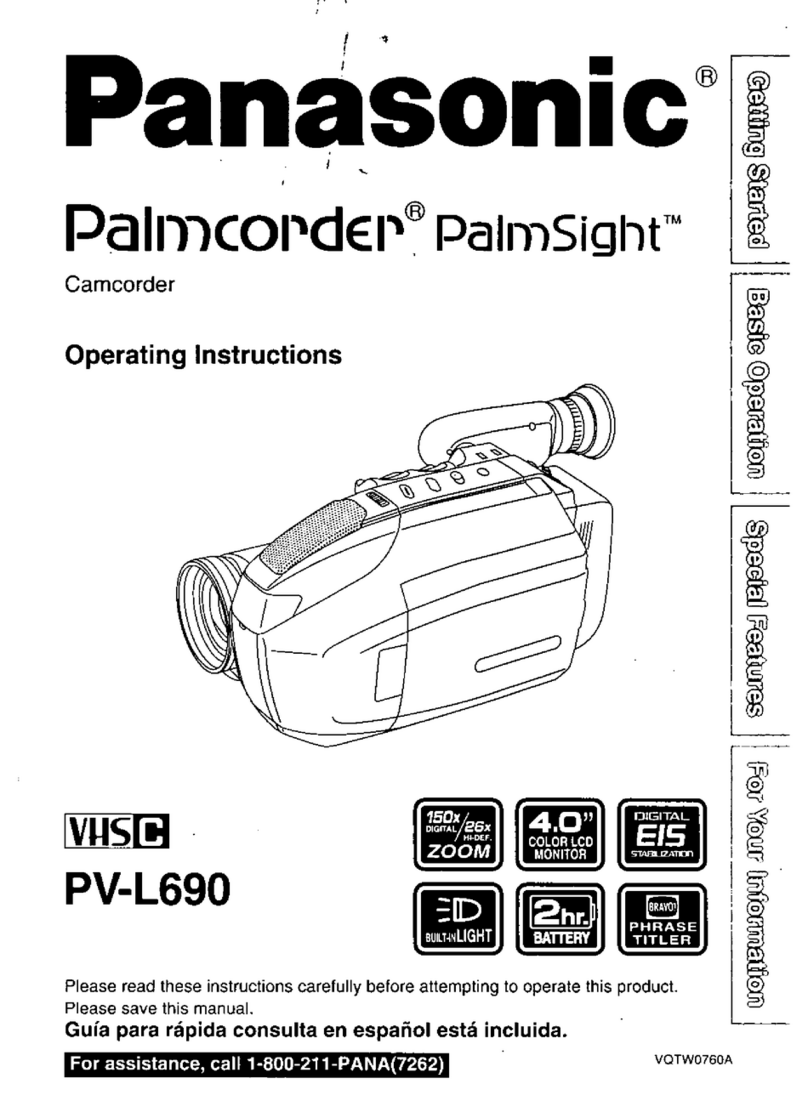
  9. Panasonic NV-DA1 User manual

Panasonic NV-DA1 User manual

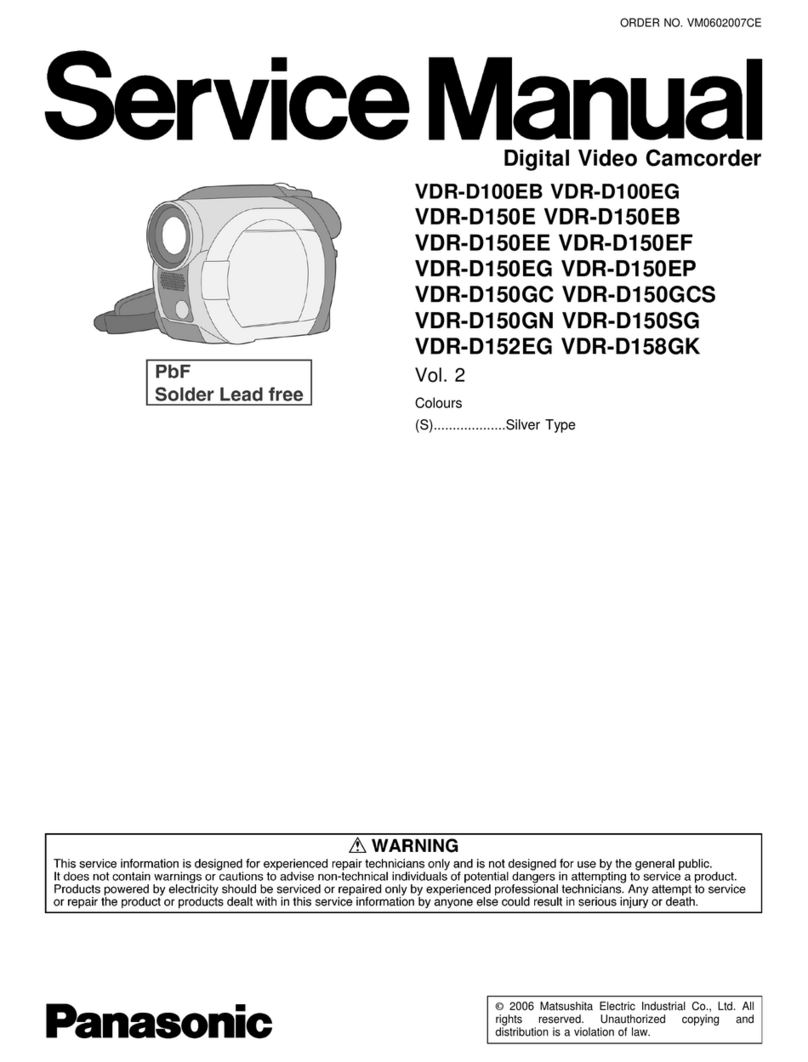
ORDERNO. VMD9807042C8
Digital VideoCamera/Recorder
NV-DA1
DJ-MECHANISM
EG/B/EN/ENA
SPECIFICATIONS
1998 Matsushita ElectricIndustrial Co., Ltd. All rights reserved.
Unauthorizedcopying and distribution isaviolation oflaw.
1. INTRODUCTION
1.1. INTRODUCTION1
Note1:
These moviecamerauses ACAdaptor VW-AD7E/B/A.
TheService Manual for ACAdaptor isseparatevolume.
1
Ordernumberfor VW-AD7E/B/A VMD9807039C8
Note2:
Adjustmentproocedurefor Mechanism chassisisseparatevolume.
Please refertofollowing manual for detail ofadjustmentprocedurefor Mechanism Chassis.
DJMechanism Chassis VMD9706005A8
1.2. INTRODUCTION2
Note:NV-DA1
NV-DA1series has toversionsdependson countries.
Detail as follows.
Model-No.
(Version) NV-DA1EN NV-DA1ENA
PACKINGCASE VPK2185 VPK2186
AC-CABLE VJA0998 VJA0754
2. CAUTIONFORACCORD (VJA0940 TYPE)
2.1. Information forYourSafety
IMPORTANT
Your attention isdrawntothefactthatrecording ofpre-recordedtapes or discs or other
publishedor broadcastmaterial may infringecopyrightlaws.
WARNING
To reduce therisk offireorshock hazard, do notexpose this
equipmenttorainormoisture.
CAUTION
To reduce therisk offireorshock hazardand annoying
interference, use therecommendedaccessories only.
FORYOUR SAFETY
DONOTREMOVE THE OUTERCOVER
Topreventelectricshock, do notremove thecover. Nouserserviceablepartsinside. Refer
servicing toqualifiedservice personnel.
2
2.2. Caution forACMainsLead
For your safety, please readthefollowing textcarefully.
Thisappliance issuppliedwithamouldedthree-pinmainsplug for your safetyand convenience.
A5-amperefuse isfittedinthisplug.
Shouldthefuse needtobereplacedplease ensurethatthereplacementfuse has arating of5
amperes and itisapprovedbyASTAor BSItoBS1362
Check for theASRAmarkor theBSImarkon thebodyofthefuse.
Iftheplug containsaremovablefuse coveryou mustensurethatitisrefittedwhenthefuse is
replaced.
Ifyou lose thefuse cover, theplug mustnotbeuseduntil areplacementcoverisobtained.
Areplacementfuse covercanbepurchasedfrom your local PanasonicDealer.
Ifthefittedmouldedplug isunsuitablefor thesocketoutletinyour homethenthefuse shouldbe
removedand theplug cutoff and disposedofsafety.
Thereisadangerofsevereelectrical shock ifthecutoff plug isinsertedintoany13-ampere
socket.
Ifanewplug istobefittedplease observe thewiring codeas shownbelow.
Ifinanydoubt, please consultaqualifiedelectrician.
2.2.1. IMPORTANT
Thewires inthismainsleadarecolouredinaccordance withthefollowing code:
Blue Neutral
Brown Live
Asthecoloursofthewires inthemainsleadofthisappliance may notcorrespond withthe
colouredmarkingsidentifying theterminalsinyour plug, proceedas follows:
ThewirewhichiscolouredBLUE mustbeconnectedtotheterminal intheplug whichismarked
withtheletterNor colouredBLACK.
ThewirewhichiscolouredBROWNmustbeconnectedtotheterminal intheplug whichis
markedwiththeletterLor colouredRED.
Underno circumstances shouldeitherofthese wires beconnectedtotheearthterminal ofthe
three pinplug, markedwiththeletterE or theEarthSymbol.
2.2.2. Beforeuse
remove theConnector Coveras follows.
3
2.2.3. Howtoreplace theFuse
1. RemovetheFuse Coverwithascrewdriver.
2. Replace thefuse and attachtheFuse cover.
3. SERVICE INFORMATION
3.1. Service Extension Cables
No. PartNo. Pin PartName Connection Q'ty
Remarks
1VFK1460 20 FlatCable PS201 (Camera/Power)-PS291 (CCD) 1
2VFK1443 18 FlatCable FP701 (Camera/Power)-LensFlex. 1
3VFK1311 80 FlatCable PP301 (Camera/Power)-PS3001 (VTR
Main) 1
4VFK1365 70 FlatCable PP302 (Camera/Power)-PS3002 (VTR
Main) 1
5VFK1467 12 FlatCable P101 (Camera/Power)-P1201 (RS232C) 1
6VFK0977 20 FlatCable FP303 (Camera/Power)-Camera
Operation Unit 1
7VFK1443 18 FlatCable FP3501 (VTRMain)-FP801 (EVF-B) 1
8VFK1387 30 FlatCable PP4802 (VTRMain)-PS4902 (Speaker
Amp) 1
9VFK1367 50 FlatCable PP2001 (VTRMain)-PS2001 (Drive) 1
10 VFK1284 24 FlatCable FP3201 (VTRMain)-HeadAmp 1
11 VFK1173 14 FlatCable FP6002 (VTRMain)-FP6701 (Rear
Operation) 1
12 VFK1464 7 FlatCable FP6001 (VTRMain)-FP6801 (Top
Operation) 1
13 VFKW0F0189 10 Attachement
Connecor FP3504 (VTRMain)-PS1201 (RS232C) 1
VFKW0F0190 10 Attachement
Connecor
VFKW0F0001 28 Common
Cable
4
Note:
Whenconnecting theVFK1387, cutthebase ofconnector withthenipperas follows.
3.2. Service Position
Fig.T1
3.3. Preparation forElectrical Adjustment
Remove Screwand EVRCoverwhichislocatedon theSideCase Unitas follows.
5
Fig.E1
Thenconnectthefollowing cables as showninFig. E2.
PartNo. PartName Q'ty Remarks
VFK1395 232C(M3)I/FCable 1
VFK1308E Measuring Board 1
VFK1309 EVRConnector
Board 1
VFK1317 30 PinFlatCable 2
VJA0941 DC OutputCable 1 For AC
Adapter
VFK1164TAR3A
Setup Ring (
30.5mm) 1For
Collimator
Fig.E2
Fig.E3
6
3.4. Service Mode
Whenundesirableconditionsoccurred, theerror codeisdisplayedon theEVFor LCD Monitor.
Also, theCameraLEDisflashedaccording totheerror codeas follows.
DISPLAY CONDITION POWEROFF TIMING/ POWERLEDFLASHING
TIMING
F01 T-Reel Lock After1minuteflashing theLED
F02 S-Reel Lock After1minuteflashing theLED
F03 Unloading Lock After1minuteflashing theLED
F04 Loading Lock After1minuteflashing theLED
F05 CylinderLock After1minuteflashing theLED
F31 DataTransmission Error Notturning OFF
F51 FocusMotor Lock Notturning OFF / PowerLEDisflashedat1Hztiming
F52 Zoom Motor Lock Notturning OFF / PowerLEDisflashedat1Hztiming
U10 DewDetection After18 secondsflashing theLED/ PowerLEDisflashed
at
timing
U11 HeadClogging Notturning OFF
3.5. How toreplace theLithiumBattery
(Procedure)
1. RemovetheRS232CC.B.A. fromRearJack Unit. (Referto
DisassemblyProcedures)
2. UnsoldertheLithiumBattery"VL2020/1HF"and thenreplace the
new one. (See Fig. B1)
7
Fig.B1
Note:
Thelithium batteryisacritical component(TypeNo.:VL2020/1HFManufacturedbyPanasonic.)/
Itmustneverbesubjectedtoexcessive heator discharge. / Itmustthereforeonlybefittedin
equipmentdesignedspecificallyfor itsuse. / Replacementbatteries mustbeofthesametype
and manufacture. / They mustbefittedinthesamemannerand location as theoriginal battery,
withthecorrectpolaritycontactsobserved. / Donotattempttore-chargetheoldbatteryor re-
use itfor anyotherpurpose. / Itshouldbedisposedofinwasteproductsdestinedfor burial
ratherthanincineration.
4. GENERALDESCRIPTION
5. ADJUSTMENTPROCEDURES
5.1. DISASSEMBLEFLOWCHART
8
Thisflowchartindicates thedisassemblystepsthecabinetparts, C.B.A. and Mechanism Unitin
ordertoaccess toitemstobeserviced. Whenreinstalling, perform thestepsinthereverse order.
Fig.F1
5.2. DISASSEMBLYPROCEDURES
Flow-chartDisassemblyprocedure
9
No. Item / Part Fig. Removal (Screw&
Other)
(1) FrontCase
Unit Fig.1 4-Screws(A)
Fig.2-1 OpentheDV Terminal
Cover.
1-Screw(B)
3-Screws(C)
Fig.2-2 Unlock----Locking
Tabs.
DisconnectFP6401
(2) RearCase
Unit&
Cassette
CoverUnit
Fig.3-1 4-Screws(D/E)
Fig.3-2 DisconnectFP6701
1-Screw(F)
Unlock----Locking
Tabsfor Screw
2-Screws(G)
3-Screws(H/I/J)
(3) SpeakerAmp
C.B.A. &Side
Case (L)Unit
Fig.3-3 Remove theSideCase
(L)Unit.
3-Screws(K)
2-Screws(L)
Disconnectthe
following Connectors.
P3001, FP4802, FP4901
Remove theSpeaker
AmpC.B.A.
(4) Mecha. Unit Fig.3-3 2-Screws(M/N)
Fig.3-4 Disconnect----PP2001/
FP3201
Remove theMecha.
Unit.
10
No. Item / Part Fig. Removal (Screw&
Other)
(5) VTRMain
C.B.A. &
Camera/
PowerC.B.A.
Fig.4-1 2-Screws(O)
Disconnectthe
following Connectors.
FP3501, FP6002,
FP6001, PS3002,
PS3001, FP3504.
(FP3002/PS3001/
FP3504 locatedon
Button SideofVTR
MainC.B.A.)
Fig.4-2 Remove theVTRMain
C.B.A.
1-Screw(P)
Disconnectthe
following Connectors.
FP304, PS201, FP701,
FP303, P101
Remove theCamera/
PowerC.B.A.
(6) Top Case Unit Fig.5 SlidetheTop Case
Unit.
Unlock----4locking
Tabs.
(7) LensUnit Fig.6 4-Screws(Q/R)
Remove theLens
Frame, LensUnit.
(8) Top Frame&
Camera
Frame&Rear
Jack Unit
Fig.7-1 3-Screws(S/T)
Fig.7-2 1-Screw(U)
Remove theTop Frame
/CameraFrame.
Fig.8-1 3-Screws(V/W)
Fig.8-2 4-Screws(X/Y)
Fig.8-3 3-Screws(Z)
Fig.8-4 Remove theLCD Lock
Cover.
Remove theRearJack
UnitwithEVFUnit.
Fig.8-5 DisconnecttheFP1201.
Remove theEVFFlex.
From Remove theEVF
Flex. from
11
No. Item / Part Fig. Removal (Screw&
Other)
(9) LCD Unit Fig.9-1 2-Screws(a)
Fig.9-2 4-Screw(b)
Fig.9-3 Remove theLCD Unit
from SideCase (R)
Unit.
Fig.9-4 4-Screws(c)
Fig.9-5 Disconnectthe
following Connectors.
FP901, FP903, FP904,
FP905
Fig.9-6 3-Screws(d/e)
Unsolderthe2-Wires
from LCD panel.
(10) EVFUnit Fig.10-
14-Screws(f)
Remove theEVFUnit.
Fig.10-
24-Screws(g/h)
Remove theEye Cap
holderand EVFCase
Unit.
Fig.10-
3DisconnecttheFP801.
Unlock----Locking
Tabs.
Remove theEVF-B
C.B.A.
Fig.10-
4Unlock----Locking
Tabsfor LCD Shield
Case.
Unlock----Locking
Tabsfor EVF-AC.B.A.
Remove theEVF-A
C.B.A.and LCD Panel,
LCD Mask from EVF
Case Unit.
12
Fig.1
Fig.2-1
Fig.2-2
13
Fig.3-1
Fig.3-2
14
Fig.3-3
Fig.3-4
15
Fig.4-1
Fig.4-2
16
Fig.5
Fig.6
17
Fig.7-1
Fig.7-2
18
Fig.8-1
Fig.8-2
19
Fig.8-3
Fig.8-4
Fig.8-5
20

Other Panasonic Camcorder manuals

Panasonic AJHDC27H - DVCPRO HD CAMERA User manual

Panasonic

Panasonic AJHDC27H - DVCPRO HD CAMERA User manual

Panasonic HC-V130 Technical specifications

Panasonic

Panasonic HC-V130 Technical specifications

Panasonic NV-GS70A User manual

Panasonic

Panasonic NV-GS70A User manual

Panasonic AG-DVC20 User manual

Panasonic

Panasonic AG-DVC20 User manual

Panasonic NV-GX7G User manual

Panasonic

Panasonic NV-GX7G User manual

Panasonic AVCCAM AG-AC8PJ User manual

Panasonic

Panasonic AVCCAM AG-AC8PJ User manual

Panasonic Palmcorder PV-L781 User manual

Panasonic

Panasonic Palmcorder PV-L781 User manual

Panasonic VDR-D310PL User manual

Panasonic

Panasonic VDR-D310PL User manual

Panasonic HDC-SD1PP User manual

Panasonic

Panasonic HDC-SD1PP User manual

Panasonic SDR-H250EP User manual

Panasonic

Panasonic SDR-H250EP User manual

Panasonic NV-GS250EB User manual

Panasonic

Panasonic NV-GS250EB User manual

Panasonic Palmcorder MultiCam PV-L453 User manual

Panasonic

Panasonic Palmcorder MultiCam PV-L453 User manual

Panasonic HC-X1E User manual

Panasonic

Panasonic HC-X1E User manual

Panasonic AJ-PX5000G User manual

Panasonic

Panasonic AJ-PX5000G User manual

Panasonic HDC-SDT750 User manual

Panasonic

Panasonic HDC-SDT750 User manual

Panasonic HC-W850 Technical specifications

Panasonic

Panasonic HC-W850 Technical specifications

Panasonic HDC-SD9D User manual

Panasonic

Panasonic HDC-SD9D User manual

Panasonic Digital Palmcorder PV-GS70 User manual

Panasonic

Panasonic Digital Palmcorder PV-GS70 User manual

Panasonic HDC-HS900 User manual

Panasonic

Panasonic HDC-HS900 User manual

Panasonic AGHMC70P - MEMORY CARD CAMERA RECORDER User manual

Panasonic

Panasonic AGHMC70P - MEMORY CARD CAMERA RECORDER User manual

Panasonic P2HD AG-HPX610P User manual

Panasonic

Panasonic P2HD AG-HPX610P User manual

Panasonic NV-DS990EG User manual

Panasonic

Panasonic NV-DS990EG User manual

Panasonic HX-A100D User manual

Panasonic

Panasonic HX-A100D User manual

Panasonic SDR-SW21P/PC User manual

Panasonic

Panasonic SDR-SW21P/PC User manual

Popular Camcorder manuals by other brands

Sony MHS-CM1 instruction manual

Sony

Sony MHS-CM1 instruction manual

Sony PMW-500 Operation manual

Sony

Sony PMW-500 Operation manual

RCA PRO846 user guide

RCA

RCA PRO846 user guide

JVC GR-DVP3 instructions

JVC

JVC GR-DVP3 instructions

JVC GR-DF460 instructions

JVC

JVC GR-DF460 instructions

Toshiba IK-1000 - Starlight Color Video Camera CCTV Specifications

Toshiba

Toshiba IK-1000 - Starlight Color Video Camera CCTV Specifications

Onyx ADVC-014 instruction manual

Onyx

Onyx ADVC-014 instruction manual

Canon MV 300 i instruction manual

Canon

Canon MV 300 i instruction manual

Zetta Z16 user manual

Zetta

Zetta Z16 user manual

DXG DXG-595V user manual

DXG

DXG DXG-595V user manual

Rekam F200 user guide

Rekam

Rekam F200 user guide

Canon EOS C300 instruction manual

Canon

Canon EOS C300 instruction manual

Samsung HMX-P100 Release notice

Samsung

Samsung HMX-P100 Release notice

Sharp ViewCam VL-E79E Operation manual

Sharp

Sharp ViewCam VL-E79E Operation manual

Naxa NDC-401 Insrtruction manual

Naxa

Naxa NDC-401 Insrtruction manual

JVC LYT0002-0Y6A instructions

JVC

JVC LYT0002-0Y6A instructions

Canon DC100 - WL Remote Control Specifications

Canon

Canon DC100 - WL Remote Control Specifications

Sony Digital 8 DCR-TRV720E operating instructions

Sony

Sony Digital 8 DCR-TRV720E operating instructions

manuals.online logo
manuals.online logoBrands
  • About & Mission
  • Contact us
  • Privacy Policy
  • Terms and Conditions

Copyright 2025 Manuals.Online. All Rights Reserved.