manuals.online logo
Brands
  1. Home
  2. •
  3. Brands
  4. •
  5. Panasonic
  6. •
  7. Cassette Player
  8. •
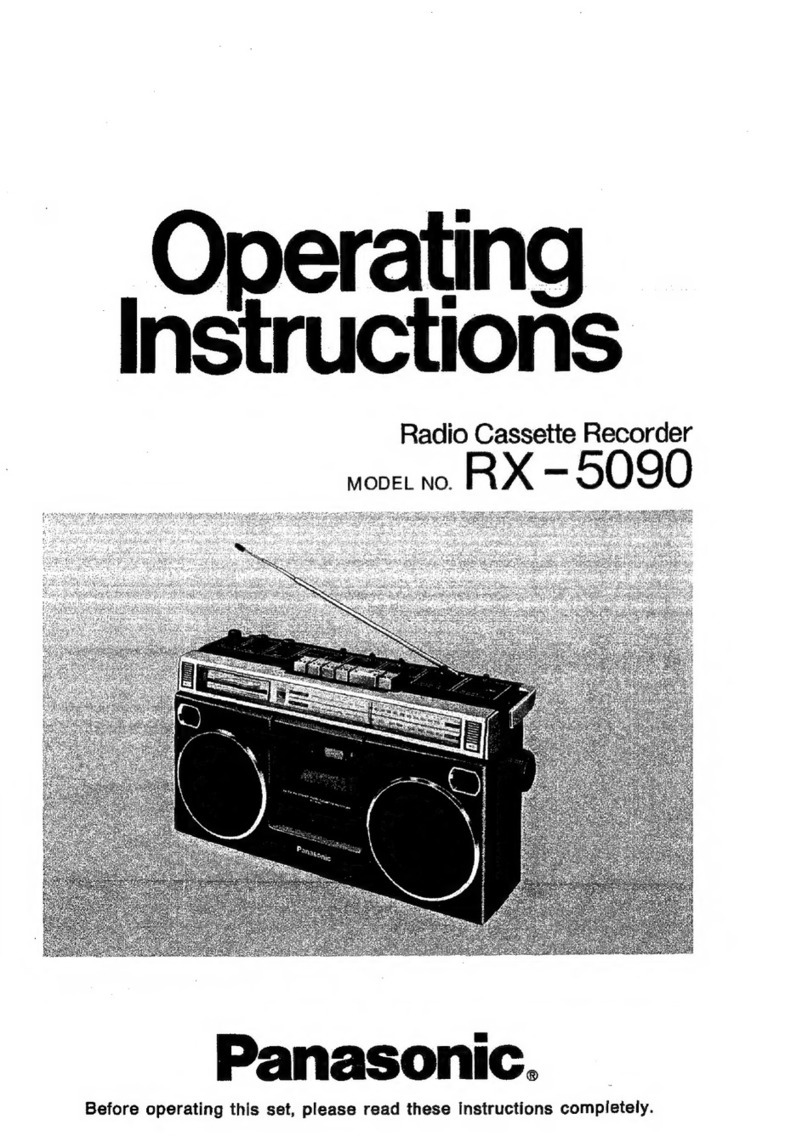
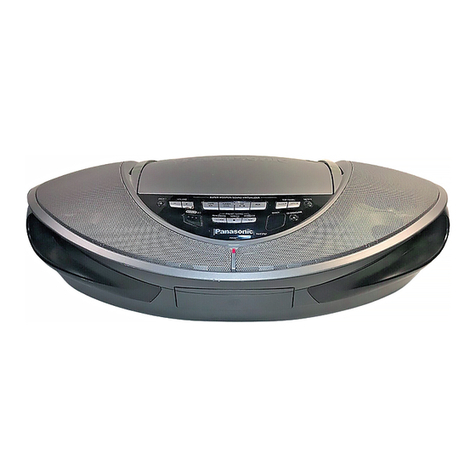
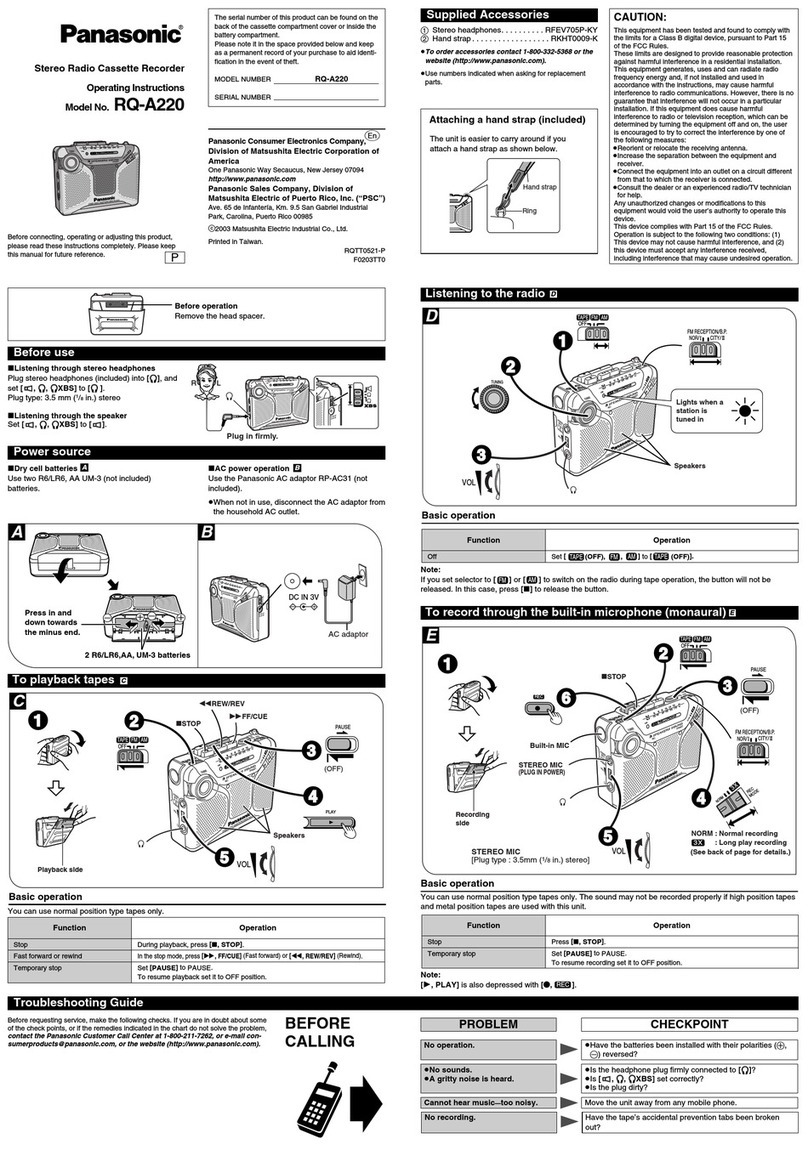
  9. Panasonic RXFT530 - RADIO/DUAL CASS-LOW User manual

Panasonic RXFT530 - RADIO/DUAL CASS-LOW User manual

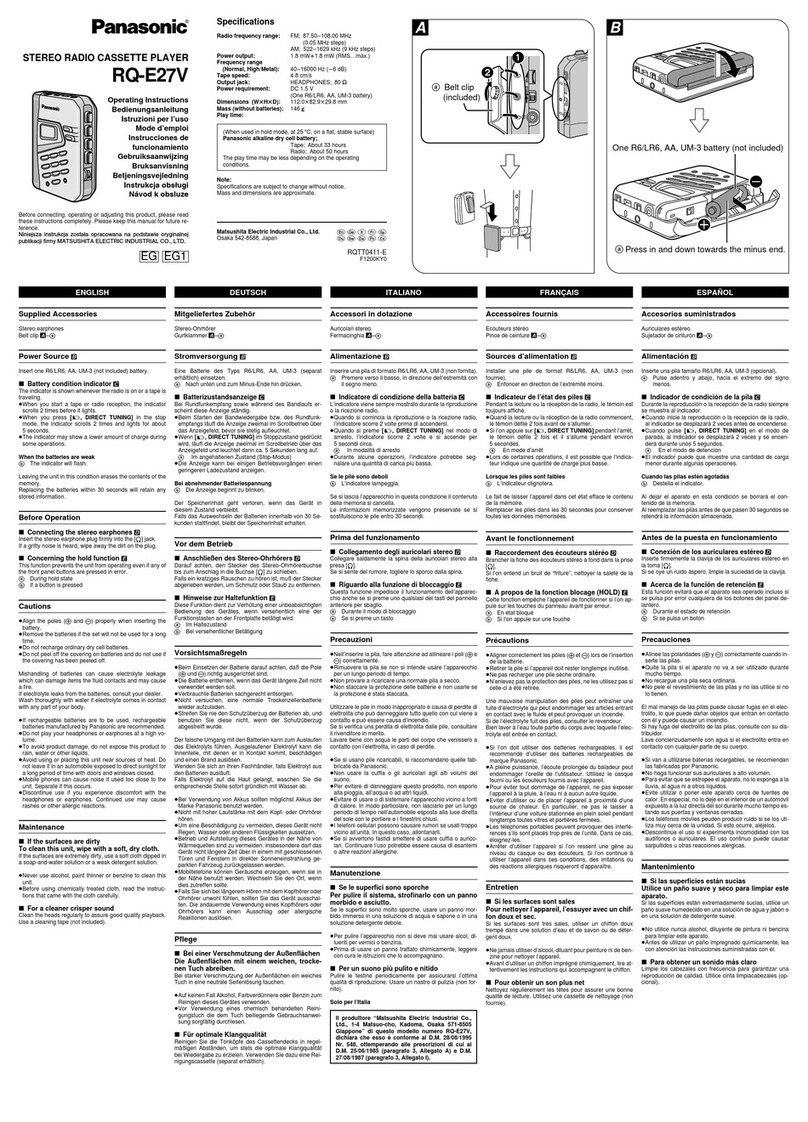
Panasoitic
Stereo Radio Cassette Recorder
RX-FT530
Operating Instructions
I—'———^
J
L.
Table of Contents
Precautions
Supplied Accessory
Power Sources
Location of Controls
Ustening to Tapes
2Listening to Radio Broadcasts 8
4Making aRecording ,§
4Care &Use _,n
5PnocJuct Sefvlce Back Cover
$Technical Speci^tions Sack Cover
IB IS!
Before conr^ectJog, operating or adjusting this product,
please read these instructions comptoteiy.
RQT2300-P
Precautions
The model number and serial number of this product
can be found on either the back or the bottom of the
unit.
Please note them in the space provided below and
retain them for future reference.
lyiODEL NUIWBER RX-FT530
SERIAL NUMBER _^
CAUTION:
TO PREVENT ELECTRIC SHOCK
MATCH WIDE BLADE OF PLUG TO
WIDE SLOT, FULLY INSERT.
CAUTION:
Any unauthorized changes or modifications to this
equipment would void the user's authority to operate
this device.
CAUTION A
CAUTION: TO REDUCE THE RISK OF ELECTRIC
SHOCK, 00 NOT REMOVE SCREWS.
NO USER-SERVICEABLE PARTS
INSIDE.
REFER SERVICING TO QUALIFIED
SERVICE PERSONNEL,
AThe lightning flash with arrowhead symbol,
within an equilateral triangle, is intended to
alert the user to the presence of uninsu-
lated "dangerous voltage" within the prod-
uct's enclosure that may be of sufficient
magnitude to constitute arisic of ele^ic
sliock to persons.
AThe exclamation point within an equilateral
triangle is intended to alert the user to t^te
presence of important operating arul msin-
tenance (sen^icing) instructions, in the liter-
ature sccon^nying the appliance.
WARNING:
TO REDUCE THE RISK OF FIRE OR
ELECTRIC SHOCK, DO NOT EXPOSE
THIS APPLIANCE TO RAIN OR MOIS-
TURE.
Before using this unit please read tfiese operating in-
structions carefully. Take special care to follow the warnings
indicated on the unit itself as well as the safety suggestions
listed below.
Afterwards keep them handy for future reference.
Safety
1. Power Source ~The unit should be connected to power
supply only of the type described in the operating instruc-
tions or as marked on the unit.
2. Polarization ~If the unit is equipped with apolarized AC
power plug (a plug having one blade wider than the
other), that plug will fit into the AC outlet only one way.
This is asafety feature. If you are unable to insert the
plug fully into the outlet, try reversing the plug. If the plug
should still fail to fit, contact your electrician to replace
your obsolete outlet. Do not defeat the safety purpose of
the polarized plug.
3. Power Cord Protection ~AC power supply cords
should be routed so that they are not likely to be walked
on or pinched by items placed upon or against them.
Never take hold of the plug or cord if your hand is wet,
and always grasp the plug txxJy when connecting or
disconnecting it.
4. Nonuse Periods -When the unit is not used, turn the
power off. When left unused for along period of time, the
unit should be unplugged from the household AC outlet.
Installation
Environment
1. Water and Moisture -- Do not use this unit near
water—for example, near abathtub, washtwwl, swim-
ming pool, or the like. Damp basements should also be
avoided.
2. Heat -The unit should be situated away from heat
sources such as radiators and the like. It also should not
be placed in temperatures less than 5°C (41 *F) or greater
thanSS'tDOST).
Placement Listening caution
1. Ventilation The unit should be situated so that its
location or position does not Interfere with its proper
ventilation. Allow 10 cm (4") clearance from the rear of
the unit.
2. Foreign Material -Care should be tal<en so that objects
do not fall into and liquids are not spilled into the unit. Do
not subject this unit to excessive smoke, dust, me-
chanical vibration, or shock.
3. Magnetism -The unit should be situated away from
equipment or devices ttiat generate strong magnetism.
4. Stacking -Do not place heavy ot>jects. other than
system components, on top of the unit.
5. Surface -Place the unit on aflat, level surface.
6. Carts and Stands -The unit should be used only with a
cart or stand that is recommended by the manufacturer.
The unit and cart combination should
be moved with care. Quick stops, ex-
cessive force, and uneven surfaces
may cause the unit and cart comt)ina-
tion to overturn.
7. Wall or Ceiling Mounting -The unit should not be
mounted to awall or ceiling, unless specified in this
operating instructions.
Maintenance
Selecting fine audio equipment such as the unit
you've just purchased is only the start of your
musical enjoyment. Now it's time to consider
how you can maximize the fun and excitement
your equipment offers. This manufacturer and
the Electronic Industries Association's Con-
sumer Electronics Group want you to get the
most out of your equipment by playing it at a
safe level. One that lets the sound come through loud and
clear without annoying blaring or distortion—and, most
importantly, without affecting your sensitive hearing.
Sound can be deceiving. Over time your hearing "comfort
level" adapts to higher volumes of sound, So what sounds
"normal "can actually be loud and harmful to your hearing.
Guard against this by setting your equipment at asafe level
BEFORE your hearing adapts.
To establish asafe level:
•Start your volume control at alow setting,
•Slowly increase the sound until you can hear it comfortably
and clearly, and without distortion.
Once you have established acomfortable sound level:
•Set the dial and leave it there.
Taking aminute to do this now will help to prevent hearing
damage or loss in the future. After all, we want you listening
for alifetime.
Clean the cabinet, panel and controls with asoft ctoth lightly
moistened witii mild detergent solution.
Do not use any type of abrasive pad, scouring powder or
solvent such as alcohol or benzine.
Service
1. Damage Requiring Service -The unit should be ser-
viced by qualified service personnel when:
(a) The AC power suppjy cord or Vne plug has been
damaged: or
(b) Objects have fallen or ikiuid has been spilled into the
unit: or
(c) The unit has been exposed to rain; or
(d) The unit does not appear to operate normally or
exhibits amarked change in performance; or
(e) The unit has been dropped, or Uie enctosure
damaged.
2. Servicing -The user should not attempt to service the
unit beyond that describied in the operating instructions.
All other servicing should be referred to qualified senrice
personnel.
We Want You Listening For ALifetime
Used wisely, your new sound equipment will provide a
lifetime of fun and enjoyment. Since hearing damage from
loud noise is often undetectable until it is too late, this
manufacturer and the Electronic Industries Association's
Consumer Electronics Group recommend you avoid pro-
longed exposure to excessive noise. This list of sound
levels* is included for your protection.
'The level used here is different from that displayed on the
system's display.
Decibel
Level Example
30 Quiet library, soft whispers
40 Living room, refrigerator, bedroom away from traffic
50 Light traffic, normal conversation, quiet office
60 Air conditioner at 20 feet, sewing machine
70 Vacuum cleaner, hair dryer, noisy restaurant
80 Average city traffic, gart>age disposals, alamn clock
at two feet.
THE FOLLOWING NOISES CAN BE DANGEROUS
UNDER CONSTANT EXPOSURE
90 Subway, motorcycle, truck traffic, lawn mower
100 Garbage truck, chain saw, pneumatic drill
120 Rock band concert in front of speakers, thunderclap
140 Gunshot blast, jet plane
160 Rocket launching pad
Information courtesy of the Deafness Research Foundation.
Supplied Accessory Power Sources
To operate ACpower
Connect the AC power cord (included).
AC power cord .
.
(SJA175-A)
To operate on battery power
Unplug the AC power cord from the household AC outlet
and the AC socket of the unit.
Insert six "D" size (R20/LR20 or equivalent, not included)
batteries into the battery compartment in the designated
numerical order.
•Batteries installed with incorrect polarities may leak and
damage this unit.
•Do not mix batteries (old and new) or types (carbon and
alkaline, etc.).
•if the set is not used for along period of time or Is used
only from an AC power source, remove the batteries to
prevent potential damage from possible battery leakage.
•If you cannot open the cassette compartment cover when
running this unit on batteries, replace the batteries with
new ones, or use AC power source, and then perform the
operation once again.
Battery removal:
Insert your finger, and then
push out the batteries.
Battery life:
When the batteries get weak, the sound will become dis-
torted and the volume will decrease.
4
Location of Controls
®Headphones jack (PHONES)
CD CD/line input jacks ([CD] /LINE IN)
@Built-in microphone (IMIC)
®Volume control (VOLUME)
Tone control (TONE)
(g) Deck 1(For playback)
Pause button (II PAUSE)
Stop/eject button (QSTOP/EJE(rr)
Fast forward/cue button (-4-4/CUE)
Rewind/review button (/REV)
Playback button (< PLAY)
0Function selector (SELECTOR)
(TAPE/Saa. RADIO, ICDi/UNE)
(D FIM stereo indicator (FM ST)
(g) Editing mode selector/beat proof switch
(EDiTING/B.P)
@Deck 2(For recording and playback)
Pause button (I IPAUSE)
Stopfeiect button (QSTOP/EJECT)
Fast forward/cue button (-^-^/CUE)
Rewind/review button (/REV)
Playback button (<PLAY)
Record button (•lag^idS)
^Band selector (BAND)
@Tuning control (TUNING)
@Deck 1cassette compartment
@Deck 2cassette compartment
@Speakers (Woofer)
@Speakers (Tweeter)
©Handle
@Telescopic antenna
(|9) Battery compartment
@) AC socket (AC IN-)
Connections
How to connect portable CDplayer
When listening or recording CD, set SELECTOR to
iCDl/LINE.
How to use headphones (not included)
Reduce the volume level. Connect the headphones to the
headphones jack.
•Avoid listening for prolonged periods of time to prevent
hearing damage.
•Speakers are aiitomatically cut off when the headphones
are connected.
L(White)
5
Listening to Tapes
L
You can use normal tapes only.
You can use either deck 1or deck 2for tape playback by
foltewing the same steps. (This page shows an example
using deck 2.)
Single tape playback
C
MwtB tuni! CBua
2
^V
'O'LAV
Set SELECTOR to TAPE/gSa.
Press STOP/EJECT, and then in-
sert the tape.
Insert the cassette with the exposed
tape facing up.
Playback side
Press PLAY to start playt>ack.
VOLUME TONE Adjust VOLUME and TONE.
To stop the playback:
Press STOP/EJECT.
To briefly interrupt the playback:
Press PAUSE.
To resume playback, press PAUSE again.
Full auto stop:
When the tape reaches the end, the tape will automatically
stop.
Tofastforward or rewind the tape Q
Press '«tC\}E or /REV while the tape Is
stopped.
The tape will start moving at high speed.
To stop the fast fonward or rewind operation, press STOP/
EJECT.
To cue or review the tape El
During playback, press and hold «/C{JE or
/REV.
The recorded sound on the tape can be monitored at high
speed.
When the button is released, normal playback will resume.
Automatic playback relay
(deck 1to deck 2) B
When deck 1playback has finished, deck 2 playback starts
automatically.
2PMiwL Lwin IInsert the playback tapes into
^^^^ deck 1and deck 2.
^Playback side
^Olay Press PLAY of deck 1
.
NPAus <KAv Press PAUSE of deck 2, then
3"""^ Press PAUS
IIIIpress PLAY.
Listening to Radio Broadcasts
Refer to El
/CE II
imiQI MO Bum
2BAND
am
Set SELECTOR to RADIO.
Set BAND to the desired radio
band.
FM STEREO; To receive FM stereo
broadcasts
(If you have tuned into
an FM stereo broad-
cast, the FM ST indica-
tor will tight.)
AM: To receive AM broad-
casts
•If FM stereo reception is poor, set BAND to FM. This
will reduce the noise and provide clear reception;
however, the broadcast will not be heard in stereo.
^' ^ Use TUNING to tune into ade-
J(I)sired broadcast.
4Adjust VOLUME and TONE.
The radio can be turned off by setting SELECTOR to TAPE/
SIS-
Adjust the antennas |0
FM:
Pull out the telescopic antenna and adjust its length and
angle for optimum reception.
AM:
Turn the unit in the direction which gives the best results.
FM
AM
Making aRecording (deck 2only)
You can use normal tapes only.
The recording level Is automatically adjusted.
Recordingfrom radio broadcasts El
Press STOP/EJECT of deck 2to
insert the tape.
Recording side
Tune into the desired broadcast.
(Follow the procedure 1-4 of
"Listening to Radio Broad-
casts".)
3Press RECORD
When recording AM broadcasts:
B.P selector can reduce unwanted beat signals (whistle)
which sometimes occur.
Set B.P to the position which gives best results.
To stop the recording:
Press STOP/EJECT.
To briefly Interrupt recording:
Press PAUSE.
To resume recording, press PAUSE again.
Recording through the built-in
microphone ID
2I
'^
ifi
"^"^
ISet SELECTOR to TAPE/SSI.
2
1I I
Set EDITING to MIC.
3asraMJEci •CB3I1HD insort the tape Into deck 2, and
I[IIpress IRECORD
Pause button:
Before beginning arecording, first press and lock PAUSE.
Then press i:iJtw:i»3 .(The tape will not move.)
When ready to record, press PAUSE to release it. This will
start tape movement for immediate recording. Do not use
PAUSE to stop the tape for along period of time.
Monitoring:
The monitor system enables you to listen, through the
speakers or headphones, to the sound as it is being re-
corded.
When recording from the built-in microphone the sound
being recorded cannot be monitored.
9
Making aRecording (continued)
Recordingfrom deck 1to deck 2
When PAUSE and laatiMswi of deck 2are pressed, tape
recording starts by pressing the deck 1playback button.
(Synchro-start function)
_^ SELECTOR
2rrn
1I I
Set SELECTOR to TAPE/ SIS.
0^'J^ivl/i'J'^ Insert the playback tape Into
^^P==^^=^ deck 1and the recording tape
Into deck 2.
5Qzno
mat mmnuaax
Set EDITING to the desired posi-
tion.
"NORMAL": Nomial speed
"HIGH": High speed
•Gi™ Press PAUSE of deck 2, then
IIIIpress IRECORD
0»LAy Press PLAY of deck 1.
Recording is started by means of tfie
Synchro-start function.
To stop recording:
Press STOP/EJECT (deck 1and deck 2).
•Do not change the tape speed during recording. The play-
back sound may flutter.
•Be sure to set SELECTOR to TAPE/ SSS during record-
ing. Do not change it to any other position.
•If the unit is brought near aTV set during recording, noise
may be recorded due to the effects of the signals from the
TV set. Maintain adistance of at least 1.5 meters between
the unit and a TV set.
Erasure oftape
When recording, previously recorded signals on the tape
will be erased automatically.
(Make no connections to the [CD] /LINE IN jacks.)
1. Set SELECTOR to [CDl /LINE.
2. Press!RECORD
Recordingfrom external equipment
Connectthe output of the external equip-
ment to [CD] /LINE IN jacks. (Refer to page 5.)
Set SELECTOR to |^/LINE, and Insert the
recording tape into deck 2.
Press PAUSE of deck 2, then press (slMSd^.
Start playing the external equipment (ex.
portable CD player).
Release PAUSE.
10
Care &Use
Concerning cassette tapes Tape head care
Selection ofcassette tapes
You can use normal tapes only.
Cassette tapes exceeding 90 minutes:
These tapes are handy for their iong piayback and record-
ing time but be careful about repeatedly stopping and start-
ing, rewinding and fast fonvarding these tapes in short
intervals as they are thin, tend to stretch and may become
entangled in the deck mechanism.
Ifthe tape loosens^ take up the slack
Tape s\ack may cause the tape to breal(.
To prevent erasure ofrecorded sounds
Remove the erase-prevention tabs with ascrewdriver or a
simitar object.
To re-record on aprotected cassette, cover the slot with
adhesive tape.
Side A
Tab for side A
Tab for side BAdhesive tape
Improper tape storage:
You can damage tapes if you store them in the following
places:
•In high temperature [35°C (95°F) or higher] or high humid-
ity (80% or higher) areas
•In astrong magnetic field (near aspeaker, on top of aTV.
etc.)
This can erase arecording.
•Areas exposed to direct sunlight
To assure sound quality for recording and playback, be sure
to clean the tape heads after approximately every 10 hours
of use.
1Open the cassette compartment cover by
pressing STOP/EJECT.
2(Deck 1)
Press PLAY.
(Deck 2)
While pushing erase prevention lever down-
ward as shown, press |RECORD
Clean the head(s), pinch roller and the cap-
stan with a cotton swab (or asoft, lint-free
cloth) slightly moistened with isopropyl alco-
hol.
Do not use any solution other than alcohol for head
cleaning.
yjErase
prevention
lever
Deck 1,2
Erase
P.B. (/REC) head
head (only for
Deck 2)Capstan
Cotton swab
It is recommended that the head assembly be demagne-
tized if distortion or poor sound quality persists after clean-
ing the heads.
Demagnetize them using ademagnetizer available from an
audio store.
11
Product Service Technical Specifications
Do not attempt to remove the cover(s) or repair the unit
yourself. Refer servicing to qualified personnel only.
Product information
For product service, product information or assistance with
product operation, refer to the servicenter directory.
Radio
Frequency range:
Tape recorder
Track system:
Recording system:
ly^onitor system:
Frequency range:
General
Power requirement:
Speakers:
Jacks;
Input;
Output;
Dimensions (WxHxD):
Weight:
FM; 88-108 MHz
AM; 525-1705 kHz
4track. 2channel, stereo
AC bias, magnet erase
Variable sound monitor
70-12000 Hz (Normal)
AC; 120 V, 60 Hz
Power consumption:
15 W
Battery; gv
(six "D" size batteries)
2Woofers; 10 cm {4")
2Tweeters; 1.5 cm
CD/LINE IN; 398 mV/47 kfl
HEADPHONES; 32Q
566x146x160 mm
(22^i6"x5y4"x6Vi6")
2.8 kg without batteries
(6 ib. 3oz.)
Note:
Specifications are subject to change without notice.
Weight and dimensions are approximate.
Panasonic Company, Division of
Matsushita Electric Corporation of America
One Panasonic Way
Secaucus, New Jersey 07094
Panasonic Sales Company, Division of
Matsushita Electric of Puerto Rico, inc.
San Gabriel Industrial Park
65th Infantry Ave. Km. 9.5
Carolina, P.R. 00630
Printed in Singapore
Panasonic Company (West) of America, Division of
Matsushita Electric Corporation of America
6550 Katella Ave.
Cypress, CA 90630
Matsushita Electric of Canada Limited
5770 Ambler Drive,
Mississauga, Ontario L4W 2T3
RQT2300-P
F1093D0

Other manuals for RXFT530 - RADIO/DUAL CASS-LOW

3

Other Panasonic Cassette Player manuals

Panasonic RQ-P35 User manual

Panasonic

Panasonic RQ-P35 User manual

Panasonic RQ-SX67V User manual

Panasonic

Panasonic RQ-SX67V User manual

Panasonic RQ-V180 User manual

Panasonic

Panasonic RQ-V180 User manual

Panasonic RQ-SX70V User manual

Panasonic

Panasonic RQ-SX70V User manual

Panasonic RQ-V175 User manual

Panasonic

Panasonic RQ-V175 User manual

Panasonic RQ-CR15V User manual

Panasonic

Panasonic RQ-CR15V User manual

Panasonic RX-C45LS User manual

Panasonic

Panasonic RX-C45LS User manual

Panasonic RX-DT30 User manual

Panasonic

Panasonic RX-DT30 User manual

Panasonic RXFS470 - RADIO CASSETTE-LOW User manual

Panasonic

Panasonic RXFS470 - RADIO CASSETTE-LOW User manual

Panasonic RX-DS45 User manual

Panasonic

Panasonic RX-DS45 User manual

Panasonic RQ-CR15V User manual

Panasonic

Panasonic RQ-CR15V User manual

Panasonic RQ-NX60V User manual

Panasonic

Panasonic RQ-NX60V User manual

Panasonic RQ-SW09V User manual

Panasonic

Panasonic RQ-SW09V User manual

Panasonic RQ-CR55 User manual

Panasonic

Panasonic RQ-CR55 User manual

Panasonic RX-DT505 User manual

Panasonic

Panasonic RX-DT505 User manual

Panasonic RQ-X01 User manual

Panasonic

Panasonic RQ-X01 User manual

Panasonic RQ-V207 User manual

Panasonic

Panasonic RQ-V207 User manual

Panasonic RXFS430 - RADIO CASSETTE-LOW P User manual

Panasonic

Panasonic RXFS430 - RADIO CASSETTE-LOW P User manual

Panasonic RQ-SX45 User manual

Panasonic

Panasonic RQ-SX45 User manual

Panasonic RQ-SW20 User manual

Panasonic

Panasonic RQ-SW20 User manual

Panasonic RXFS430 - RADIO CASSETTE-LOW P User manual

Panasonic

Panasonic RXFS430 - RADIO CASSETTE-LOW P User manual

Panasonic NV-MV20EB User manual

Panasonic

Panasonic NV-MV20EB User manual

Panasonic RQ-SX56 User manual

Panasonic

Panasonic RQ-SX56 User manual

Panasonic RQ-E14 User manual

Panasonic

Panasonic RQ-E14 User manual

Popular Cassette Player manuals by other brands

Sony CFS-717S operating instructions

Sony

Sony CFS-717S operating instructions

Lenoxx Sound SL-6703 operating instructions

Lenoxx Sound

Lenoxx Sound SL-6703 operating instructions

JVC HR-XVC1U user guide

JVC

JVC HR-XVC1U user guide

Pioneer CT-W806DR Service manual

Pioneer

Pioneer CT-W806DR Service manual

Philips AQ5150/04S brochure

Philips

Philips AQ5150/04S brochure

Sony Walkman WM-EX506 operating instructions

Sony

Sony Walkman WM-EX506 operating instructions

Sony WALKMAN WM-FX123 operating instructions

Sony

Sony WALKMAN WM-FX123 operating instructions

Aiwa CSD-TD310 operating instructions

Aiwa

Aiwa CSD-TD310 operating instructions

Technics RS-B14 Service manual

Technics

Technics RS-B14 Service manual

Pioneer KEH-M1096ZT/X1B/EW Service manual

Pioneer

Pioneer KEH-M1096ZT/X1B/EW Service manual

Aiwa HS-RX208 Service manual

Aiwa

Aiwa HS-RX208 Service manual

Inter-m PC-9335AD operating manual

Inter-m

Inter-m PC-9335AD operating manual

Aiwa NSX-S111 Simple manual

Aiwa

Aiwa NSX-S111 Simple manual

Sanyo MCD-Z1F Service manual

Sanyo

Sanyo MCD-Z1F Service manual

Sony Walkman WM-FX241 Specifications

Sony

Sony Walkman WM-FX241 Specifications

Sony CFS-B7SMK2 Service manual

Sony

Sony CFS-B7SMK2 Service manual

Sony Walkman WM-FX433 operating instructions

Sony

Sony Walkman WM-FX433 operating instructions

Silvercrest SKD 1000 A3 User manual and service information

Silvercrest

Silvercrest SKD 1000 A3 User manual and service information

manuals.online logo
manuals.online logoBrands
  • About & Mission
  • Contact us
  • Privacy Policy
  • Terms and Conditions

Copyright 2025 Manuals.Online. All Rights Reserved.