manuals.online logo
Brands
  1. Home
  2. •
  3. Brands
  4. •
  5. Panasonic
  6. •
  7. Digital Camera
  8. •
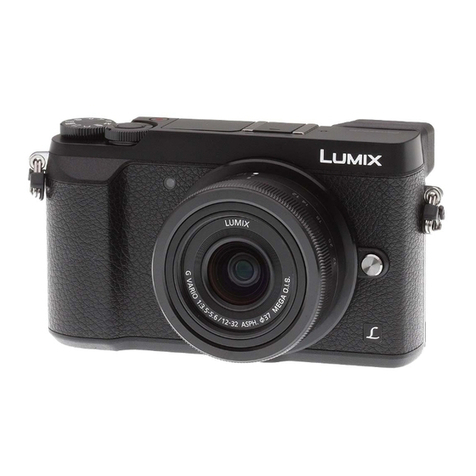
  9. Panasonic Lumix DMC-TS20 User manual

Panasonic Lumix DMC-TS20 User manual

Other manuals for Lumix DMC-TS20

4

Other Panasonic Digital Camera manuals
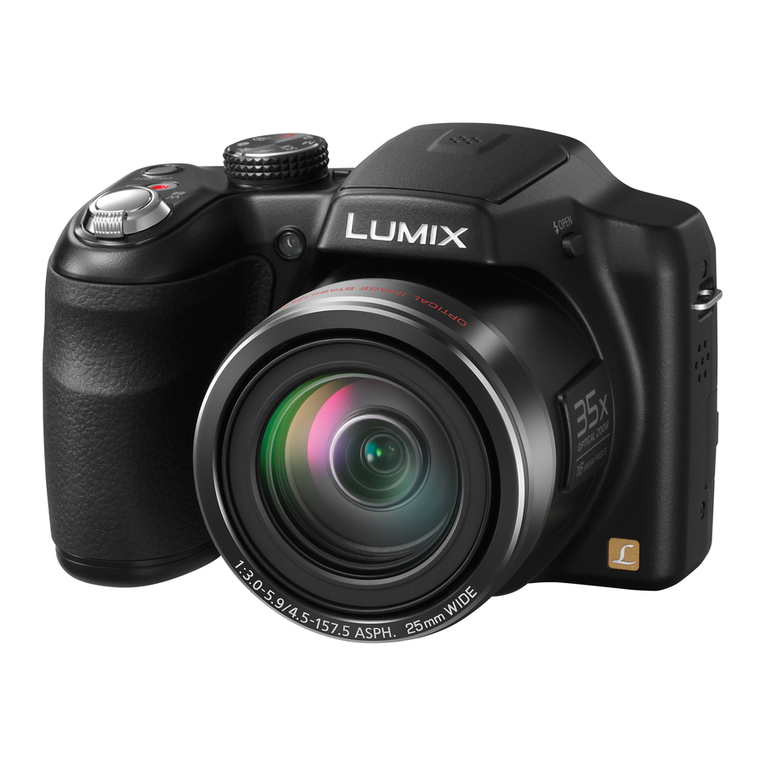
Panasonic Lumix DMC-FZ10 User manual

Panasonic

Panasonic Lumix DMC-FZ10 User manual

Panasonic AWE860N - COLOR CAMERA User manual

Panasonic

Panasonic AWE860N - COLOR CAMERA User manual

Panasonic LUMIX DMC-ZX3 User manual

Panasonic

Panasonic LUMIX DMC-ZX3 User manual

Panasonic Lumix DMC-FZ5EG-K User manual

Panasonic

Panasonic Lumix DMC-FZ5EG-K User manual

Panasonic LUMIX DMC-TZ4 User manual

Panasonic

Panasonic LUMIX DMC-TZ4 User manual

Panasonic Lumix DC-TZ92 Technical specifications

Panasonic

Panasonic Lumix DC-TZ92 Technical specifications

Panasonic Lumix DMC-TZ30 Technical specifications

Panasonic

Panasonic Lumix DMC-TZ30 Technical specifications

Panasonic AW-HE20KP User manual

Panasonic

Panasonic AW-HE20KP User manual

Panasonic Lumix DMC-TZ70 Technical specifications

Panasonic

Panasonic Lumix DMC-TZ70 Technical specifications

Panasonic HX-A500 Installation and service instructions

Panasonic

Panasonic HX-A500 Installation and service instructions

Panasonic HDCZ10000P User manual

Panasonic

Panasonic HDCZ10000P User manual

Panasonic DMC-FX90K Installation and service instructions
Panasonic

Panasonic DMC-FX90K Installation and service instructions
Panasonic Lumix DMC-F2 User manual

Panasonic

Panasonic Lumix DMC-F2 User manual

Panasonic DMC-G7SINGLE User manual

Panasonic

Panasonic DMC-G7SINGLE User manual

Panasonic LUMIX DMC-FX38 User manual

Panasonic

Panasonic LUMIX DMC-FX38 User manual

Panasonic AW-UE160WP User manual

Panasonic

Panasonic AW-UE160WP User manual

Panasonic BM-ET300 User guide

Panasonic

Panasonic BM-ET300 User guide

Panasonic Lumix DMC-TZ27EB User manual

Panasonic

Panasonic Lumix DMC-TZ27EB User manual

Panasonic LUMIX DMC-GX8 User manual

Panasonic

Panasonic LUMIX DMC-GX8 User manual

Panasonic AK-UB300G User manual

Panasonic

Panasonic AK-UB300G User manual

Panasonic Lumix DMC-GF2 User manual

Panasonic

Panasonic Lumix DMC-GF2 User manual

Panasonic Lumix DMC-ZS8 Installation and service instructions

Panasonic

Panasonic Lumix DMC-ZS8 Installation and service instructions
Panasonic Lumix DMC-SZ10 User manual

Panasonic

Panasonic Lumix DMC-SZ10 User manual

Panasonic LUMIX DMC-GX1KPP User manual

Panasonic

Panasonic LUMIX DMC-GX1KPP User manual

Popular Digital Camera manuals by other brands

Canon WP-DC35 user guide

Canon

Canon WP-DC35 user guide

Xiaomi 70mai Dash Cam Lite user manual

Xiaomi

Xiaomi 70mai Dash Cam Lite user manual

Samsung PL70 Quick start manual

Samsung

Samsung PL70 Quick start manual

GE E1680W user manual

GE

GE E1680W user manual

Canon EOS 1200D instruction manual

Canon

Canon EOS 1200D instruction manual

Tevion MD 86497 user guide

Tevion

Tevion MD 86497 user guide

Exakta VX Features

Exakta

Exakta VX Features

Kodak Digital Science DC120 user guide

Kodak

Kodak Digital Science DC120 user guide

Nikon FM3A Specifications

Nikon

Nikon FM3A Specifications

Vectra Fitness H1 Quick reference guide

Vectra Fitness

Vectra Fitness H1 Quick reference guide

Nikon COOLPIX 775 quick start guide

Nikon

Nikon COOLPIX 775 quick start guide

Olympus IR 500 - 4MP Digital Solutions Camera Manuel de Référence

Olympus

Olympus IR 500 - 4MP Digital Solutions Camera Manuel de Référence

Samsung EC-L100ZBBA brochure

Samsung

Samsung EC-L100ZBBA brochure

FujiFilm FINEPIX BL01124-201 owner's manual

FujiFilm

FujiFilm FINEPIX BL01124-201 owner's manual

Hyundai Electric HYU-CC-CHBF12001 Quick installation guide

Hyundai Electric

Hyundai Electric HYU-CC-CHBF12001 Quick installation guide

Sony DSC-WX80 specification

Sony

Sony DSC-WX80 specification

Nikon Nuvis S - Point & Shoot instruction manual

Nikon

Nikon Nuvis S - Point & Shoot instruction manual

Olympus CAMEDIA C-3030ZOOM overview

Olympus

Olympus CAMEDIA C-3030ZOOM overview

manuals.online logo
manuals.online logoBrands
  • About & Mission
  • Contact us
  • Privacy Policy
  • Terms and Conditions

Copyright 2025 Manuals.Online. All Rights Reserved.

Pa.aso.ic
Owner's Manual
for advanced features
Digital Camera
_o_e,_oDMC-TS20
Before connecting, operating or adjusting this product,
please read the instructions completely.
VQT4B00
F1211HY0
Recording
Face Recognition is a function which finds a face resembling a registered face and
prioritizes focus and exposure automatically. Even if the person is located towards the
back or on the end of a line in a group photo, the camera can still take a clear picture.
[Face Recog.] is initially set to [OFF] on the camera.
[Face Recog.] will turn [ON] automatically when the face image is registered.
"The following functions will also work with the Face Recognition
function.
In Recording Mode
-Display of corresponding name when camera detects a registered
face I (if name has been set for the registered face)
In Playback Mode
-Display of name and age (if information has been registered)
-Selective playback of pictures chosen from pictures registered with Face Recognition
([Category Selection] (P98) in [Filtering Play]).
Names of up to 3 people are displayed. Precedence for the names displayed when taking
pictures is determined according to the order of registration.
• During the Burst Mode, [Face Recog.] picture information can be attached to only the first
picture.
• [Face Recog.] does not guarantee secure recognition of a person.
• Face Recognition may take more time to select and recognize distinctive facial features than
regular face detection.
• Even when Face Recognition information has been registered, pictures taken with [Name] set
to [OFF] will not be categorized by Face Recognition in [Category Selection] ([Filtering Play]).
•Even when Face Recognition information is changed (P79}, Face Recognition
information for the pictures already taken will not be changed.
For instance, if the name is changed, pictures recorded before the change will not be
categorized by Face Recognition in [Category Selection] ([Filtering Play])
• To change the name information of the pictures taken, perform the [REPLACE] in
[Face Rec Edit] (PI12).
• [Face Recog.] cannot be used in the following cases.
-Recording Modes which do not allow setting to [.'_.'] of [AF Mode]
-When recording motion pictures
-75-
Recording
You can register information such as names and birthdays for face images of up to
6 people.
Registration can be facilitated by taking multiple face images of each person. (up to
3 pictures/registration)
•Point of recording when registering the face images
• Face front with eyes open and mouth closed, making sure the
outline of the face, the eyes, or the eyebrows are not covered
with the hair when registering.
• Make sure there is no extreme shading on the face when
registering. (Flash will not flash during registration.)
(Good example for
registering)
• When it is not recognizing during recording
• Register the face of same person indoors and outdoors, or with different expressions or
angles. (P79)
• Additionally register at the location of recording.
• When a person who is registered is not recognized, correct by re-registering.
• Face Recognition may not be possible or may not recognize faces correctly even for
registered faces, depending on the facial expression and environment.
-76-
Recording
_Select [Face Recog.] on [Rec] menu press [MENU/SET].
the and then
(P42)
_Press &IT to select [MEMORY] and then press [MENU/SET].
_ress A/I'/<I/I_ to select the Face
Recognition frame that is not registered,
and then press [MENU/SET].
Take the picture adjusting the face with the
guide.
• The faces of subjects other than people (pets, etc.)
cannot be registered.
• When [DISPLAY] is pressed, an explanation appears
for taking face images.
• Confirmation screen is displayed. It is executed when
[Yes] is selected.
-77-
Recording
_Select item to edit with All', and then press [MENU/SET].
You can register up to 3 face images.
It is possible to register names.
]Press • to select [SET] and then press [MENU/SET].
[Name] 2 Enter the name.
• For details on how to enter characters, refer to "Entering
Text" section on P80.
It is possible to register the birthday.
1Press •to select [SET] and then press [MENU/SET].
[Age] 2Press ,/1_ to select the items (Year/Month/Day),
and then press A/• to set and then press [MENU/
SET].
Change the displayed focus icon when the subject is
focused.
[Focus Icon] Press A/• to select the focus icon, and then press
[MENU/SET].
To add additional face images.
(Add Images)
1 Select the unregistered face recognition frame, and
then press [MENU/SET].
2Perform steps 4 in "Face Settings".
[Add Images] To delete one of the face images.
(Delete)
Press ,/1_ to select the face image to delete, and then
press [MENU/SET].
• If there is only one image registered, it cannot be deleted.
• Exit the menu after is set.
-78-
Recording
You can modify the pictures or information of an already registered person. You can also
delete the information of the registered person.
1Select [Face Recog.] from the [Rec] menu, and then press [MENU/SET]. (P42)
2Press • to select [MEMORY] and press [MENU/SET].
3Press 4,1•1"_11_ to select the face image to edit or delete and then press
[MENU/SET].
4. Press 4,/• to select the item and then press [MENU/SET].
iiiiiiiiiiiiiiiiiiiiiiiiiiiiiiiiiiiiiiiiiiiiiiiiiiiiiiiiiiiiiiiiiiiiiiiiiiiiiiiiiiiiiiiiiiiiiiiiiiiiiiiiiiiiiiiiiiiiiiiiiiiiiiiiiiiiiiiiii..........................................................................................
[Info Edit] Changing the information of an already registered person.
Perform step 5in "Pace Settings".
The focus and exposure are preferentially adjusted for
[Priority] higher-priority faces.
Press 4,1•1,11_ to select the priority and then press
[MENU/SET].
[Delete] Deleting information of a registered person.
Exit the menu after it is set.
-79-
Recording
It is possible to enter babies' and pets' names and the locations when recording. (Only
alphabetical characters and symbols can be entered.)
_Display entry screen.
the
• You can display the entry screen via the following operations.
-[Name] of [Babyl]/[Baby2] or [Pet] in Scene Mode
-[Name] in [Face Recog.]
-[Location] in [Travel Date]
_Press AI,I<III_ to select text and then press
[MENU/SET] to register.
• Move the cursor to [_a] and then press [MENU/SET] to switch
text between [A] (capitals), [a] (lower case), [1] (numbers) and
[&] (special characters).
• To continuously enter the same character, move the cursor by
pressing [T] on the zoom button.
• The following operations can be performed by moving the cursor to the item and
pressing [MENU/SET]:
-[_]: Enter a blank
-[Delete]: Delete a character
-[_]: Move the entry position cursor to the left
-[_]: Move the entry position cursor to the right
• The following characters and numbers can be entered.
-A maximum of 30 characters can be entered (Maximum of 9 characters when setting
names in [Face Recog.]).
A maximum of 15 characters can be entered for [\], [ [ ], [ J ], [ o ] and [--]
(Maximum of 6 characters when setting names in [Face Recog.]).
_Press AITI<III_ to the to and then
move cursor [Set] press
[MENU/SET] to end text input.
• Text can be scrolled if all of the entered text does not fit on the screen.
• It is displayed in order of location, [Name] ([Babyl]/[Baby2], [Pet]), [Name] ([Face Recog.]).
-80-
Recording
For details on [Rec] menu settings, refer to P42.
Applicable modes: _/O/_1_,i_i_i_1_
Set the number of pixels. The higher the numbers of pixels, the finer the detail of the
pictures will appear even when they are printed onto large sheets.
[ Le_ 16M] 4608 × 3456
[88 s._]
[_ 3_] _
[8814. ]
[_12,. ]
[re'h2. )
i<
3648×2736
2560×1920
2048×1536
640x480
4608×3072
4608×2592
3456×3456
Thisitem cannotbe setinthelntelligent Auto Mode.
m:
m:
Im:
Aspect ratio of a 4:3 TV
Aspect ratio of a 35 mm film camera
Aspect ratio of a high-definition TV, etc.
Square aspect ratio
•In specific modes, Extended Optical Zoom cannot be used, and the picture size for [[_] is not
displayed. For details regarding modes in which Extended Optical Zoom cannot be used, refer
to P56.
• Pictures may appear mosaic depending on the subject and the recording conditions.
-81 -
Recording
Applicable modes:
This allows the Sensitivity to light (ISO sensitivity) to be set. Setting to a higher figure
enables pictures to be taken even in dark places without the resulting pictures coming out
dark.
The ISO sensitivity is adjusted according to the movement of the
[DIS0] ([i.ISO]) subject and the brightness.
• Maximum [1600]
[100]
[200]
[400] The ISO sensitivity is fixed to various settings.
[800]
[1600]
Recording location
(recommended) When it is light (outdoors) When it is dark
Shutter speed Slow Fast
Noise Less increased
Jitter of the subject increased Less
•About [BIS0](Intelligent ISO sensitivity control)
The camera detects movement of the subject and then automatically sets the optimum ISO
sensitivity and shutter speed to suit the movement of the subject and brightness of the
scene to minimize the jitter of the subject.
• The shutter speed is not fixed when the shutter button is pressed halfway, it is continuously
changing to match the movement of the subject until the shutter button is pressed fully.
• For the focus range of flash when [MIS0]is set, refer to Pd0.
• The ISO sensitivity is automatically set under the following conditions.
-When recording motion pictures
-When [Burst] in the [Rec] menu is set to [E_H] or [_]
-82-
Recording
Applicable modes: _
In sunlight, under incandescent lights or in other such conditions where the color of white
takes on a reddish or bluish tinge, this item adjusts to the color of white which is closest to
what is seen by the eye in accordance with the light source.
iiiiiiiiiiiiiiiiiiiiiiiiiiiiiiiiiiiiiiiiiiiiiiiii_iiiiiiiiiiiiiiiiiiiiiiiiiiiiiiiiiiiiiiiiiiiiiiiiiiiiiiiiiiiiiiiiiiiiiiiiiiiiiiiiiiiiiiiiiii
[AWB] Automatic adjustment
([Auto White Balance])
[_] When taking pictures outdoors under a clear sky
([Daylight])
[_.] When taking pictures outdoors under a cloudy sky
([Cloudy])
It),.] When taking pictures outdoors in the shade
([Shade])
[_,_] When taking pictures under incandescent lights
([Incandescent])
[_] Value set by using [_SET]
([White Set])
[_SET] Set manually
([White Set Setting])
• Under fluorescent lighting, LED lighting fixture etc., the appropriate White Balance will vary
depending on the lighting type, so use [AWB] or [_SET].
• The White Balance setting is memorized even if the camera is turned off. (However, the White
Balance setting for a Scene Mode returns to [AWB] when the Scene Mode is changed.)
• White Balance is fixed to [AWB] in following conditions.
-[Scenery]/[Night Partrait]/[Night Scenery]/[Foad]/[Sunset] in Scene Mode
-83 -