Kobian CyperPix E460M User manual

UserManual
165mm+-2
1
2
2
m
m
+
-
2

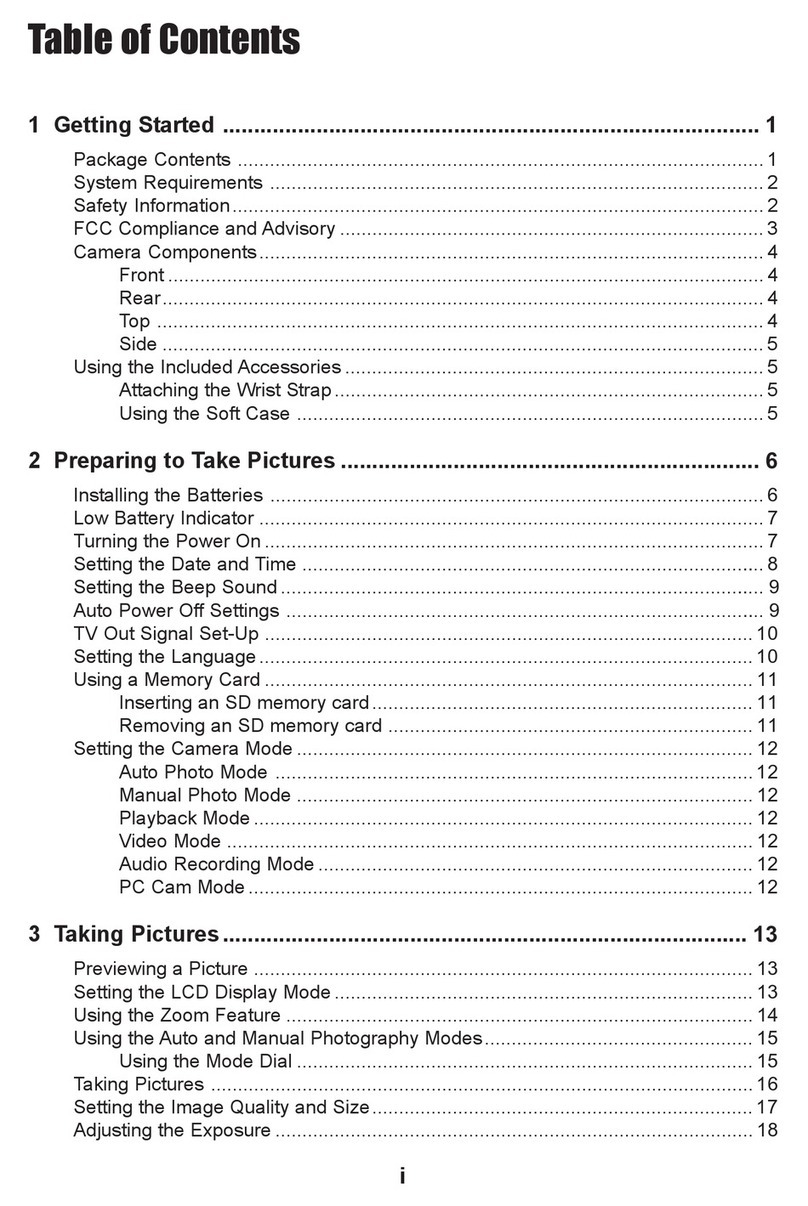
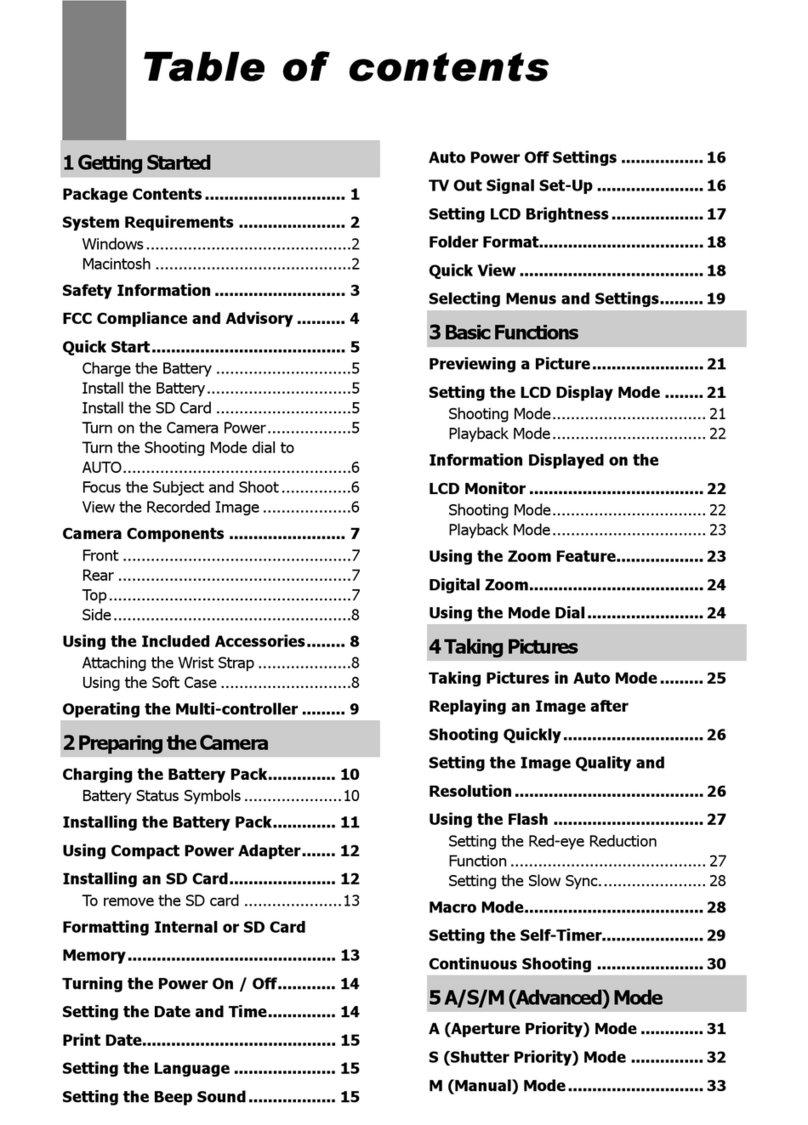
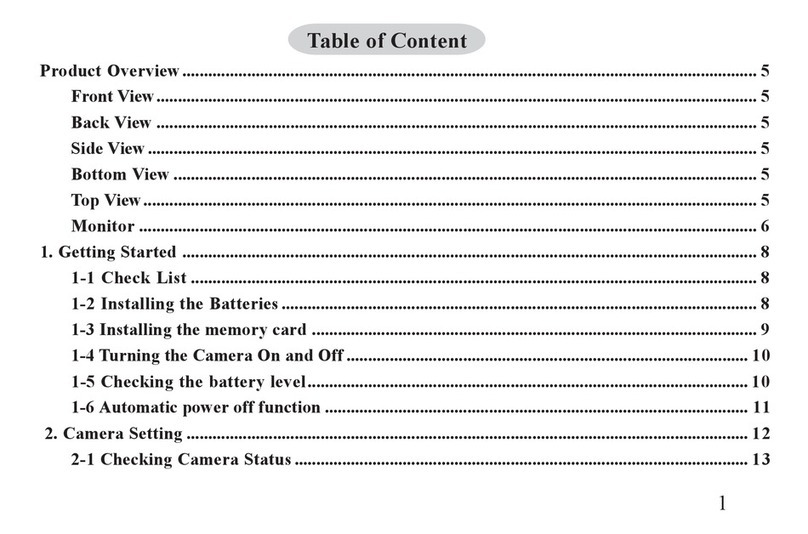
Table Of Contents
2
SafetyNotes
------------------------------------------------------------------------03
Overall Introduction-------------------------------------------------------------04
n Accessories----------------------------------------------------------------------04
n ExternalView -------------------------------------------------------------------05
n Mode Dial(Working Mode)---------------------------------------------------05
n IconDisplay----------------------------------------------------------------------06
n IconIndex Table---------------------------------------------------------------06
Getting Ready---------------------------------------------------------------------07
n TurnOnor Off the Camera---------------------------------------------------07
n Loading the Batteries----------------------------------------------------------07
n Inserting or Removing anSD Card----------------------------------------08
n Attaching theWrist Strap-----------------------------------------------------08
Getting Started--------------------------------------------------------------------09
n Basic Photography-------------------------------------------------------------09
Advanced FunctionalitySettings-------------------------------------------11
n Under ShootingMode ( )------------------------------------------------11
Setting Focus Range----------------------------------------------------------11
Turning Onor Off theTFTLCD Monitor----------------------------------11
Setting FlashMode-------------------------------------------------------------12
Setting Self-timer---------------------------------------------------------------12
Setting DigitalZoom-----------------------------------------------------------13
Setting anImage Size (Resolution)----------------------------------------14
Setting Image Quality----------------------------------------------------------14
Setting Voice Memo------------------------------------------------------------15
Setting Exposure----------------------------------------------------------------16
SettingWhite Balance---------------------------------------------------------16
n Under Playback Mode ( )----------------------------------------------17
Exploring anImage-------------------------------------------------------------17
Displaying Image Information-----------------------------------------------17
Playback of a Movie Clip-----------------------------------------------------
18
Thumbnail Images (SmallImages) Display------------------------------18
Deleting Images---------------------------------------------------------------19
Formatting anSD Card--------------------------------------------------------20
Formatting the Built-inFlashMemory -----------------------------------20
Setting Slide Show-------------------------------------------------------------
20
Setting Image Protection-----------------------------------------------21
Printing Out Images withouta PC-----------------------------------21
n Under Movie Clip Mode ( )----------------------------------------22
Setting the RecordingTime of a Movie Clip----------------------22
n Under Setup Mode ( )-----------------------------------------------23
Setting Beep Sound---------------------------------------------------23
SettingAuto Power Off------------------------------------------------23
Setting Date Stamp ----------------------------------------------------23
Setting Date Type ------------------------------------------------------23
Setting Date -------------------------------------------------------------24
Setting Quick View------------------------------------------------------24
Setting Language--------------------------------------------------------25
Setting Reset-------------------------------------------------------------25
SettingTV Mode---------------------------------------------------------25
TV Connection ---------------------------------------------------------------26
PC Connection-----------------------------------------------------------------27
n Installing theCamera's Driver ------------------------------------------27
Under MicrosoftWindows 98 / 98SE-----------------------------------27
Under MicrosoftWindows 2000-----------------------------------------28
Under MicrosoftWindows ME / XP-------------------------------------29
Under Mac 9.Xor later-----------------------------------------------------29
n Installing Ulead Photo Explorer ----------------------------------------
30
Under Windows OperationSystem (Windows 98/98SE/2000
/ME/XP)--------------------------------------------------------------------30
Under Macintosh OperatingSystem (Mac9.Xor later)-----------32
n Downloading the Image(s)------------------------------------------------34
Under Windows OperationSystem (Windows 98/98SE/2000
/ME/XP)------------------------------------------------------------------------34
Downloading Images from Removable Disk --------------------34
Downloading Images throughUlead PhotoExplorer ---------34
Under Macintosh OperatingSystem (Mac9.Xor later)-----------35
Downloading Images from Removable Disk --------------------35
Downloading Images throughUlead PhotoExplorer-----------35
Appendix -----------------------------------------------------------------------36
n Error Message Table----------------------------------------------------36
n Specifications---------------------------------------------------------------37
n About Ulead Photo Explorer --------------------------------------------38

Safety Notes
3
Do not try to open the camera by yourself, which may cause damage to the camera or electric shock.
Do not fire the flash in a close distance (less than 1 meter) to human eyes.
Keep the camera away from the reach of children or animals to prevent them from swallowing the batteries or small accessories.
Avoid using the camera if any kinds of liquid enters the camera. If it happens, switch off the camera and contact the company that you bought
this camera from for help.
Do not operate this camera with wet hands, which may cause electric shock.
Do not place or store the camera in a high temperature environment, which may cause damage to the camera.
Do not mix to use different types of batteries or new and old batteries.
Please remove the batteries to avoid electricity leakage if the camera is not in use for a long period.
Unplug the camera from the adapter (if used) to avoid damage to the camera if the camera is not to be used for a long period.
It's normal that the temperature of the camera body rises after using for a long period.

Overall Introduction
4
User Manual
Quick Start
Guide
User
Manual
Accessories
DigitalCamera
Camera Driver
& Ulead Software
2 xAABatteries
Camera Pouch
Quick Start
Guide USB Cable Wrist Strap Video Cable

Overall Introduction
5
DISP
POWER
External View
Shutter Button
Flash
Viewfinder
Speaker
Video Connector
USB Connector
Self-timer
LED
OpticalLens
Tripod Socket
Memory Card
Cover
Ø Shooting Mode ( )
Ø Playback Mode ( )
Ø Movie Clip Mode ( )
Ø Setup Mode ( )
Left ( )Direction/Flash
/Thumbnails Button
Up ( )Direction Button
Down ( )Direction Button
Zoomin/out Button
(Optical, DigitalZoom)
Right ( )Direction
/ Self-Timer Button
Set/Macro
/Speaker Button
Strap Eyelet
Mode Dial
Menu/Cancel
Button
LED
Indicator
Viewfinder
TFTLCD
Monitor
TFTLCD Button
Power Button
Microphone
Battery Cover
Top
Top
B
ack
Top
F
ront
Top
B
ottom
Top
Mode Dial (WorkingMode)

Overall Introduction
6
4
11
14
Icon IndexTable
+
+
-
0
+
T
W
1
2
3
4
5
6
78
9
11
12
13
10
14
Icon Display
Voice Memo
Working Mode
() Shooting mode
( ) Playback mode
( ) Movie clip mode
( ) Setup mode
Note: In Playback mode,
thisicon " " willnotbe
shown on the TFT LCD.
3Digital Zoom
4Optical Zoom
6
Digital Zoom
()Macro
BatteryStatus
() Battery full
(
) Battery half
drained
( ) Battery
drained
7
MemoryCard
8
9
10
11
12
13
Exposure
Date
Image Size
()2272x1704
( )2048x1536
( )1600x1200
( )1280x960
14
I
mage Quality
()Super fine
()Fine
()Normal
White Balance
()Auto
()Daylight
()Sunset
()Fluorescent
()Tungsten
Self-timer
5
2
1
Flash Mode
()Auto flash
()Auto flash with
red-eye
reduction
(
)SlowSync
( )Fill-in flash
( )Flash off
Working Mode
Focus Range
Flash Modes
Digital Zoom
Thumbnails
Self-timer
MemoryCard Inside
BatteryStatus
Image Size (Resolution)
Image Quality
White Balance
Exposure
Voice Memo
Protected Image
Print (DPOF)
Darkness Warning
Setting

Getting Ready
7
Turn Onor Off the Camera
Loading theBatteries
Press downthe"POWER" buttonto turnonthe camera.
Repeat the above actionto turnoff the camera.
Note
Thebelow symbols ontheTFTLCD Monitor are the indicationof
the battery status.
( ): Battery power is full.
():Battery power ishalf drained. Have new batteries ready.
( ):Battery power is drained. Replace the batteries youareusing
now.
Note
2 pcs of AAalkaline / Ni-MH / CRV-3 batteries are strongly
recommended fornormaloperation.
Loading the Batteries
1. Turn off the camera.
2. Pushdownthe black triangle button onthe Battery Cover and
slide out to open it.
3. Load 2 xAAbatteries into the battery chamber, following the
polarity indication.
4. Close the Battery cover

Getting Ready
8
Note
n Batteries may lose power if kept inside thecamera for a long time withoutusing. Please remove thebatteries while the camerais
n not inuse.
n Do not use manganese batteries since they cannot supply sufficient power to supportthe camera'soperation.
n Batteries may not work normally under 0 J.
n It's normalthat the temperature of the camera body goes up after being inuse for a longperiod.
Inserting or Removingan SD Card
AttachingtheWrist Strap
Note
If a new SD card isused, it is necessary toformat firstly. Please
refer to page 20 for thedetails.
Note
The image(s) can be stored either inbuilt-inflashmemory orin
memory card. Only if the memory card is inserted, the images
will
be stored inthe memory card rather thanthe built-inflash
memory. Ontheother hand,the images willbe stored inthe built-in
flashmemory only if a memory card is not inserted.
1. Power off thecamera
2. Openthe Memory Card Cover.
3. Insert the SD card into the card slot andpress it downuntil a click
sound happens. (Press downthe inserted SD card againto get it
out whena click soundhappens)
4.Close the Memory Card Cover.

Getting Started
9
Basic Photography
1. Remove the Lens Cover.
2. Press downthePOWER buttonto turnonthe camera.(Note that the yellow led onthe back side willblink.)
3. Set the Mode Dialat Shooting Mode ( )for stillimage or Movie Clip Mode ( ) for video recording.
4. Hold your camera withyourhand andpositiona subject inthe center of the frameto focuson.
5. If thesubject youare goingto shoot is ranged from 0.2m to0.8 m, pressing downSET/MACRO button to change the focusrange.
6. Press andhold the shutter buttonhalfway down. Note when the color of the centralframe turns from white to red and thentogreen,
this means the camera AutoFocus is ready.And thenyoucancontinue next step for image shooting.
7. Press the shutterbuttonfully downfor capturing the image.
8. TheLED Indicator starts blinking right after the Shutter Buttonis released.
9. Oncethe LED Indicator stops blinking, you are ready to take another shot.
2003/09/05
2003/09/05 2003/09/05
2003/09/05
green
Auto Focus is ready!

Getting Started
10
Note
Amessage of "Low Light!" appearing onthe TFTLCD Monitor as a warning to remind youto go to the FlashMode and select Auto Flashor
Fill-inflashto getmore light sources so asto compose a superior quality image.
Note
Insuchcases shownas follows, please release the shutterbutton, thentry to recompose the shot and focus againbecause theAuto Focus
functionmay be difficult to use with.
n The subject is distant fromthe camera anddark
n The contrast of the subject and its background is poor
n The subject is viewed througha piece of glass or window.
n Afast-moving or a flashing subject is passing through.
n The subject has a reflectionattribute like a mirror, a luminous body, or alustrous subject.
Note
Move up and downthezoom buttonto adjust the suitable zoom position.
Note
The lens moves whenthezoom featureis beingused. Be very careful not to touch the lens.
Note
Whenthezoom exceeds 3X, enlargementis carried out using digitalprocessing image and theimage canbeenlarged up to 4Xusing the
digitalzoom feature. (Whenthe digitalzoom feature is used, the image quality deteriorates unlike the enlargement withthe opticalzoom.)
Note
Regarding anyadvanced functionality settings, please refer to thenext section-- Advanced Functionality Settings. Note thatpress the MENU
Button to enter the advanced settings andplease press downthe MENU Buttonagainanytime if youwould like to exit the setting.
Note
Youcaneasily check whether the setting is changed or not by the representative icondisplay ontheright side of the LCD screen. If not, please
repeat the above steps.
T
T
The Tside of this line shows
the extent of digitalzoom

Advanced Functionality Settings
11
Under Shooting Mode ( )
Setting Focus Range
Turning On or Off the TFT LCD Monitor (Default :On)
DISP
DISP
POWER
SET/MACRO
MENU /CANCEL
DISP
POWER
Note:
For close-up of small subjects like flower or insects, shootusing theMacro feature as
shown onthe left side of camera.
And the Macro icon( ) willappear ontheLCD screen
DISP
POWER
Macro ( ): 0.2m~0.8m
Note:
By pressing theLCD button inorder, youmay change thedisplay withfewer icons on
theTFTLCD, turn theTFTLCD off, andturnit onagainforall available icons.
Note
:
Withthe power-offTFTLCD Monitor, you are able to extend the power consumption of
the camera andyoumay use the Viewfinder to target the subject instead for your
convenience.

Advanced Functionality Settings
12
Setting Flash Mode (Default: Auto Flash)
DISP
POWER
SET/MACRO
MENU /CANCEL
DISP
POWER
Setting Self-timer (Default: OFF)
T
W
DISP
POWER
SET/ MACRO
MENU / CANCEL
DISP
POWER
DISP
POWER
SET/ MACRO
MENU / CANCEL
DISP
POWER
Ø Youcanchange the flashmode shown below according to the environment.
Auto Flash
Auto Flash with
Red-eye
Reduction
Night Scene
Fill-in Flash
Flash Off
The flashfires automatically as required under shooting mode.
To avoid the subject's eyes appear red inthe picture, use this
mode caneffectively minimize the likelihood of the red-eye
effect.
The flashwillfire and the exposure time is set to 1/2 second
so that the subject inthe foreground and background are
properl
y exposed.
This mode willenable the flashto fire inany circumstances.
Themode willdisable the flashto fire inany circumstance.
Note
The functionof self-timer starts withthe
countdownfrom 10 seconds.
Note
The self-timer willbe automatically cancelled
oncethe shoot is done.
Note
Press Right key and the self-time iconwill
appear inthe Preview.

Advanced Functionality Settings
13
Setting Optical Zoom (3X continuous) and Digital Zoom ( 4X continuous )
DISP
POWER
SET/ MACRO
MENU / CANCEL
DISP
POWER
Note
Thezoom bar, appearing on the left of the TFTLCD monitor, shows
the current digitaland opticalzoom position.
Note
Whenthezoom exceeds 3X, enlargementis carried out by using
digitalprocessing, and the image canbe enlarged up to 4X by using
the digitalzoom feature.
Whenthe digitalzoom feature is used, theimage quality is unlike the
enlargement withthe opticalzoom.

Advanced Functionality Settings
14
Setting ImageSize(Default:2048x1536)
+
DISP
POWER
SET/ MACRO
MENU / CANCEL
DISP
POWER
Setting ImageQuality (Default: FINE)
+
DISP
POWER
SET/ MACRO
MENU / CANCEL
DISP
POWER
Note
Four resolutionsprovided canbe selected as follows:
( ) 2272 x 1704 (XL)
( ) 2048 x 1536 (L)
( ) 1600 x 1200 (M)
( ) 1280 x 960 (S)
Note
Youcaneasily check whether the setting is changed or
not by the image size icondisplay onthe right side of the
LCD screen. If not, please repeat the above steps.
Note
Three levels of image quality canbe selected as
follows:
( ) Super Fine
( ) Fine
( ) Normal
Note
Thebetter the image quality is
set, thelessthenumber
of images canbe stored inthe built-
inflashmemory or
the memory card.
Note
Three levels of image quality canbe selected as
follows:
( ) Super Fine
( ) Fine
( ) Normal
Note
Thebetter the image quality isset, thelessthenumber
of images canbe stored inthe built-
inflashmemory or
the memory card.

Advanced Functionality Settings
15
Setting Voice Memo (Default: OFF)
+
DISP
POWER
SET/ MACRO
MENU / CANCEL
DISP
POWER
Note
Whenthe Voice Memo is on for 10, 20, 30SEC. or even
manual, youcan record anyvoice or sound right after
capturing the image and you canalso see the icon( )
onthe top of TFTLCD Monitor blinking.
Note
Withthe voice Memo function, youcanrecord a voice
memo for a image that youjust shot, just as a memo with
sound. Then, go to the PLAYBACK Mode, youcanview the
image youjust shot and listento the soundyourecorded by
pressing downthe SETbutton.

Advanced Functionality Settings
16
Setting Exposure(Default: + 0)
+
DISP
POWER
SET/ MACRO
MENU / CANCEL
DISP
POWER
SettingWhiteBalance (Default: AUTO)
+
DISP
POWER
SET/ MACRO
MENU / CANCEL
DISP
POWER
Note
Thehigher the value is, thebrighter the image willbe.
Note
Five White Balance modes canbe selected as follows:
Auto Adjusting the whitebalance automatically
Daylight Under strong light environment
SunsetUnder sunset light environment
Fluorescent Under fluorescent light environment
Tungsten Under tungsten light environment
Note
It is suggested to stay AUTO mode for beginners.

Advanced Functionality Settings
17
Under Playback Mode( )
ExploringanImage
T
W
T
W
T
W
DISP
POWER
SET/ MACRO
MENU/CANCEL
DISP
POWER
DISP
POWER
SET/ MACRO
MENU/CANCEL
DISP
POWER
DISP
POWER
SET/ MACRO
MENU/CANCEL
DISP
POWER
Displaying an ImageInformation
Note: After enlarging your image by digital process
(step3),then you can continue (the step4) to enter
the PAN mode.
100-0003
SIZE:2048x1536
DATE: 2003/07/10
TIME:17:16:56
FLASH:FIRED
DI
SP
DISP
POWER
SET /MACRO
MENU/CANCEL
DISP
POWER

Advanced Functionality Settings
18
Playback of aMovie Clip
Thumbnail Images (Small Images) Display
100-0001 100-0001 100-0001
DISP
POWER
SET / MACRO
MENU/ CANCEL
DISP
POWER
DISP
POWER
SET / MACRO
MENU/ CANCEL
DISP
POWER
DISP
POWER
SET / MACRO
MENU/ CANCEL
DISP
POWER
DISP
POWER
SET /MACRO
MENU /CANCEL
DISP
POWER
Note
Press Up ( ) and Down( ) DirectionButtonto
searchfor the movie clip yourecord and press SET
( ) DirectionButtonto play the movie clip.
Note
Youcanpress the SETButtonto pause the playback andrepress to cancelit.
Note
Press Up ( ) and Down ( ) Direction Button
to search for the images or movie clips and press
the SET Button to see the movie clip.
Note
The appearance of the icon (
) represents
a movie clip, not a stillimage.
Note
The appearance of the icon ( ) represents a
still image with voice memo.

Advanced Functionality Settings
19
Deleting Image(s)
DISP
POWER
SET/ MACRO
MENU / CANCEL
DISP
POWER
DISP
POWER
SET/ MACRO
MENU / CANCEL
DISP
POWER

Advanced Functionality Settings
20
Formatting anSDCard
Please inset anSD Card inadvance.
Refer to page19 and follow the steps, selecting "FORMAT" instep 3, "YES" instep 4.
Formattingthe Built-in Flash Memory
Please make sureno memory card is inserted.
Refer to page19 and follow the steps, selecting "FORMAT" instep 3 , "YES" instep4.
Setting Slide Show (Default :1SEC)
DISP
POWER
SET/MACRO
MENU /CANCEL
DISP
POWER
Table of contents
Other Kobian Digital Camera manuals

Kobian
Kobian CyperPix S555V User manual

Kobian
Kobian CyperPix E350V User manual

Kobian
Kobian CyperPix E685P User manual

Kobian
Kobian CyperPix S551V User manual

Kobian
Kobian VQ2220 Operating and safety instructions

Kobian
Kobian CyperPix E585D User manual

Kobian
Kobian CyperPix E660P User manual

Kobian
Kobian CyperPix E450V User manual

Kobian
Kobian CyperPix E550V User manual

Kobian
Kobian CyperPix S550V User manual