2
Important Safety Warnings
!The moulded three pin mains plug is supplied for your safety
and convenience and must NOT be cut off.
!A 5 amp fuse is fitted in the mains plug. If the fuse has to be
replaced, it must be of the same rating and approved by ASTA
or BSI to BS1362. Check for the ASTA mark or the BSI
mark on the body of the fuse.
!To prevent electric shock, do not remove cover. No user
serviceable parts inside. Refer servicing to qualified service
engineer only.
!Do not insert metal object into the
slots or openings of the unit.
!This unit is not disconnected from a.c.
mains while it remains connected to a
live mains outlet, even if it has been
turned off.
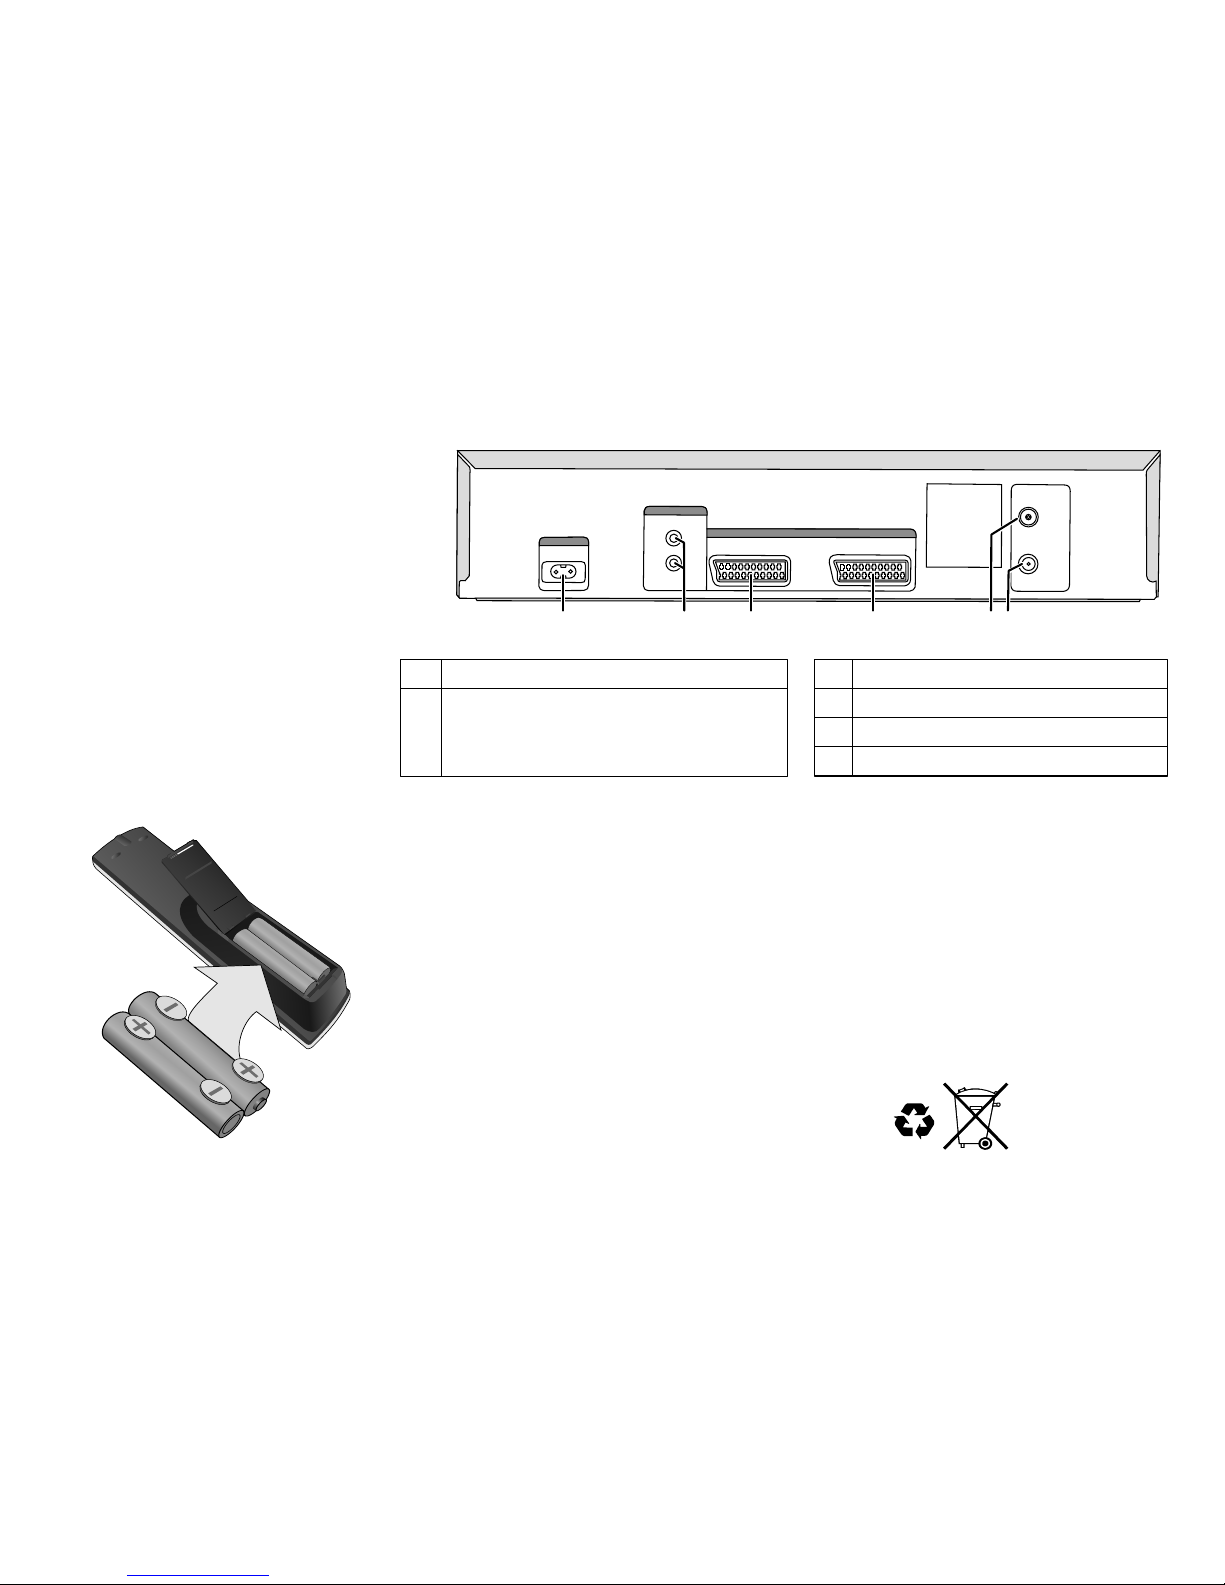
1.Open the fuse
cover with a
screwdriver.
Fuse cover
Fuse
(5 ampere)
2.Replace the
fuse and close
or attach the
fuse cover.
To replace the fuse, open the fuse compartment with a screw-
driver as shown and replace the fuse and the cover securely.
!WARNING: To reduce the risk of fire, electric
shock or product damage, do not expose this
apparatus to rain, moisture, dripping or
splashing and that no objects filled with
liquids, such as vases, shall be placed
on the apparatus.
!The socket outlet shall be installed near the equipment and
easily accessible or the mains plug or an appliance coupler
shall remain readily operable.
!This unit is intended for use in moderate
climates.
Information on Disposal for Users of Waste Electrical & Electronic
Equipment (private households)
This symbol on the products and/or accompanying documents
means that used electrical and electronic products should not be
mixed with general household waste. For proper treatment,
recovery and recycling, please take these products to designated
collection points, where they will be accepted on a free of charge basis.
Alternatively, in some countries you may be able to return your products to
your local retailer upon the purchase of an equivalent new product.
Disposing of this product correctly will help to save valuable resources and
prevent any potential negative effects on human health and the environment
which could otherwise arise from inappropriate waste handling. Please
contact your local authority for further details of your nearest designated
collection point. Penalties may be applicable for incorrect disposal of this
waste, in accordance with national legislation.
For business users in the European Union
If you wish to discard electrical and electronic equipment, please contact
your dealer or supplier for further information.
Information on Disposal in other Countries outside the European Union
This symbol is only valid in the European Union. If you wish to discard this
product, please contact your local authorities or dealer and ask for the
correct method of disposal.
-If you see this symbol-