Color IR Dome Camera
User Manuel
YX-542R8
<350mA
175g
62(H)*92(Φ)mm
DESCRIPTION
ATTENTION
SPECIFICATION
DIMENTION(MM)
FEATURES
*Specifications subject to change without notice. EN-R8-542-131009
Thank you for your purchasing this product. Before attempting to connect or operate
this product, please read these instructions carefully and save this manual for future
use.
CAUTION
RISK OF ELECTRIC
SHOCK DO NOT OPEN
CAUTION: TO REDUCE THE RISK OF ELECTRIC
SHOCK, DO NOT REMOVE COVER
(OR BACK).
NO USER-SERVICEABLE PARTS INSIDE. REFER
SERVICING TO QUALIFIED SERVICE PERSONNEL
1.
is DC12V.
2.
3.
4. Do not expose the camera to rain or moisture, or try to operate it in wet areas. Do
not place the camera in the following locations:
①Locations where temperature is lower than -10℃ or higher than 50℃;
②Locations where humidity is higher than 95%;
③Locations where there are large amounts of water vapor and steam.
6.
7.
8.
Use the Appropriate Power Supply
The input power for the camera Be sure to connect it to the appropriate pow
-er. Wrong connection may cause malfunction and/or damage to the video camera.
Do not attempt to disassemble the camera.
To prevent electric shock, do not remove screws or covers. There are no user
serviceable parts inside. Ask a qualified service person for servicing.
Handle the camera with care.
Do not abuse the camera. Avoid striking, shaking, etc. The camera could be
damaged by improper handling or storage.
5. Do note use strong or abrasive detergents when cleaning the camera body. Use a
dry cloth to clean the camera when dirty. In case the dirt is hard to remove. Use a
mild detergent and wipe gently.
Clean the sensor faceplate with care.
When cleaning the sensor panel, do not use strong or abrasive detergents. Use a
piece of lens tissue or cotton tipped applicator and ethanol.
Do not attempt to aim the camera at the sun
Do not attempt to aim the camera at the sun or other extremely bright objects that
causes mear to appear irrespective of whether the camera is operating or not. This
can damage the sensor.
Do not put the camera in a place with interference.
When this camera is installed near the equipment like wireless communication
device which emits strong electromagnetic field, some irregularity such as noise
on monitor screen may happen.
PARTS INSTRUCTION AND INSTALLATION
Model No
Sensor
Video Format
Sync Mode
Resolution
S/N Ratio
Mini Illumination
White Bal
Voltage
Current
Operating Temp
Storage Temp
Dimension
Weight
1/3 High Sensitivity sensor" 960H
PAL/NTSC
INTERNAL
800TVL
0Lux(IR ON)
48dB (AGC OFF)
≥
MANUAL/AWB/PUSH/ATW
-20℃~70℃
-10℃~50℃RH90% MAX
2D-DNR
2D
Lens Mount
IR range
DC12V
20meter
3.6mm
YX-542R8
ENTER: exit menu.
:
:
menu button, choose menu item or
This button is used to move the cursor upward or downward.
This left or right button is used to move the cursor horizontally
or change parameter. Its back with mbol means there are still
subordinate submenu setups. Press Menu to enter setting.
In order to output standard video signal under different illumination conditions,
The amplifier gain need to adjust automatically in large scope.it can increase the
sensitivity automatically when low light and enhance the signal output to have a
clear bright image.
ATW is the cameras' reversion of the white objects, it can adjust the room temperature
and outside temperature.when the temperature change, the human eye can see that
white is white,This is because human eye can adapt to the changes of the color
temperature, but the camera does not perform well equally, when Light occurs , the
white color will change to others after shooting. White Balance technology can
correct this problem
High resolution
Up to 800TVL high resolution.
Adopt high performance sensor, the image is clear, exquisite
This IR Dome Camera adopt high sensitivity sensor and advanced circuit design, The
resolution up to 800TVL, Fashionable and professional appearance design; Powerful
OSD menu(optional) includes Brightness, Contrast, Saturation adjusting functions;
Multi-area, White Balance, AGC , and other functions ensure clear bright pictures.
Besides, Mirror, Privacy and other aided functions with IR-CUT filter design, easily
have 24 hours day and night.
S/N Ratio definition: the ratio between signal voltage and noise voltage,
the higher of the ratio, the less interference of the noise, and the image
is more clearer.
High S/N Ratio.
Long-life IR LEDS Design
High-performance IR LED,whose
brightness is several times higher and
service life longer than an ordinary
LED's with 20m IR range.
Auto color to black function
Day and Night Monitoring daytime with enough light, color image, at night,
low light, change to black image automatically to improve the sensitivity and
picture quality.
Automatic gain control (AGC)
Auto White Balance
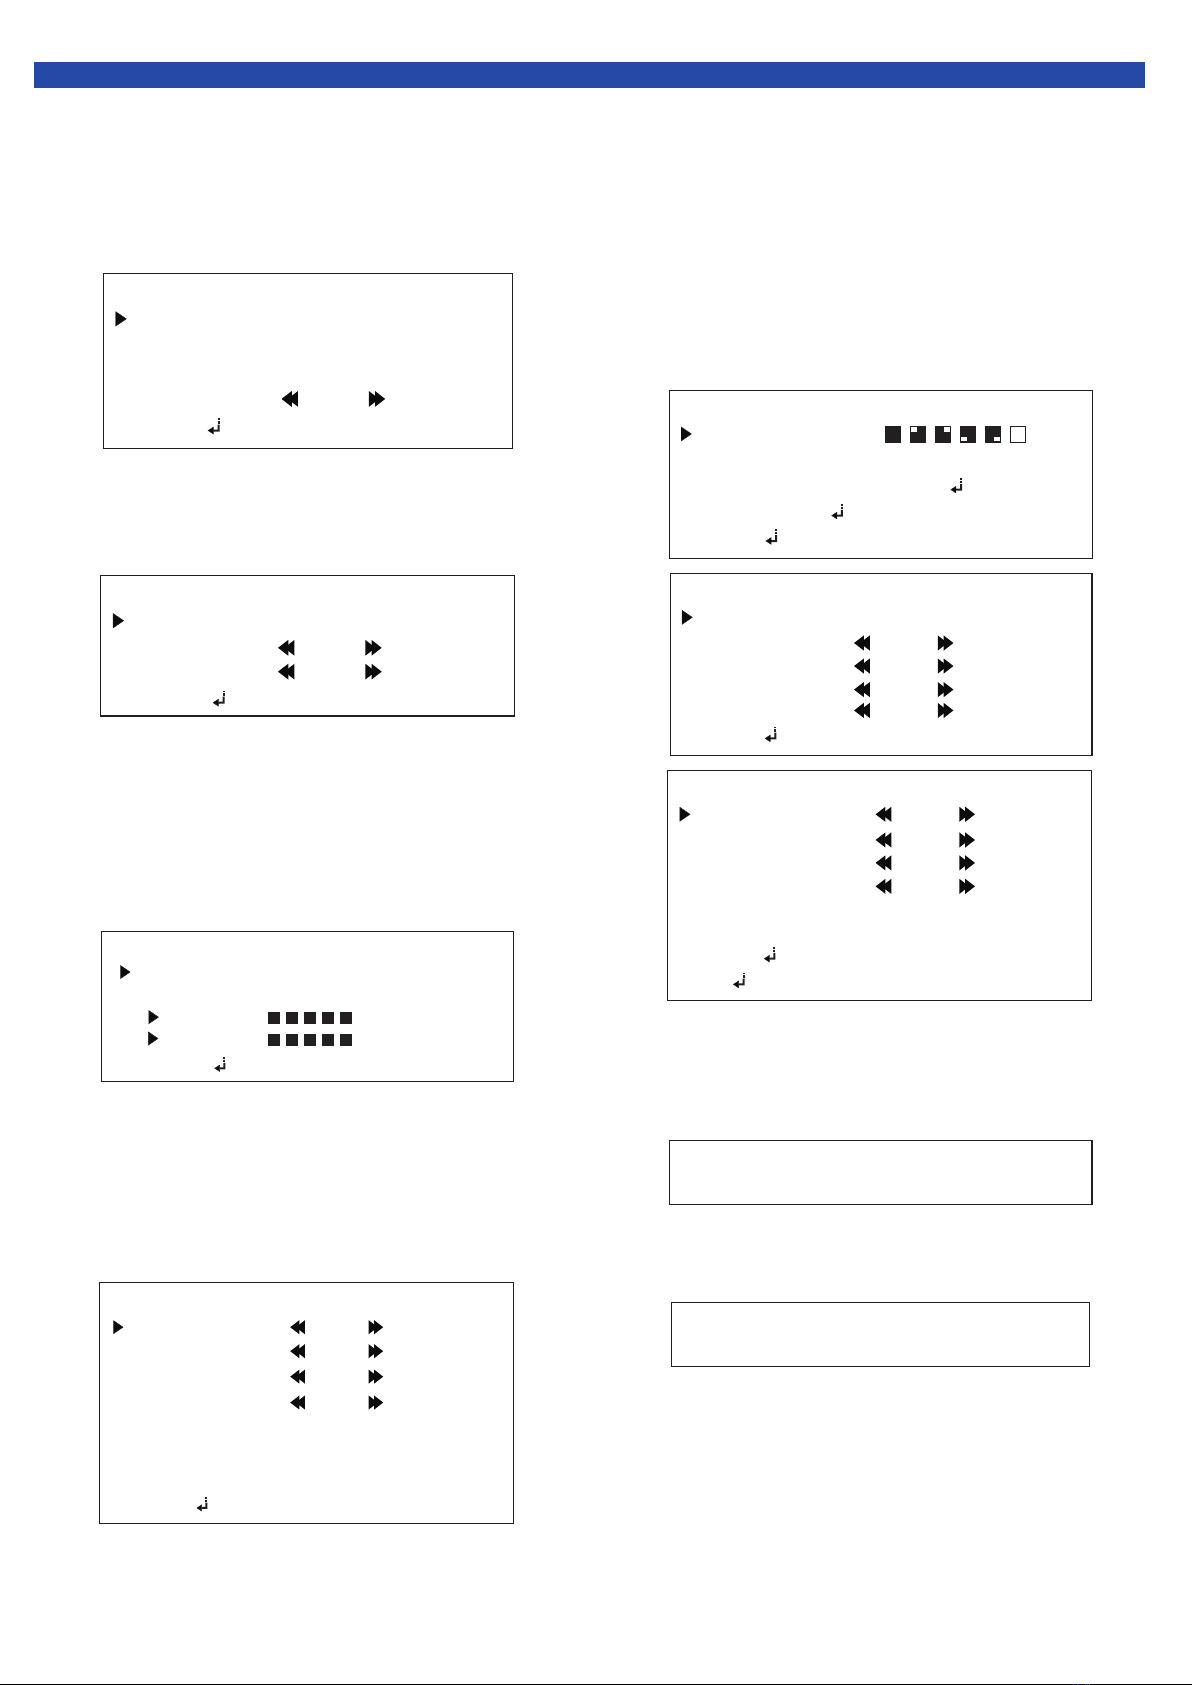
Powerful OSD menu allows for various function settings.
OSD Menu(optional)
Shutter
AUTO(1/100~1/100000)
Mirror
NONE/H/V/HV
D/N
AUTO/SMART/ COLOR/ B/W
Privacy
AUTO/OFF
1. Affix the
Installation
instructions
to the wall.
Drill a hole
according
to the stick
-ers position
(Screw A)
and put the
plastic expan
-sion pipe into
this hole.
2 Let base holes
align the holes
(ScrewA on
the wall and
use screws to
secure the base on the wall)
3.Hold the pedestal, anticlockwise rotate the cover and remove the pedestal.
4.Use screws to secure the base on the wall(between the two outlets),and clockwise
rotate the spherical cover into the pedestal.
5.Adjust the lens to the right angle.
6.Installation complete.
92mm
62mm
Base plate Dome assembly Dome shell
Focus
Focus
Focus
Outlet
Outlet
Outlet
√Screw(A)
Scr e w( B )
Scr e w( C )
Screw(A) Screw(C)
Screw(B)
Screw(B)
Screw(C)
Screw(A)
Screw(C)
Screw(C)
Screw(B)
Screw(A)
video line power line
Installation instructions