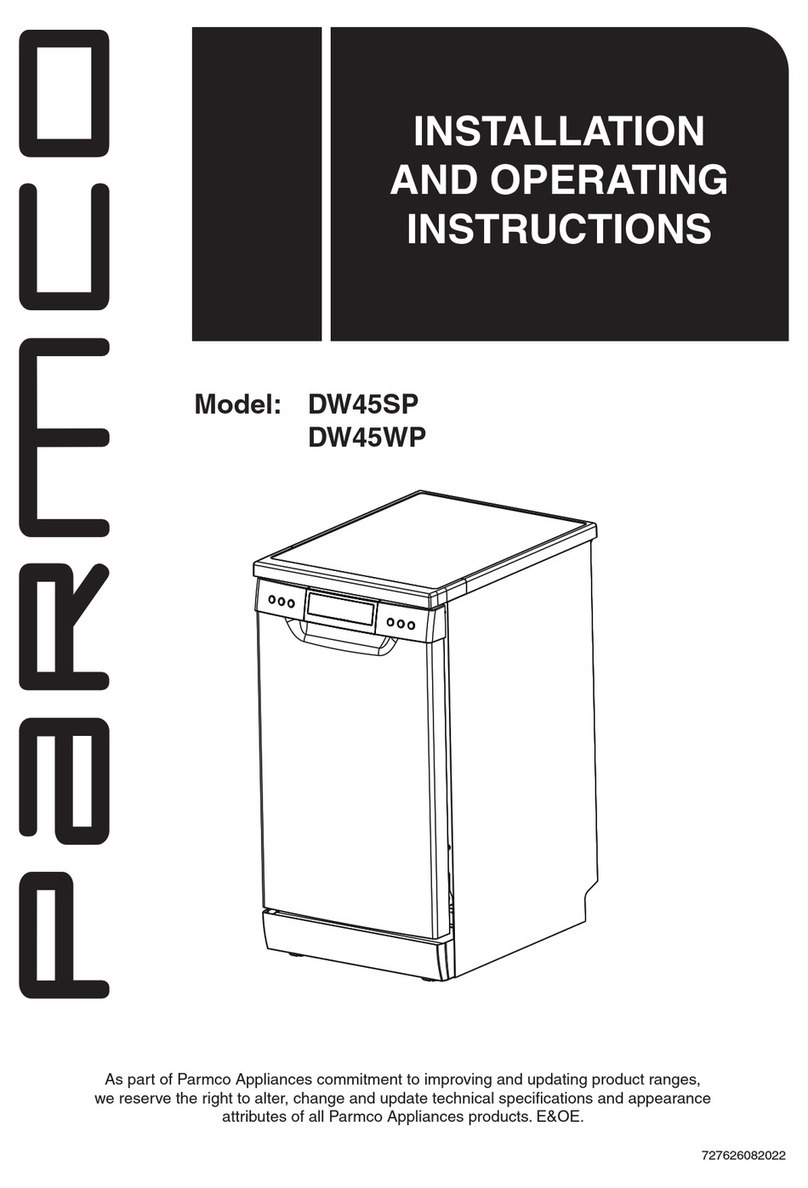
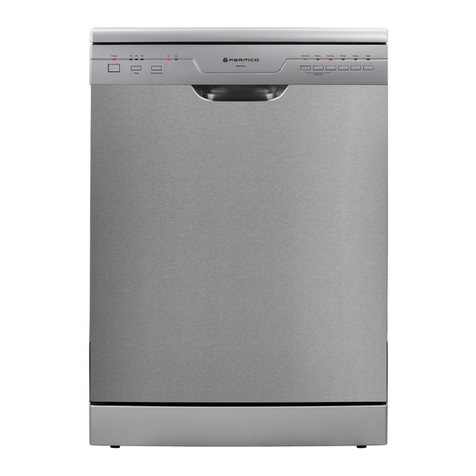
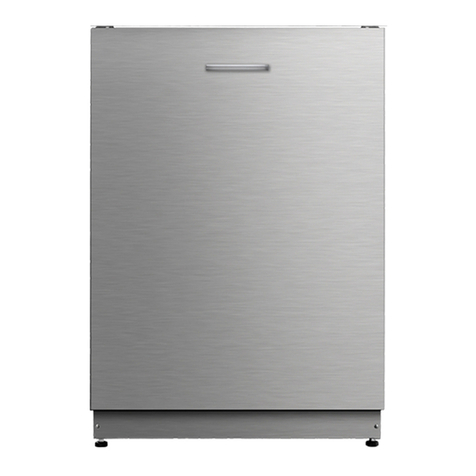
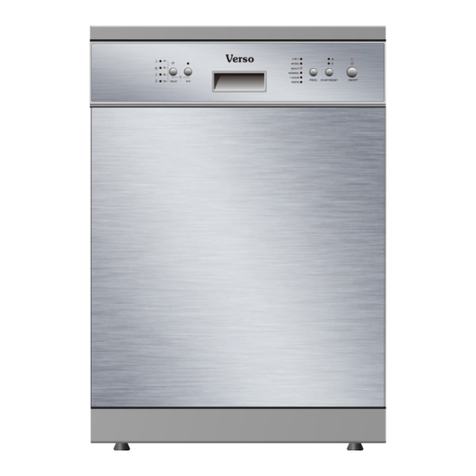
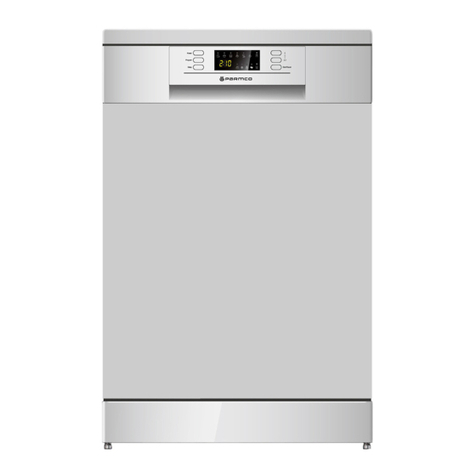
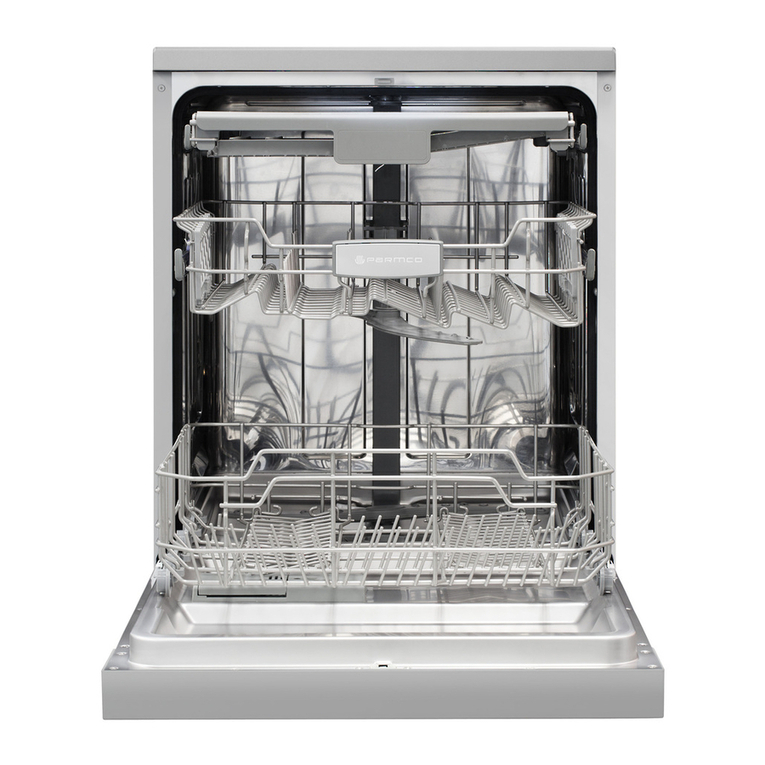
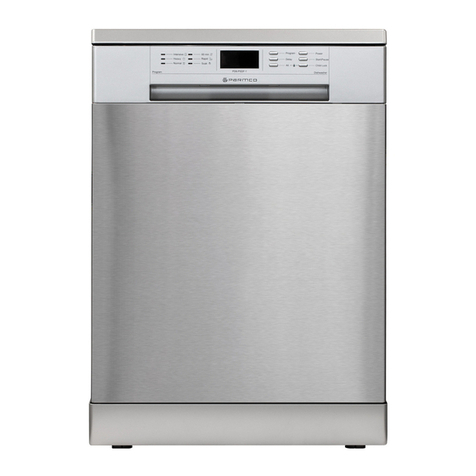
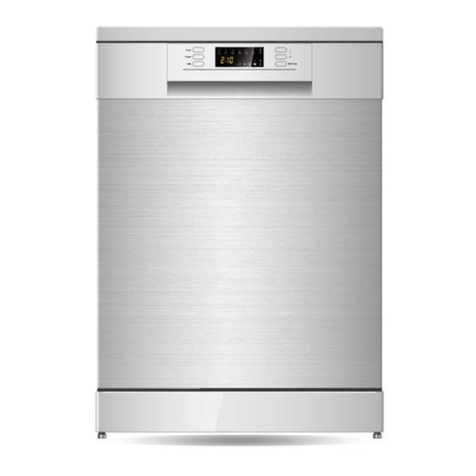
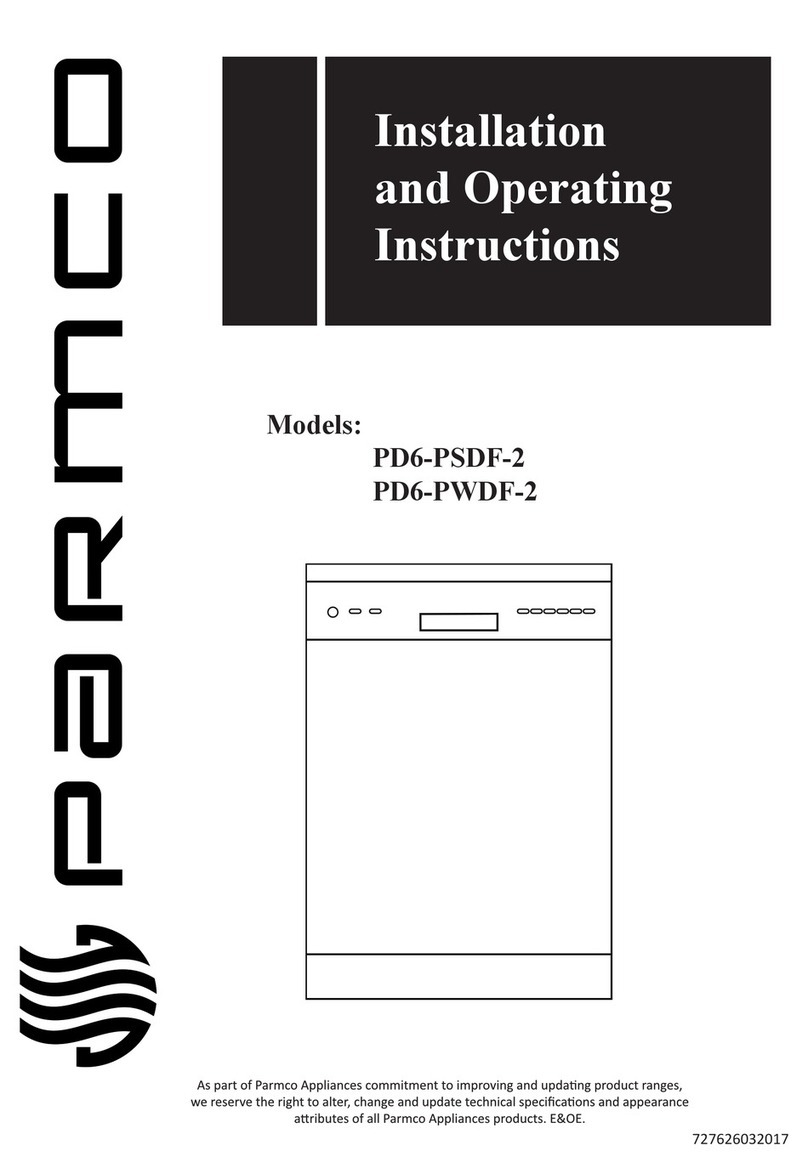
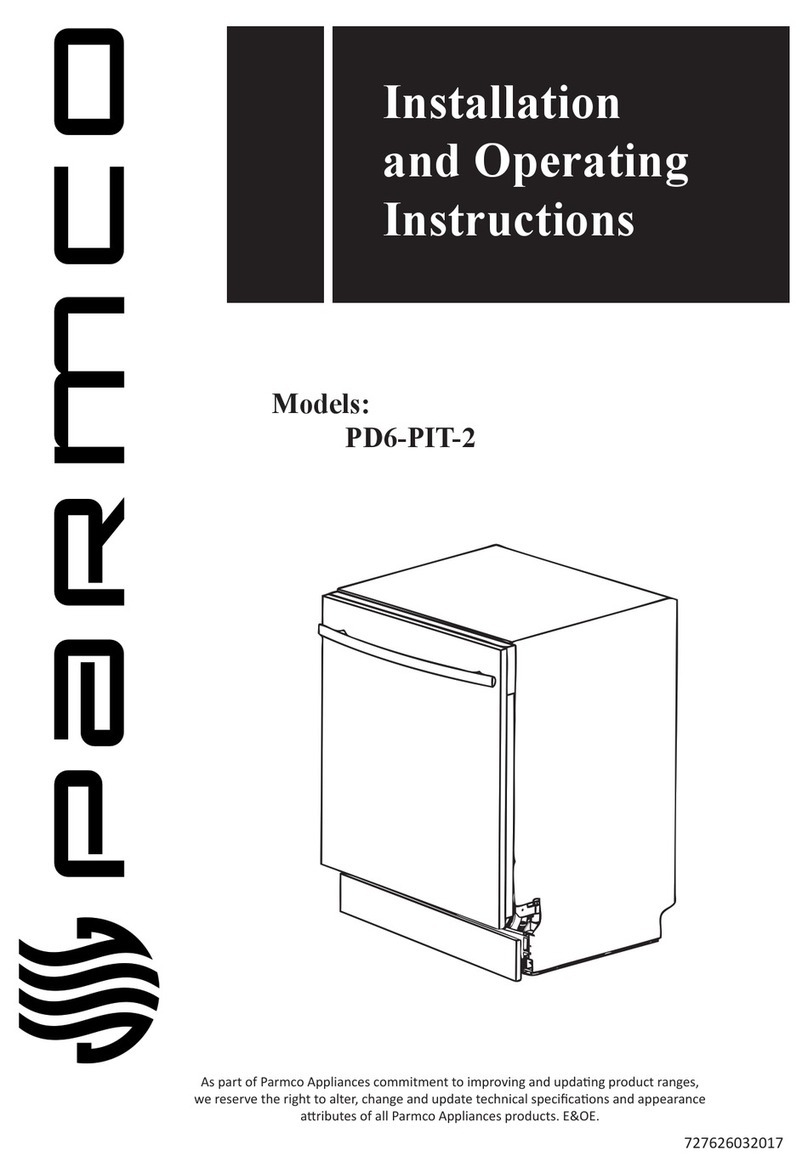
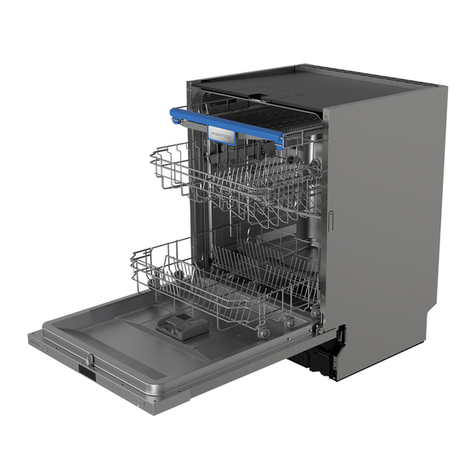
Parmco VERSO-DW-SS User manual

Installation
and Operating
Instructions
ƐƉĂƌƚŽĨWĂƌŵĐŽƉƉůŝĂŶĐĞƐĐŽŵŵŝƚŵĞŶƚƚŽŝŵƉƌŽǀŝŶŐĂŶĚƵƉĚĂƟŶŐƉƌŽĚƵĐƚƌĂŶŐĞƐ
ǁĞƌĞƐĞƌǀĞƚŚĞƌŝŐŚƚƚŽĂůƚĞƌĐŚĂŶŐĞĂŶĚƵƉĚĂƚĞƚĞĐŚŶŝĐĂůƐƉĞĐŝĮĐĂƟŽŶƐĂŶĚĂƉƉĞĂƌĂŶĐĞ
ĂƩƌŝďƵƚĞƐŽĨĂůůWĂƌŵĐŽƉƉůŝĂŶĐĞƐƉƌŽĚƵĐƚƐΘK
Model:
VERSO-DW-SS
For your convenience, we recommend to attach the serial number label HERE.
727626062015

Dear Valued Customer,
Thank you and congratulations on purchasing your new Parmco appliance.
All Parmco products are made to the highest quality and design standards. We are
sure you will enjoy your new appliance.
As a note, please read through these instructions carefully. These will assist you
in gaining a complete understanding of the functions and features oered by your
appliance. Please take special note of all detailed technical information and installation
instructions. It is essential that you follow these instructions to ensure the safety
and reliability of this appliance.
Furthermore, not using appropiate personnel to install this appliance may aect any
future warranty claims lodged, so please check with Parmco Appliances before any
installation is carried out.
We hope you enjoy your new appliance. If you would like to nd out more about
this product or any other products in Parmco’s extensive range, visit us online at
www.parmco.co.nz.
Regards,
The Parmco Team

Compartment
Fill main-wash detergent.
Compartment
Fill pre-wash detergent.
(Follow the user instructions!)
Mechanical indicator
Check the rinse aid level
Load the baskets
Select a programme
Turn on the water tap and press the Start/Reset button. The machine will start working
after about 10 seconds.
Running the dishwasher
Switch off the appliance
Turn off the water tap,
unload the baskets
Fill the detergent dispenser
Warning: wait a few minutes (about 15 minutes) before unloading the dishwasher to avoid handling
the dishes and utensils while they are still hot and more susceptible to break.
They will also dry better. Unload the appliance, starting from the lower basket.
Scrape off any large amount of leftover food. Soften remnants of burnt food in pans,
then load the baskets. Refer to the dishwasher loading instructions.
Close the door,press the Programme button until the selected programme lights up.
( See the section entitled Operation instruction )Ŷŷ
When the working cycle has finished, the buzzer of the dishwasher will sound 8 times, then stop.
Turn off the appliance using the ON/OFF button.
Switch on the appliance Press the On/Off button to switch on the appliance, Open the door.
Electric indicator on control panel (if provided).
For detailed operating method read the corresponding content on the instruction manual.
Changing the programme
Add forgottendishes in the
dishwasher.
If the appliance is switched
off during a wash cycle.
Open thedoor carefully.
Hotsteam may escape
when thedoor isopened!
If the appliance is switched off during a wash cycle, when switched
on again, please re-select the washing cycle and operate the dishwasher
according to the original Power-on state.
1.Open the door a little to stop the dishwasher.
2.After the spray arms stop working, you can open the door completely.
3.Addtheforgottendishes.
4.Close the door, the dishwasher will start running again after 10 seconds.
1. A running cycle can only be modified if it has been running for a short time. Otherwise the detergent
may have already been released and the water already drained. If this is the case, the detergent
dispenser must be refilled.
2. Press the Start/Reset button for more than 3 seconds to cancel the running programme.
3. Select a new programme.
4. Restart thedishwasher.
ABC

To review the section on troubleshooting Tips
will help youto solve some common problems
by yourself .
Dear Customer,
Please carefully read this manual beforeusing the
dishwasher, itwill help you to use and maintain the
dishwasher properly.
Pass it onto any subsequentowner of the appliance.
This manual contains sections on safety Instructions,
Operating Instructions, Installation Instructions and
Troubleshooting Tips, etc.
The manufacturer, following a policy of constant
development and updating of the product, may
make modifications without giving prior notice.
Keep it to refer to it at a laterdate.
Ifyou can not solvethe problems by yourself ,
please ask for the help of professional technicians.
Dishwasher Features.......................................2
Attention before or after loading the Dishwasher
Baskets..........................................................6
Filtering System.............................................11
Caring for the Dishwasher..................... .........12.
A. Fill the RinseAid Dispenser............. . . ..3..... ...
B. Function of Detergent ..................... ....4........
LoadingtheUpper ................ ..............7Basket ...
Loading the Lower ...................... .........7Basket ..
Cutlery Basket................................................8
WashCycleTable...........................................9
Turning on theAppliance................................10
Change the Programme.............. ................10....
At the End of the Wash Cycle...........................10
Positioning the Appliance................... ..........13..
Water Connection.................................. .......14.
About Power Connection........................ .......13.
Startof dishwasher................................ ......15..
Before calling for service........................... .....16.
Error codes.................................... ..............17.
Technical information.............................. .....18..
Control Panel...................................................2
Thisappliance is intended for domestic household use and
similar places such as:
staff kitchen areas in shops, offices and other working
environments;
farm houses;
–
–

E
Do not operate your dishwasher unless all panels
are closed and properly in place. Open the door
very carefully if the dishwasher is operating, to
avoid any possible water splashing out.
Keep children away from detergent and rinse aid or
from opening the door of the dishwasher as some
detergent may be left inside the dishwasher.
Do not stand or sit on the dishwasher’s door.

1101
Back View
Front view
2
MainFilter
DetergentDispenser
Cup Shelf
CutleryBasket
CoarseFilter
Rinse Aid Dispenser
Inlet pipe connector
Drain pipe connector
Lower Basket
SprayArms
Upper Basket
15
6
7
8
9
10
11
3
24
1
2
3
4
5
6
7
8
9
instructions before using it for the first time.
To get the best performance from your dishwasher,read all the operating
3h
6h
9h
12h
Prog. Start/Res et
On Off
/
Delay
1
2
3
64
5
10 8
11 97
7
Power light:Showswhen the On/Off button is
pressed down.
2
ON/OFF:Toturnon/off the powersupply.
3
Rinse aid warning light: To show
when the dispenserneeds to be refilled.
Child lock indicator light:To showwhen the
program is locked.
Start/Resetbutton:Tostarttheselected
washing program or resetthe washing program
when the machine is working.
4
5
Program Indicators: Pressitto select one of
the six washingprograms.
6
Programindicator light: When you select a
washing cycle the corresponding light will
display.
7
ECO option can be used with any cycle that’s longer
than 60min. All spray arms operate and dishes can
be loaded anywhere in the dishwasher.
8
Child lock button: press the delay and ECO wash
buttons simultaneously tolockthecontrols.
Delay Button : Press the button to delay starting time.
9
Delay time/Washing Phases indicator lights:
Toshowthedelaytime(3,6,9,12hours,when
the door is closed, relevant light will be blinking)
and washing phase (during the cycle, the indicator
light will be on to show the relevant washing
phases of cycle).
10
11
Program step indicators:
Pre-wash indicator light:
Main-washindicatorlight:
Rinse indicator light:
Drying indicator light:
ECO option (saves 5-8% time, water and energy).
ECO

Before using your dishwasher for the first time:
3
A. Fill the rinse aid dispenser
B.Fillindetergent
Therinse aid isreleasedduringthe final rinseto prevent waterfrom forming droplets onyour dishes,which can leave
spots and streaks. It also improvesdrying by allowing water to roll off the dishes. Your dishwasher is designed to
use liquid rinse aids. The rinse aid dispenser is located inside the door next to the detergent dispenser. To fill the
dispenser,open the capand pour the rinse aidinto the dispenseruntil thelevel indicatorturnscompletelyblack.
The volume of the rinse aid container is about 110ml.
RinseAid Dispenser
Function of RinseAid
Rinse aid is automatically added during the last rinse, ensuring thorough rinsing, and spot and streak free drying.
Attention!
Only use branded rinse aid for dishwasher. Never fill the rinse aid dispenser with anyother substances
(e.g. Dishwasher cleaning agent, liquid detergent). This would damage the appliance.
To open the dispenser, turn the cap to the "open" (left) arrow and lift it out.
Pour the rinse aid intothe dispenser,being careful not tooverfill.
Replace the cap by inserting italigned with "open" arrow and turning it tothe closed (right) arrow.
1
2
3
As the rinse aid diminishes, the sizeof the black dot
ontherinse aidlevel indicator changes, as illustratedbelow.
Full
3/4full
1/2full
1/4 full - Should refill to eliminate spotting
Empty
When to Refill the RinseAid Dispenser
during the nextwash.
Don'tforget to replacethe cap before you close dishwasherdoor.
Clean up any rinse aid spills with an absorbent cloth to avoid excessive foaming
If there is no rinse-aid warning light in the controlpanel, you can estimate the amount from the colour
ofthe optical level indicator “C” located next to the cap. Whentherinse-aidcontainerisfull,thewhole
indicator will be dark .As the rinse-aid diminishes, the size of the dark dot decreases. You should never let
the rinse aid level fall under 1/4 full.

4
AdjustingRinseAid Dispenser
The rinse aid dispenser has six or four settings.Always start with the dispenser
set on"4". Ifspots and poor dryingare a problem, increasethe amountof rinse
aid dispensed by removing the dispenser lid and rotating the dial to "5". If the
dishes still are not drying properlyor are show spots,adjust the dial to the next
higher leveruntil your dishes arespot-free.The recommended settingis "4".
(Factory valueis "4".)
Increase the dose if there are drops of wateror limespotson the dishes after washing.
Reduce itifthereare sticky whitish stains on your dishesor abluish film on glasswareor
knife blades.
Detergents with chemical ingredients are necessary to remove dirt, crush dirt and transport it out of the dishwasher.
Most of the commercial quality detergents are suitable for this purpose.
Detergents
There are 3 sorts of detergents
1.Withphosphate andwithchlorine
2.With phosphate and without chlorine
3.Withoutphosphate and without chlorine
Based ontheir chemical composition, detergentscan besplit in two basic types:
The use of normal washingprograms incombination with concentrated detergents
reduces pollution and is good for your dishes; these washprograms are specifically matched
to the dirt-dissolving properties of the enzymes of the concentrated detergent. For this reason
normal wash programsin which concentrated detergentsare used can achievethe same
results thatcanotherwise onlybe achieved using intensive programs.
“”
“”
“”
Detergent tabletsofdifferent brandsdissolve at different speeds. For thisreasonsome
detergenttablets cannot dissolve and develop theirfullcleaning power during short
programs. Therefore please use long programs whenusingdetergent tablets, to
ensure the complete removal of detergent residuals.
The dispenser must be refilled before the start of each wash cycle following the instructions
provided in the wash cycle table . Your dishwasher uses less detergent and rinse aid than a
Conventional dishwasher. Generally, only one tablespoon of detergent is needed for
anormal washload. Moreheavily soileditemsneedmore detergent.Alwaysaddthe
detergent just before starting the dishwasher, otherwise it couldget damp and will not
dissolve properly.
Concentrated Detergent
DetergentTablets
DetergentDispenser
conventional, alkaline detergentswith causticcomponents
low alkaline concentrated detergents with natural enzymes
Normally newpulverised detergent is without phosphate.Thus the watersoftener function of
phosphate is not given. In this casewerecommend to fillsaltin the salt container even when
the hardness of water is only 6 . If detergents without phosphate are used in the case of hard water
often white spots appear on dishes and glasses. In this case please add more detergent to reach
better results. Detergents without chlorine do only bleach a little. Strong and coloured spots willnot
be removed completely.Inthiscase pleasechoosea program with ahigher temperature.
°

Amount ofDetergentto Use
ProperUseofDetergent
Use only detergent specificallymade for theusein dishwashers.Keep your detergent fresh and dry.
Don't add powdereddetergent into the dispenser until you're ready to wash the dishes.
Dishwasher detergent is corrosive! Take care to keepit out of reach of children.
Alwaysadd the detergent just before starting eachwash cycle.
Only use branded detergent and rinse aid fordishwasher.
If the lid is closed: press release button.The lid will spring open.
5
Fill the detergent dispenser with detergent.
The marking indicates the dosing level, as
illustratedontheright:
Detergent location for the main wash cycle. “MIN”
means approximately 20g of detergent.
Detergent location for the pre-wash cycle. “MIN”
means approximately 5g of detergent.
Please note the manufacturers dosing andstorage
recommendations as stated on the packaging.
Close the lid and press until itlocks in place.
Ifdishes are heavily soiled, place anadditional
detergentdose in the pre-wash detergent chamber (B).This detergentwill dissolve during the pre-wash phase.
A
B
Fill in Detergent
You can find information about the recommended amount of detergent for single programme on this page.
Please beware, that according to the level o f soiling and specific water hardness results can vary.
Please note the manufacturer's recommendations on the detergent packaging.
AB

Cutlery withwooden,bone China or
mother-of-pearl handles
Plastic items that arenot heat resistant
Older cutlery with glued parts that are not
temperature resistant
Bonded cutlery items or dishes
Pewter or copper items
Crystal glass
Steel items likely to rust
Woodenplatters
Items made fromsynthetic fibres
Sometypes of glassescanbecome
dull after a large number of washes
Silver and aluminum parts have a
tendency to discolour during washing
Glazed patterns may fade ifmachine
washed frequently
Are not suitable Are oflimited suitability
Dishes and cutlery items must not be piled or cover each other.
To avoiddamage to glasses, they must not touch.
Load large itemswhich are most difficult to clean intothe lower basket.
The upper basket is designed to holdmore delicate and lighter dishware such as glasses, coffee
andteacups
Long bladed knives stored in an upright position are a potential hazard!
Long and/or sharp items of cutlery such as carving knives must be positioned horizontally in the upper basket.
Please do not overload yourdishwasher. This is important forgoodresults and for reasonable energy consumption.
Load hollow items such as cups, glasses, pans etc. with the opening facing downwardsso that
water cannot gather in the container .
Usea mild detergentthatis describedas 'kind todishes'. If necessary, seek further
information fromthe detergent manufacturers.
Forparticular items,select aprogramwithaslowa temperature aspossible.
To preventdamage, takeglass and cutleryoutof the dishwasher as soon aspossible
after the program has ended.
Consider buyingutensilswhich are identified asdishwasher-proof.
For best performance of the dishwasher, follow these loading guidelines.
Features and appearance of baskets and cutlerybaskets may vary from your model.
Scrape off any large amounts of leftover food. Soften remnants of burnt food in pans.
It is not necessary to rinse the dishes under running water.
Place objects in the dishwasher in following way:
1. Items such as cups, glasses, pots/pans, etc. are faced downwards.
2. Curved items, or ones with recesses, should be loaded aslant so that water can run off.
3. All utensils are stacked securely and can not tip over.
4. All utensils are placed in the way thatthe spray arms can rotate freely during washing.
Very small items should not be washed in the dishwasher as they could easily fall out of the basket.
To prevent water dripping from the upper basket into the lower basket, we recommend that you
empty the lower basket first and then the upper basket.
6

7KHXSSHUEDVNHWLVGHVLJQHGWRKROGPRUHGHOLFDWHDQGOLJKWHUGLVKZDUHVXFKDVJODVVHVFRIIHH
DQG WHD FXSV DQG VDXFHUV DV ZHOO DV SODWHV VPDOO ERZOV DQG VKDOORZ SDQV DV ORQJ DV WKH\ DUH
QRW WRR GLUW\
3RVLWLRQ WKH GLVKHV DQG FRRNZDUH VR WKDW WKH\ ZLOO QRW EH PRYHG E\ WKH VSUD\ RIZDWHU
*ODVVHV
&XSV 6DXFHUV
1
2
1
3
33
2
4
'HVVHUW GLVKHV
:H VXJJHVW WKDW \RX SODFH ODUJH LWHPV DQG LWHPV WKDW DUH WKH PRVW GLIILFXOW WR FOHDQ LQWR WKH ORZHU EDVNHW
VXFK DV SRWV SDQV OLGV VHUYLQJ GLVKHV DQG ERZOV DV VKRZQ LQ WKH ILJXUH EHORZ
,W LV SUHIHUDEOH WR SODFH VHUYLQJ GLVKHV DQG OLGV RQ WKH VLGH RI WKH UDFNV LQ RUGHU WR DYRLG EORFNLQJ WKH URWDWLRQ RI WKH
WRS VSUD\ DUP
3RWV VHUYLQJ ERZOV HWF PXVW DOZD\V EH SODFHG WRS GRZQ
'HHS SRWV VKRXOG EH VODQWHG WR DOORZ ZDWHU WR IORZ RXW
3OHDVH EH UHPLQGHG WKDW
7KH %RWWRP %DVNHW IHDWXUHV IROGLQJ VSLNHV VR WKDW ODUJHU RU PRUH SRWV DQG SDQV FDQ EH ORDGHG
6RXS SODWHV
'LQQHU SODWHV
'HVVHUW GLVKHV
&XWOHU\ EDVNHW

8
Cutlery should be placed in the cutlery basket with handles at the bottom. If the rack has side baskets,the
spoons should be loaded separately into the appropriate slots. Long utensils should be placed horizontally
at the frontof the upper basket as shown in the picture below.
Do not let any item extend through the bottom.
Always load sharp utensils with the sharp point down!
Teaspoons
4
Soup spoons
2
Forks
1
Knives
5
3
Dessert spoons
2
45
2
5
42
3
2
1
1
1
11
555 4
555 4
3
2
3
3
2
3
4555
1
1
1
1
1
5
4
2
2
3
3
3
3
3
3
2
3
2
2
1
4
44
4
2
4
4
1
Folding Spikes of Lower Basket
For better stacking of pots and pans, the spikes can be folded down as
shown in thepicture on the right.
Adjusting the Upper Basket
The height of the upper basket can be adjusted in order to create more space forlarge utensils for boththe
upper/lower basket. The height of the upper basket can be adjusted by placing the wheels on different heights of the
rail. Long items, serving cutlery and knives should be placed on the shelf so that they do not obstruct the rotation of
the spray arms. The shelf can be folded back or removed when not needed.
For personal safety and top quality cleaning, place silverware in the basket making
sure that:
- They do not sit together.
- Silverware is placed with handles down.
- Knives and other pottentially dangerous items are placed handles-up.

9
15.0
Heavy
Intensive
Normal
155
1.30
3in1
(or )3in1
5/25g
(or )3in1
5/25g
(or )3in1
5/25g
3in1
Rapid
1Hour
Pre-wash(50 )
Pre-wash
Wash (65 )
Rinse
Rinse
Rinse ( 55 )
Drying
ć
ć
ć
Pre-wash(50 )
Wash (50 )
Rinse
Rinse (65 )
Drying
ć
ć
ć
Pre-wash
Wash (55 )
Rinse
Rinse (50 )
Drying
ć
ć
Wash (40 )
Rinse
Rinse (40 )
ć
ć
20g.
30g.
Wash(55 )
Rinse
Rinse (50 )
Drying
ć
ć
Pre-wash
(50 )
Wash
(50 )
Rinse
Rinse
(70 )
Drying
160
140
130
30
60
1.20
0.77
1. 40
0.45
0.95
22.0
15.0
12.0
11 .0
12.0
Means: need tofill rinse intothe Rinse-Aid Dispenser.
()
Starting a cycle wash
Draw out the lower and upper basket, load the dishes and push them back.
Itisrecommendedtoloadthelowerbasket rst, followed by the upper basket. Please refer to Loading the
Dishwasher section of the manual for more details.
Add detergent powder and rinse aid if necessary.
Close the door, press the ON/OFF button, and the display will turn on.
Press the program button , the wash program will be changed as follows direction:
When a program is selected the indicator light will stay on. Then press the Start/Reset button, and the
dishwasher starts.
(*AS/NZS 2007.1)
For normally soiled loads
such as pots, plates,
glasses and lightly soiled
pans.
For the heaviest soiled
loads such as pots, pans
casserole dishes and
dishes that have been
sitting with dried food on
them for a while.
For the heavy soiled loads
such as pots, plates, glasses
and lightly soiled pans.
Standard daily cycle.
For normal soiled loads such
as plates, glasses, bowls and
lightly soiled pans.
For lightly soiled loads that
do not need excellent drying
efficiency.
A shorter wash for lightly
soiled loads that do not need
drying.
ć
ć
ć
Turn the power supply on and open the water supply tap to full pressure.
ECO wash:
The ECO wash option can be used in conjunction with any cycle that is longer than 60 minutes. By selecting
this option between 5-8% less time, energy and water is used compared to a standard wash cycle.
To use this option, simply select any program that’s longer than 60minutes, then press the ECO button and Start.
The light indicator will be on.

10
Itis dangerous to open the doorduring washing, the hot water may scald you.
When the working cycle has finished, the buzzer of the dishwasher will sound for 8 seconds, then stop. Turn off
theapplianceusingtheON/OFFbutton andopenthedoorofthedishwasher.
Wait for afew minutes before unloading thedishwasherto avoidhandling the dishes and utensils while they
are still hot and more susceptible to breakage. They will also dry better.
Switch Off the Dishwasher
Switch off the dishwasher by pressing the ON/OFF button.
Open the door carefully.
Hot dishes are sensitive to knocks. The dishes should therefore be allowed to cool down around 15 minutes
before removing from the appliance.
Open the dishwasher's door,leave it ajar and wait afew minutes beforeremoving the dishes. In this way they
will be cooler andthe drying will be improved.
Unloadingthe dishwasher
It is normal that the dishwasher is wet inside.
Empty the lower basket first and then the upper one. This will avoid water dripping from the upper Basket onto
the dishes in the lower one.
If you open the door the dishwasher will pause. The light indicator will
stop blinkingand thebuzzerwillsoundeveryminuteunlessyouclosethe door .After
you close the door the dishwasher will continue working after 10 seconds.
duringa wash cycle
Acycle that is underway can only be modified ifithas been running for a short time. Otherwise, the
detergent may havealready been released, and the appliance may have already drained the wash water.
If this is the case, the detergent dispenser must be refilled (see " Loading the Detergent " section).
The program lights show the state of the dishwasher:
a) One of the program lights on--------------------------------------pause
b) One of the program lights blinking-----------------------------------run
c) Some of the up three program lights quick flashing------------error
Press the Start/Pause button and the machine will be in standby mode. Press the program button for mode than 3
seconds to change the program to the new desired cycle setting (see “Starting a wash cycle” section).
1
2
3
When youpressthe Start/Reset buttontopauseduring washing,therunning indicator will
stop blinking and the dishwasher will beep every minuteunless you press the
Start/Reset button tostart.
Aforgotten dish can be added any time before the detergent cup opens.
Add forgotten dishes.
Close the door
After the spray arms stop working, you can open the door
completely.
2
3
Open the door a little to stop the washing.
14
5
6
Press the start/pausebutton
Press the start/reset button, the dishwasher will run
after 10 seconds.

The filter preventslarger remnants of food or other objects from getting insidethepump.
Theresidues may blockthefilter, inthiscasethey mustbe removed.
The filter system consists of a coarse filter,a flat (Main filter)
Anda microfilter(Fine filter).
Food and soil particles trapped in this filter are pulverized by a
special jet on the lower spray arm and washed down to drain.
Largeritems, such aspiecesof bonesor glass, that couldblock
the drain aretrappedin the coarse filter. To remove theitems
caught by the filter, gently squeeze the tap on thetop of this
filterandliftout.
Thisfilter holds soiland food residuesin the sumpareaand
preventsitfrom being redeposit on the dishes during washcycle.
Main filter
1
Coarse filter
2
Fine filter
3
2
3
1
Filter assembly
Thefilter efficiently
For best performance and results, the filter must be cleaned regularly. this reason, it is a good idea to
remove the larger food particlestrapped in the filter aftereach wash cycle by rinsing the semicircular filterand
cup under runningwater. To remove the filter device, pull the cup handle in the upwarddirection.
removes food particles from the wash water,allowing it to be recycledduring the cycle.
For
The dishwasher must never be used without the filters.
Improper replacementof the filtermay reduce the performancelevelofthe appliance
and damage dishesand utensils.
11
When following this procedure from step1 to step 3, the filter system will be removed;
when following it from Step 3 to Step 1, the filter system will be installed.

The control panel can be cleaned by using a lightly dampened cloth.
After cleaning, make sure to dry it thoroughly.
For the exterior, use a good appliance polish wax.
Neveruse sharp objects, scouring pads orharsh cleaners onany part of the dishwasher.
Protecting Against Frost
1.Switch off the electrical power to the dishwasher.
2.Turn off the water supply and disconnect the water inlet pipe from the water valve.
3.Drain thewater from the inlet pipe and watervalve. (Use apan to catch thewater)
4.Reconnect the water inlet pipe to the water valve.
5.Remove the filter at the bottomof the tub and use a sponge to soak up water in the sump.
Please take frost protection measures for the dishwasher during winter times. After each completed wash cycle,
please operate as follows
˖
- Inspect the filters to prevent blocking every time after the dishwasher has been used.
- By unscrewing the coarse filter, you can remove the filter system. Removeanyfoodremnants and
cleanthefilters underrunningwater.
Remarks:
Cleaning the Filter
CleaningThe Door
To clean the coarse filter and the fine filter, use a cleaning brush. Reassemble the filter parts as shown in the figures
on theprevious page and reinsert the entire assembly in the dishwasher, positioning it in its place then press downwards.
The entirefilter assembly shouldbe cleanedonce a week.
Whencleaning the filters, don't knock onthem. Otherwise, thefilterscould be
contorted and the performance of the dishwasher could be decreased.
To clean theedge around the door, you should use a soft , damp cloth.
To avoid water entering into the door lock and electrical components, do not
use a spray cleaner of any kind.
Never usea spray cleaner toclean the door panel as it may damage the door lock
and electrical components.
Abrasive agents or some paper towels should not be used becauseof the risk of
scratching or leaving spots on the stainless steel surface.
12
If your dishwasher cannot work because of the ice, please contact professionalservicepersons.
Cleaning the Spray Arms
To remove the upper spray arm, screw othe nut clockwise then remove
the arm.
It is recommended to clean the spray arms regularly as hard water chemicals can clog the spary arm jets and bearings.

Itis recommend thatyourun a washcycle withthe
dishwasher empty and then remove the plug from the
socket, turn off the water supply and leave the door of
the appliance slightly open. This will help the door
sealstolastlongerandpreventodoursfromforming
withintheappliance.
If the appliance must be moved, try to keep it in the
verticalposition. If absolutelynecessary,itcanbe
positioned on its back.
Oneofthefactorsthatcauseodourstoforminthe
dishwasher is food that remains trapped in the seals.
Periodic cleaning with a damp sponge will prevent this
from occurring.
Ensurethevoltageandfrequencyof thepowerbeing correspondsto
thoseontheratingplate.Onlyinserttheplugintoanelectricalsocketwhichisearthed
properly. If the electrical socket to which the appliance must be connected is not
appropriate for theplug , replace the socket, rather than using a adaptors or thelike as
they couldcause overheatingandburns.
Pleaselook at therating label to know the ratingvoltage and connectthe dishwasher to the appropriate power supply.
Use the required fuse 10 amp, time delay fuse orcircuit breakerrecommended and provide separate circuit serving
only this appliance.
This appliance must be earthed. In the event of a malfunction or breakdown, earthing will reduce the risk of
electric shock by providing a path of least resistance for the electric current. This appliance is equipped with a
cord having an equipment-earthing conductor and an earthing plug. The plug must be plugged into an
appropriate outlet that is installed and earthed in accordance with all local standards and requirements.
Position the appliance in the desired location. The back should rest against the wall behind it, and the sides,
along the adjacent cabinets or walls.The dishwasheris equippedwith water supply and drain hoses that can
be positioned either to the right or the left sides to facilitate properinstallation.
Once the appliance is positioned for levelling, the height of the dishwasher
may be altered via adjustment of the screwing level of the feet. In any case,
the appliance should not be inclined more than 2 .
For personal safety:
DO NOT USEAN EXTENSION CORD ORAN ADAPTER PLUG WITH THIS APPLIANCE.
DO NOT, UNDERANY CIRCUMSTANCES, CUT OR REMOVE THE EARTHING
CONNECTION FROM THE POWER CORD.
After every wash, turn off the water supply to the
appliance and leave the doorslightly open so that
moisture andodoursarenottrappedinside.
Before cleaning or performing maintenance, always
remove the plug from the socket.
Tocleantheexteriorandrubberparts ofthedishwasher,
donot use solventsor abrasivecleaningproducts.
Only use acloth with warm soapy water.
To remove spots or stains from the surface of the
interior, usea clothdampened withwaterana little
vinegar, ora cleaning product madespecificallyfor
dishwashers.
After EveryWash
Remove the Plug
No Solvents orAbrasive Cleaning Moving theAppliance
Seals
When not inUse for aLongTime
13

for personal safety:
DO NOT USE AN EXTENSION CORD OR AN ADAPTER PLUG WITH THIS APPLIANCE.
DO NOT, UNDER ANY CIRCUMSTANCES, CUT OR REMOVE THE
FROM THE POWER CORD. EARTHING
CONNECTION
Connect thecold water supply hose to a threaded 3/4(inch) connector and make sure
that it is fastened tightly in place.
If the water pipes are new or have not been used for an extended period of time, let the
water run to make sure that the water is clear. This precaution is needed to avoid the
risk of the water inlet to be blocked and damage theappliance.
Insert the drainhoseintoa drainpipewitha minimumdiameterof 4cm,or let itrun into the sink,making sureto
avoid bendingor crimping. Usethe special plastic supportthatcomes withthe appliance.Thefreeend ofthe hose
must be at a height between 40 and 100cm and must not be immersed inwater.
Improper connection of the equipment earthing conductor can result in the risk of an
electric shock.
Check with a qualified electrician or service representative if you are in doubt whether the
appliance is properly earthed.
Do not modify the plug provided with the appliance. If the plug does not fit properly to the
outlet, please have a qualified electrician to install a proper outlet.
14
FRONT VIEW
Inlet pipe connector Drain pipe connector
SINK
DISHWASHER
Min 100mm

15
The followingthingsshould be checked before starting the dishwasher.
Syphon Connection
The waste connection must be at a height of between 40 cm (minimum) and 100 cm (maximum)
from the bottom of the dish.The water drain hose should be fixed by a hose clip.
The content of this manual is very helpful to its users.
After installation, please make sure to keep this manual.
Extension Hose
If you need a drain hose extension, make sure to use a similar drain hose.
It must be no longer than 4 metres; otherwise the cleaning effectof the dishwasher could be reduced.
1
The dishwasher is leveled and fixed properly
2
The inlet tap is open
3
There is no leakage at theconnections ofthe hoses
4
The power plug is fitted correctly
5
The power is switched on
6
The inlet and drain hoses are not kined
7
All packaging materials andprintings shouldbe taken out from the dishwasher
Water Outlet
Connect the water drain hose.The drain hose mustbe correctlyfittedto avoid water leaks.
Ensure that the water inlet hose is not squashed.
If the sink is 1000mm higher from the floor, the excess water in hoses cannot be drained directly
into the sink. Itwill be necessary todrainexcesswater from hoses into a bowl or suitable
container that is held outside and lower thanthe sink.
How to Drain Excess Water From Hoses

Fuse blown, or the
circuit breaker triggered Replace fuse or reset circuit breaker. Remove any other
appliances sharing the same circuit with the dishwasher
Spilled rinse-aid Always wipe up rinse-aid spills immediately.
Hard water minerals
The affected items are
not corrosion resistant.
Aspayarmis
knocking against
an item in a basket
r
Items of crockery
are loose in the
wash cabinet
This may be caused
by a water hamer
effect.
To clean the interior, use a damp sponge with
dishwasher detergent and wear rubber gloves.
Never use any other cleaner than dishwasher
detergent for the risk of foaming or suds.
Interrupt the programme, and rearrange the items
which are obstructing the sp ay arm.r
Interrupt the programme,
and rearrange the items of crockery.
This has no influence on the dishwasher function.
if in doubt, contact a suitably qualified plumber.
Detergent with
colourant was used Make sure that the detergent isthe one without
colourant.
Improper detergent
Make sure the dishwasher is turned on and the door is
closed securely.
Check that the water supply is connected properly and
the water is turned on.
Make sure to close the door properly and latch it.
Make sure the power cord is properly plugged into the
wall socket.
Power supply is not
turned on
Water pressure is low
Door of dishwasher
not properly closed.
Kink in drain hose
Filter clogged
Kitchen sink clogged
Check drain hose.
Check coarse the filter
(see section titled )" Cleaning The Filter "
Check the kitchen sink to make sure it is draining well.
If the problem is the kitchen sink not draining ,you may
need a plumber rather than a serviceman for dishwashers.
Use only the special dishwasher detergent to avoid
suds. If this occurs, open the dishwasher and let suds
evaporate.Add 1 gallon of cold water to the tub. Close
and latch the dishwasher, then Start the"Rapid"wash
cycle to drain out the water . Repeat if necessary.
16
The items should be corrosion resistant.
Other manuals for VERSO-DW-SS
1
Table of contents
Other Parmco Dishwasher manuals

Parmco
Parmco PD6-PIT-1 User manual

Parmco
Parmco PD6-PSL User manual

Parmco
Parmco PD6-PSDF-2 User manual

Parmco
Parmco PD6-PSE-1 User manual

Parmco
Parmco DW6SL User manual

Parmco
Parmco PD45-SLIM-SS-1 User manual

Parmco
Parmco PD45-SLIM-SS User manual

Parmco
Parmco PD6-PWE User manual

Parmco
Parmco DW6SE User manual

Parmco
Parmco VERSO-DW-SS User manual