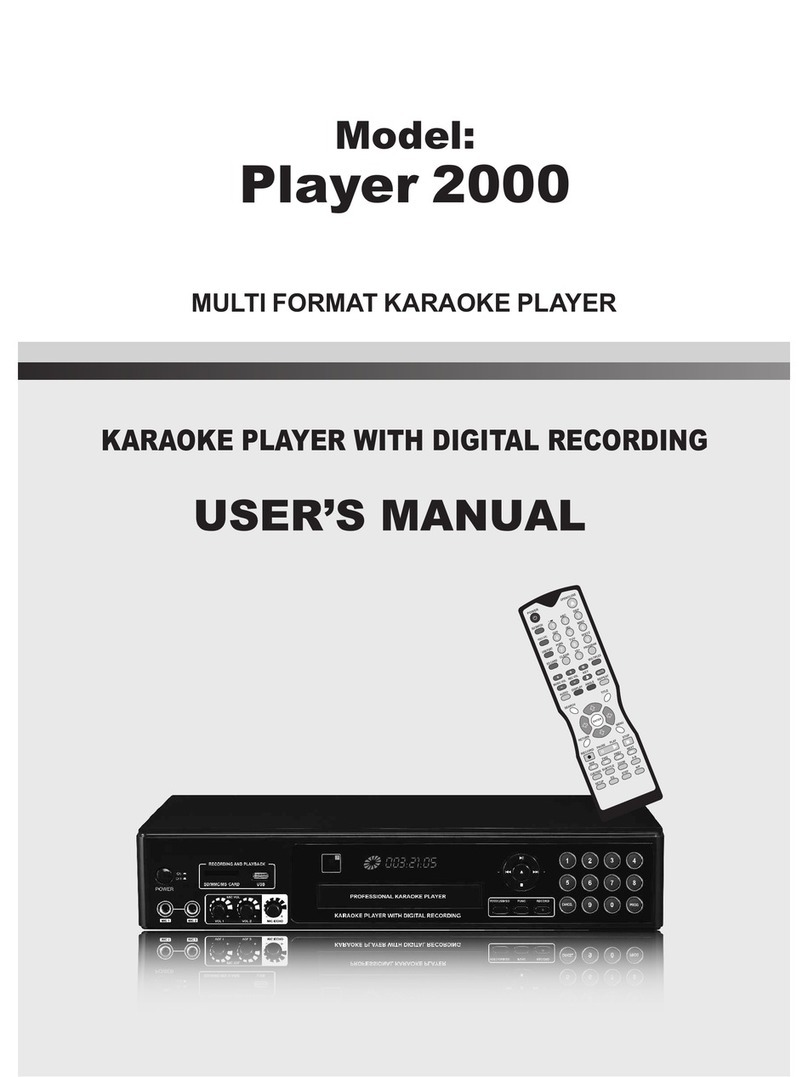
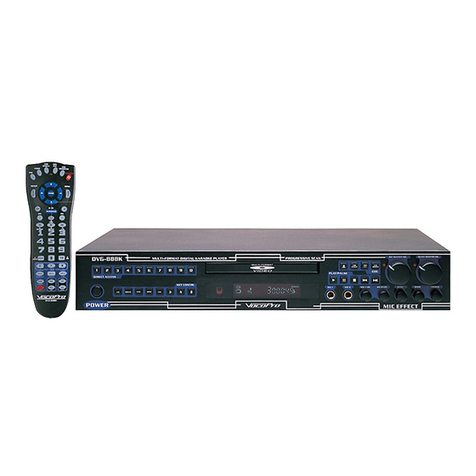
pascom MUSE User manual


SAFETY INSTRUCTIONS
1
The exclamation point within an equilateral triangle is intended to alert the user to
the presence of important operating and maintenance (servicing) instructions in the
literature accompanying the appliance.
The lightning flash with arrowhead symbol, within equilateral triangle, is intended to
alert the user to the presence of uninsulated “dangerous voltage” within the product’s
enclosure that may be of sufficient magnitude to constitute a risk of electric shock to
persons.
CAUTION: TO REDUCE THE RISK OF ELECTRIC SHOCK, DO NOT
REMOVE COVER (OR BACK).
WARNING: TO REDUCE THE RISK OF FIRE
OR ELECTRIC SHOCK, DON’T EXPOSE THIS
EQUIPMENT TO RAIN OR MOISTURE.
1 Read these instructions.
2 Keep these instructions.
3 Heed all warnings.
4 Follow all instructions.
5 Do not use this apparatus near water.
6 Clean only with dry cloth.
7Do not block any ventilation openings. Install in
accordance with the manufacturer's instructions.
8Do not install near any heat sources such as
radiators, heat registers, stoves, or other apparatus
(including amplifiers) that produce heat.
9Do not defeat the safety purpose of the polarized
or grounding-type plug. A polarized plug has two
blades with one wider than the other. A grounding
type plug has two blades and a third grounding
prong. The wide blade or the third prong are
provided for your safety. If the provided plug does
not fit into your outlet, consult an electrician for
replacement of the obsolete outlet.
10 Protect the power cord from being walked on
or pinched particularly at plugs, convenience
receptacles, and the point where they exit from the
apparatus.
11 Only use attachments/accessories specified by the
manufacturer.
12 Use only with the cart, stand, tripod, bracket, or
table specified by the manufacturer, or sold with the
apparatus. When a cart is used, use caution when
moving the cart/apparatus combination to avoid
injury from tip-over.
• Do not expose this apparatus to drips or splashes.
• Do not place any objects filled with liquids, such as
vases, on the apparatus.
• Do not install this apparatus in a confined space
such as a book case or similar unit.
• The apparatus draws nominal non-operating power
from the AC outlet with its POWER switch in the off
position.
• The apparatus should be located close enough to
the AC outlet so that you can easily grasp the power
cord plug at any time.
• Do not attempt to modify, repair, or disassemble the
unit, as opening or removing covers may expose you
to dangerous voltage or other hazards.
An applicance and cart combination should be
moved with care. Quick stops, excessive force and
uneven surfaces may cause the appliance and cart
combination to overturn
K-Pro®
Professional Karaoke System
SAFETY PRECAUTIONS
2
Check the voltage
This unit is designed for use with 220V / 50Hz AC. If the area
where you live have different power source, you may need to
use a transformer to convert to 220 Volts AC.
Overloading
Do not overload the AC outlet on the unit. If power consumption
exceeds over the indicated on the rear panel, this can result in
fire or other hazard.
Do not place the electronic equipment on the unstable
table or stand.
Because it would fall easily from the unstable talbe or stand,so
it may cause accident including personal injuries and
damage the equipment. Please follow our instructions to
install the equipment
Do not store the electronic equipment near water or
area with moisture
Do not transport the electronic equipment by
yourself if its weight exceeds 70 pounds.
It is recommended that two people work together to transport
the equipment or by using hand truck
Do not place the electronic equipment near heat
sources
Placing the electronic equipment too near to these heat sources
would result in damaging the equipment and causing fire.
Do not disassemble the unit
Do not attempt to modify, repair, or disassemble the unit, as open-
ing or removing covers may expose you to dangerous voltage or
other hazards. There are no user serviceable parts inside. If the
unit has a problem or breakdown in case of you attempt to modify
the unit, quality of the unit can not be guaranteed.
Do not damage the Power Cord
When remove the power cord from AC input, always grasp and
pull the plug, not the power cord. Damage to the power cord
may cause short-circuit or shock hazard. Power cord should not
be routed to under furniture or where it may be likely damaged.
If malfunction occurs
If malfunction occurs, such as noise in the sound or odor from the
unit, remove the power cord from the AC outlet and stop using
the unit immediately and consult your local dealer.
When you leave your home or installation location
When you leave your home for a long period of time, turn OFF
the power and remove the power cord from the AC outlet. This
will prevent from unexpected accident and fire.
K-Pro®
Professional Karaoke System
AMPLIFIER
MUSE-602
K-Pro®
Professional Karaoke System
3
FEATURES
- Play music and recording by USB, SD/MMC card input;
Display informations on LCD
- Easily control and adjust the amplifier’s interface
- Equalizer 3 band control (Hi-EQ, Mid-EQ, Low-EQ)
- Source input: DVD, VCR, CDG (AUX) & BGM (MP3) auto/
manual
- Vocal cancellation detect the original audio source
eliminate original singer vocal
- ECHO live sound effect enhanced the hight and low pitch
- Music Gain signal limiter and sensitivity control
- Music tone controlled Bass/Mid-range/Treble
- Microphone Gain signal limiter and sensitivity control
- Microphone tone controlled Bass/Mid-range/Treble
- Music speed key control
- Automatically adjust Micro/Music volume to level 0 when
power on
- Speaker protection, hum and noise cancelling function
- ELECTRONIC volume adjustment
- Balance adjustment for music level and vocal level
- Music Stereo and Mono switching position
- Music level enhanced switcher, on and off
- LED indicator for microphone volume limit control - PEAK
- Music and microphone vocal signal line out can be
separate out for the subwoofer effect for crystal vocal
- Audio signal bypass line out
- Music mode for the VOD system score counting
- 2 line out for recording and external connection
- 4 channel speaker output
- Smart fan
SPECIFICATIONS
- Audio output: 600W (4 )
- Microphone Input: 5 (font x 3, rear x 2)
- Video inputs: 4 (RCA jacks)
- Video outputs: 2 (RCA jacks)
- Audio inputs: 4 (RCA jacks)
- Audio outputs: 2 (RCA jacks)
- Music input section
+S/N ratio: 90 dB
+THD: 0.1%
+Input sensitivity/Impedance: 200mV/1.5 k
+Frequency Response: 20Hz-20kHz, -1 dB
+Max. output: 1Vp-p/75
+Key control: +/-7 steps
+Super Bass (SUB) THD: 0.5%
- Micro input section:
+S/N Ratio: 70 dB
+THD (effect off): 0.5%
+Frequency Response: 20Hz-15kHz, -3 dB
+Input sensitivity/Impedance: 1mV-100mV/1.5k
- Dimension: 430 (W) x 360 (D) x 160 (H) mm
- Net weight: 11 kg
- Included accessories: 1 x power cord, 1 x remote
control, 1 x manual, 2 x AAA battery
Professional Echo Mixing Amplifier: MUSE-602

FRONT
MUSE-602
PANEL
4
1. MIC. 1 INPUT
Connecting microphones to input 1.
2. MIC. 2 INPUT
Connecting microphones to input 2.
3. MIC. 3 INPUT
Only for microphone input 3.
4. MIC. 1 GAIN SWITCH
Turn it on to increase the microphone signal level to
-20dB.Turn it down to decrease the microphone signal level
to normal.
5. MIC. 1 SIGNAL LIGHT
When it receives an audio signal at or above 0dB
automatically on. Signal will appear on the meters.
6. MIC. 1 VOLUME CONTROL
Adjust the microphone 1 Volume.
7. MIC. 1 BALANCE CONTROL
Adjusts the microphone 1 signal for left and right speakers.
8. MIC. 1 ECHO VOLUME CONTROL
Adjusts the microphone 1 echo effect EQ response.
9. MIC. 1 LOW CONTROL
Adjusts the microphone 1 low frequency EQ response.
10. MIC. 1 MIDDLE CONTROL
Adjusts the microphone 1 middle frequency EQ response.
11. MIC. 1 HIGH CONTROL
Adjusts the microphone 1 high frequency EQ response
12. MIC. MASTER VOLUME CONTROL
To control all microphones output level. The volume level
starts from 1 to 50 units (not the dB level)
13. MUSIC MASTER VOLUME CONTROL
To adjust the volume of the musical source.The volume
level starts from 1 to 50 units (not the dB level).
14. POWER ON/OFF
15. STEREO OR MONO SELECTOR
Adjusts the echo stereo or mono.
16. MUSIC VOLUME CONTROL
Adjusts the music volume level.
17. ECHO VOLUME CONTROL
Adjust the echo volume level. It will be affected all MIC.
18. MUSIC BALANCE CONTROL
Adjusts the music balance signal for left and right speaker.
19. ECHO LOW FREQUENCY CONTROL
Adjusts the low frequency EQ reponse.
20. MUSIC LOW FREQUENCY CONTROL
Adjusts the low frequency EQ response.
21. ECHO HIGH FREQUENCY CONTROL
Adjusts the high frequency EQ response.
22. MUSIC MIDDLE FREQUENCY CONTROL
Adjusts the middle frequency EQ response.
23. ECHO REPEAT CONTROL
24. MUSIC HIGH CONTROL
Adjust the high frequency EQ response.
25. ECHO DELAY CONTROL
①
②
③
④ ⑥ ⑦ ⑧ ⑨ ⑩ ⑪
⑫
⑤
⑮ ⒃ ⒔⒕ ⒖⒗ ⑬ ⑭
K-Pro®
Professional Karaoke System

MP3 PLAYER & RECORDING
5
USB / SD CONTROL SECTION
1. LCD DISPLAY FOR MP3
2. STANDBY SWITCH
Turn On /Off MP3 Player panel
3. VOLUME KNOB
A. PLAY MODE: MP3 Level, BASS & TREBLE control.
Normal is volume control MP3 Level is increased or
decreased
1) Fuction selected (Volume - BASS - TREBLE): Push switch
2) Level change: Clockwise & Counterclokwise
B. CLOCK MODE & TIMER CONTROL
1) Fuction selected: Push switch
2) Fuction change: Clockwise & Counterclokwise
4. PLAY / PAUSE
During the music playing, if pressthis switch, it turn to
PAUSE mode and press this switch again,it turn to
PLAY mode again.
5. REPEAT
1) NOR: LCD DISPLAY
Play all track USB or SD
2) RPT: LCD DISPLAY
Repeat one track
6. STOP SWITCH
Stop playing music from USB or SD
7. RANDOM
Random track order
1. CONTROL SECTION LCD DISPLAY
2. KEY CONTROL SWITCH
3. INPUT SELECTOR
DVD / VOD / AUX / MP3
4. MENU UP & DOWN
5. MENU
1) BBE CONTROL
2) MHC - ON/OFF
MICROPHONE HUMMING CONTROL
8, 9. TRACK UP & DOWN - REWIND & FF SWITCH
1) Track UP & DOWN
2) Long press: REWIND & FF
10. SECLECTOR: FUNCTION SELECTOR
TIME-USB-SD
11. MP3 RECORDING
Pressthis button to start record. Folder & file name are
automatically created
12. F. MUTE
Long press to mute MP3
13. RECORDING STOP
1) PLAYING MODE: Recording source selector USB or SD
2) RECORDING: Recording stop
14. USB SLOT
15. SD CARD SLOT
① ② ③
④
⑤
⑥
⑦
⑧
⑨
⑩
⑪
⑫
⑬⑭⑮
CONTROL SECTION
①
②
③⑤
PLAY MODE SELECTOR
Pressing this switch for 2 seconds ,its can be selected AUTOPLAY and
STOP autoplay function and selecting function is applied after
changing mode from USB or SD mode and returnto USB or SD
④
K-Pro®
Professional Karaoke System
MUSE-602
REAR
PANEL
6
REAR PANEL
1. MIC. 1 & MIC. 2 REAR INPUTS
The same terminal with front MIC. 1 &MIC. 2 input. Rear
input is designed for wireless or wired microphone.
2. VIDEO OUTPUT
Dedicated composite video output. If the wiring distance
to the output source is more than 10m, a composite video
distributor is needed, otherwise, the video will be very poor.
3. VIDEO & AUDIO INPUT
DVD / VOD / AUX / MP3
4. SOUND EFFECT DEVICE SEND
Enable connection to reverberation uint, equalizer and other
assisting sound sources. Please do not remote the
connector pin.
5. SOUND EFFECT DEVICE RETURN
Enable connection to Reverberation unit,equalizer and other
assisting sound sources. Please do not remove the
connector pin.
6. SUBWOOFER OUTPUT
This is a bass signal out to the powered subwoofer.
7. MIC OUTPUT
This is a vocal signal out to scoring system. This function
is designed for KTV business.
8. RCA CONNECTOR OUT TO BRIDGE AMPLIFIER
9. RCA CONNECTOR SIGNAL OUT FOR RECORD
10. SMART FAN
It automatically turns on when the temperature reaches
45
o
C.It has a built-in sensor to measure the temperature.
11. MAIN LEFT SPEAKER POWER OUTPUT
Dedicated Group-A&B
12. MAIN RIGHT SPEAKER POWERED OUTPUT
Dedicated Group-A&B
13. AC INPUT
Connect this to 220V 50Hz AC with the suppllied power cord
①②
④
③
⑤
⑥
⑦ ⑧⑩⑪ ⑨
⑦
⑫⑬
K-Pro®
Professional Karaoke System
MUSE-602
REMOTE
CONTROL
7
REMOTE CONTROL
1. Sel
MP3 Function selector
2. Play/P
MP3 Play & pause selector
3. Track
MP3 Track Up
4. Rec
MP3 Recording & Stop
5.
Key control
6. Dvd / Vod / Aux / Mp3
Input selector
7. Mute
Audio mute
8. Volume Mic & Sound
Adjust volume level
9. Menu / Up / Dn
BBE & Vocal cancel control
① ③
②
⑤
⑦
⑥
④
⑧
⑨
K-Pro®
Professional Karaoke System
K
ARAOKE
S
PEAKER
MUSE-602
8
Karaoke
Speaker
FS-200
- Type: Two way Karaoke speaker
- Cabinet: Black glass player, MDF
- 2-way full range speaker
- Component: 01 x 10” bass driver + 04 x 3” treble driver
- RMS Power Handling: 150W
- Peak Power Handling: 300W
- Nominal Impedance: 8
- Frequency response: 48Hz-20kHz
- Sensitivity: 98dB
- Dimensions: 500 x 270 x 300 mm
- Net weight: 10.8 kg
- Accessories: 2 x 10m cable (with banana connectors at two ends)
Mounting the Speaker to the ceiling
Place the ceiling mount bracket on the top of the speaker
cabinet and put two screws to fasten it.Then,put one screw to
hold the speaker firmly to the ceiling. Adjust the speaker
up/down and left/right for rotation at different angles to achieve
the maximum sound effect.
Mounting the speaker to the Wall
Place the wall mount panel on the top of the speaker
cabinet and put two screws to fasten it. Then, put four screws
to hold the speaker firmly into the wall. Adjust the speaker
up/down and left/right for rotation at different angles to achieve
the maximum sound effect.
Mounting the Speaker on to stand (tripod)
The speaker can be mounted on to the optional portable
stand,(see figure below). Make sure that the mounting system
(handware,stand,etc) is capable of supporting four times the
weight of the speakers.
Note: Please do not stack two-pieces of speakers onto the
adjustable speaker stand.If you need two more speakers to
increase the output volume, we recommend you to use a high
power speaker instead of stacking two-pieces. If speaker on
the adjustable speaker stand for saftey purpose.
K-Pro®
Professional Karaoke System
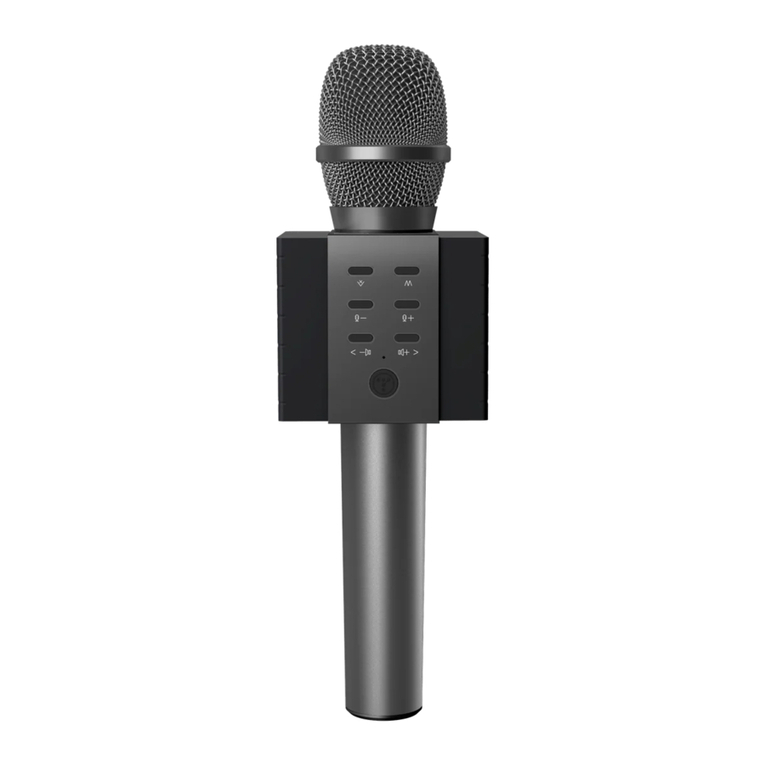
CONNECTING SPEAKER
9
CONNECTING SPEAKER
1. Insert Type
CONNECTING SPEAKERS TO AMPLIFIER
We recommend to use Banana plug to connect speakers to amplifier for better audio signal
Either banana plug or insert type can be used to connect the unit to speakers.
Be sure to connect red(+) to red(+) and black(-) to black(-).
Before you connect the source (DVD, VCR, AUX, MP3), you should turn off the power for amplifier toprevent the equipment
from damage and electric shock.
2. Single Banana Plug Type
CONNECTING THE AUDIO INPUT
SOURCE
LEFT SPEAKER A RIGHT SPEAKER A
RIGHT SPEAKER B
LEFT SPEAKER B
K-Pro®
Professional Karaoke System

SUBWOOFER & AUDIO OUTPUT
10
CONNECTING THE SUBWOOFER
AUDIO LINE OUTPUT
K-Pro®
Professional Karaoke System
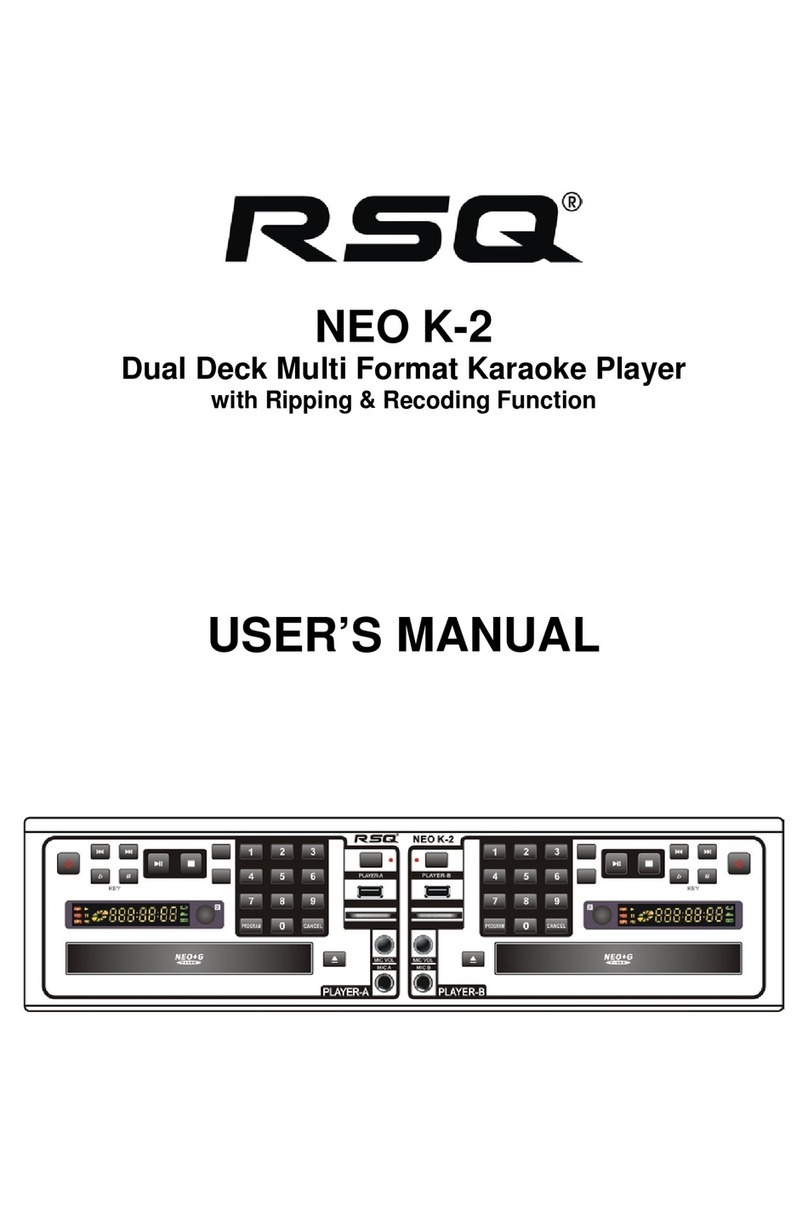
DYNAMIC
MICROPHONE
DM-980
11
Dynamic
Microphone DM-
980
Features
- High fidelity professional microphone
- Uni-directional dynamic microphone
- Excellent reproduction of voice and music
- High resistance cover
- Body material: Metal
K-Pro®
Professional Karaoke System
Specifications
- Element: Moving Coil Dynamic
- Directivity: Uni-directional
- Frequency response: 50Hz-15kHz
- Polar pattern: Cardioids
- Output impedance: 600
- Sensitivity: -51.7dB, ± 3dB (at
1kHz 0dB=1mV/Pa)
- Pickup distance: 3-5 cm
- Dimension: 182 x 23 - 50 mm
- Net weight: 100 g
- Power supply: None
- Accessories: 2 x 5m cable (with
female XLR and 6.5mm
connectors at two ends);
microphone clamp, bag
5 microphones DM-980 can connect to MUSE-602 amplifier at the same time

CONNECTING MICROPHONE
12
Note: Turn down MIC Volume to OdB before
inserting 1/4” microphone plugs into the MIC
inputs to avoid unpleasant noise and protect
your equipmentsfrom damage.
FRONT PANEL
REAR PANEL
MIC.1 MIC. 2 MIC. 3
CONNECTING WIRELESS MICROPHONE
CONNECTING WIREDMICROPHONE
K-Pro®
Professional Karaoke System
This manual suits for next models
3
Table of contents