manuals.online logo
Brands
  1. Home
  2. •
  3. Brands
  4. •
  5. PawHut
  6. •
  7. Indoor Furnishing
  8. •
  9. PawHut D06-161V00 User manual

PawHut D06-161V00 User manual

EN_IMPORTANT, RETAIN FOR FUTURE REFERENCE: READ CAREFULLY.
FR_IMPORTANT:A LIRE ATTENTIVEMENT ET À CONSERVER POUR CONSULTATION
ULTÉRIEURE.
ES_IMPORTANTE, LEA Y GUARDE PARA FUTURAS REFERENCIAS.
DE_WICHTIG! SORGFÄLTIG LESEN UND FÜR SPÄTER NACHSCHLAGEN AUFBEWAHREN.
IT _ IMPORTANTE! CONSERVARE IL PRESENTE MANUALE PER FUTURO RIFERIMENTO E
LEGGERLO ATTENTAMENTE.
INdbb101_ES_PT
D06-161V00
1
EN_Note:
Thank you very much for purchasing this product. The entire installation process
takes about 20 minutes. Please read the installation manual patiently, find the
corresponding components and select the right location to be installed. Please
prepare an electric screwdriver?scissors and marker pen before installation.
ES_Nota:
Muchas gracias por comprar este producto. Todo el proceso de instalación tarda 20
minutos aproximadamente. Lea todo el manual de instalación cuidadosamente,
encuentre los componentes correspondientes y elija una ubicación adecuada para
la instalación. Prepare un destornillador eléctrico, unas tijeras y un rotulador antes
de realizar la instalación.
PT_Nota:
Muito obrigado por ter adquirido este produto. Todo o processo de instalação
demora cerca de 20 minutos. Por favor leia atentamente o manual de instruções,
encontre os componentes correspondentes e selecione o local correcto para a
montagem. Por favor, prepare uma aparafusadora elétrica e uma caneta para a
marcação antes da montagem.
A 1 B 1 C 1
D 2 E 8 F 8
EN_Upper Bracket *1
ES_Ménsula superior *1
PT_Suporte Superior*1
EN_Lower Bracket *1
ES_Ménsula inferior *1
PT_Suporte Inferior *1
EN_Latches *2
ES_Pestillos *2
PT_Travas *2
EN_Screws *8
ES_Tornillos *8
PT_Parafusos *8
EN_Expansive Rubber *8
ES_Goma expansiva *8
PT_Buchas expansivas *8
EN_Gate *1
ES_Puerta *1
PT_Porta *1
EN_Gate *1
ES_Puerta *1
PT_Porta *1
EN_Upper Bracket *1
ES_Ménsula superior *1
PT_Suporte Superior*1
EN_Lower Bracket *1
ES_Ménsula inferior *1
PT_Suporte Inferior*1
EN_Latches *2
ES_Pestillos *2
PT_Travas *2
EN_Screws *8
ES_Tornillos *8
PT_Parafusos *8
EN_Expansive Rubber *8
ES_Goma expansiva *8
PT_Buchas expansivas *8
PART
LIST
2
02
01
EN_1.Main body Gate
ES_1. Cuerpo principal de puerta
PT_1. Estrutura principal do porta
EN_2.Install Upper Bracket on the Gate
ES_2.Instale la ménsula superior en la puerta.
PT_2. Instalar os suportes superiores no porta.
3
04
03
EN_3.Install Lower Bracket on the Gate
ES_3.Instale la ménsula inferior en la puerta.
PT_3. Instalar os suportes inferiores no porta.
EN_4.Select the installation location, make sure the bottom of the main body door
Gate is on the ground, and then mark the holes position of the Upper Bracket with a
pen.
ES_4.Elija una ubicación para la instalación, asegúrese de que la parte inferior del
cuerpo principal de la puerta esté en el suelo, luego marque las posiciones de los
orificios para instalar la ménsula superior con un bolígrafo.
PT_4. Seleccionar o local de instalação, certificar-se de que a parte inferior da
porta da estrutura principal está no chão, e depois marcar a posição dos orifícios
dos suportes superiores com uma caneta
4
06
05
EN_5.If there are without baseboard on the wall, Mark the holes position of the
Lower Bracketwith a pen and please keep the gate vertical.
ES_5.Si no hay rodapié en la pared: Marque las posiciones de los orificios de la
ménsula inferior con un bolígrafo y mantenga la puerta vertical.
PT_5. Se não houver rodapé na parede: Marcar a posição dos orifícios no
suporte inferior com uma caneta e por favor manter o portão vertical.
EN_6. If there are baseboard on the wall,Please slide Lower Bracket up to the
suitable position until go around the baseboard and mark the holes position of the
Lower Bracket with a pen.
ES_6. Si hay rodapié en la pared: Deslice la ménsula inferior hasta la posición
adecuada hasta que rodee el rodapié, luego marque las posiciones de los orificios
de la ménsula inferior con un bolígrafo.
PT_6. Se houver rodapé na parede: Por favor, desloque os suportes inferiores
até à posição adequada até à altura do rodapé e marque a posição dos orifícios dos
suportes inferiores com uma caneta.
5
08
07
EN_7.Take out Upper Bracket from Gate according to the arrow
ES_7.Retire la ménsula superior de la puerta en la dirección de la flecha.
PT_7. Retire o suporte superior do portão de acordo com a seta.
EN_8. Take out Lower Bracket from Gate according to the arrow
ES_8. Retire la ménsula inferior de la puerta en la dirección de la flecha.
PT_8. Retire o suporte inferior do portão de acordo com a seta.
6
03
02
EN_9. Drill Upper Bracket to wall as the marks
ES_9. Perfore en la pared para colocar la ménsula superior como una marca.
PT_9. Perfurar o suporte superior à parede conforme as marcas.
EN_10.Drill Lower Bracket to wall as the marks
ES_10.Perfore en la pared para colocar la ménsula inferior como una marca.
PT_10. Perfurar o suporte inferior à parede conforme as marcas.
10
09
7
05
04
EN_11.Install Gate to Upper Bracket as the arrow
ES_11 .Instale la puerta en la ménsula superior como lo que indica la flecha.
PT_11. Instalar porta no suporte superior como mostra a seta
EN_12.Install Gate to Lower Bracket as the arrow ,please make sure install Gate to
Upper Bracket at first then install Gate to Lower Bracket .
ES_12.Instale la puerta en la ménsula inferior como lo que indica la flecha, asegú
rese de instalar la puerta en la ménsula superior primero, y luego instale la
puerta en la ménsula inferior.
PT_12. Instale porta para suporte inferior como indica a seta, certifique-se de
instalar a parte do suporte superior primeiro.
12
11
8
07
06
EN_13.Pull the cloth horizontally to the opposite door frame to find the installation
position of Latches
ES_13.Tire de la tela horizontalmente hacia el marco de la puerta opuesta para
encontrar dónde se instalarán los pestillos.
PT_13. Puxar o tecido horizontalmente para a moldura da porta oposta para
encontrar a posição de instalação das travas.
EN_14.Press the button to lock.
ES_14.Presione el botón para bloquear.
PT_14. Pressione o botão para bloquear.
14
13
9
09
08
EN_15. Hook the upper Latches and mark the holes position of the upper Latches
with a pen and make sure the gate is Vertical.
ES_15. Enganche los pestillos superiores y marque las posiciones de los orificios
para los pestillos superiores con un bolígrafo, asegurándose de que la puerta esté
vertical.
PT_15. Prender a trava superior e marcar a posição dos orifícios com uma caneta e
certificar-se de que a porta está vertical.
EN_16.Hook the lower Latches and mark the holes position of the lower Latches
with a pen and make sure the gate is Vertical
ES_16.Enganche los pestillos inferiores y marque las posiciones de los orificios
para los pestillos inferiores con un bolígrafo, asegurándose de que la puerta esté
vertical.
PT_16. Prender a trava inferior e marcar a posição dos orifícios com uma caneta e
certificar-se de que a porta está vertical.
16
15
10
EN_17.Pull the cloth,then press the button to unlock,Let the cloth roll back.
ES_17.Tire de la tela, luego presione el botón para desbloquear para que la tela se
enrolle hacia atrás.
PT_17. Puxe o tecido, depois prima o botão para o desbloquear. Deixe o tecido
rolar para trás.
EN_18.Drill the upper Latches to wall as the marks
ES_18.Perfore en la pared para colocar los pestillos superiores como las marcas.
PT_18. Perfurar a trava superior na parede conforme as marcas.
18
17
11
EN_19.The installation is complete,Enjoy your gate!
ES_19.La instalación está completa. ¡Disfrute de su puerta!
PT_19. A instalação está completa.
19
Done

Other manuals for D06-161V00

1

Other PawHut Indoor Furnishing manuals
PawHut D06-111 Installation guide

PawHut

PawHut D06-111 Installation guide
PawHut D06-159V00 User manual

PawHut

PawHut D06-159V00 User manual

PawHut D04-069 Installation guide

PawHut

PawHut D04-069 Installation guide
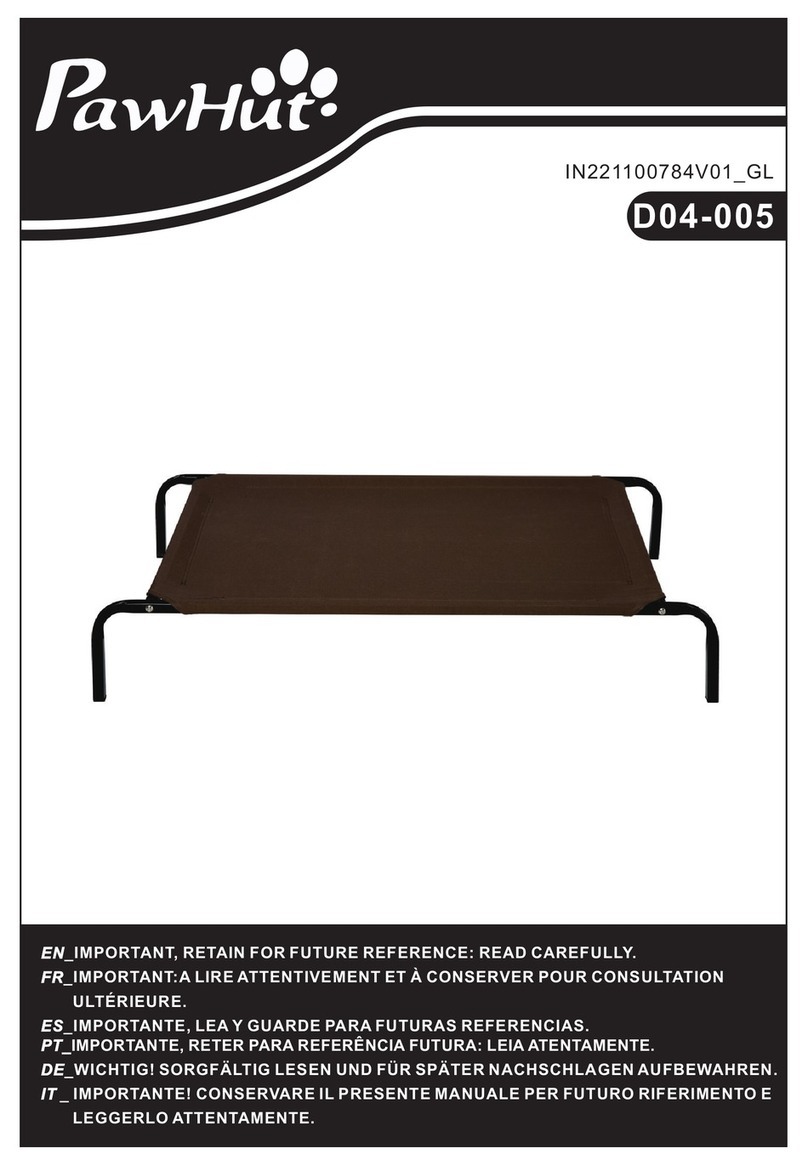
PawHut D04-005 User manual

PawHut

PawHut D04-005 User manual

PawHut D06-158V00 User manual

PawHut

PawHut D06-158V00 User manual
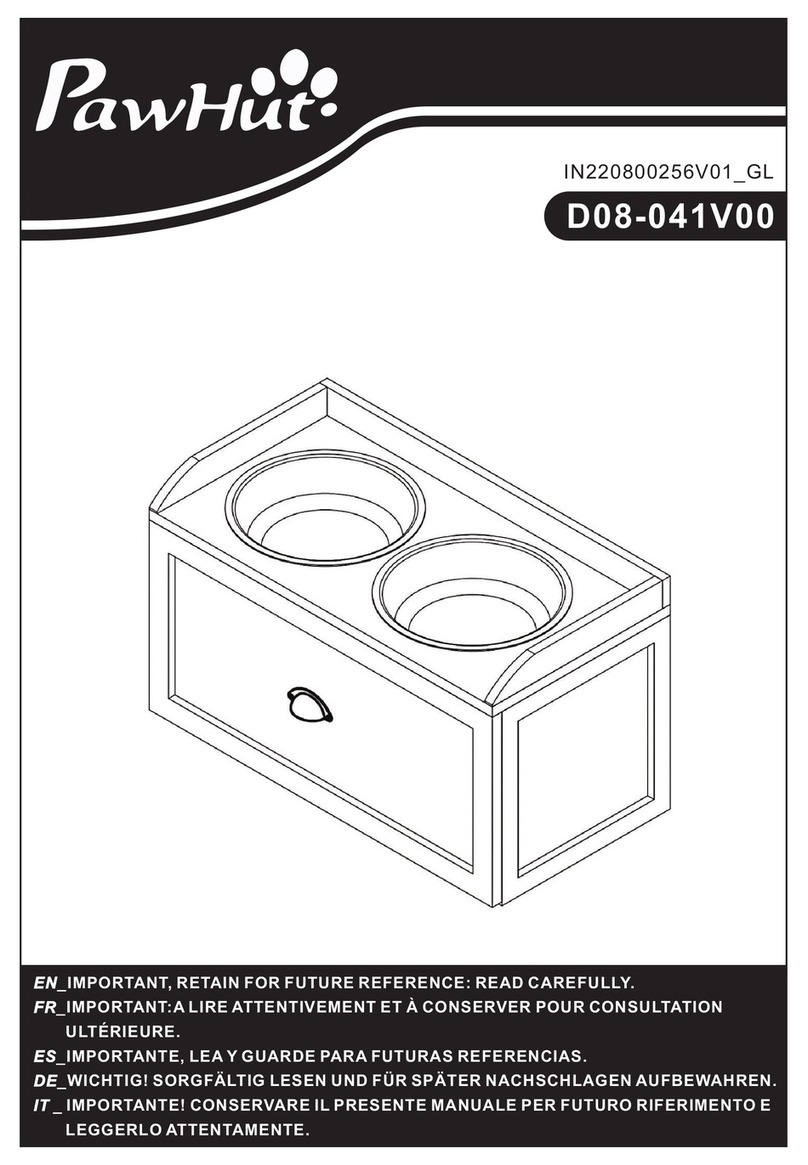
PawHut D08-041V00 User manual

PawHut

PawHut D08-041V00 User manual
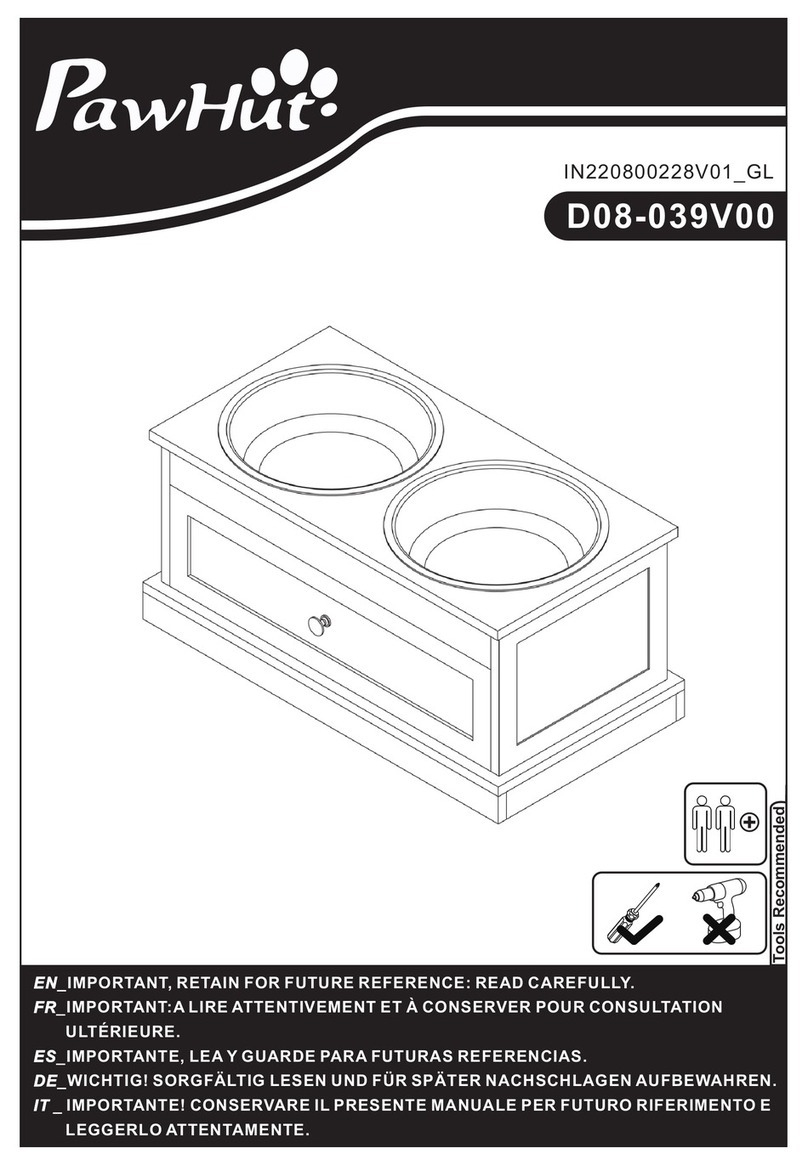
PawHut D08-039V00 User manual

PawHut

PawHut D08-039V00 User manual
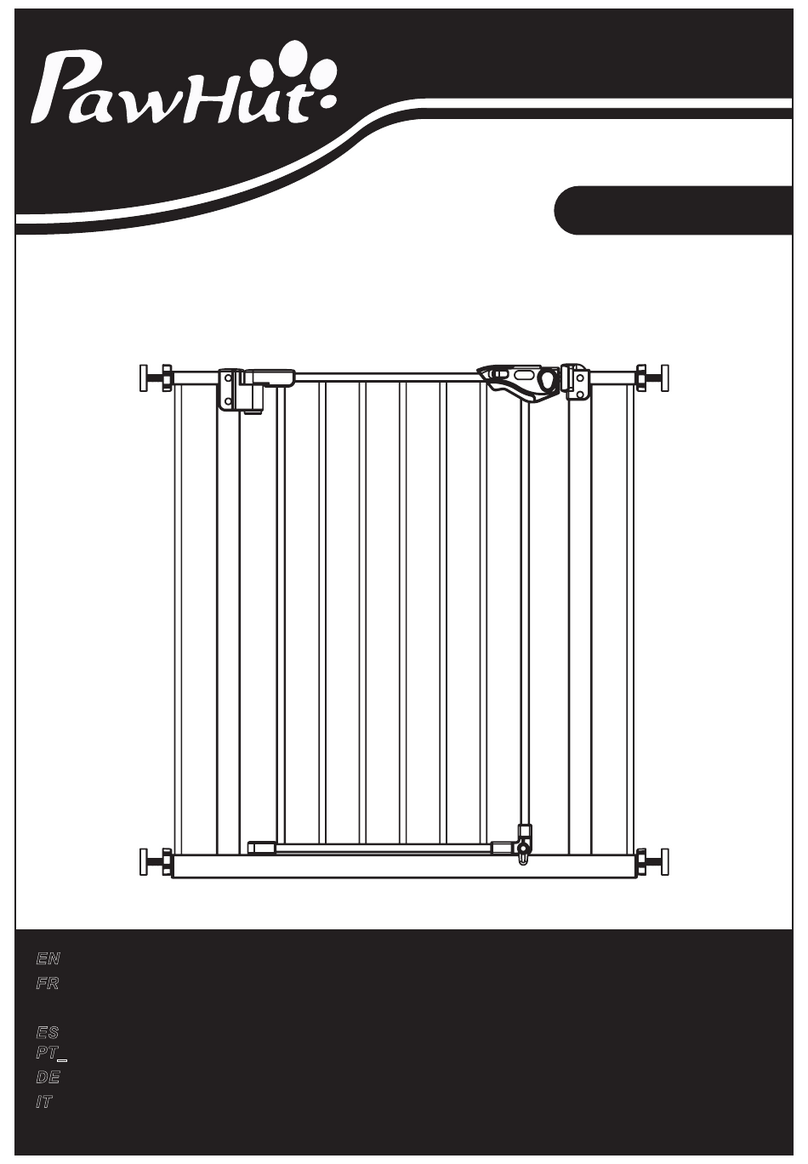
PawHut D06-096V02 User manual

PawHut

PawHut D06-096V02 User manual
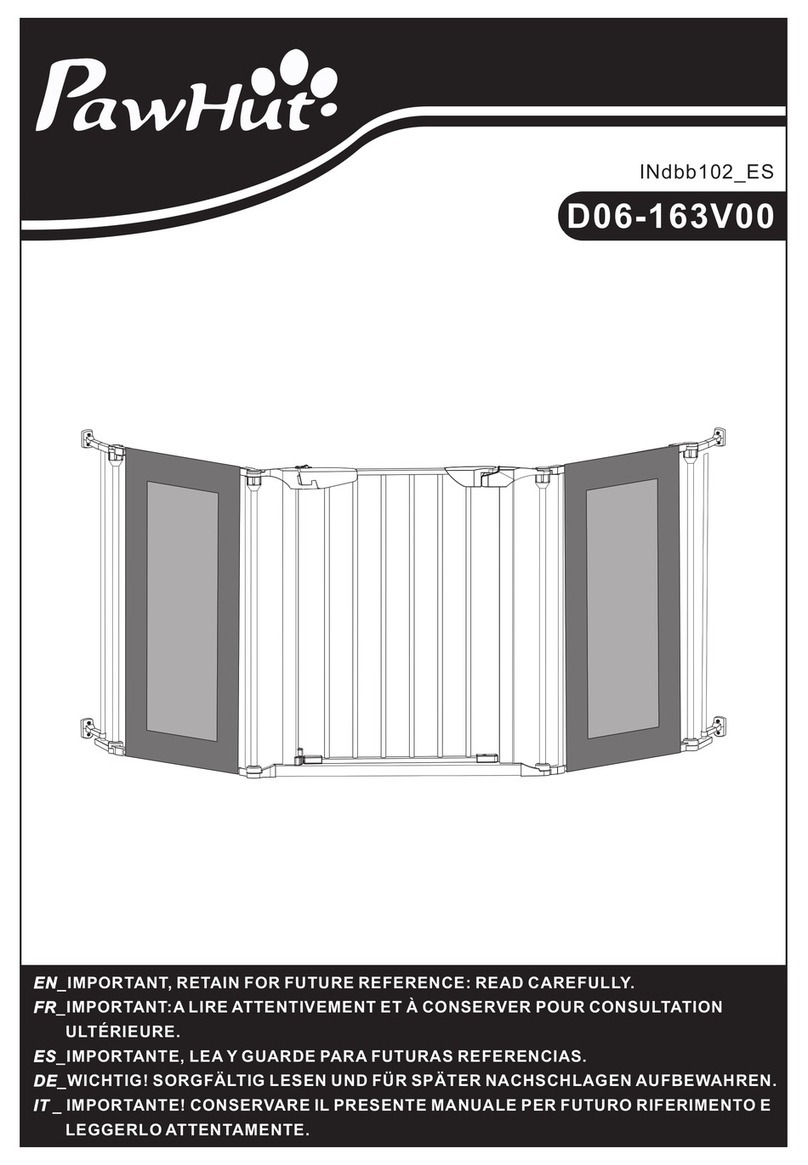
PawHut D06-163V00 User manual

PawHut

PawHut D06-163V00 User manual

Popular Indoor Furnishing manuals by other brands

Eco-Systems ECO-1036 Setup

Eco-Systems

Eco-Systems ECO-1036 Setup
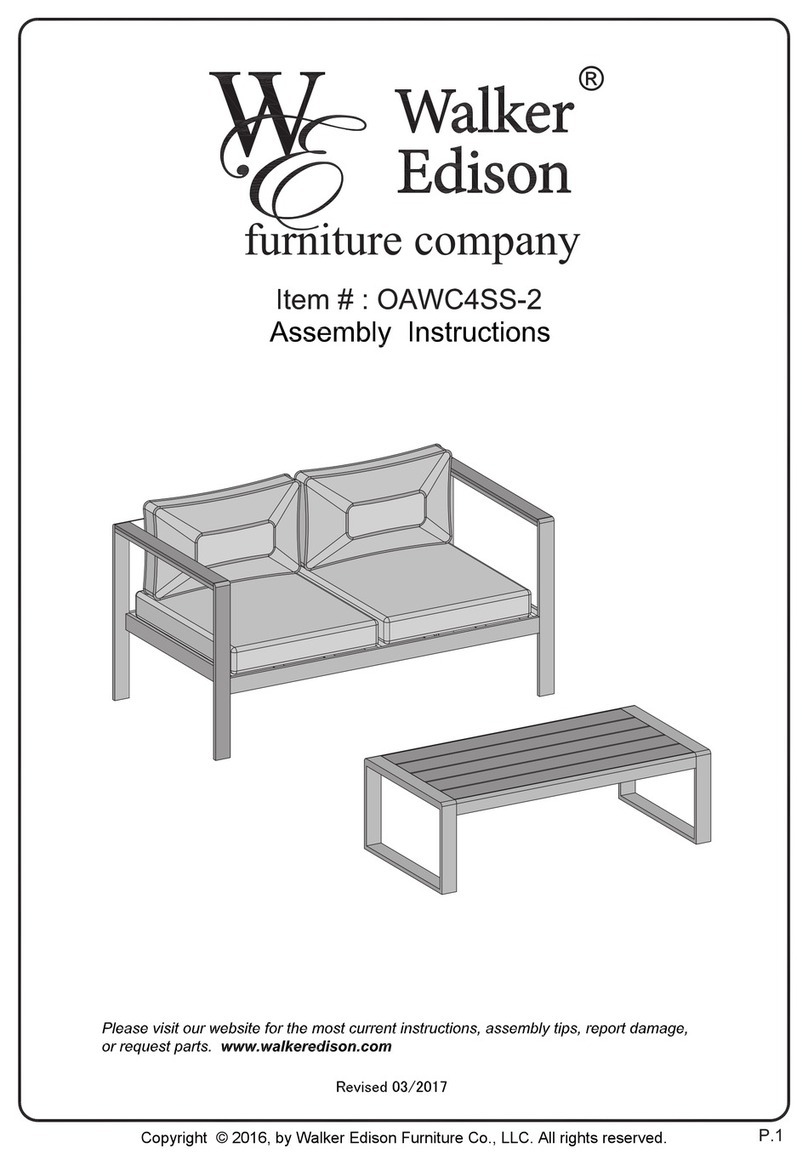
Walker Edison OAWC4SS-2 Assembly instructions
Walker Edison

Walker Edison OAWC4SS-2 Assembly instructions

Walker Edison W60FPRTH Assembly instructions

Walker Edison

Walker Edison W60FPRTH Assembly instructions

Elle Decor 4131900 Assembly instructions and warranty information

Elle Decor

Elle Decor 4131900 Assembly instructions and warranty information

BluDot Woodrow Bed Assembly notes

BluDot

BluDot Woodrow Bed Assembly notes
Kinnarps WORKS DS Assembly instructions
Kinnarps

Kinnarps WORKS DS Assembly instructions

milliard MIL-XCHR-IV manual

milliard

milliard MIL-XCHR-IV manual

Fif Möbel Toro-4 Assembly instruction

Fif Möbel

Fif Möbel Toro-4 Assembly instruction

EXPEDO BILLIE K4S Assembly manual

EXPEDO

EXPEDO BILLIE K4S Assembly manual

DHP 4188439WE manual

DHP

DHP 4188439WE manual

Seatcraft Vienna Assembly & general use guide

Seatcraft

Seatcraft Vienna Assembly & general use guide

SANTA LUCIA HOMY Night manual

SANTA LUCIA

SANTA LUCIA HOMY Night manual

Marquee BAYFIELD STEEL WICKER BAR TABLE 0177371 Assembly instructions

Marquee

Marquee BAYFIELD STEEL WICKER BAR TABLE 0177371 Assembly instructions

College Bed Lofts Storage Drawers Assembly guide
College Bed Lofts

College Bed Lofts Storage Drawers Assembly guide

Officeworks JBSTIHA18 Assembly instructions

Officeworks

Officeworks JBSTIHA18 Assembly instructions

Habitat Roxanne 823139 manual

Habitat

Habitat Roxanne 823139 manual

Costway HU10107 user manual

Costway

Costway HU10107 user manual
Forte Regal MAURO 15 MXXR431 Assembling Instruction

Forte

Forte Regal MAURO 15 MXXR431 Assembling Instruction

manuals.online logo
manuals.online logoBrands
  • About & Mission
  • Contact us
  • Privacy Policy
  • Terms and Conditions

Copyright 2025 Manuals.Online. All Rights Reserved.