Pacific Recumbent Height
Adjustable Bath 3
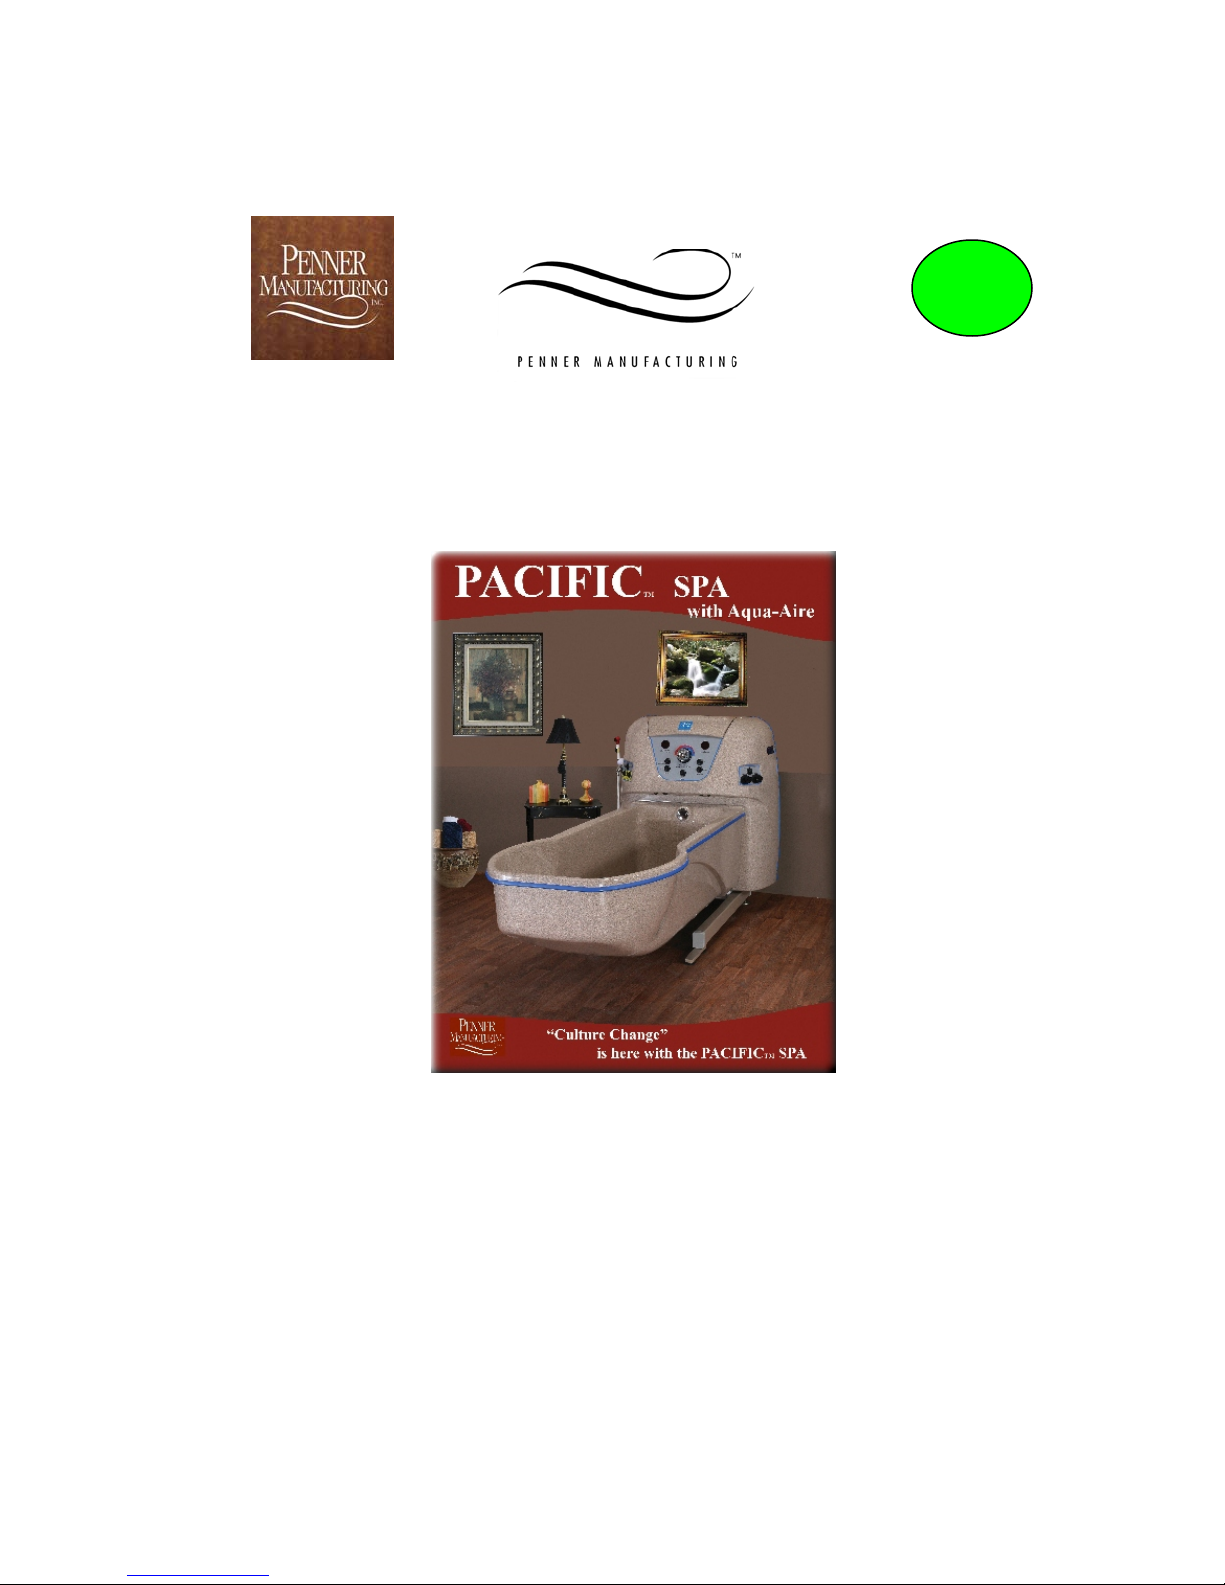
Introduction:
These instructions are for the installation of a Pacific Recumbent
Height Adjustable Bathing System 7900 Bath Panel and Bath Shell or
Tank. This system is shipped on two pallets. The Pacific Bath Shell or
Tank attaches easily to the Pacific Bath Panel. This system is a height
adjustable tub.
Terminology and Symbols Meanings:
When the terms “left” or “right” are used with reference to the tub, this
means left or right as you look facing the control panel.
Meaning: Safety warning. Failure to understand and obey this
warning may result in injury to you or to others.
Meaning: Failure to follow these instructions
may cause damage to parts or systems.
Note: Refer to the “Pacific Bath Controls” section of this manual, page
6, for the location of any of the controls referenced.
NOTE: It is required that a licensed plumber make all plumbing
connections. He can select the best method of connection and if
Reduced Pressure Zone Backflow Preventers are required.
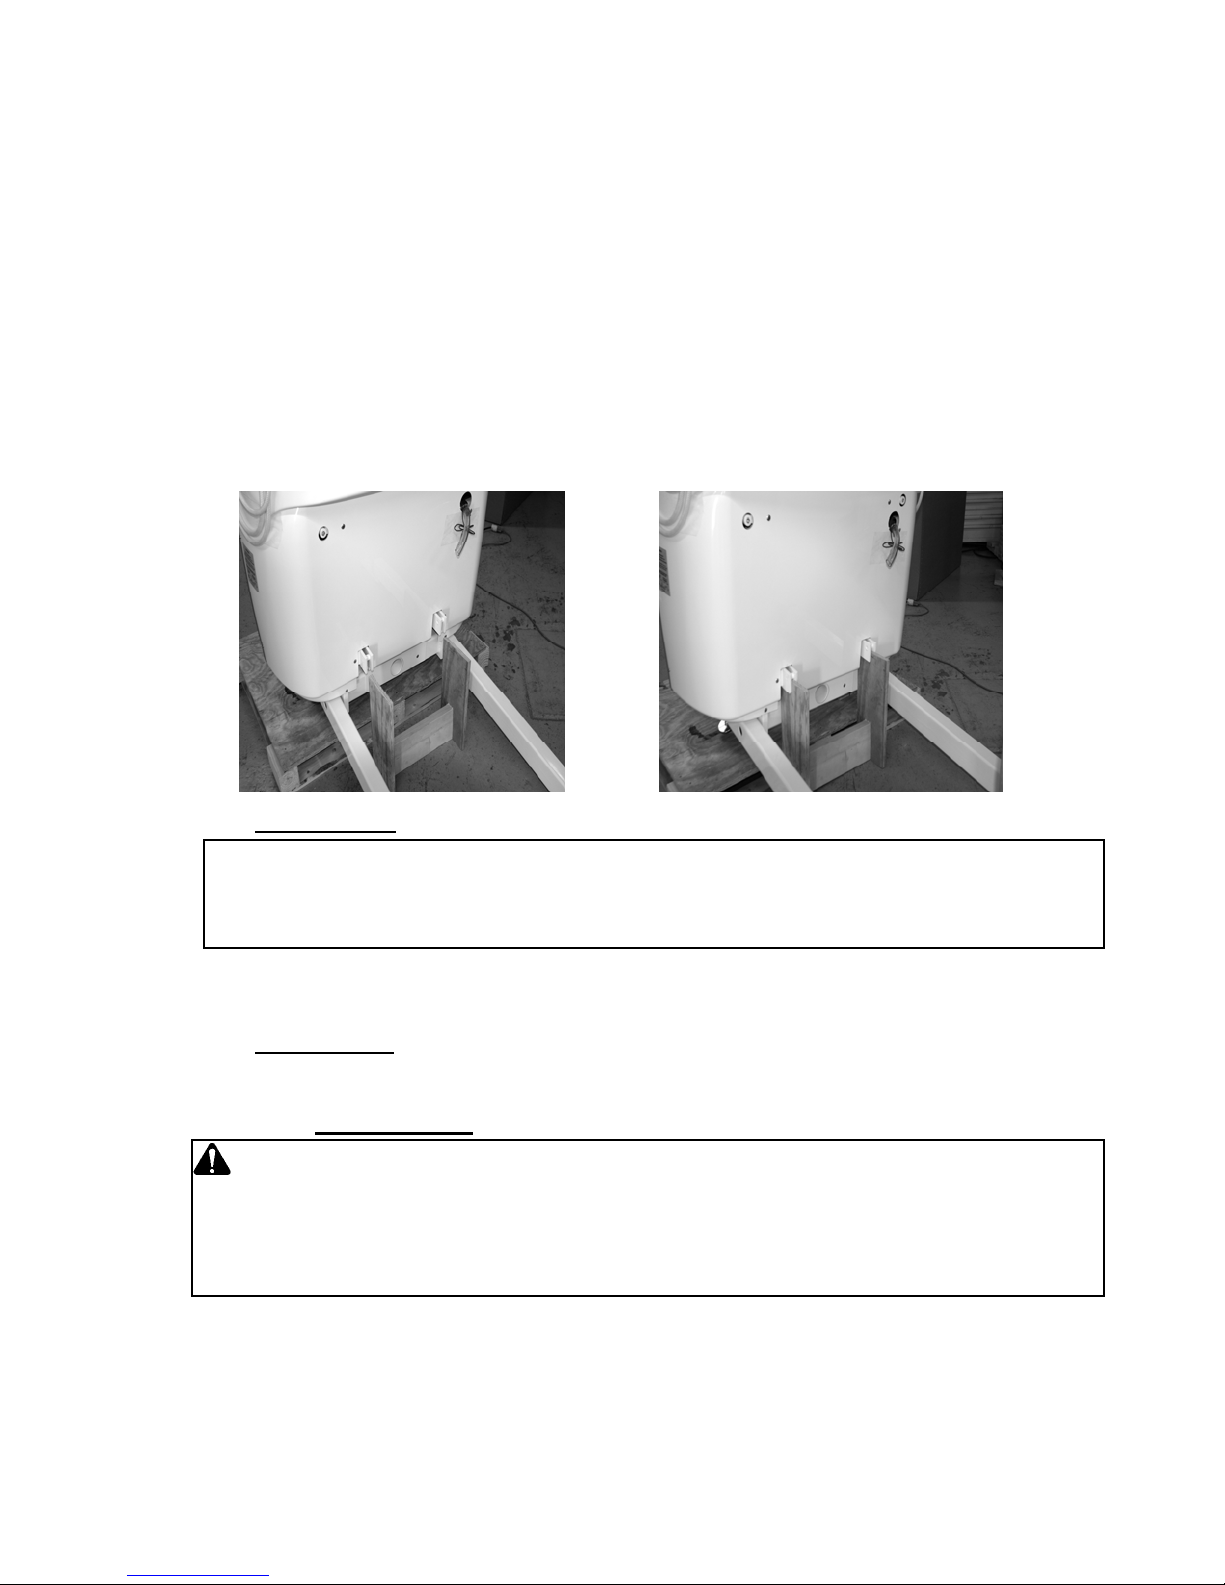
Drain Requirements:
The Pacific Bath is equipped with a 1½” (inside) diameter flexible
drain tub to enable drain attachment on the floor directly under the
tank or route through the panel frame and attach to a wall drain.
Figure 2 shows two different options for roughing in the drain pipe –
from the floor or from the wall. The rough-in needs to be 1½” (outside
diameter).
CAUTION


 owner's manual")