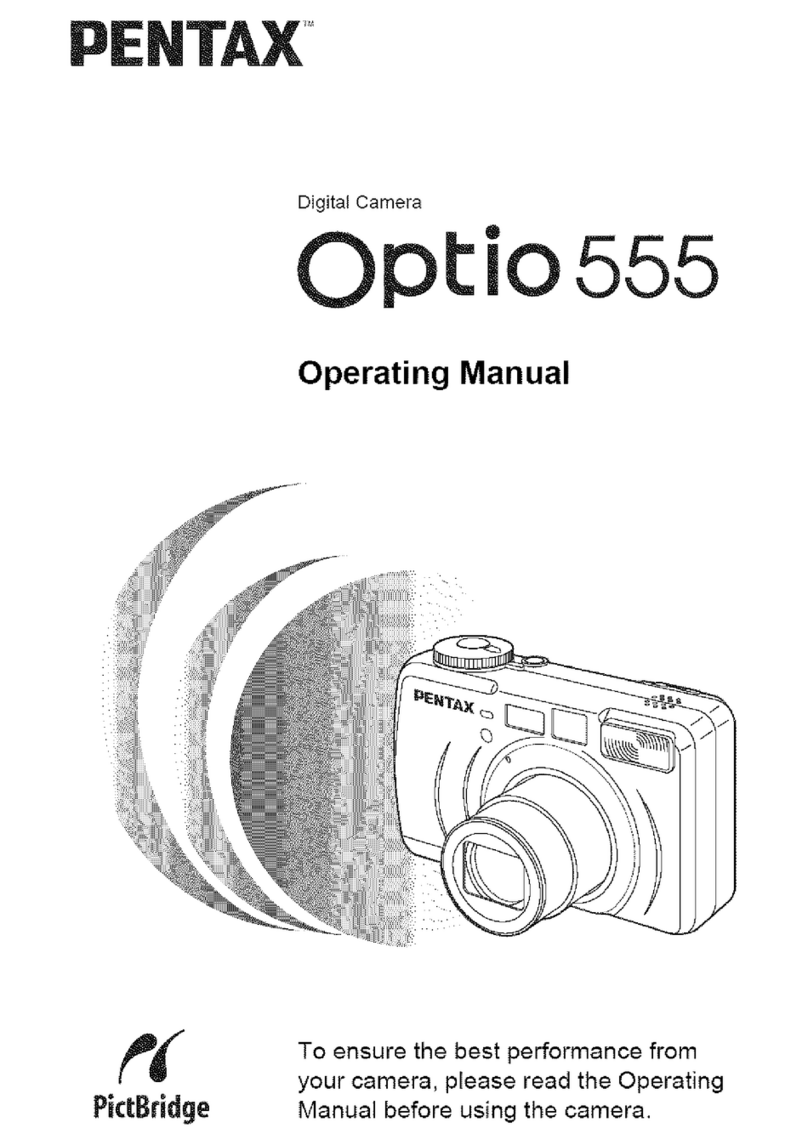
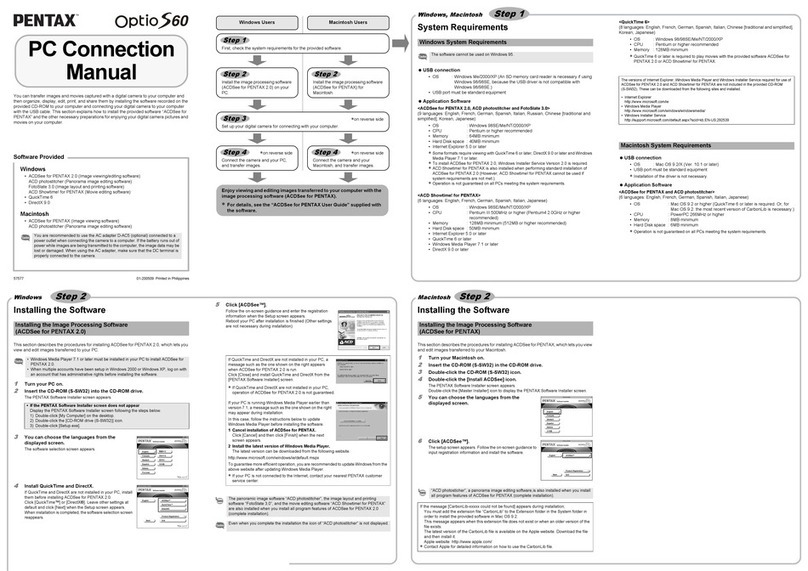
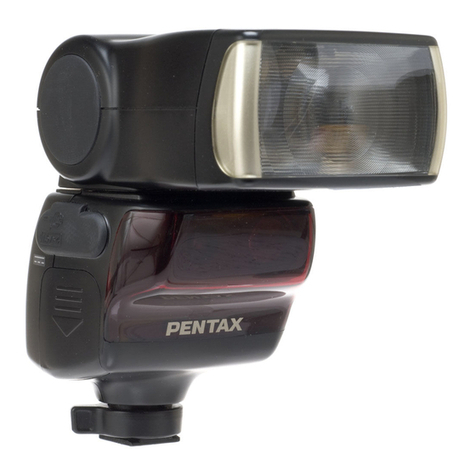
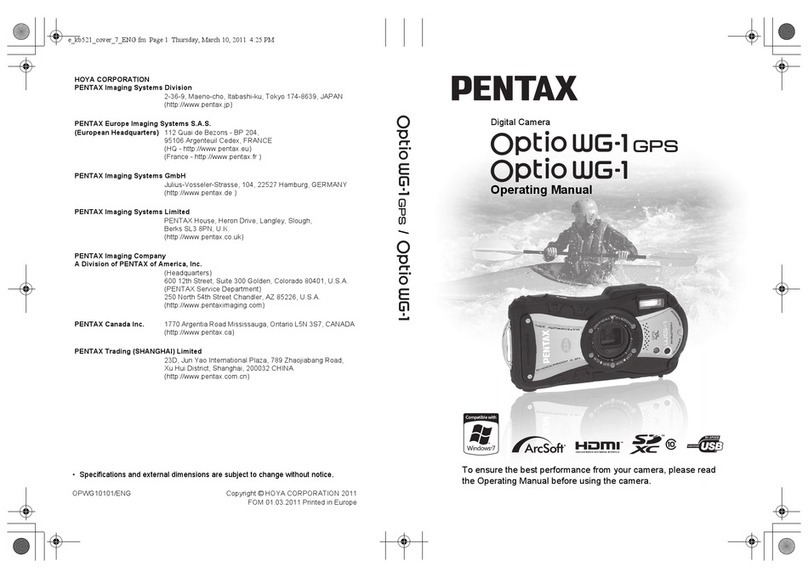
Pentax Optio WG-1 GPS Gray User manual

PEN lAX
Digital Camera
Optio
_o. _, __
To ensure the best performance from your camera, please read
the Operating Manual before using the camera.

DPOF(DigitalPrintOrderFormat)istheformatforstoringprintorder
dataonstillpicturescapturedwithadigitalcamera.Oncetheprintorder
datahasbeenstored,thepicturescanbeprintedaccordingtotheDPOF
settingsusingaDPOF-compatibleprinterorphotoprocessinglab.
DPOFcannotbesetformoviesorsound-onlyfiles.
iiiiiiiiiiiiiiiiiiiiiiiiiiiiiiii
iiiiiiiiiiiiiiiiiiiiiiiiiii
iiiililililililililililililililililililililli
!fthepicturealreadyhasthedateand/ortimeimprintedon it(p,145), do
not set [Date] _ (On) inDPOF settings. Ifyouse!ect _ (On), the ....
imprinteddateand/ortimemayoverlap.
Set the following items for each image.
Copies For setting the number of prints. You can print up to 99 copies.
Date Spec fy whether you want the date nserted on the pr nt or not.
1' In I_ mode, press the four-way controller (•).
The Playback Mode Palette appears.
2Use the four-way controller
(A •• I_) to select o_ (DPOF).
3Press the OK button.
The screen for selecting [Single Image] or [All Images] appears.

iiiiiiiiiiiiiiii=ii il
iiiiiiiiiiiiiiii_;t;i
iiiiiiiiiiiii!_i_:!51ii;ii!ii
iiiiiiiiiiiii_i!;i!;i!;i!;ii
iiiiiiii_!Sii
iiiiiiii_i;;i
iiiiiiii_A;;!_
iiiiiiii!51_iil;il
iiiiiiii_!i!i!iiiii!!i!i!i
4r
5
6
7
8
Use the four-way controller
(• T) to select [Single Image].
Press the OK button.
The message [Applies DPOF settings to this image] appears.
To make DPOF settings for another image, use the four-way controller
(4 • ) to select another image.
If DPOF settings have already been made for an image, the previous
number of copies and date setting ([_ (On) or [] (Off)) will be displayed.
Use the four-way controller
(• •) to choose the number of
copies.
Use the Green button to
choose whether to insert the
date or not,
_(On) The date will be imprinted.
[] (Off) The date will not be
imprinted.
To continue setting DPOF print order data, use the four-way controller
(• • ) to choose another image and repeat steps 6 and 7.
Press the OK button.
The setting is saved and the screen shown in Step 4 reappears.
Depending on the printer or printing equipment at the photo processing
lab, the date may not be imprinted onthe pictures even if On is selected
in the DPOF settings,
Tocancel DPOFsettings, setthe number ofcopies to [00] instep 6and
press the OK buttonl

Whenyou choosethenumberofcopies andwhetherornottoinsertthe
date, the settings are applied to all the images stored in the camera.
ISelect [All Images] in step 4 on p.218.
2Press the OK button.
3The message [Applies DPOF settings to all images] appears.
Choose the number of copies
and whether to insert the date
or not.
Refer to steps 6 and 7 in "Printing a
Single Image" (p.218) for details of
how to make the settings.
Press the OK button.
The settings for all the images are saved and the camera returns to the
DPOF setting screen.
, The number of copies specified in the DPOF settings applies to all the
image& Before printing, check that the number is correct.
, Settings for single images are canceled when settings are made with
[All Images].

Memo

Recording and
Playing Back Sound
Recording Sound (Voice Recording Mode)
................................................................... 222
Adding a Voice Memo to Images ........... 226

You can record sound with the camera. The microphone is located on
front of the camera. When recording sound, aim the microphone at the
sound source to obtain the best sound quality.
Microphone/
Speaker
To use the Voice Recording function, register Voice Recording to the
Green Button.
When the shooting mode is setto O (Green) Mode, [GreenButton]
settings cannotbe configured onthe [1_ Rec.Mode] menuiTo configure
the settings, first switch to a mode other than O.
t' Press the MENU button in 13 mode.
The [0 Rec. Mode] menu appears.
,2 Press the four-way controller (• • ) to select [Green Button].
3Press the four-way controller ( i, ).
A pull-down menu appears.
4' Use the four-way controller I I
(• •) to select [Voice
Recording] and press the OK
button.
5_ENUjCa ncel _K_OK
Press the MENU button.
The Voice Recording function is registered to the Green Button.

(- n
I 1 2
2
3
Press the Green button in a
mode.
The camera enters Voice Recording
mode. The remaining recordable time
and the recording time of the current
file appear on the display.
1 Recording time
2 Remaining recordable time
Press the shutter release
button fully.
Recording starts. The self-timer lamp
and REC icon (red) flash during
recording.
When the Green button is pressed
during recording, an index is added to
the current sound file.
Press the shutter release button fully.
Recording stops.
, If y0u press and hold down the shutter release button for more than
one second in step 2, recording continues until you take YOUrfinger off
the button. This is useful for recording short sounds.
'Sound is Saved in WAVE monaural filesl
$
, In_' (Voice Recording)model pressing the OKiDISPLAY button0n!Y
turns off the LOD and changes the display to Normal Display.

YoucanplaybackthesoundfilesyoumadewithVoiceRecording.
[]/O_button
/Ill.......................................................Fourwa,contro,er
t' Press the _button.
2
3
Use the four-way controller (• I_)to choose asound
file to play back,
Press the four-way controller
(A).
Playback starts.
1 Total file recording time
2 Playback time
The following operations can be performed during playback.
Four-way controller (A) Pauses playback
Zoom button (O_) Increases the volume
Zoom button (_J) Reduces the volume
If there are no recorded indexes:
Four-way controller (•) Reverses playback
Four-way controller ( • ) Fast forwards playback
If there are recorded indexes:
Four-way controller ( • ) Plays back starting from the previous index
Four-way controller ( • ) Plays back starting from the next index
The following operations can be performed while playback is paused.
Four-way controller (A) Resumes playback
Four-way controller (•) Rewinds approx. 5 seconds
Four-way controller ( • ) Advances approx. 5 seconds

#Press the four-way controller (•).
Playback stops.
iiiiiiiiiiiiiiiiiiiiiiiiiiiiiii!

You can add a voice memo to your still pictures.
1
2
3
Enter IWI mode and use the four-way controller ( • _) to
choose the still picture to which you want to add a voice
memo.
Press the four-way controller (•).
The Playback Mode Palette appears.
Use the four-way controller
(A ••1_)to select _(Voice
Memo).
Press the OK button.
Recording starts.
5Press the OK button.
Recording stops.
*A voice memo cannot be added to the image that already has a voice
memo. Delete the old voice memo (p,177) and record a new one.
• A voice memo cannot be added to protected images (p.180).

(D_
:_/0. button
_ r_-I button
Four-way controller
I
2
Enterl-C-lmodeandusethefour-waycontroller(,_)to iiiiiiiiiiiiiiiiiiiiiiiiiiiiiiiiiiiiiiiiiiiiiiiiiiiiiiiiiiiiiii
choose the still picture with the voice memo that you
want to play back.
[bq appears on images with voice memos in single-image display.
Press the four-way controller
(A).
Playback starts.
3
The following operations can be performed during playback.
Zoom button (0,) Increases the volume
Zoom button (5_J) Reduces the volume
Press the four-way controller (•).
Playback stops.
To Delete a Sound File _÷p.177 ]

Memo

Settings
Camera Settings ...................................... 230

Formatting deletes all the data on the SD Memory Card or the built-in
memory.
Be sure to use this camera to format (initialize) an SD Memory Card that
is unused or has been used on other cameras or digital devices.
, Do not remove an SD Memory Card "while it is being formatted. This
may damage the card and make it unusable.
,Formatting deletes protected images and any data recorded on the
card with a computer or any camera.
• SD Memory Cards formatted ona computer or device other than this
camera cannot be used, Be sure to format the card with the camera.
• TO format the bui!t-in memory, be sure to eject the SD Memory Card
beforehand. Otherwisel the SD Memory Card will be formatted.
1
2
3
#
5
Press the MENU button in I-_ mode.
The [_k Setting] menu appears.
When you press the MENU button in 0 mode, press the four-way
controller ( • ) once.
Use the four-way controller (• •) to select [Format].
Press the four-way controller ( i_ ).
The [Format] screen appears.
Use the four-way controller
(•) to select [Format]. All data wi]] be deleted
Cancel
_OK
Press the OK button.
Formatting starts.
When formatting is completed, the camera returns to 0 mode or
mode.

Youcanadjustthevolumeofoperationsoundsandchangethetypeofsound.
IPress the MENU button in IWI mode.
The [_ Setting] menu appears.
When you press the MENU button in 0 mode, press the four-way
controller ( • ) once.
2Use the four-way controller (• v) to select [Sound].
3Press the four-way controller
(_.).
The [Sound] screen appears.
I
Playback Volume @ _:3
Start-up Sound 1
Shutter Sound 1
Operation Sound 1
Self-timer Sound 1
Usethefour-way controller(• • ) toselect [OperationVolume].
5Use the four-way controller ( • I_) to adjust the volume.
Set the volume to t_ to mute the start-up sound, shutter sound,
operation sound, and self-timer sound.
8Change [Playback Volume] in the same way as in steps
4 and 5.
Use the four-way controller (• •) to select [Start-upSound].
Press the four-way controller ( i_).
A pull-down menu appears.
Use the four-way controller (• •) to select the sound type.
Choose from [1], [2], [3], [4], [Off], or [USER].

Press the OK button.
8Set [Shutter Sound], [Operation Sound] and [Self-timer
Sound] in the same way as in steps 4 to 7.
Press the MENU button.
The screen returns to the [_ Setting] menu.
You can use a sound recorded by the camera for sound settings.
The first two seconds of the selected sound file will be played as the
[USER] sound.
1Select [USER] in step 6 in "To Change the Sound Type".
2Press the OK button.
The playback screen for the recorded
sound files appears.
3
4
5
8
Use the four-way controller ( • 1_) to select asound file.
Play back the selected file to confirm.
Four-way controller ( • ): Plays back the first two seconds of the sound file.
Four-way controller (_"): Stops playback.
Press the OK button.
The selected sound is set as the [USER] sound.
Set [Shutter sound], [Operation Sound] and [Self-timer
Sound] in the same manner.
Press the MENU button.
The screen returns to the [_k Setting] menu.
_em_ The Sound settings are saved when the camera is turned off.

iiiiiiiiiiiiiiiiiiiiiiiiiiiiiiii
!i!i!i!i!i!i!i!i!i!i!i!i!i!i!i!i!i!i!i!i!i!i!i!i!i!i!i!i!i!i!ii
You can change the initial date and time settings (p.55). You can also
set the style in which the date appears on the camera.
I
2
3
#
5
#
Press the MENU button in I-€-Imode.
The [_k Setting] menu appears.
When you press the MENU button in O mode, press the four-way
controller ( • ) once.
Use the four-way controller (A v) to select [Date
Adjustment],
Press the four-way controller
The [Date Adjustment] screen
appears.
Date 01/01/2011
Time 00:00
Settings complete
_Cancel
Press the four-way controller ( •).
The frame moves to [mm/dd/yy].
Depending on the initial setting or previous setting, [dd/mm/yy] or [yy/
mm/dd] may be displayed.
Use the four-way controller
(A v) to choose the date and
time display style.
Choose from [mm/dd/yy], [dd/mm/yy]
or [yy/mm/dd].
Date 01/01/2011
Time 00:00
Settings complete
_Cancel
Press the four-way controller ( _).
The frame moves to [24h].

8
9
1#
H
/2
Use the four-way controller
(A T) to select [24h] (24-hour
display) or [12h] (12-hour
display).
Date 01/01/2011
Time 00:00
Settings complete
_Cancel
The frame returns to [Date Format].
Press the four-way controller
(T).
The frame moves to [Date]. Date Format mm/dd/yy 24h
Time 00:00
Settings complete
_ENUjCancel
Press the four-way controller ( !_).
The frame moves to one of the following items depending on the date
style set in step 5.
Month for [mm/dd/yy]
Day for [dd/mm/yy]
Year for [yy/mm/dd]
The following operations and screens use [mm/dd/yy] as an example.
The operations are the same even if another date style has been
selected.
Use the four-way controller
(A T) to change the month. Date Format mm/dd/yy 24h
Time 00:00
Settings complete
_Cancel
Press the four-way controller ( i_).
The frame moves to the day field. Use the four-way controller (• • ) to
change the day. After changing the day, change the year in the same
manner.
Press the four-way controller ( i_).

13
/d
/5
Change the time in the same way as in steps 8 to 12.
If you selected [12h] in step 7, the setting switches between am and
pm corresponding to the time.
Press the four-way controller
(T) to select [Settings
complete]. Date Format mm/dd/yy 24h
Date 01/01/2011
Time 00:00
_Cancel _OK
Press the OK button.
The date and time settings are saved and the screen returns to the
[_k Setting] menu.
!i!i!i!i!i!i!i!i!i!i!i!i!i!i!i!i!i!i!i!i!i!i!i!i!i!i!i!i!i!i!ii
When you press the OK button in step 15, the camera Clock is reset to
O0 seconds. To set the exact time, Press the OK button when the time
signal (on the TV; radio, etc.) reaches O0 seconds.
You can set the alarm to ring at a specified time.
You can choose whether the alarm will ring at the same time every day
or only once at the set time.
Press the MENU button in IWI mode.
The [_ Setting] menu appears.
When you press the MENU button in 0 mode, press the four-way
controller ( • ) once.
Use the four-way controller (A T) to select [Alarm].
Other manuals for Optio WG-1 GPS Gray
7
Other Pentax Digital Camera manuals

Pentax
Pentax K-70 User manual

Pentax
Pentax IQZoom 105WR Date User manual

Pentax
Pentax WG-90 Guide

Pentax
Pentax ist ist DL User manual

Pentax
Pentax Super Program User manual

Pentax
Pentax P-5 User manual

Pentax
Pentax EI-200 User manual

Pentax
Pentax 77420 User manual

Pentax
Pentax Optio E70 Operator's manual

Pentax
Pentax IQZoom 200 User manual

Pentax
Pentax Q User manual

Pentax
Pentax Optio X User manual

Pentax
Pentax A3000 User manual

Pentax
Pentax K-01 User manual

Pentax
Pentax SP500 User manual

Pentax
Pentax Optio WG2 GPS User manual

Pentax
Pentax Espio User manual

Pentax
Pentax 6x7 Marine User manual

Pentax
Pentax OPTIO M85 User manual

Pentax
Pentax ESPIO 24EW User manual